PLAN AHEAD
All great photos require a bit of planning, but shooting at night requires considerably more thinking beforehand. Know where you are going and how to get there. Sounds obvious, I know, but finding a specific location at night is more challenging than it may appear. Bring along a headlamp, preferably one with a red light – it is easier for your eyes to adjust to the dark after you turn it off. Also wear layers of clothing. Cooler temperatures and bugs can be a real downer when you are out shooting. Prior to heading out, change your camera settings while still at home or in the car. It’s faster and easier.
STAY AWAY FROM THE LIGHT
To capture a great star field in the night sky you need to be aware of light pollution that could spoil your shot. Just over 80% of the population in the U.S. and Canada live in urban settings. This might mean a long drive to find a dark sky area. Even a single street light can obliterate the night sky. Check out darksky.org to find maps of light pollution levels. You will also want to avoid too much moonlight, so timing your night of shooting to coincide with a new moon will yield better results.
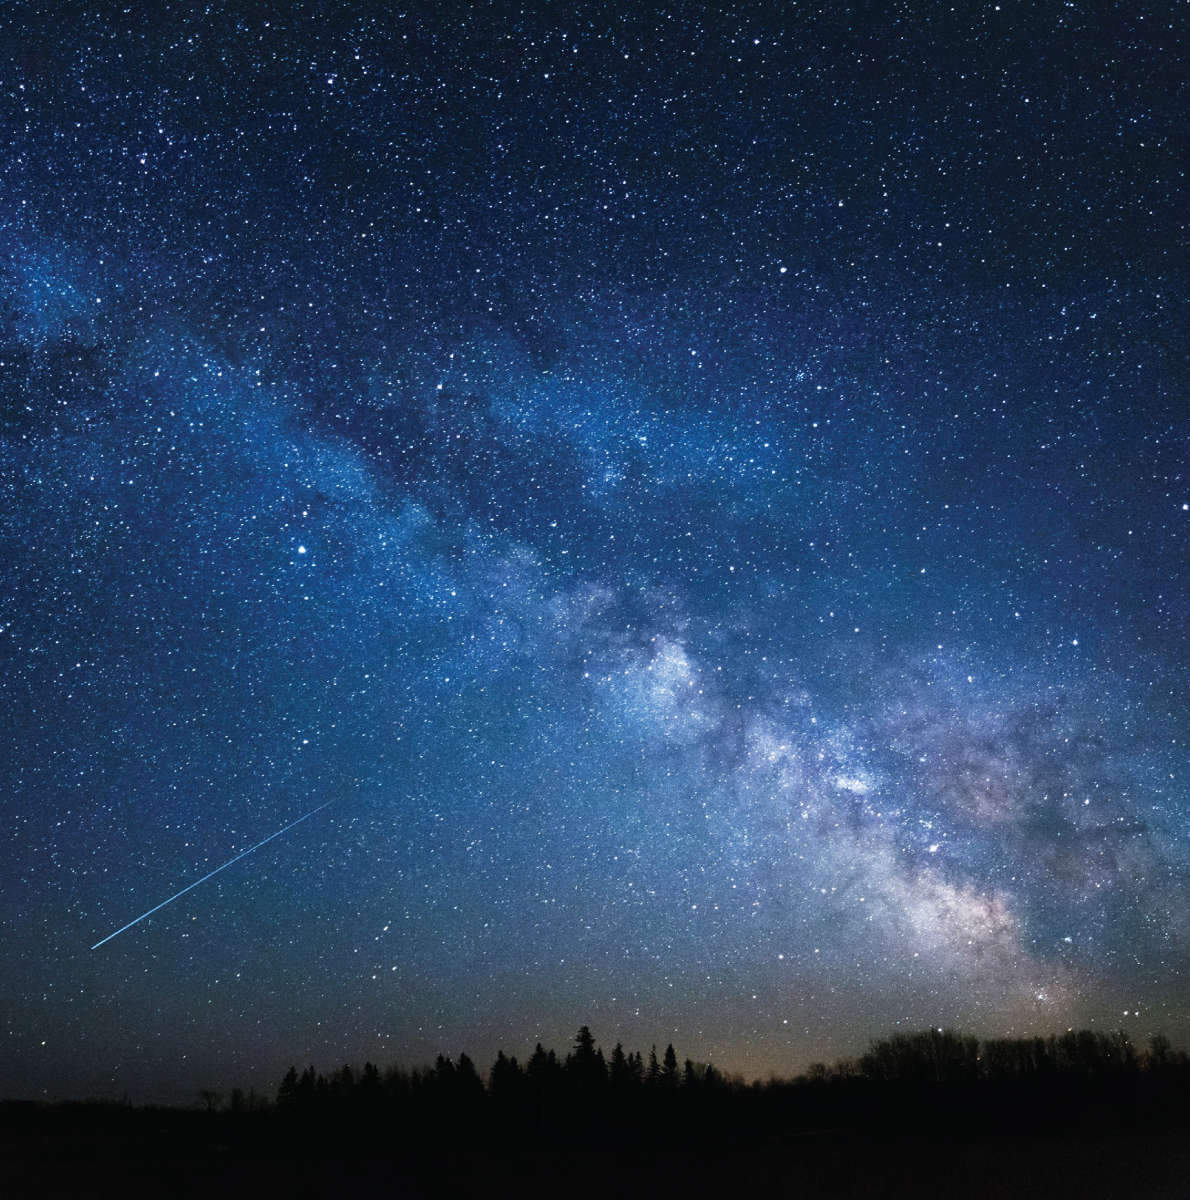
the effort. OM-D E-M1, M.Zuiko 12mm F2.0. ISO 1600, 20s, f2.0
INCLUDE A POINT OF INTEREST
Although your real subject might be the Milky Way, it hasn’t changed much in the last few million years. Therefore you need to include an interesting subject in the foreground that will set your photo apart from everyone else’s Milky Way shot. This may include a building, an interesting horizon, a rock outcrop or any other object that can be silhouetted against the night sky. For a bit more of a challenge, try using your headlamp to do some light painting during these long exposures.
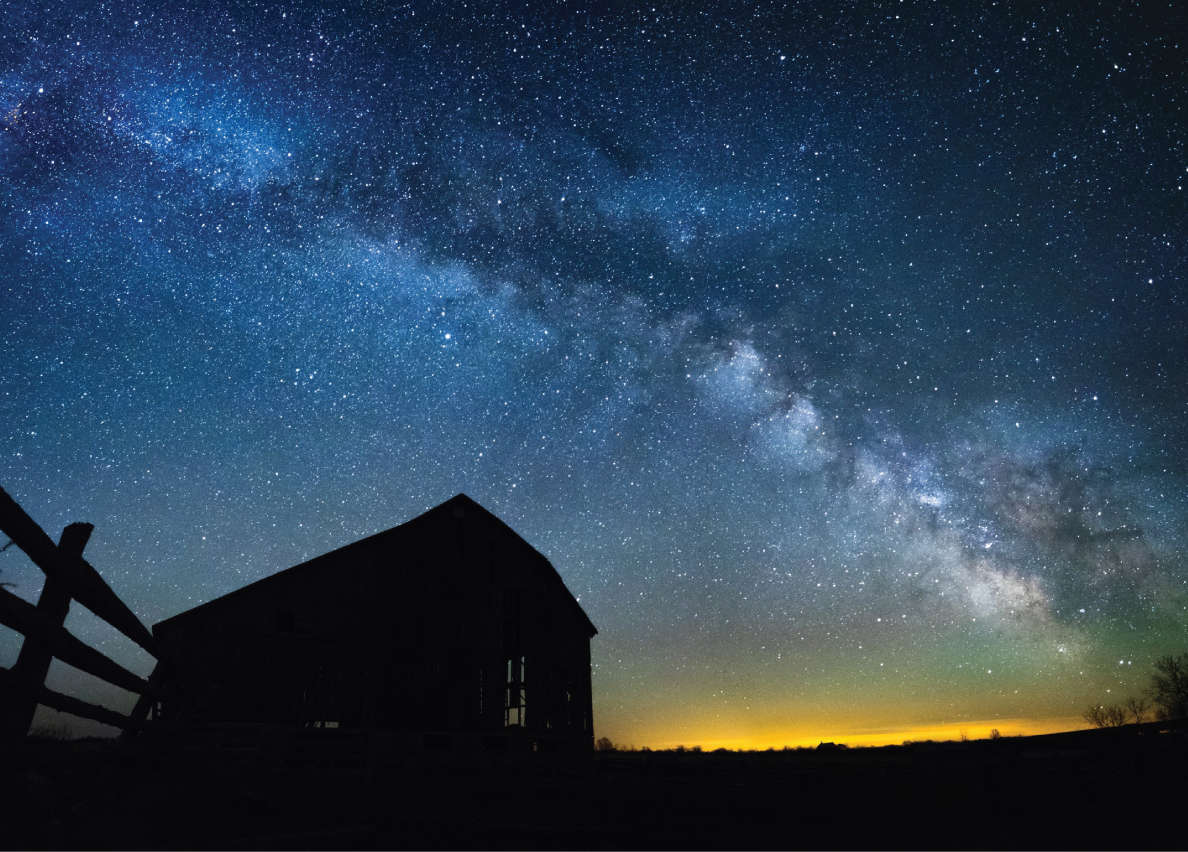
shot this, the barn blew down in a windstorm!
OM-D E-M1, M.Zuiko 12mm F2.0. ISO 1600, 20s, f2.0

GO WIDE AND OPEN IT UP
A fast, wide-angle lens is definitely the best choice for astrophotography. In order to capture as much of the night sky as possible, go wide. Most wide-angle kit lenses can give good results. Set to their smallest focal length. They will also have a larger aperture and therefore can gather more light. The average kit lens can open up to about f/3.5, which will yield acceptable results. For my nightscapes, I usually use the M.ZUIKO DIGITAL ED 12-40mm f/2.8 PRO lens or the M.ZUIKO DIGITAL ED 12mm f/2.0 lens. The extra light-gathering capability of a faster lens can make a big difference to overall exposure and clarity. It is also important to shoot at the largest aperture possible to gather as much light from those distant stars in the shortest amount of time.
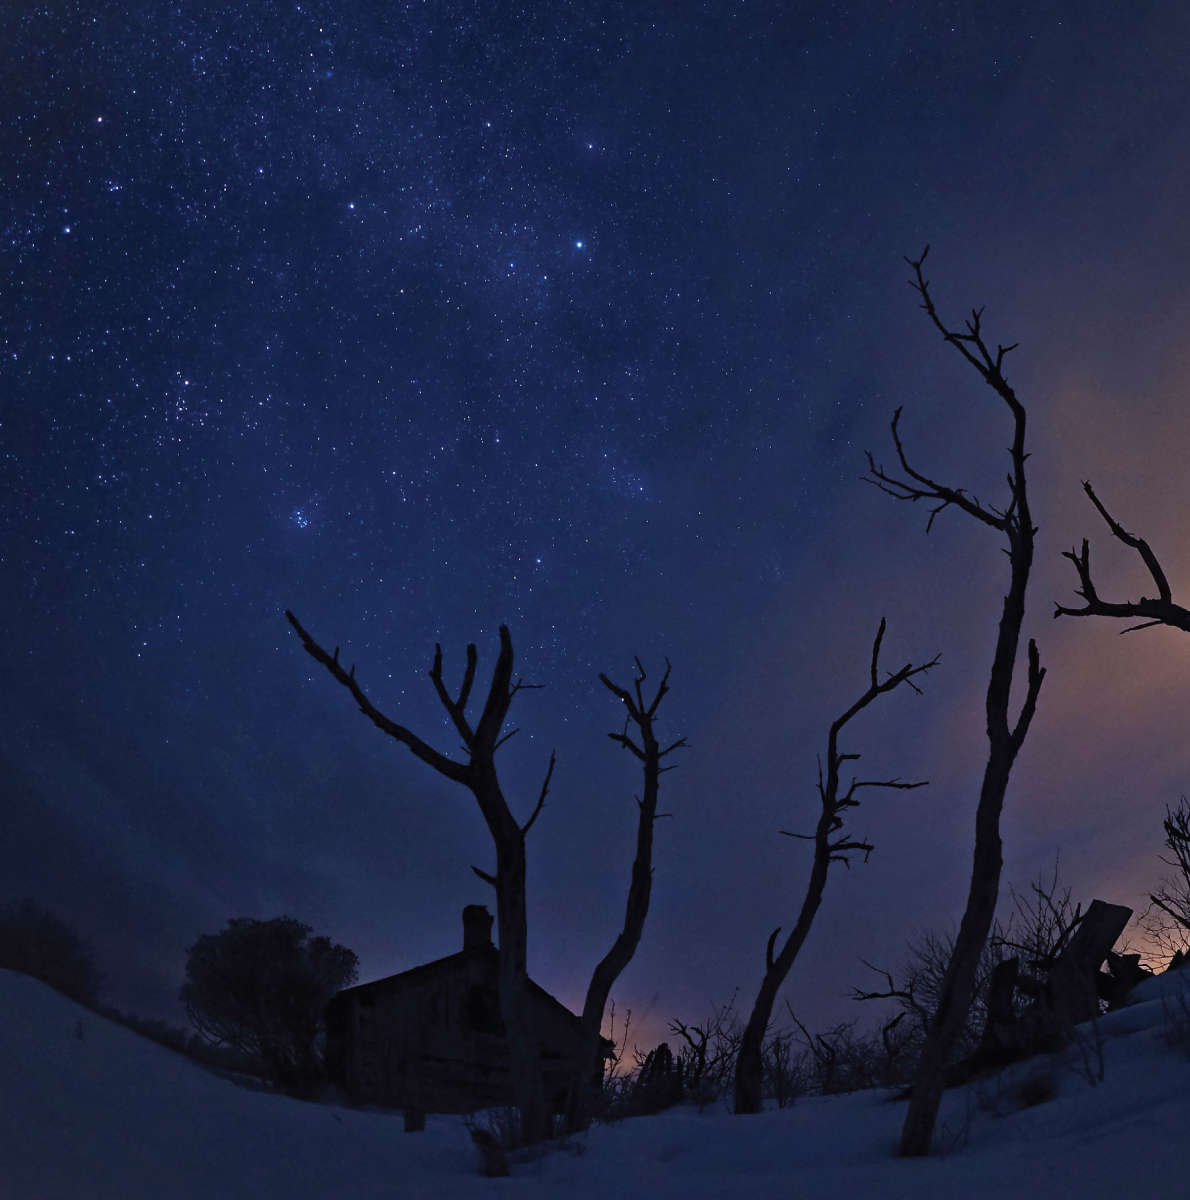
8mm F1.8 FISHEYE PRO. OM-D E-M5 Mark II, M.Zuiko ED 8mm F1.8 FISHEYE PRO. ISO 1000, 25s, f1.8

POST-PROCESSING IS REQUIRED
Your camera’s sensor can capture even the faintest amounts of starlight, but to create nightscapes that pop, some post-processing is required. I use Adobe Lightroom to brighten up the stars and adjust white balance. I will also take multi-shot panoramas and stitch them together in Photoshop.
STAR TRAILS MADE EASY
Recent Olympus camera models have an incredible feature to capture star trails – Live Composite. A Live Composite image is one made of several separate photographs that are combined in the camera over a period of time. Check out my BLOG POST for more information on this easy-to-use technique.
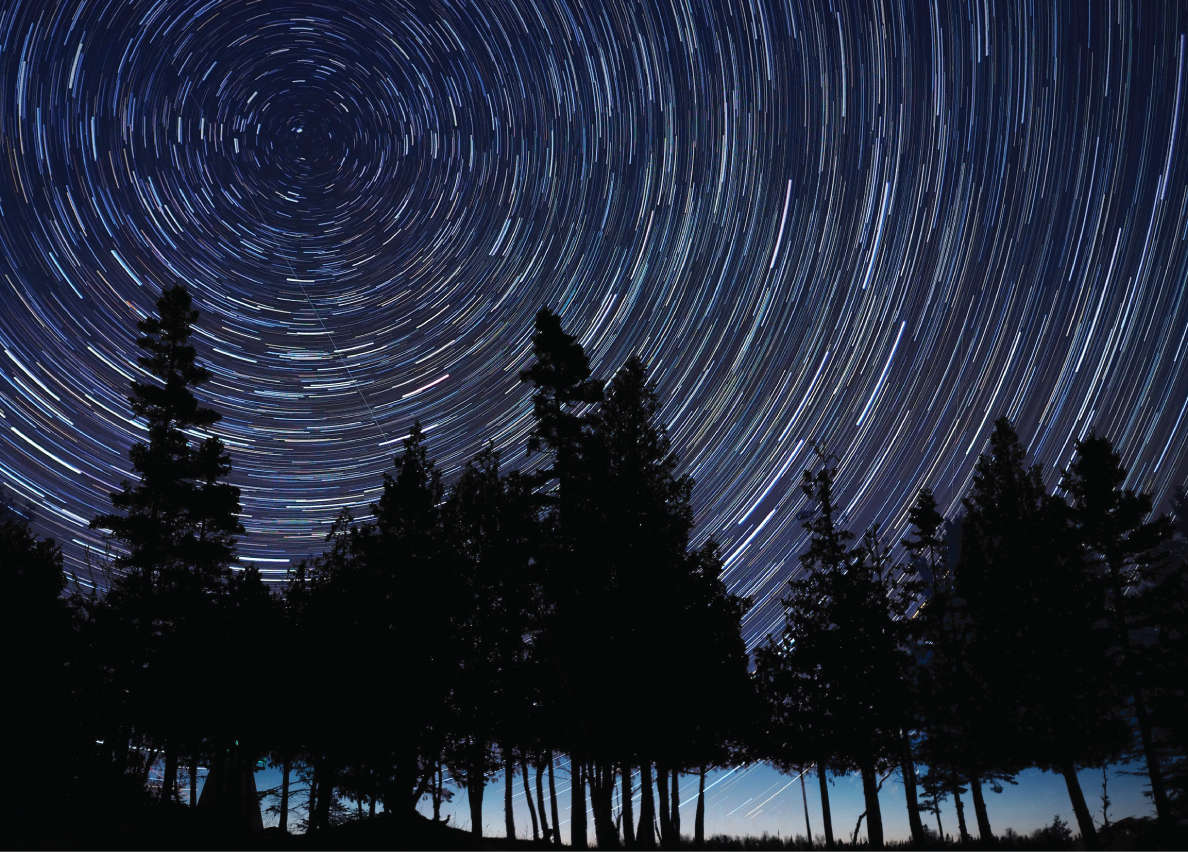
them in third-party software. The Live Composite feature does all this stacking in camera by recording changes in
brightness from the original exposure, thereby creating one image that you can see live on the LCD.
