Astrophotography has become one of the fastest growing genres of photography. Today’s digital cameras and lenses are able to capture high quality night sky images like never before, and with more and more great images making their way onto social media, photographers who felt that this type of photography was beyond their skill set are now being inspired to get out and photograph in the dead of night. A few short years ago, I was one of those self-doubting photographers. Now I try to photograph the night sky whenever an opportunity presents itself.
On a recent trip to Monument Valley, I wanted to photograph the ‘mittens’ under the light of a full moon. So, I got up at 3 a.m., walked a short distance from the hotel, set up my E-M1X with the 17mm F1.2 lens and proceeded to create a 4-shot panorama. The results looked good on the LCD, but I wanted a slightly larger field of view so I switched to the 12mm F2.0 lens. I focused on the stars, like I’ve done countless times before, and repeated the 4-shot pano. I checked the shots before I packed things up and, with my aging eyesight, all looked good… until I uploaded them onto my computer. Somehow my manual focusing with the 12mm lens had completely missed the mark.
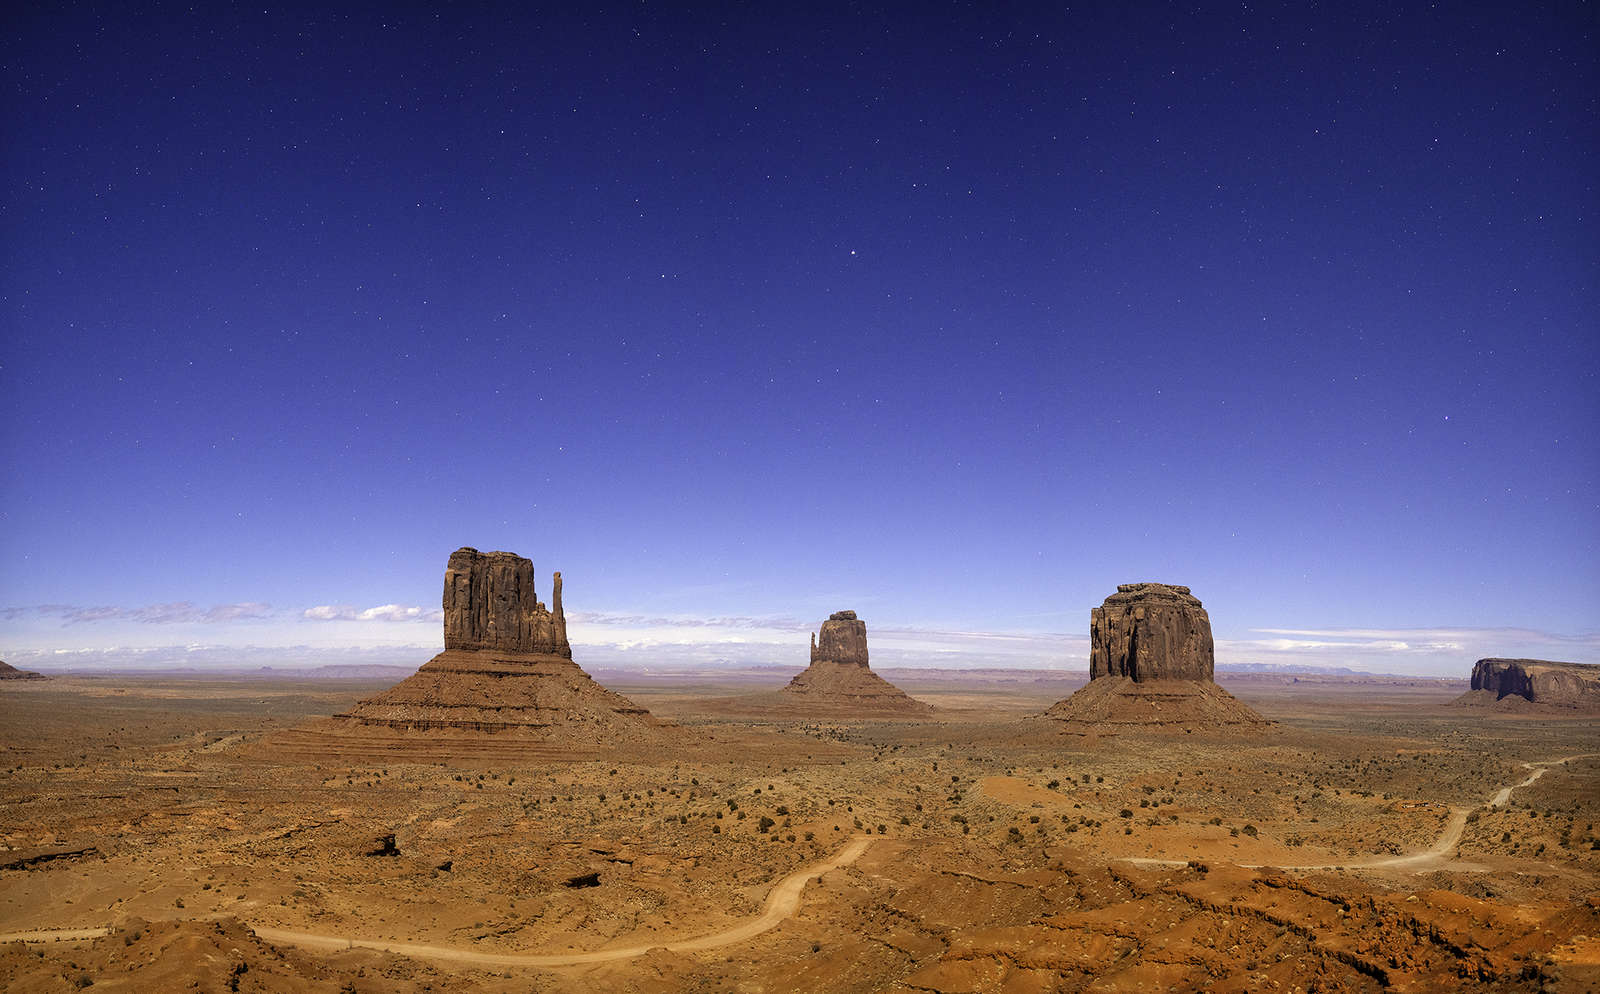
OM-D E-M1X | M.Zuiko Digital ED 17mm F1.2 PRO
3.2s | F1.4 | ISO 400

It is situations like the one in Monument Valley that has me very excited about the Starry Sky AF feature on the E-M1 Mark III. If you are not an astro-landscape photographer, you may not think this is a big deal, but regular auto-focus doesn't work in dark conditions. The infinity marker on the lens is not always accurate and therefore you need to rely on manual focusing. The manual focus-assist features that are built into all OM-D cameras is a great way to improve your accuracy when focusing manually. But, over the years there have been a number of times where I’ve returned home after hours of shooting only to discover that, once I viewed them on my computer monitor, the focus was a bit soft. Starry Sky AF eliminates that issue. And it works beautifully!
Here's what Olympus says about the feature, "Starry Sky AF, which is new for the OM-D E-M1 Mark III, is a feature that will revolutionize the world of astrophotography. In the past, photographers have traditionally relied on manual focusing. A new algorithm was developed to offer accurate focusing even on the tiniest stars shining in the night sky, enabling ultra-high-precision autofocusing that has been admired even among professional astrophotographers. There are two modes in Starry Sky AF. Speed Priority mode (default setting), which prioritizes focusing speed and complete AF operations in a short period of time. Thanks to the powerful image stabilization, this feature makes handheld astrophotography possible using a wide-angle lens. Accuracy Priority uses a fine-tuned focus scan and is effective for shooting specific stars with telephoto lenses."
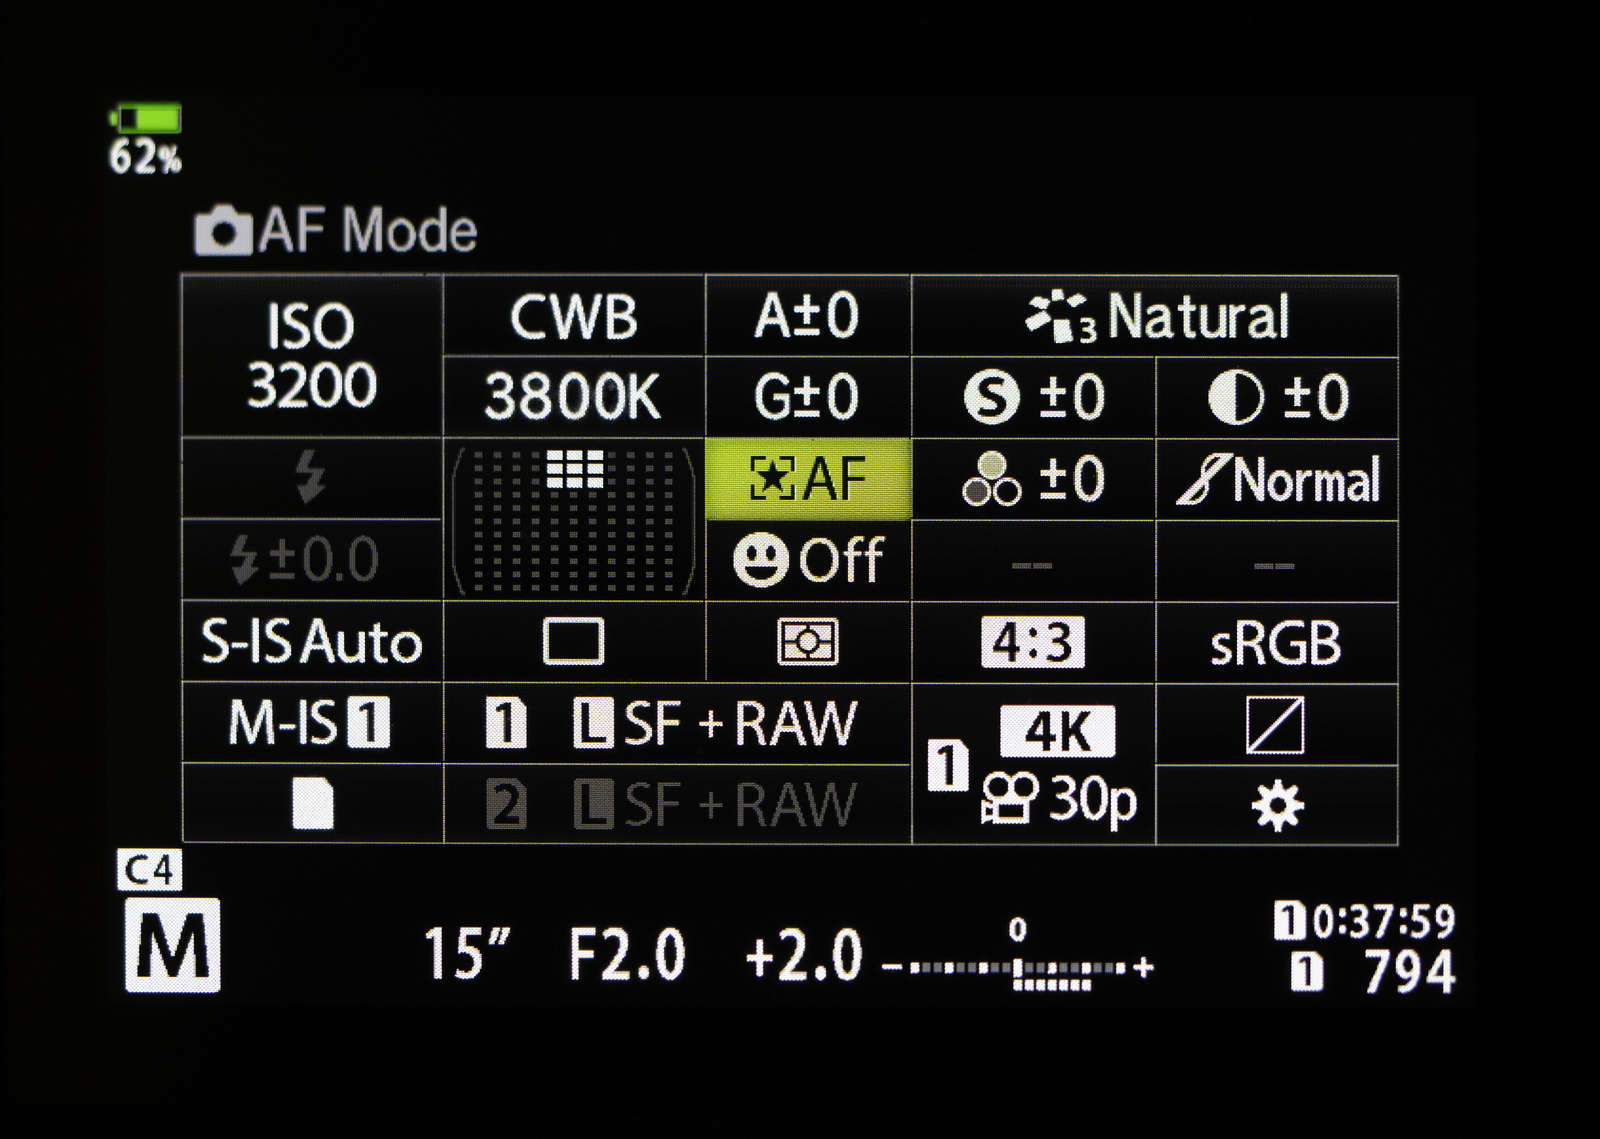
With Starry Sky AF engaged, the camera locks focus on the stars by pressing the AEL/AFL button on the rear of the camera. It maintains this focus until the camera is turned off or if you switch lenses. The feature is easy to access from within the Super Control Panel. The two different modes (Accuracy Priority and Speed Priority) are available in the Gear Menu (A4).
Shoot for the Stars!
So here is how the process works:
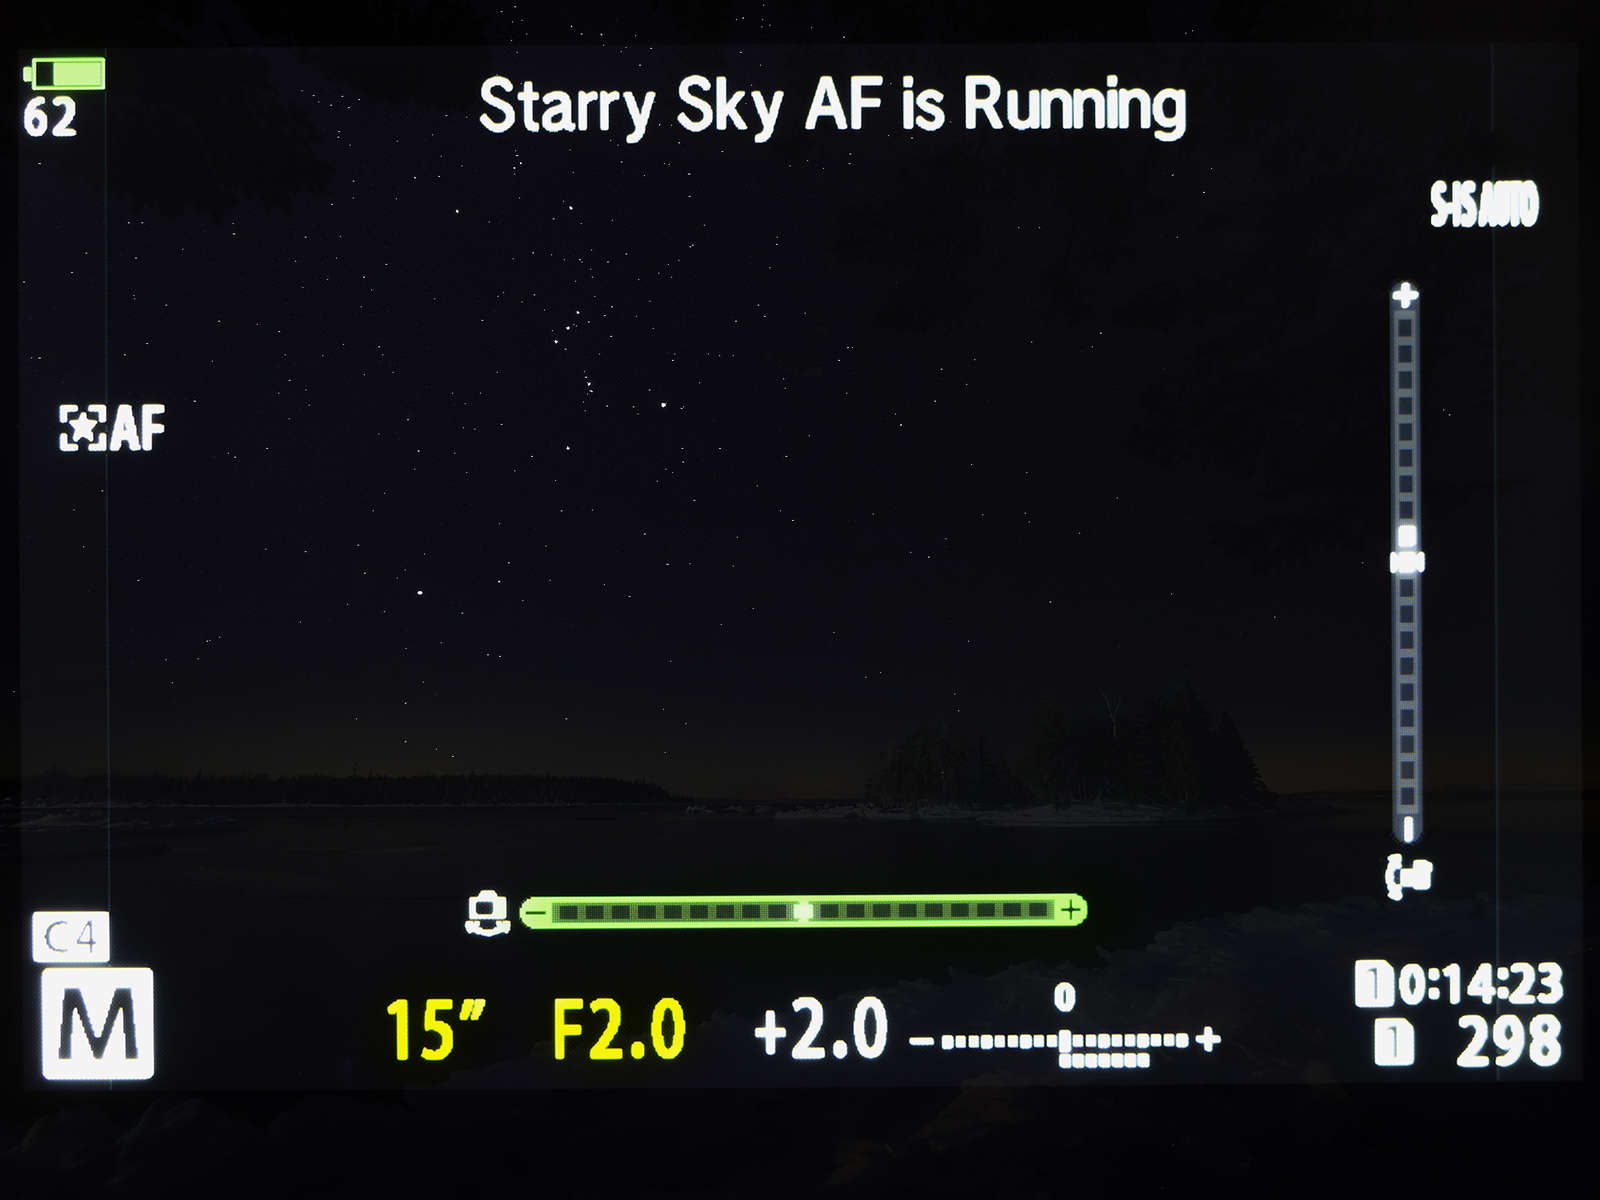
Once you've composed your shot and enabled Starry Sky AF, you press the AEL/AFL button. The message, "Starry Sky AF is Running" appears on the LCD. The camera then begins the process of trying to lock focus on the stars. I typically use the 3x3 or 5x5 target point and ensure that it is positioned in an area of the frame where the stars are brightest. Acquiring focus usually takes about 5-10 seconds when set to the Accuracy Priority Mode.
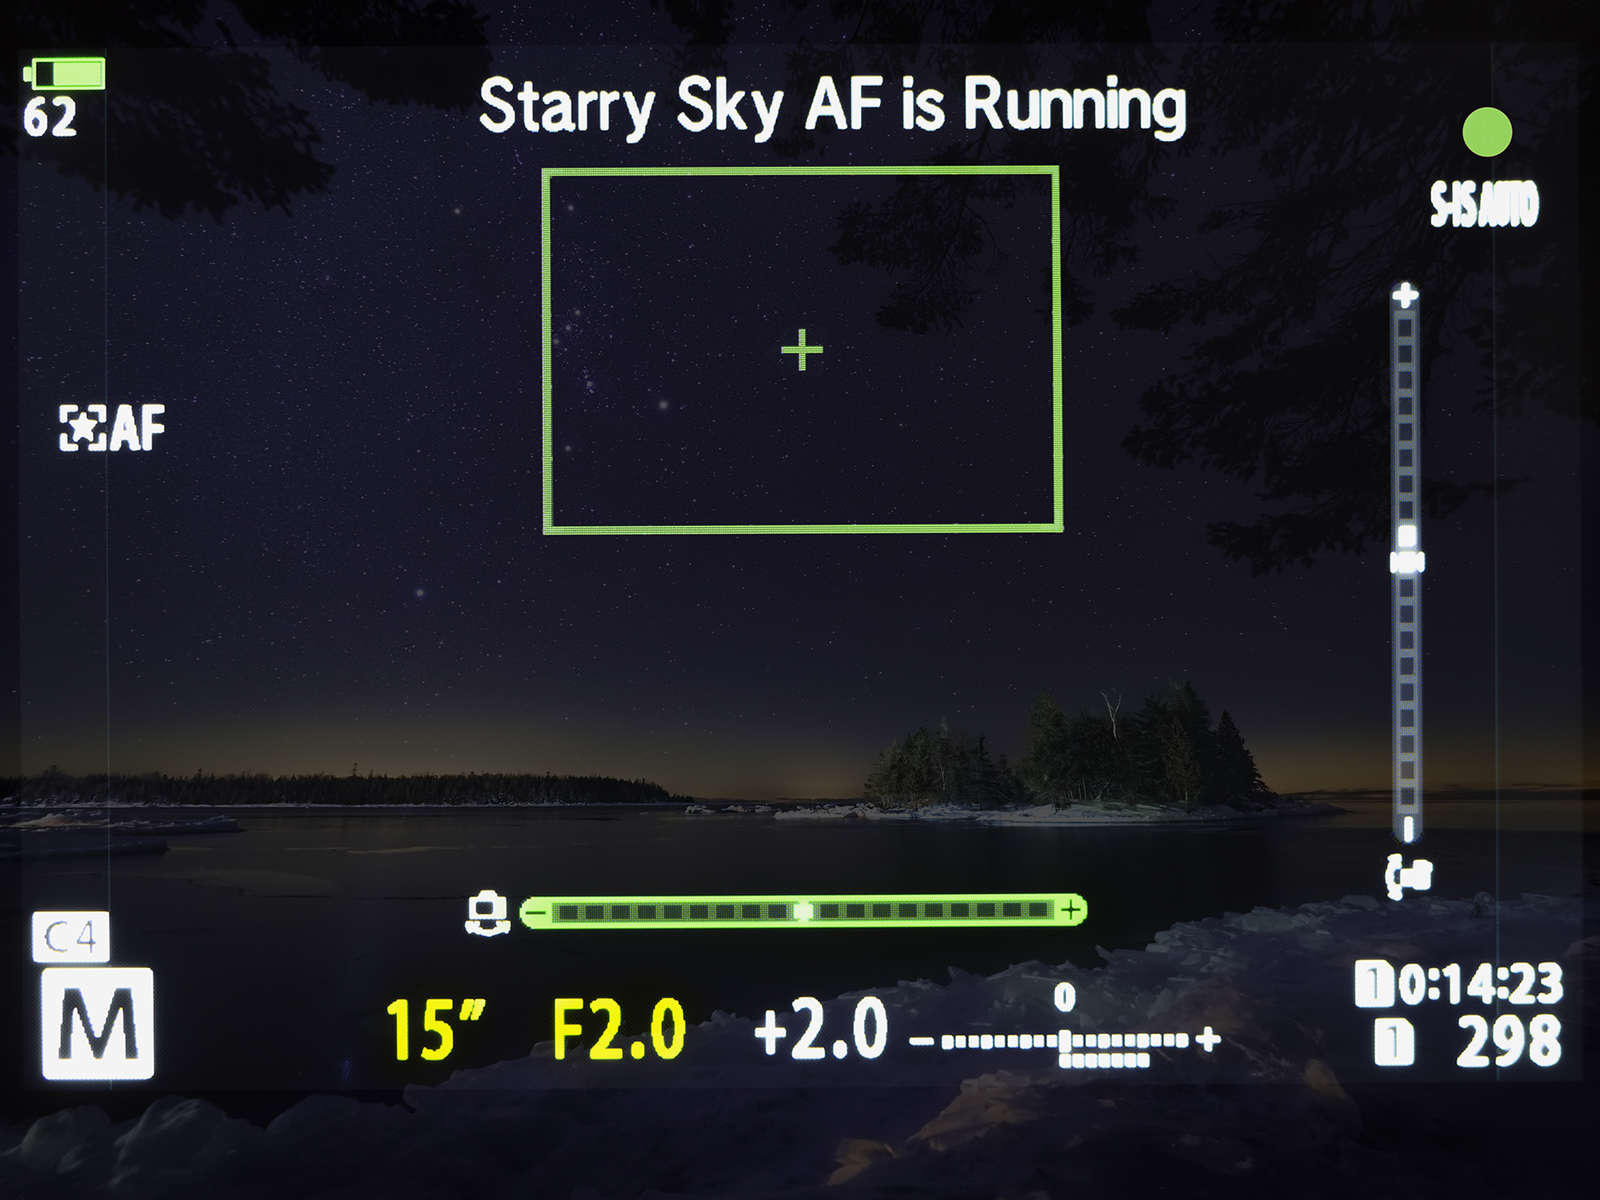
Once focus is achieved, the target point (green rectangle) will blink once, an audible beep will be heard, and a green circle will flash briefly. Then you are ready to shoot.
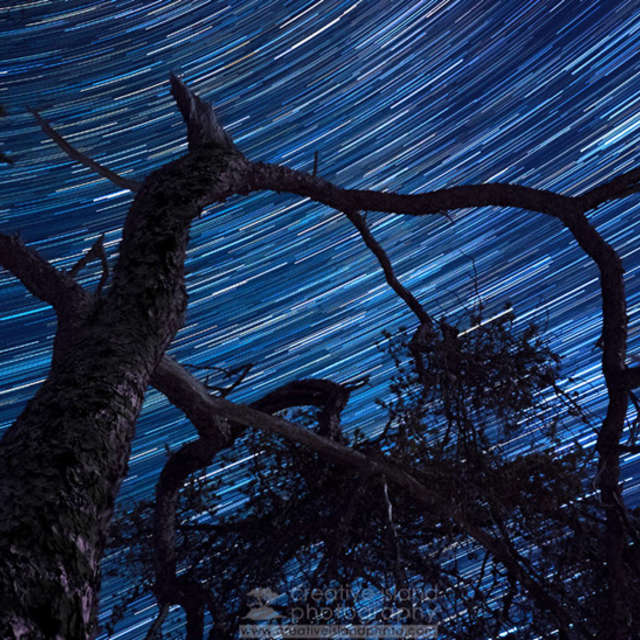
20s | F2.8 | ISO 3200
Final Thoughts and Images
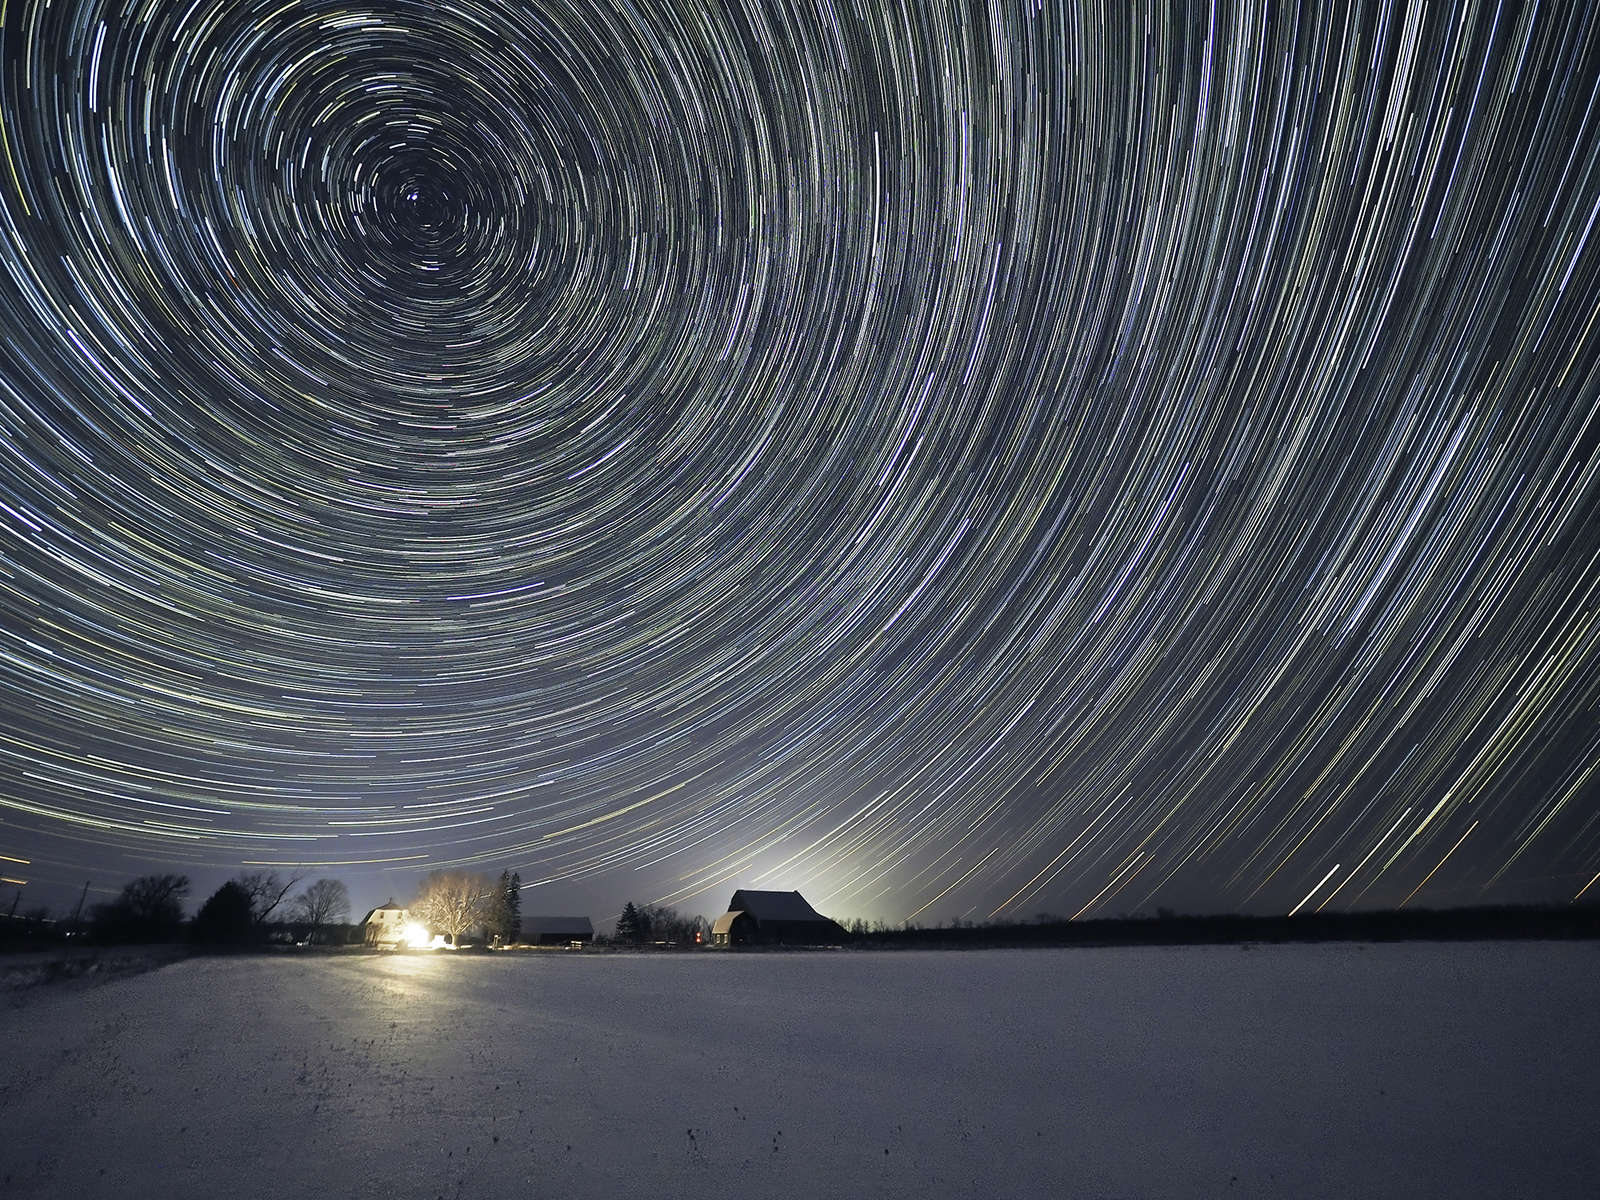
In the time that I have had the E-M1 Mark III, I have been out several times to shoot the night sky under a variety of conditions, including thin cloud cover. Starry Sky AF was able to achieve focus each time (sometimes it takes more than one attempt), and maintain that focus throughout the session.
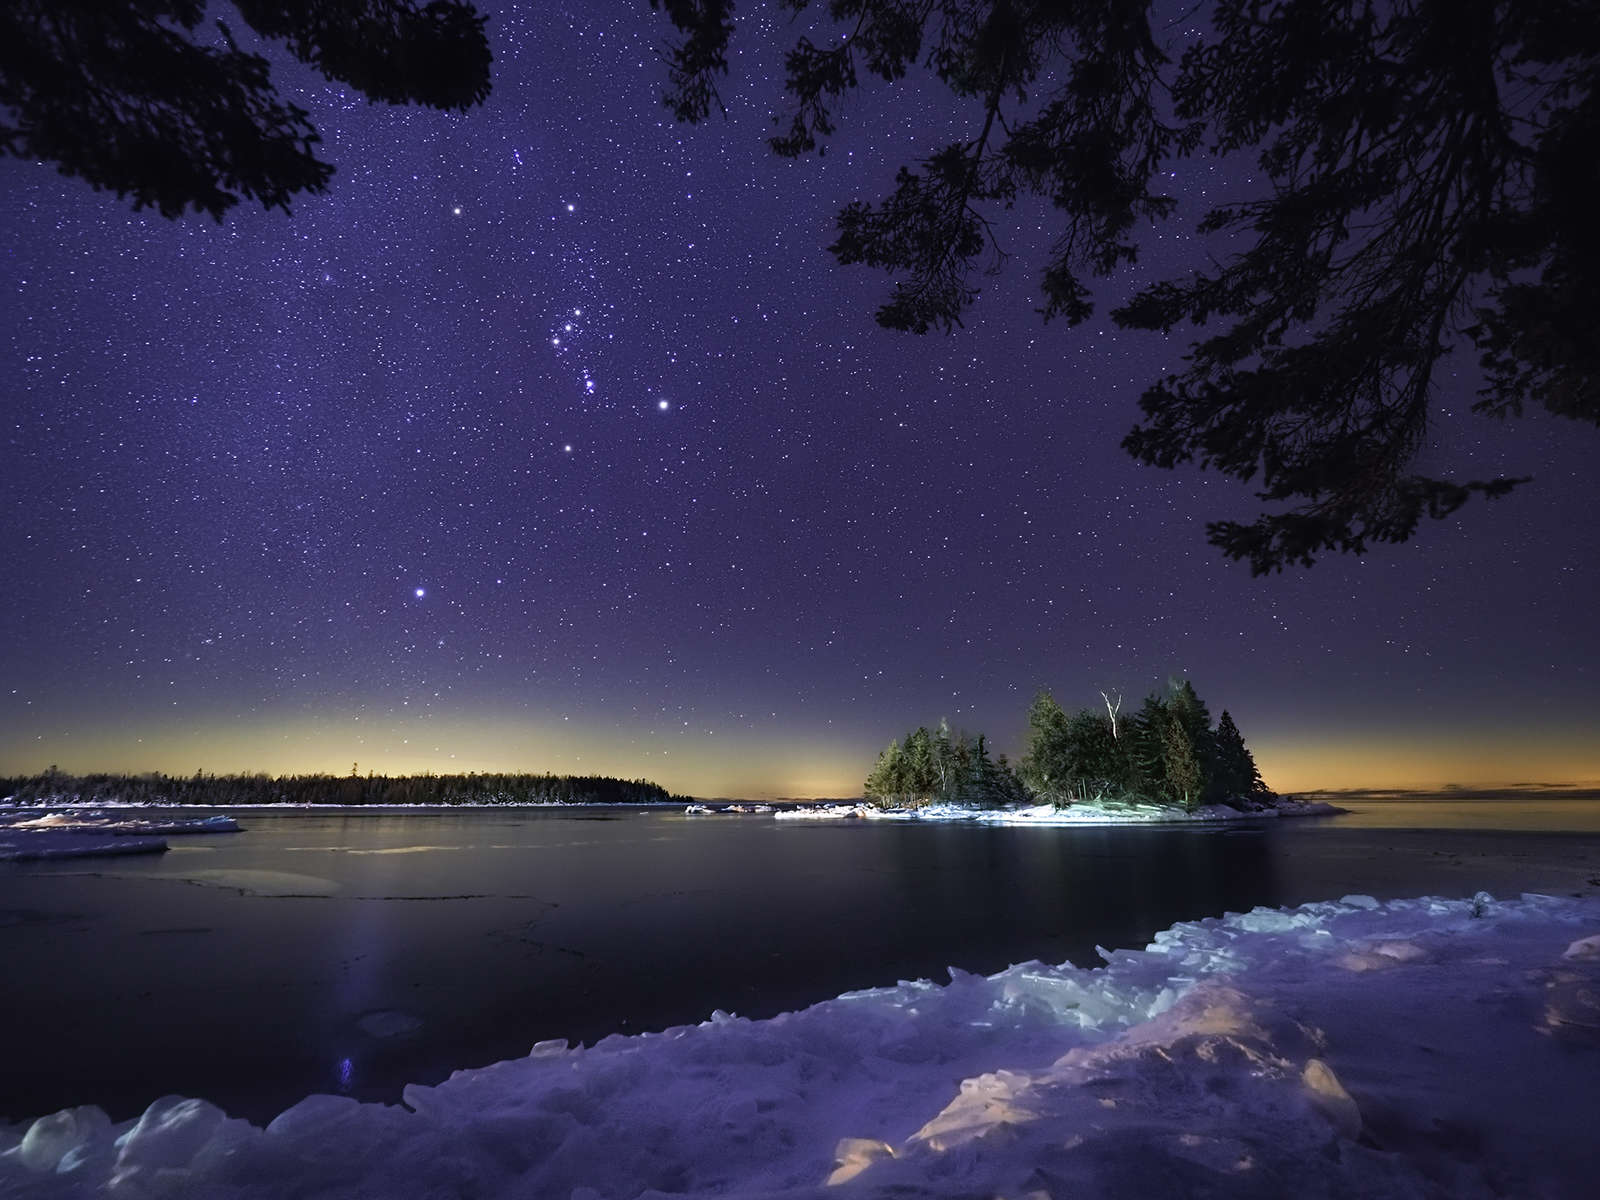
15s | F2 | ISO 3200
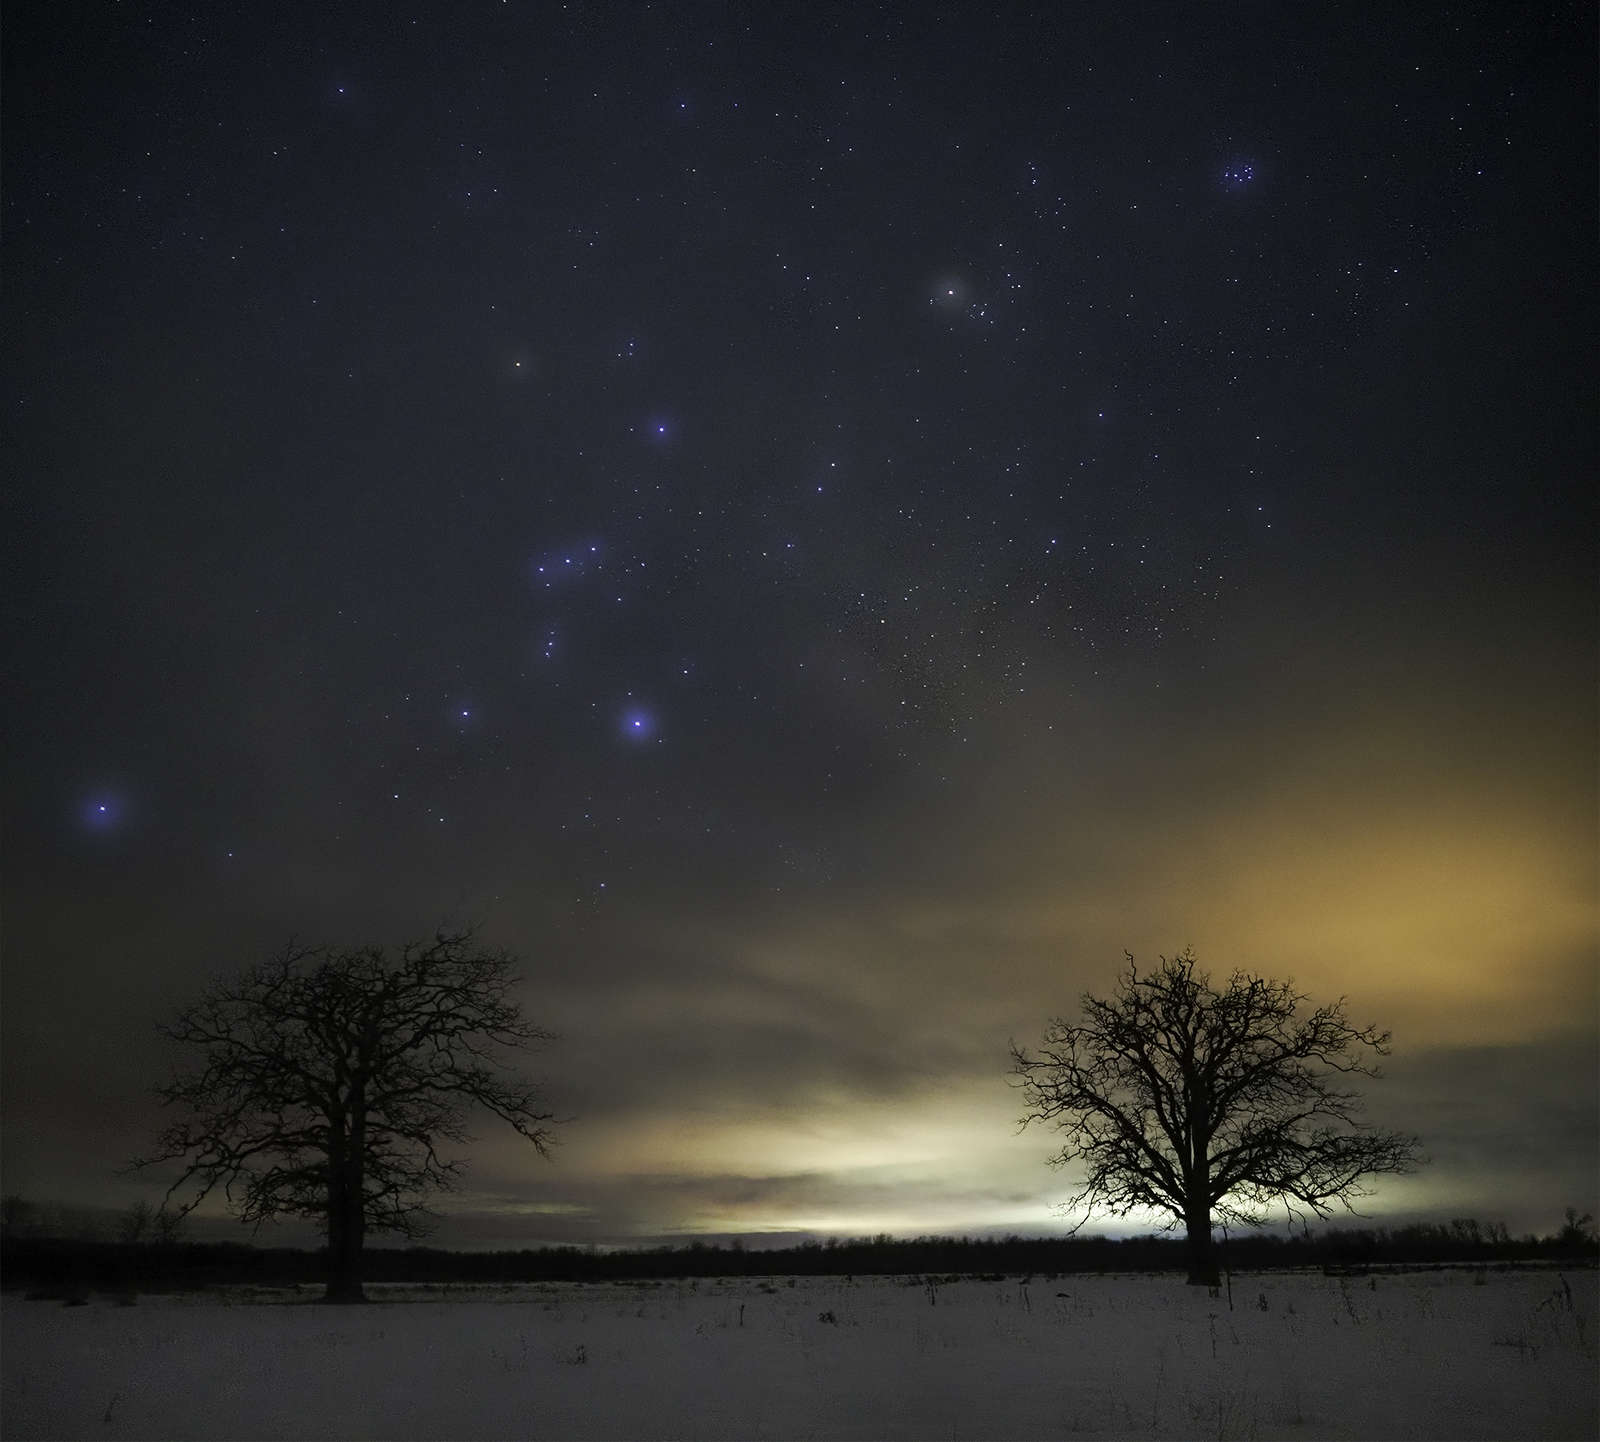
OM-D E-M1 Mark III | M.Zuiko Digital 7-14mm F2.8 PRO
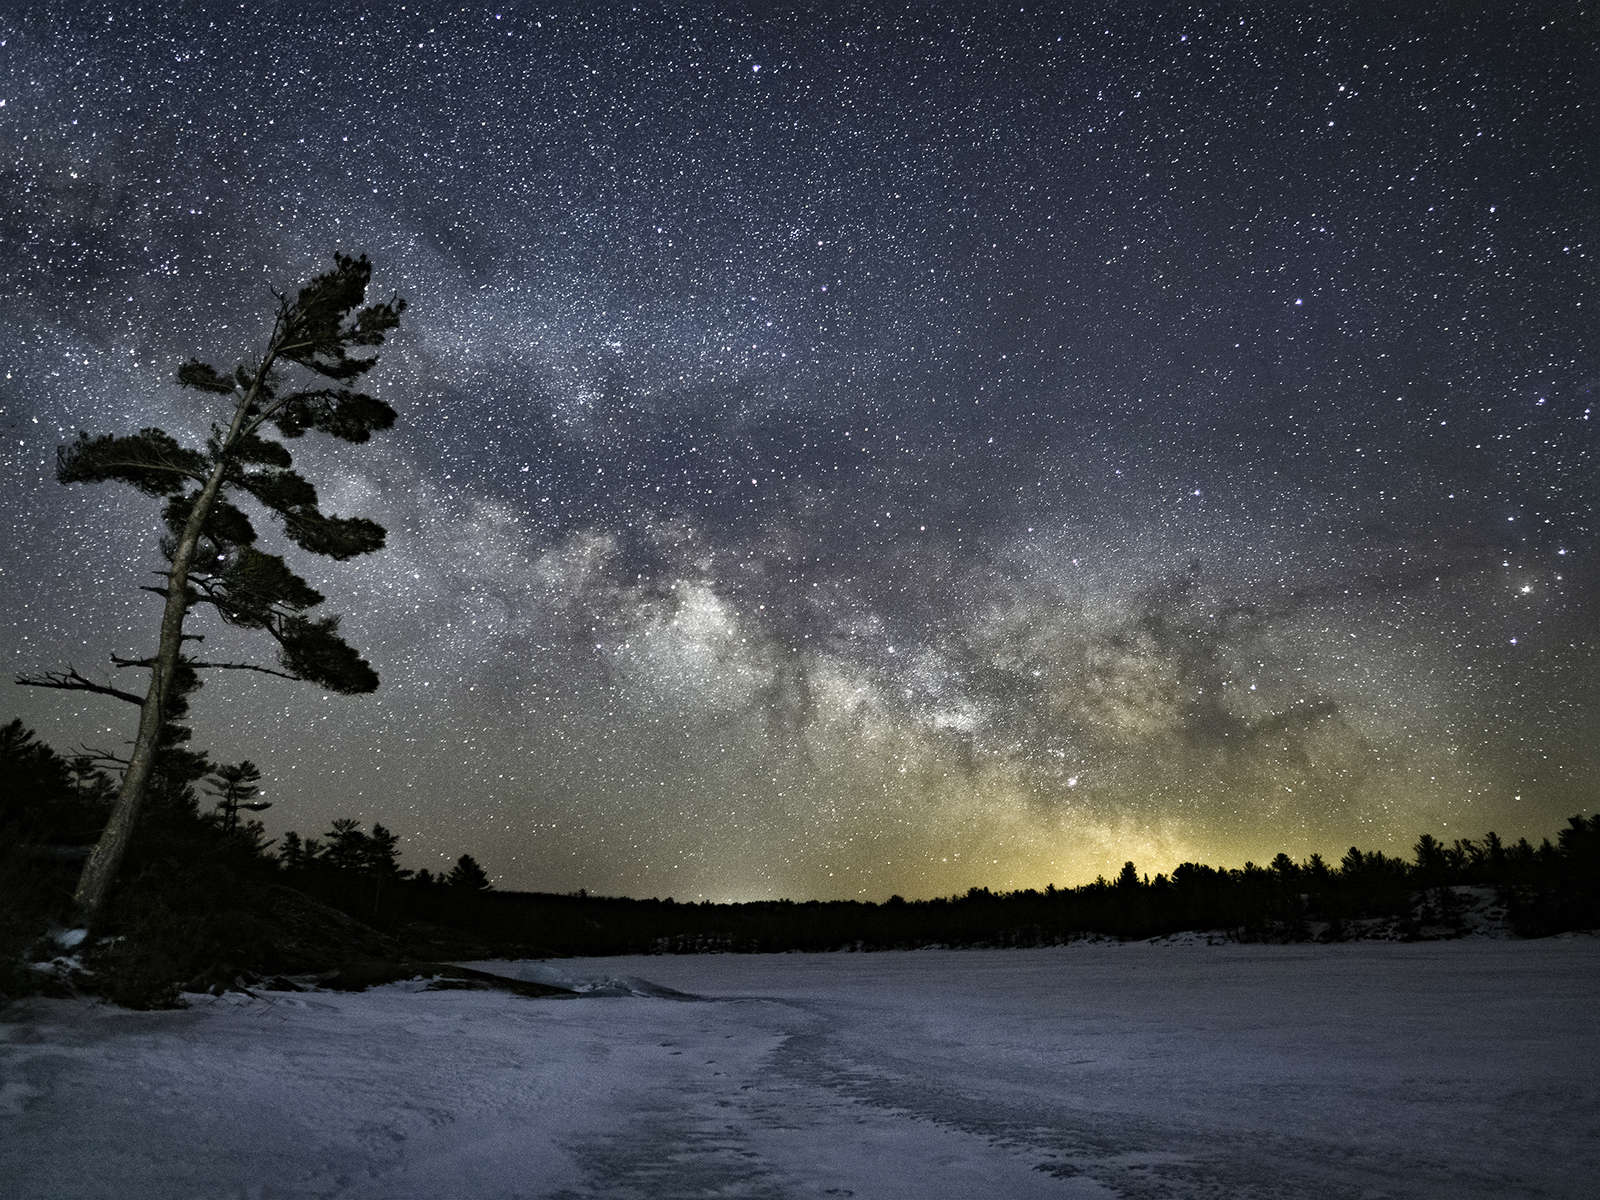
25s | F2.8 | ISO 1600
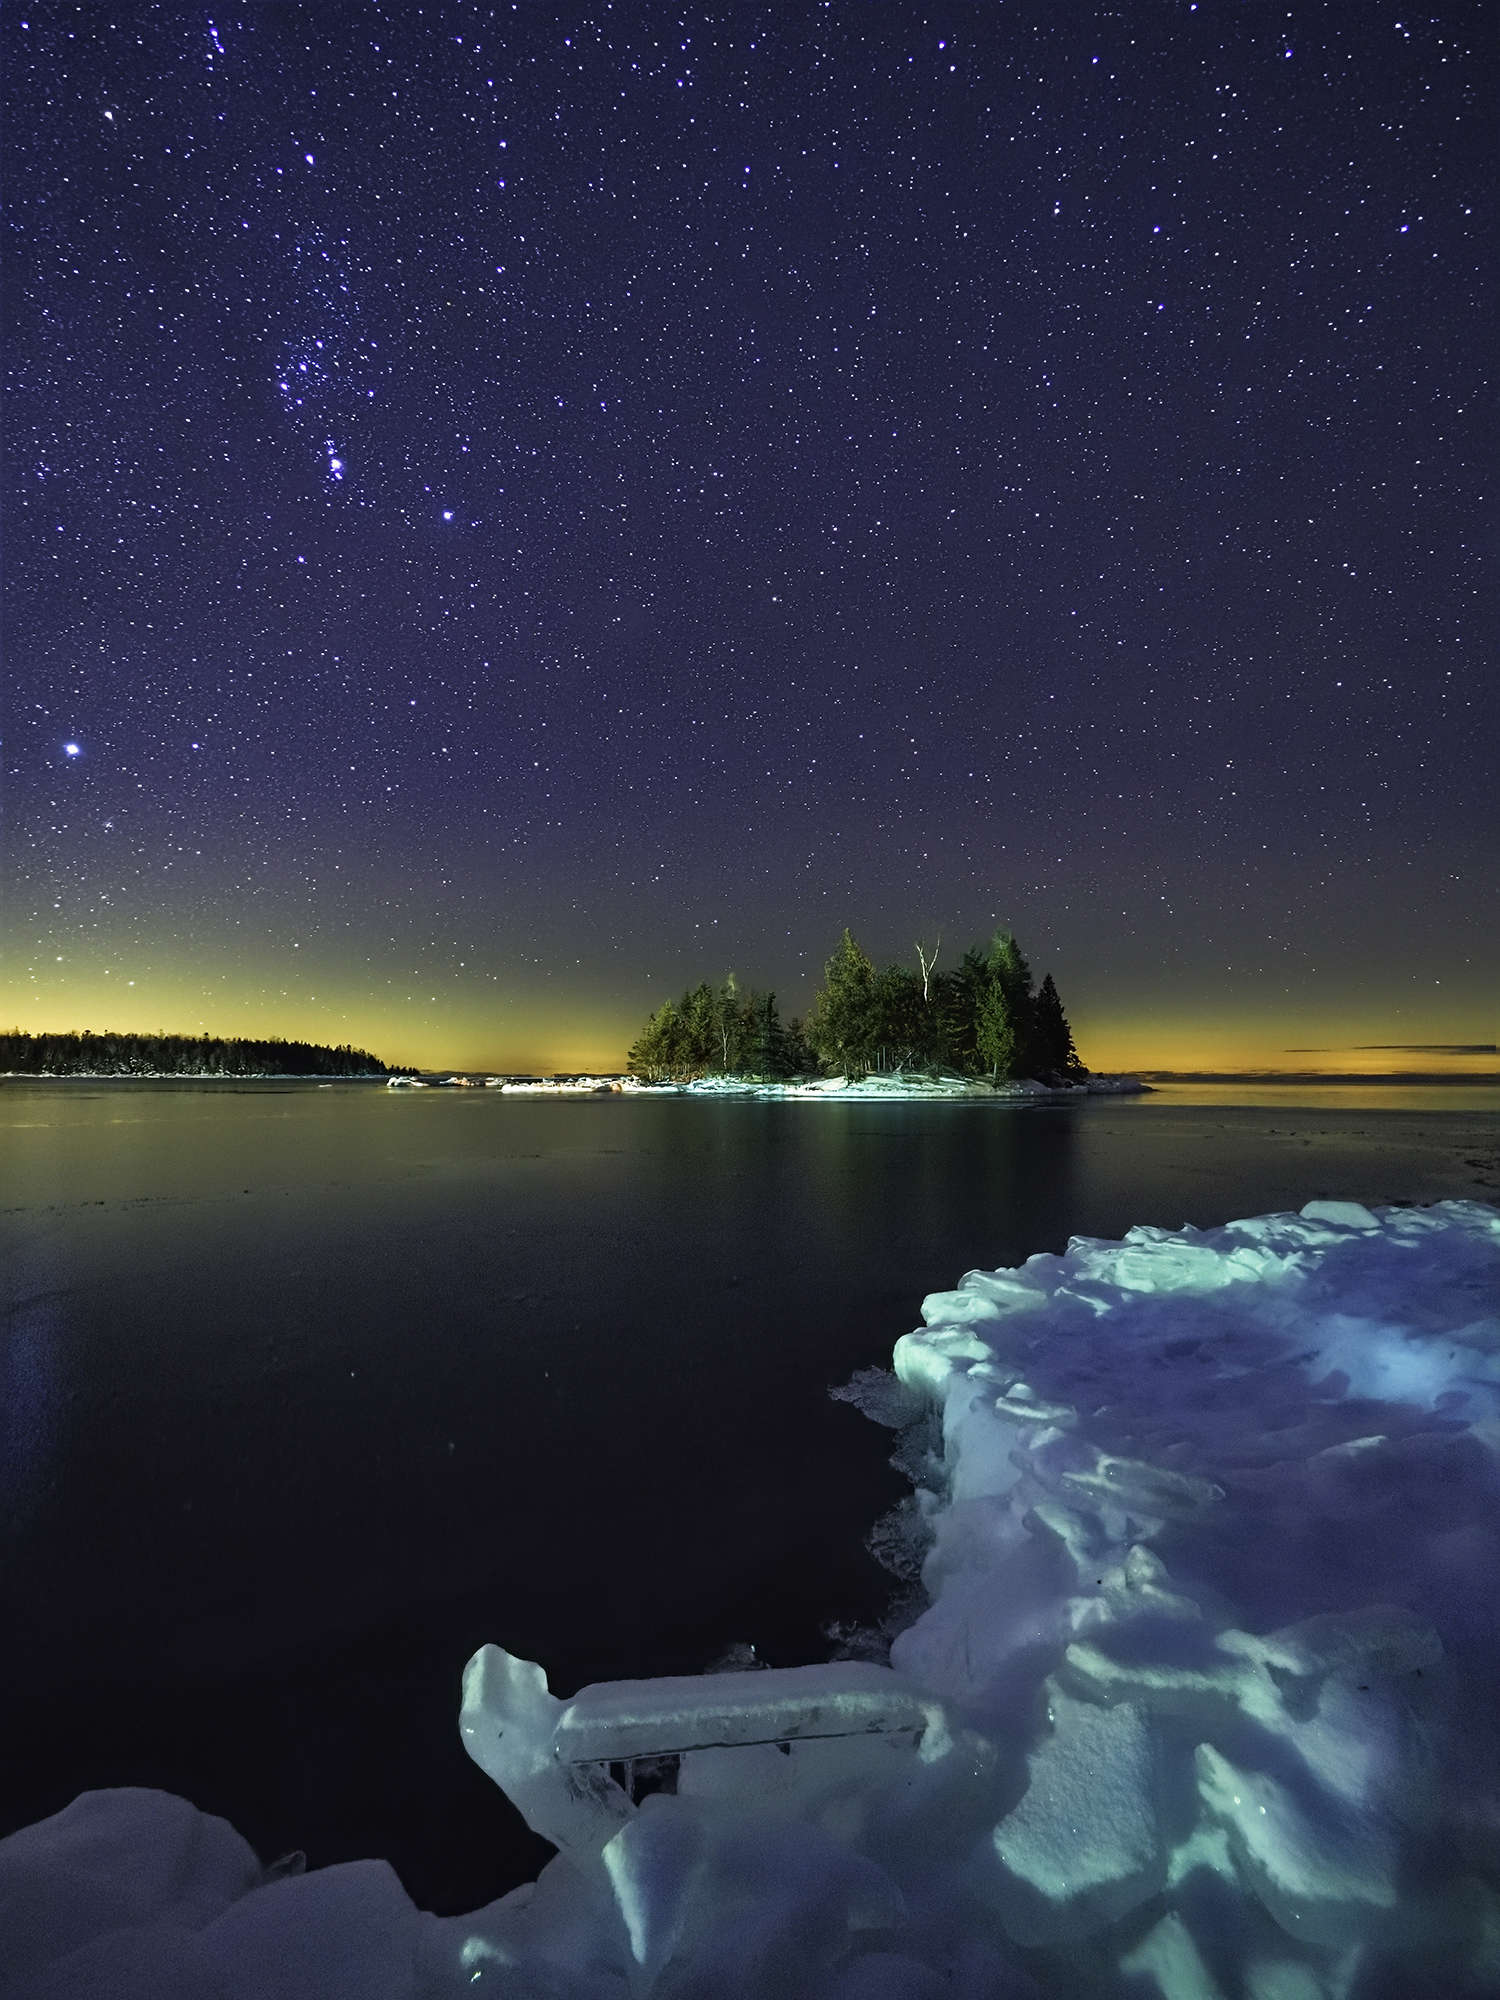
OM-D E-M1 Mark III | M.Zuiko Digital 12mm F2.0
15s | F | ISO 3200
OM-D E-M1 Mark III | M.Zuiko Digital ED 7-14mm F2.8 PRO
20s | F2.8 | ISO 6400
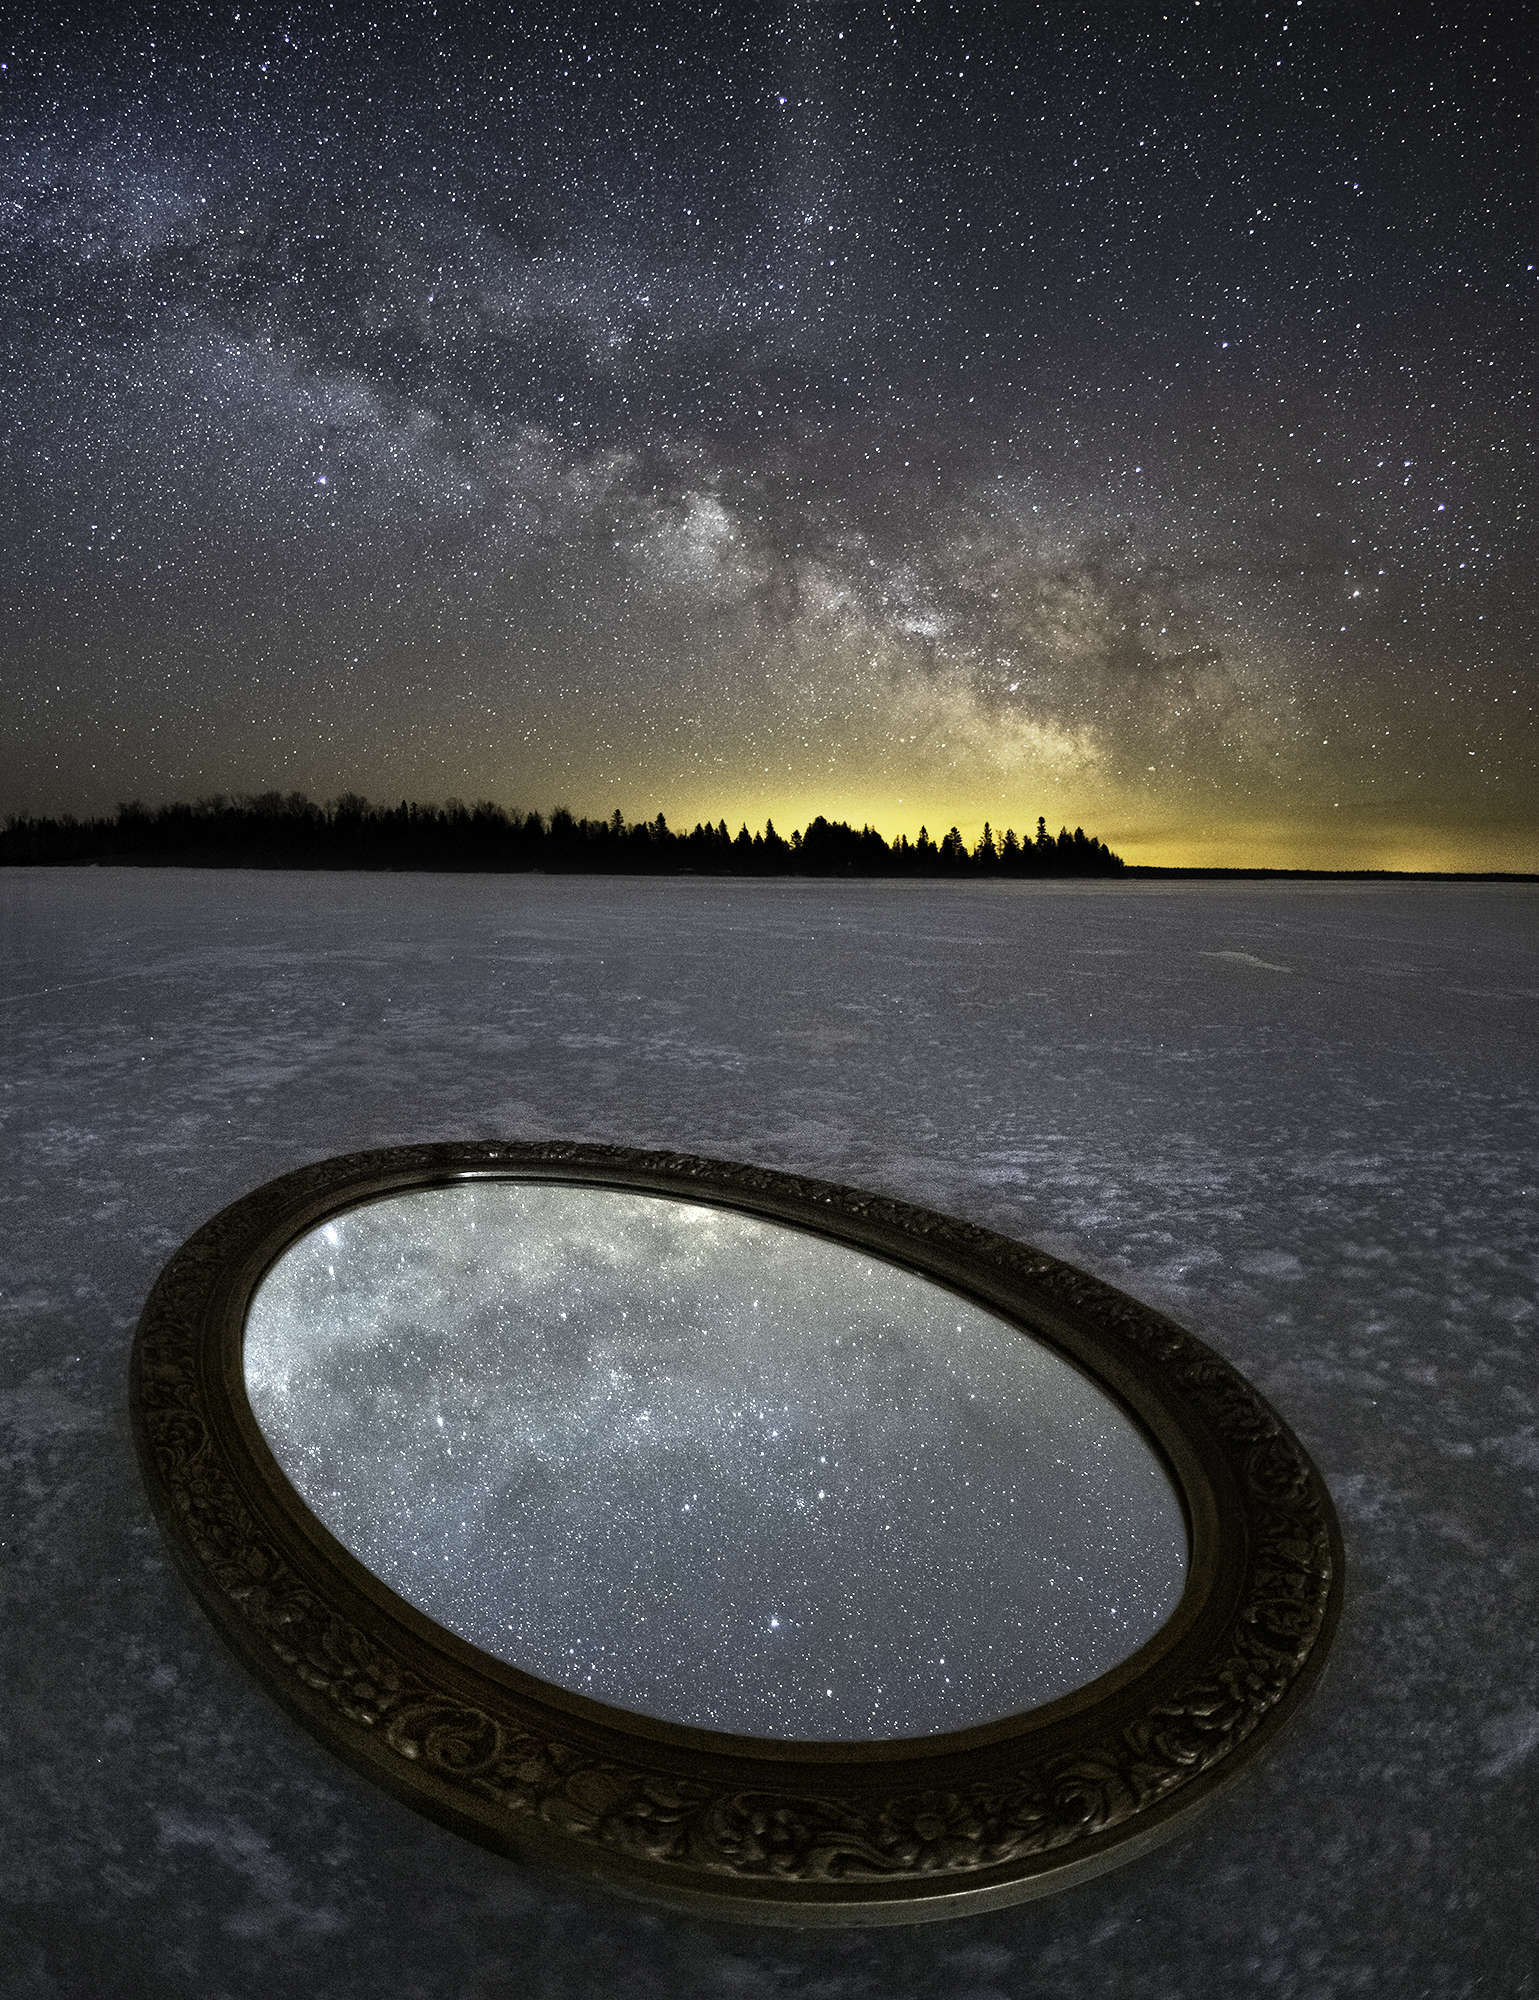
OM-D E-M1 Mark III | M.Zuiko Digital ED 8mm F1.8 PRO
15s | F1.8 | ISO 3200
ABOUT PETER
Web: creativeislandphoto.com
Blog: creativeislandphoto.com/blog
Twitter: @creativeisland4
Peter has been a dedicated Olympus shooter for nearly 40 years, and has found a way to combine his passion for photography with his love of teaching to develop photography workshops with a focus on landscape, wildlife and astrophotography. Peter’s work has been published in a number of magazines including Canadian Geographic, Shutterbug and Outdoor Photographer. He maintains his own blog with an emphasis on tutorials that assist others in bringing their photography up to the next level.