Stuck at home? Needing a way to express yourself while exploring the beauty in our world?
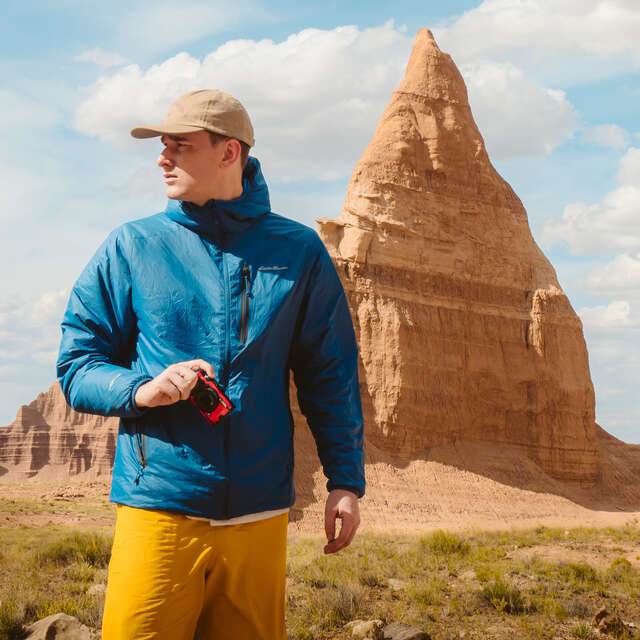
Imagine discovering a way to safely roam the planet without ever leaving your home. That’s what I did! For the past three weeks I have been creating and photographing miniature outdoor scenes, using nothing but supplies that already exist in my home. I decided to give it a go, and had a lot of fun with it.
Here are some helpful tips to get you started.
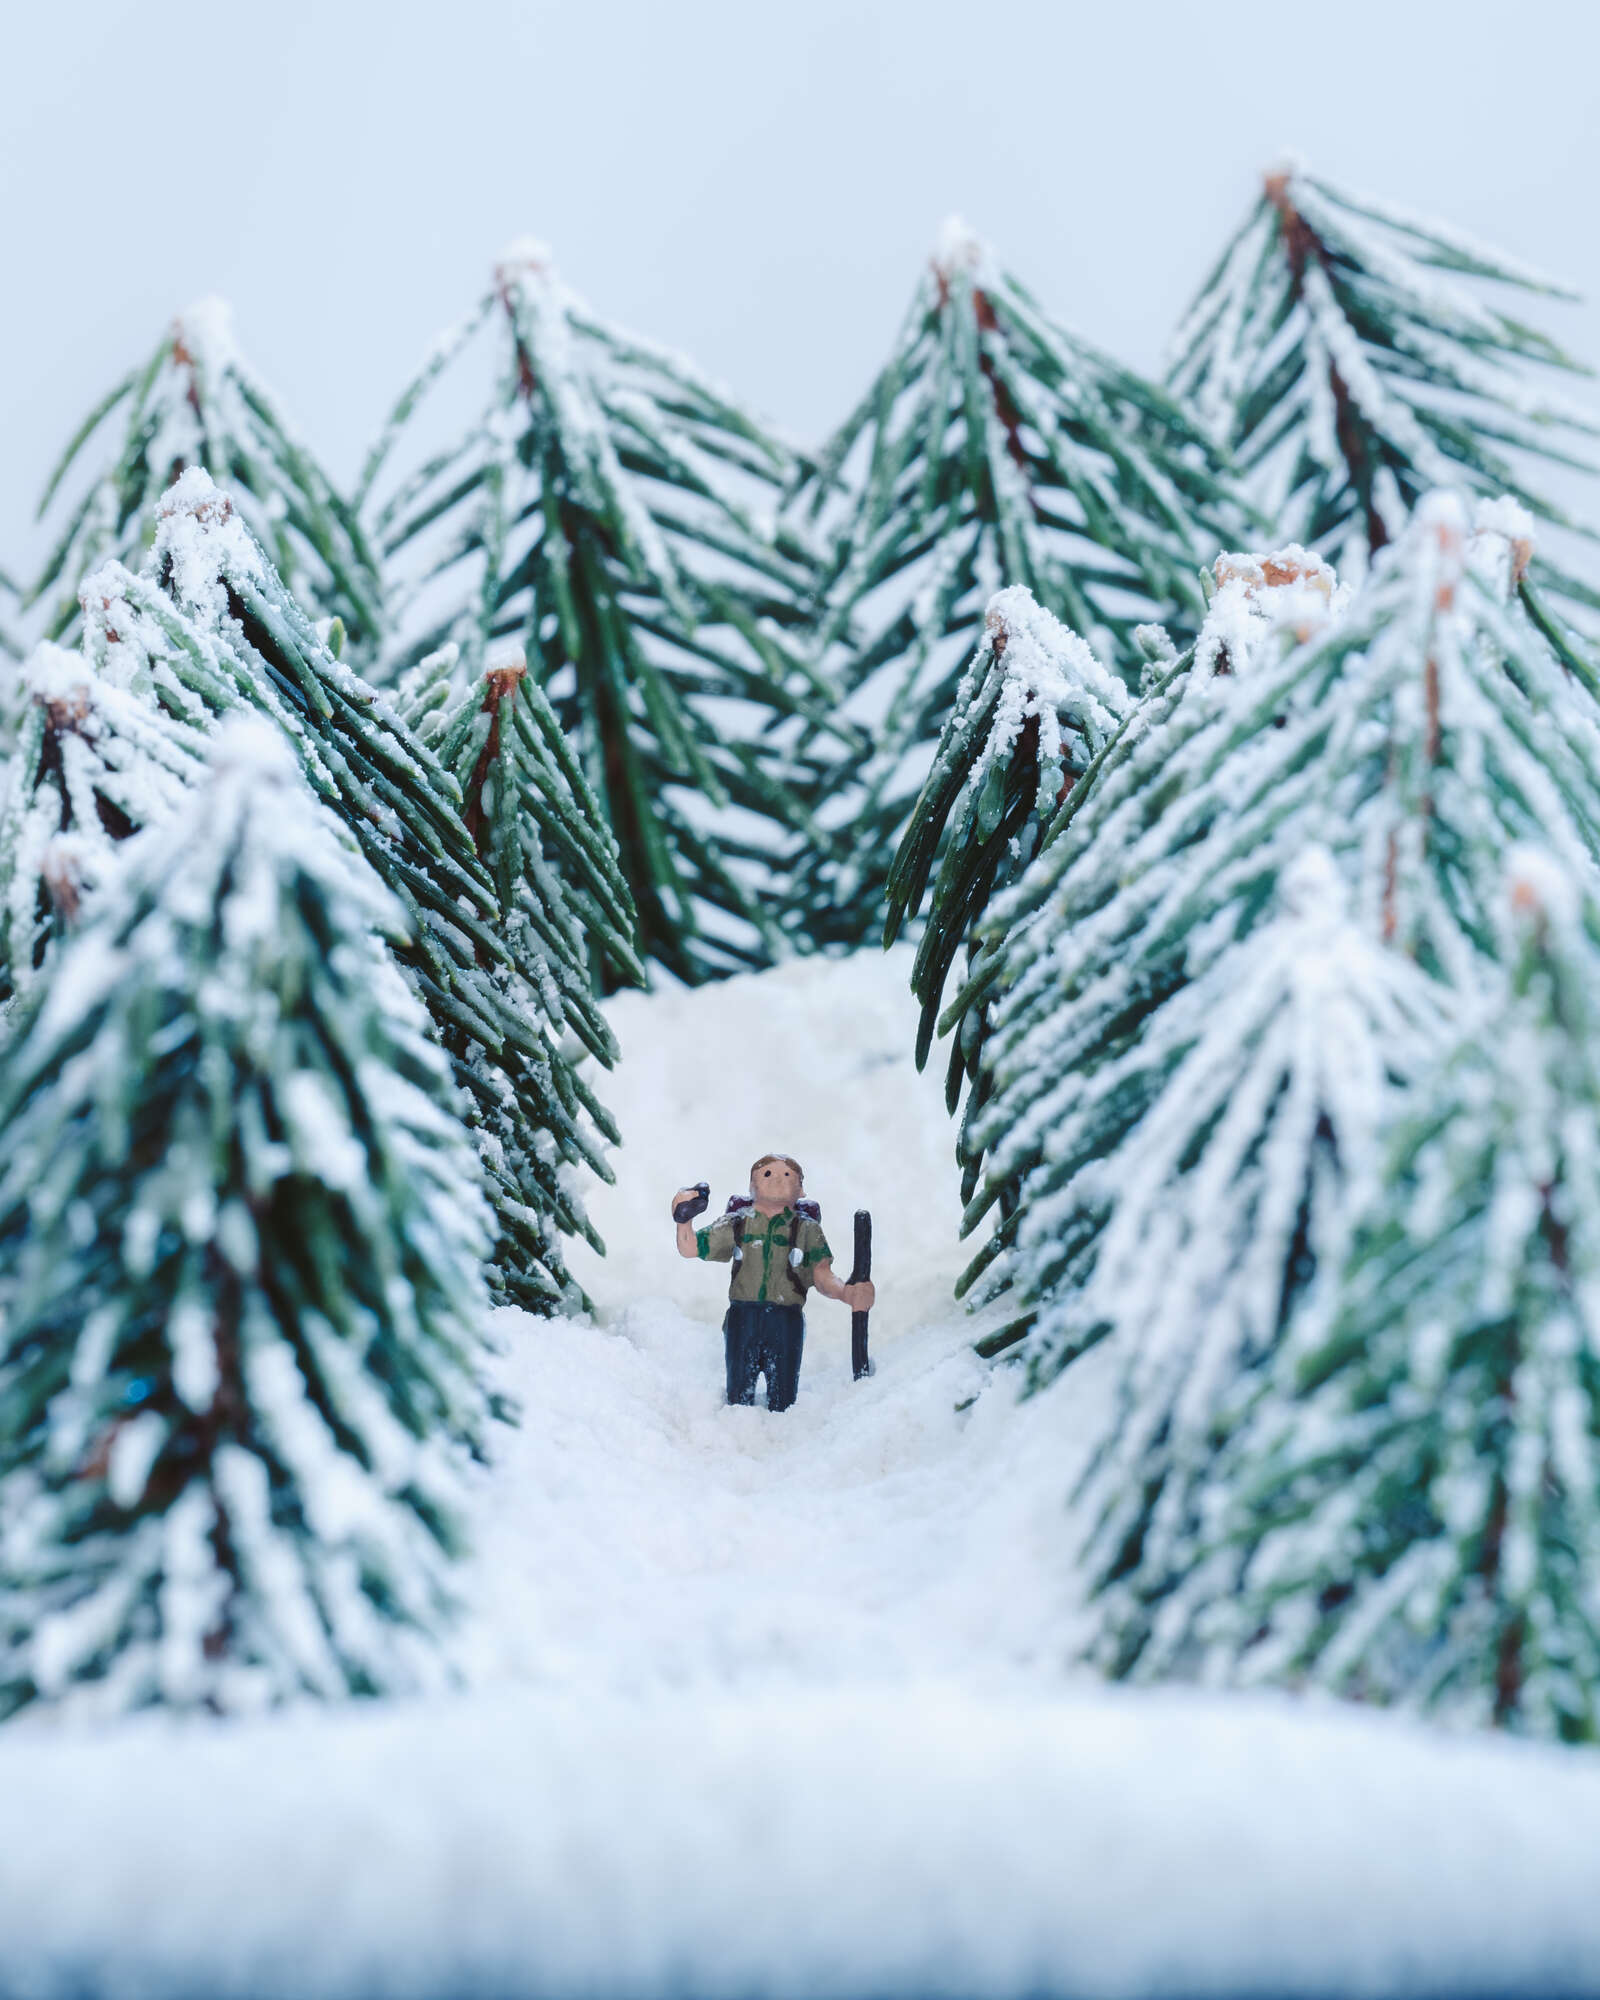
OM-D E-M1 Mark III | M.Zuiko Digital ED 40-150mm F2.8 PRO
150mm | 2.5s | F16 | ISO 200
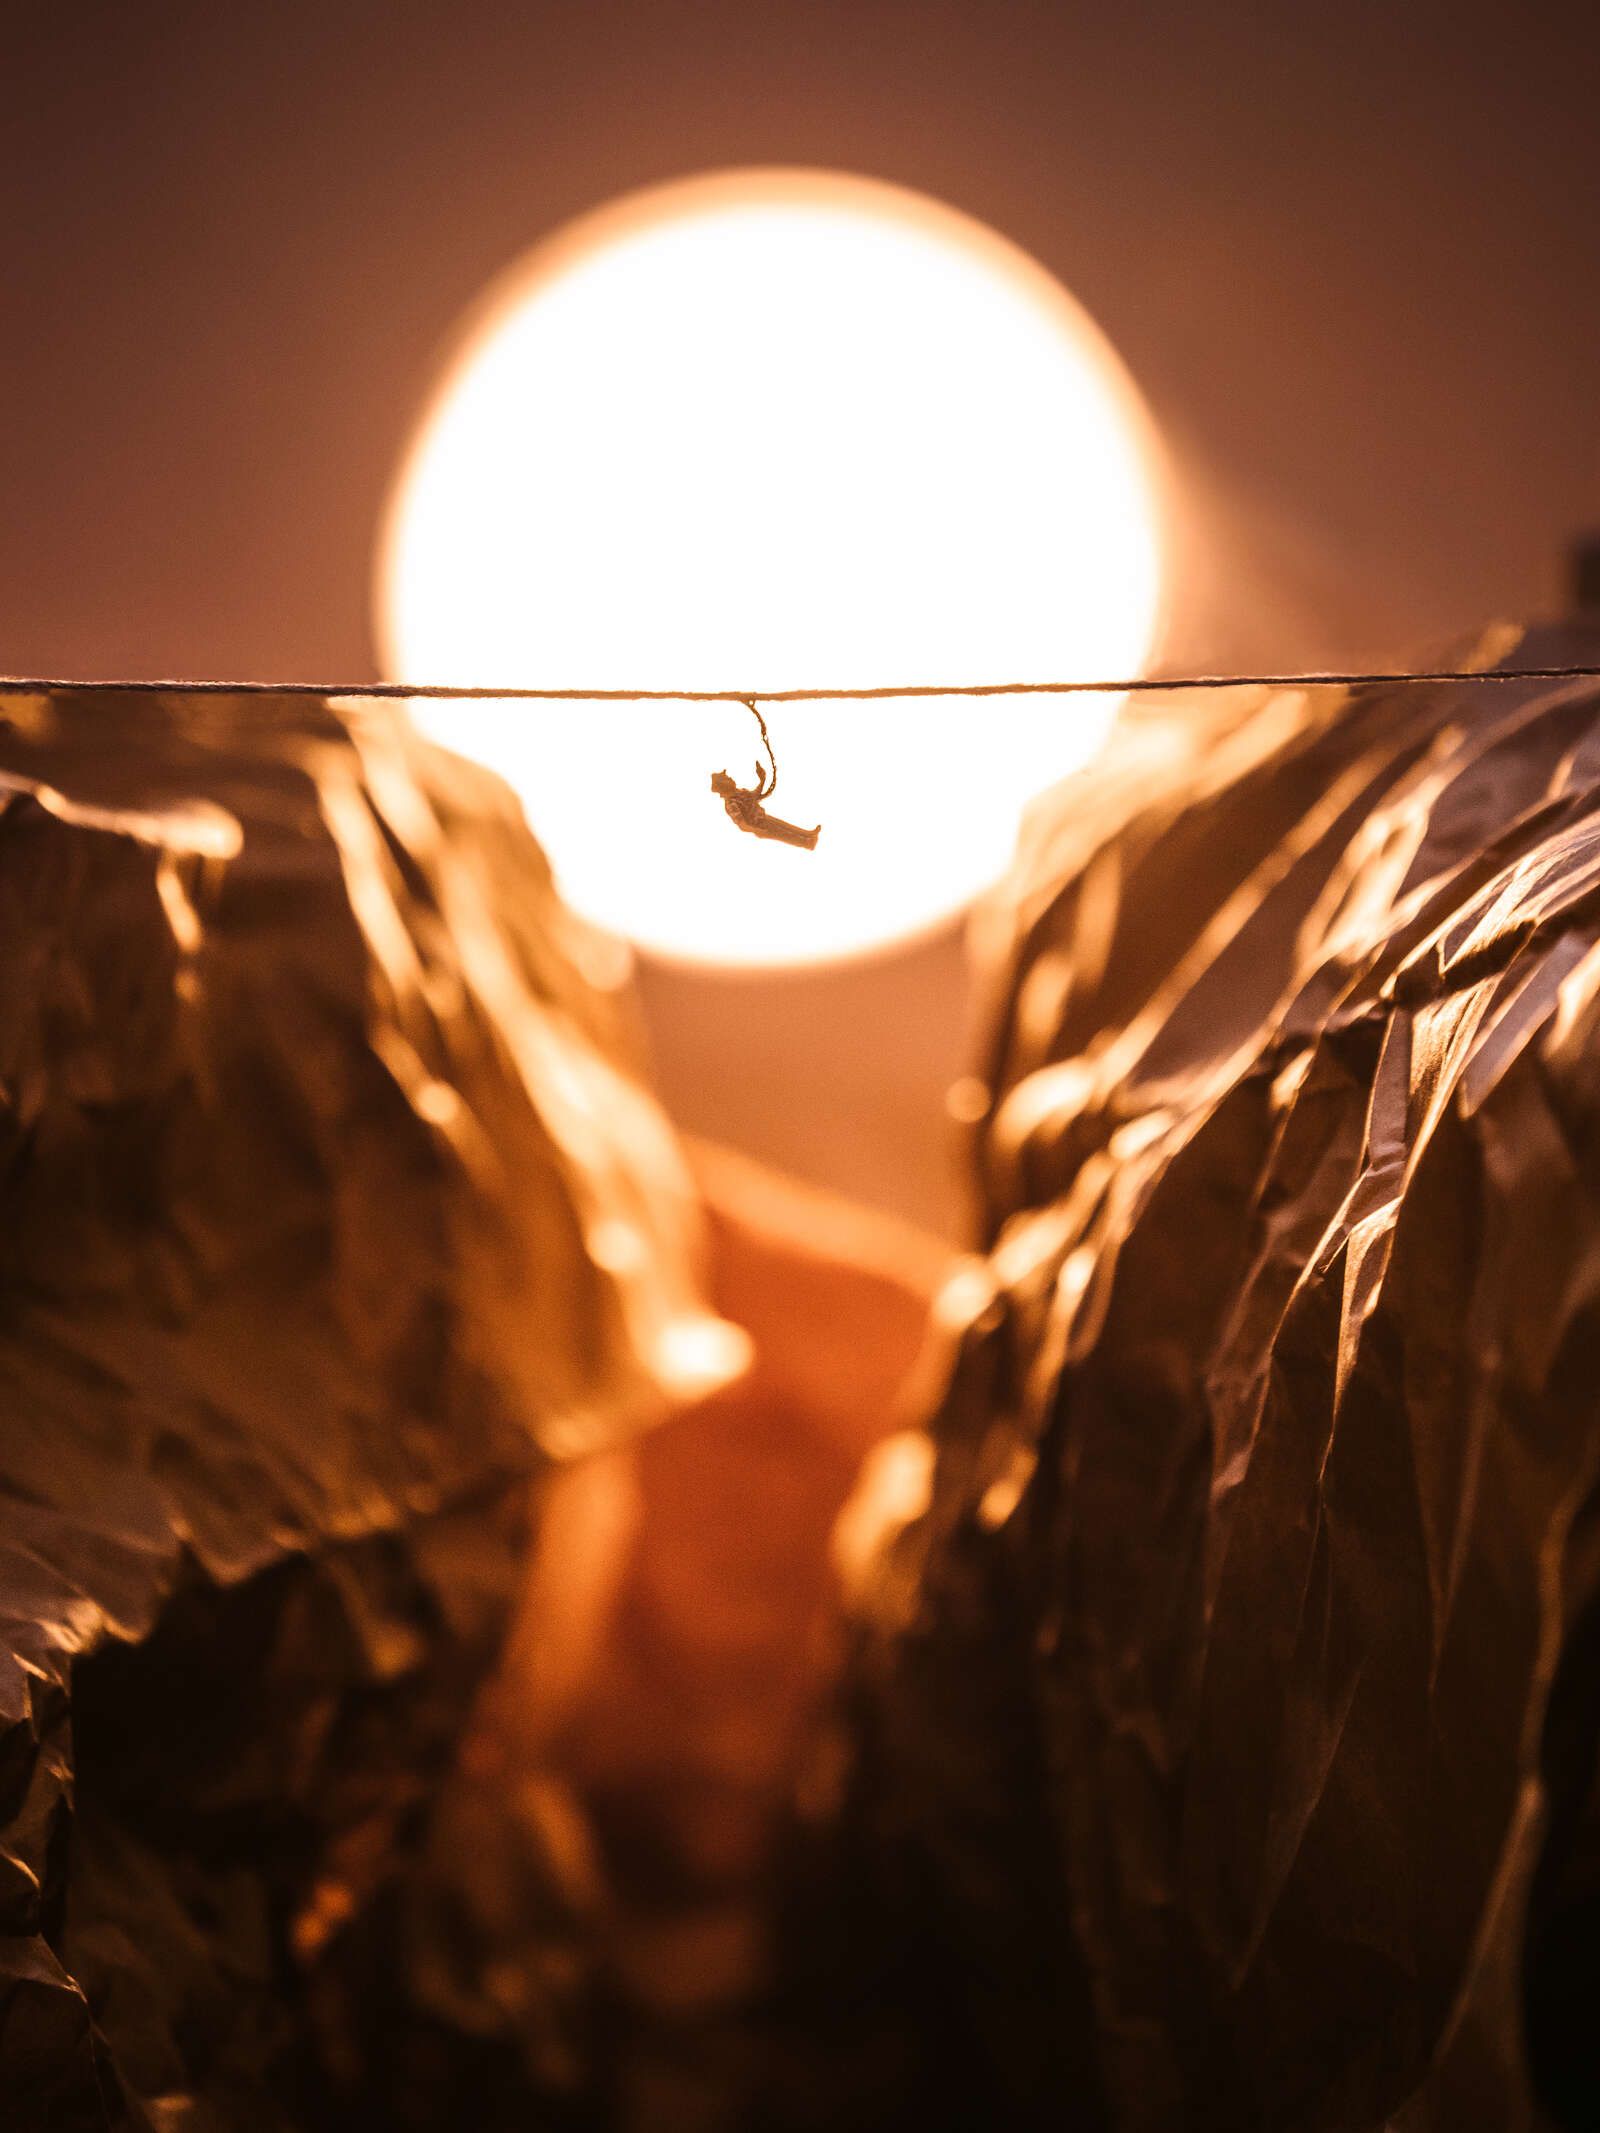
OM-D E-M1 Mark III | M.Zuiko Digital ED 40-150mm F2.8 PRO
150mm | 1/40s | F2.8 | ISO 200
Find Your Inspiration
Every great project begins with an inspiration. Find yours! Think of a place that you’ve either visited, or wish to visit someday; a place that you know you can easily replicate with inanimate objects.
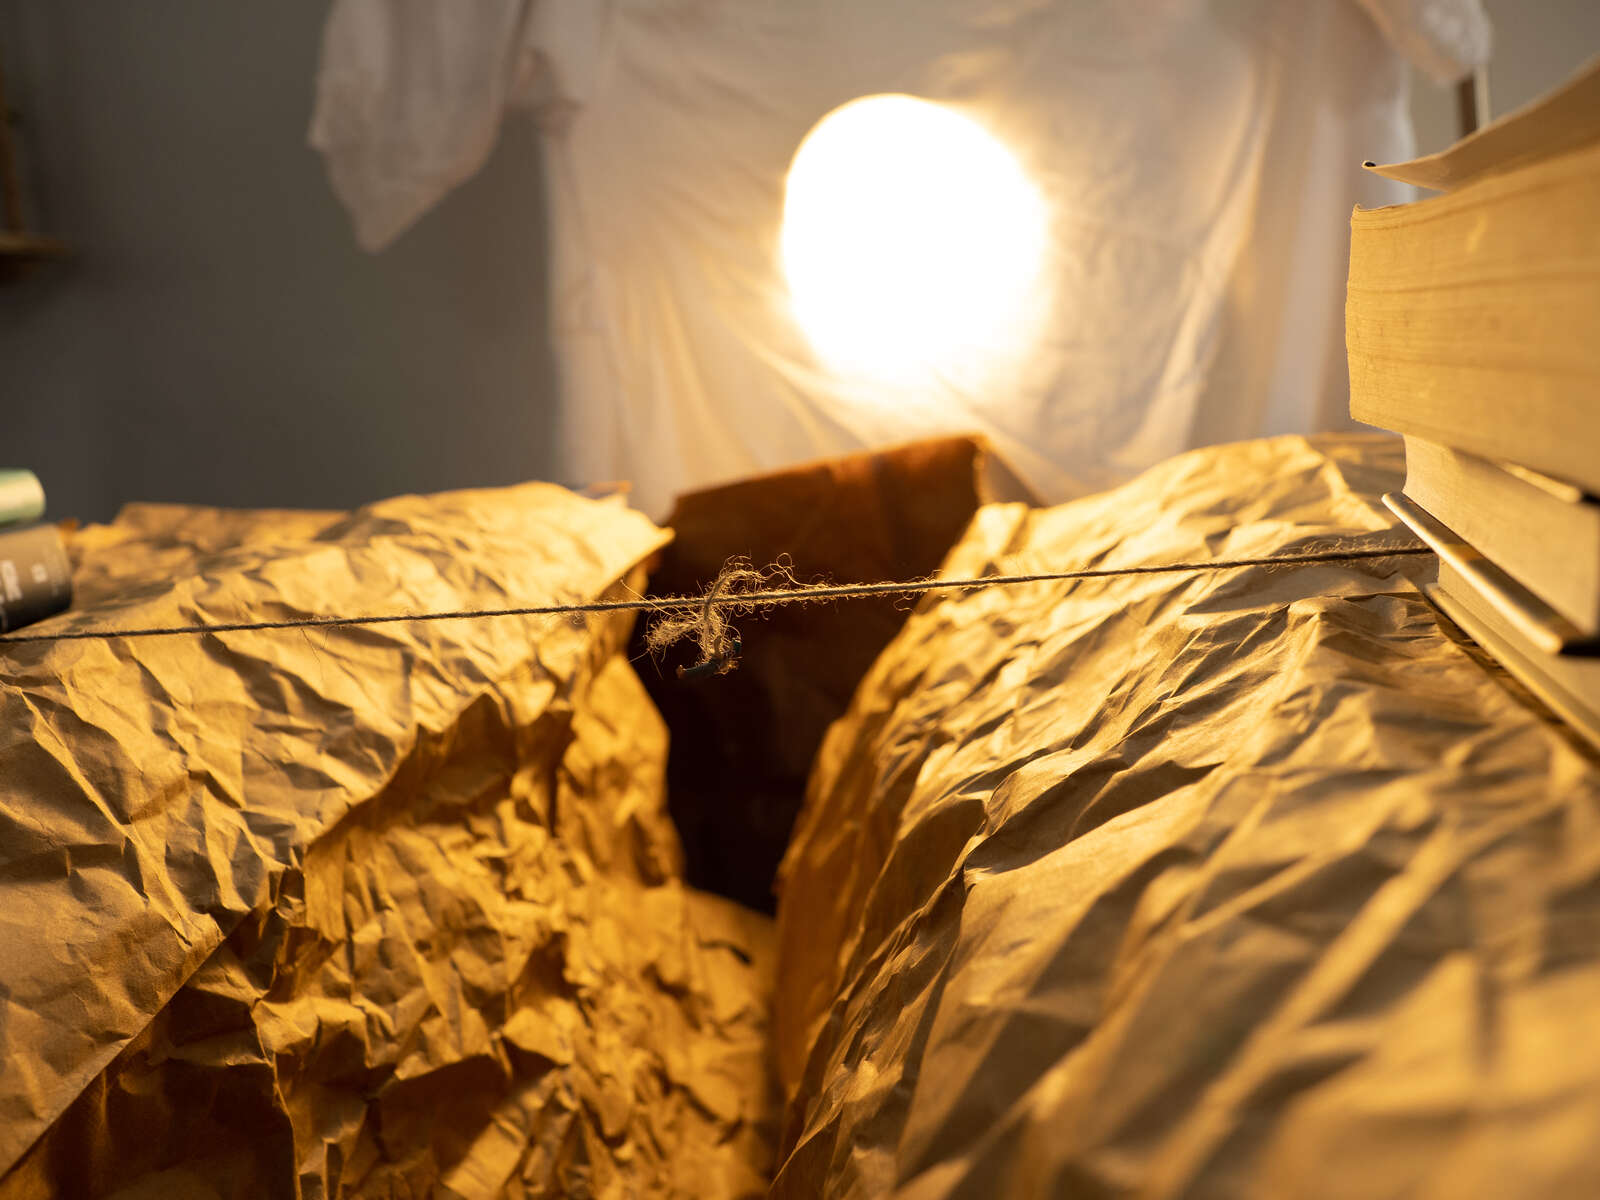
It’s important to remember to keep your project simple. It doesn't have to be elaborate to be an incredible piece of work. You can use a paper brown bag that resembles a canyon in the southwestern United States, or a large rock from your backyard to represent a mountain. I have used one of my wife’s blue blouses to represent a sky and a white robe as a snowy backdrop.
It’s also important that you try to keep an accurate scale, so I recommend finding the object that you will use as your subject or “person” first. From there, it should be easy to scale everything around it. I was able to order model train figurines online. It took two weeks to receive them, but it was worth the wait for me. I have seen others use something as simple as chess or Monopoly game pieces. Remember, keep it simple.
Set the Scene
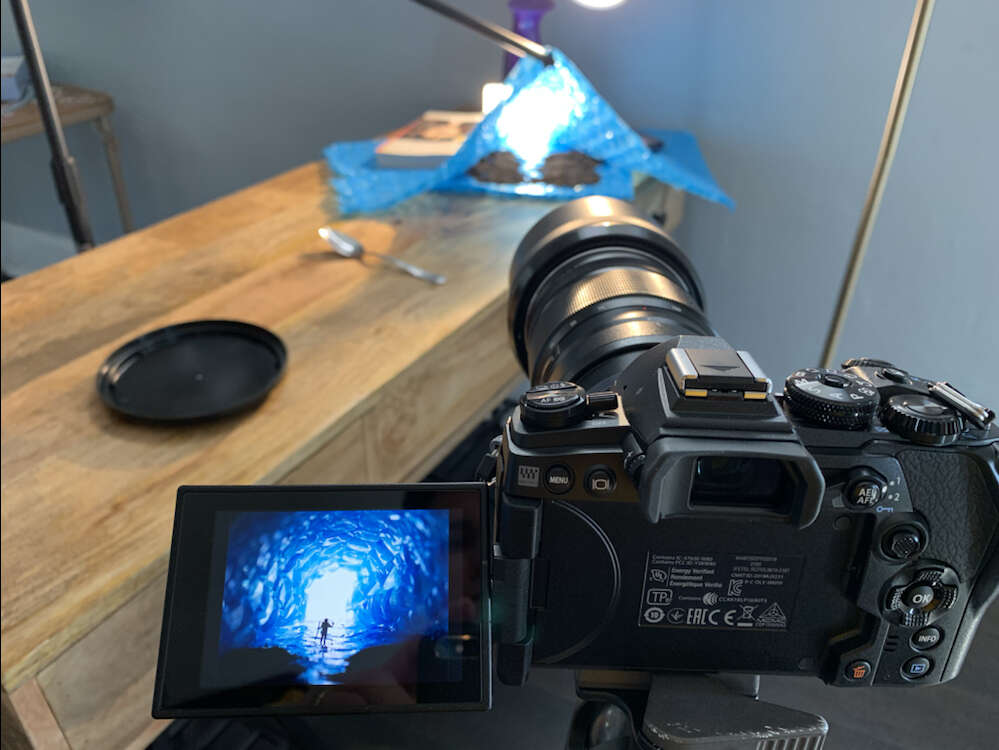
So far, I have used a tabletop in my living room to set every scene that I have shot. I normally plan to photograph midday so that I have plenty of light entering my house. Even though I had plenty of light, I used an external light source on two of my scenes to give the illusion that there was a sun in the background. Adding extra light in the background can also give a silhouette effect to your miniature figures, causing a more realistic effect.
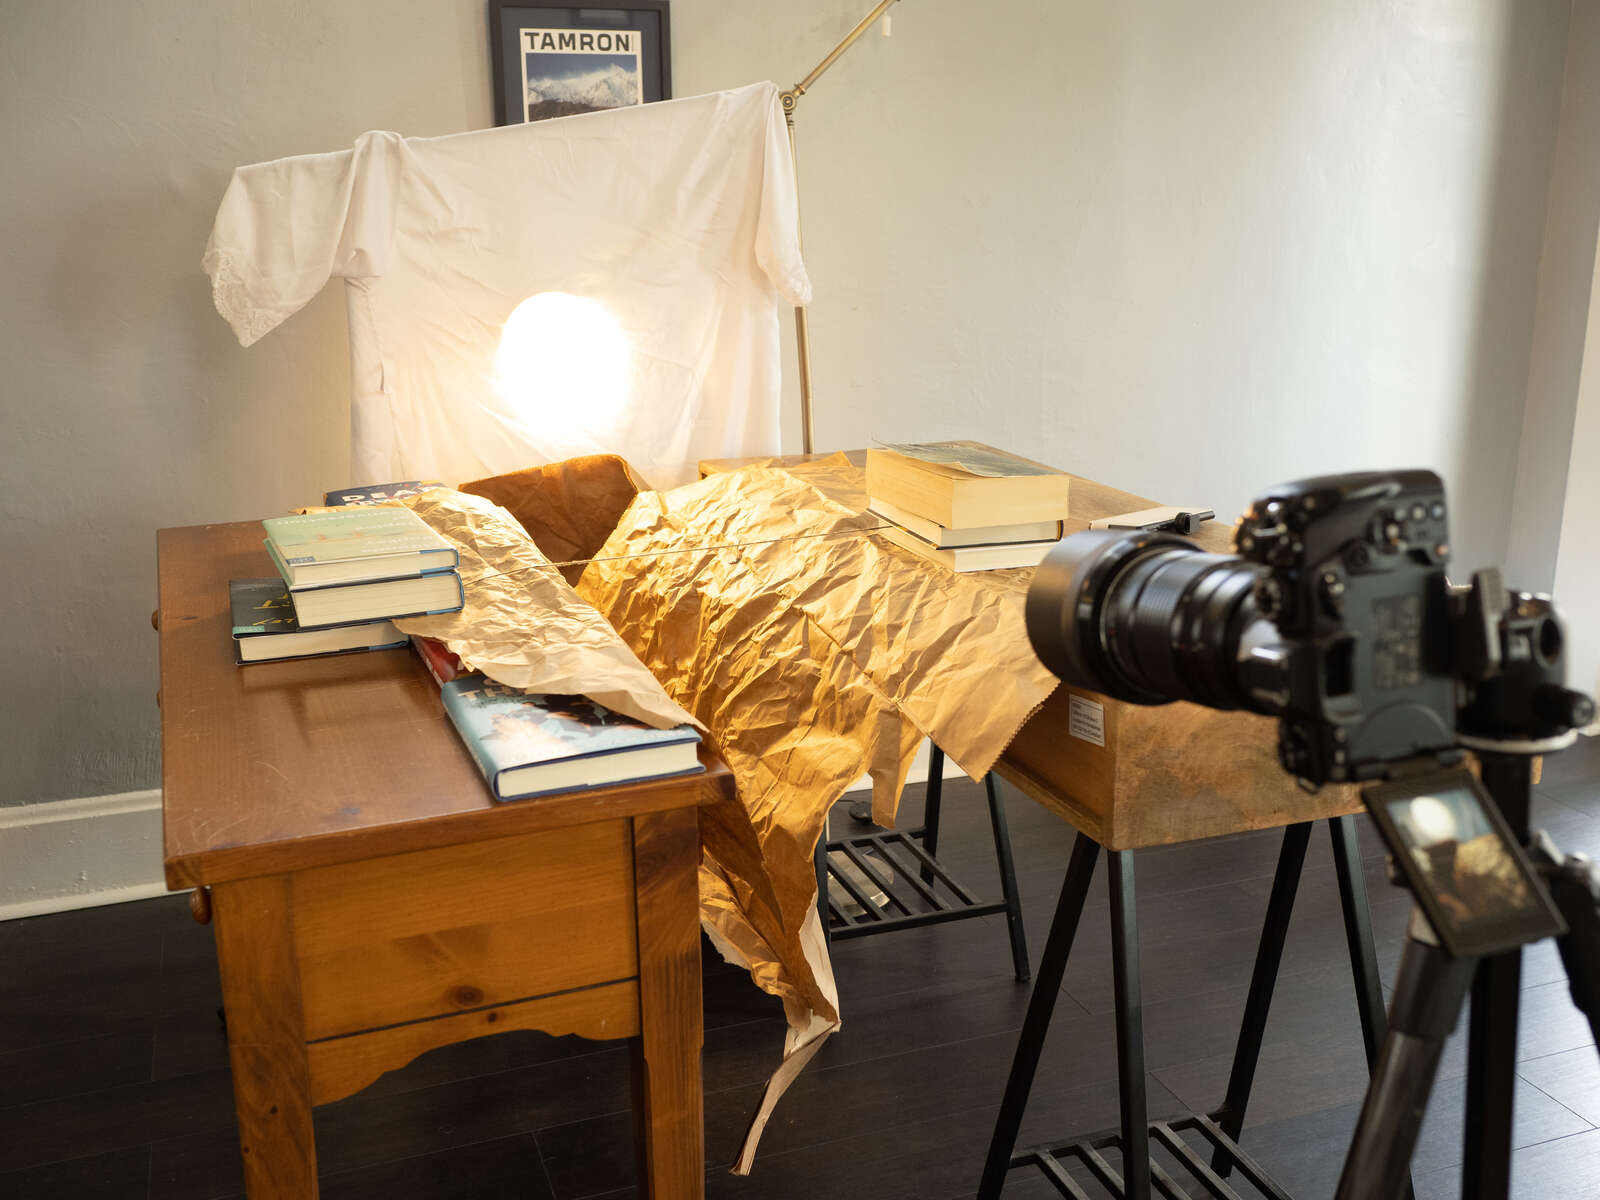
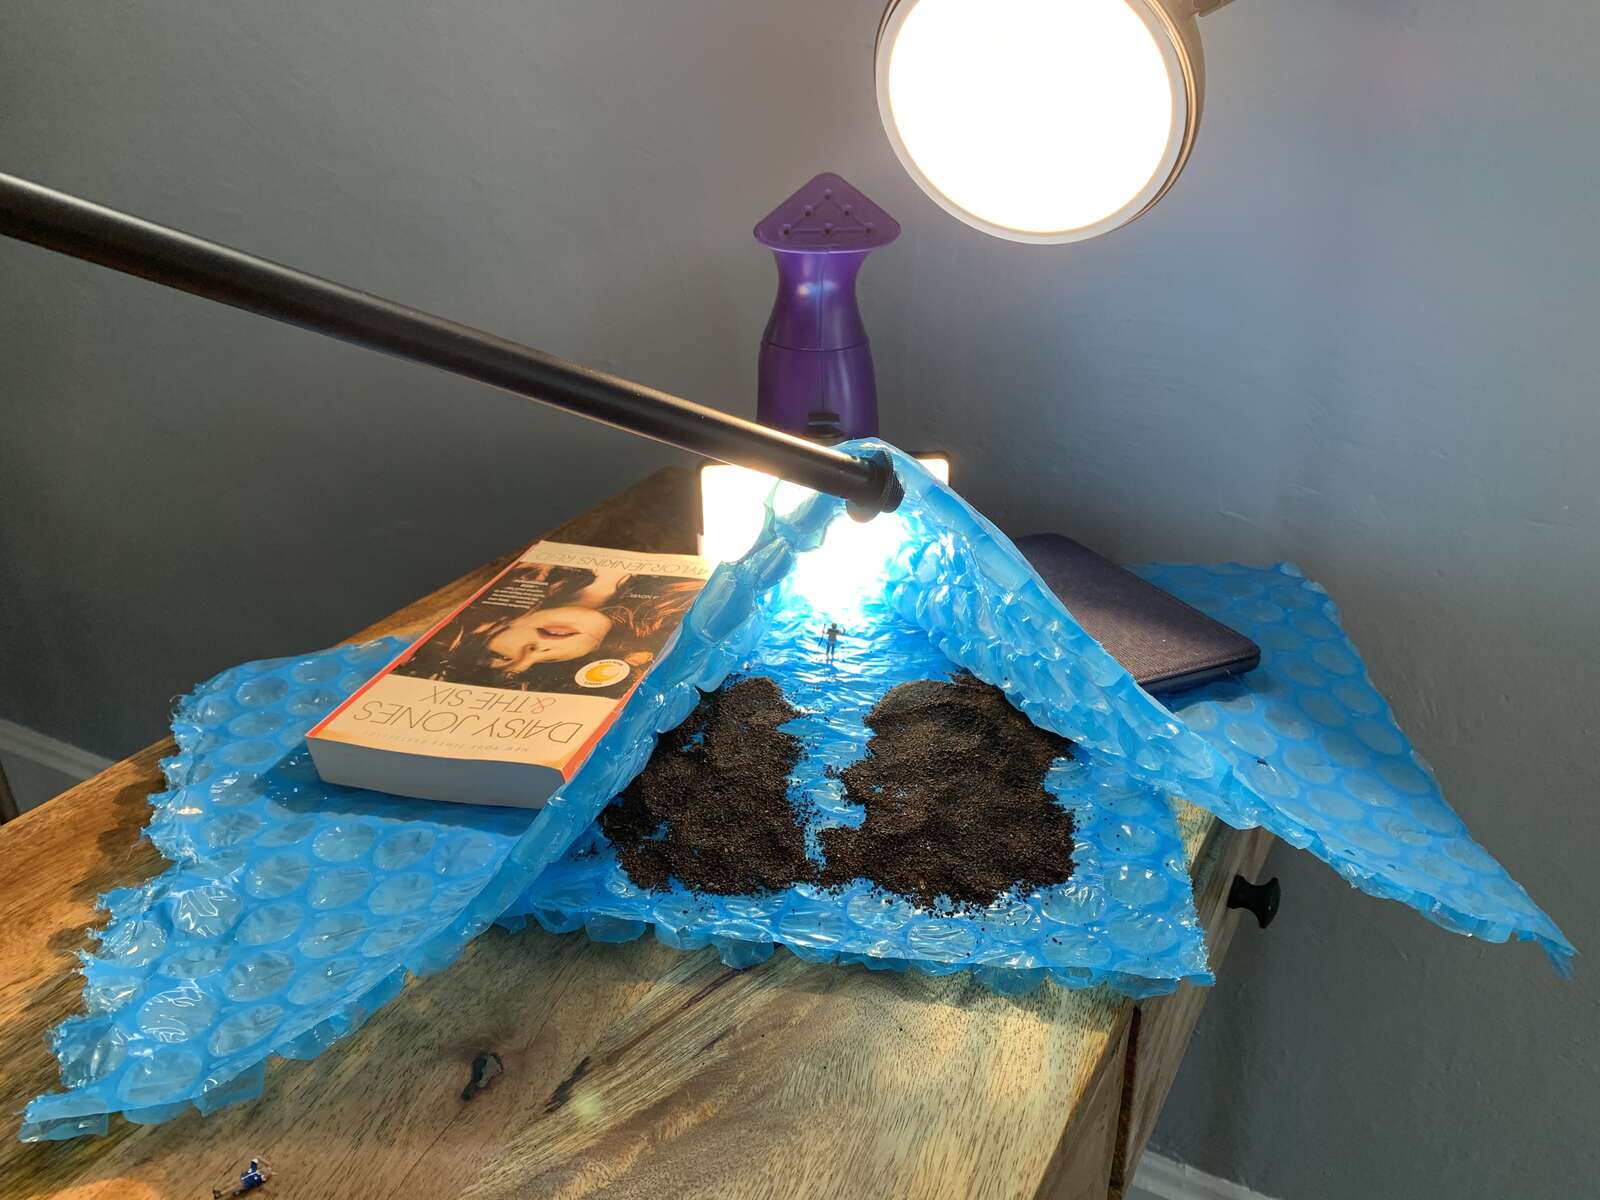
Try to use a monotone fabric backdrop for each scene. Detail isn’t needed in the background as your lens should be focused on the subject, giving the background a bokeh effect. This will help spread the light, as well as, provide a background such as a blue sky or unfocused snowfall. At times, I place something in the foreground to add an additional layer for depth. For instance, I used coffee grounds in one photo and cooking flour in another. Small details like this can really make your scene come to life.
Photograph Your Miniature Landscape
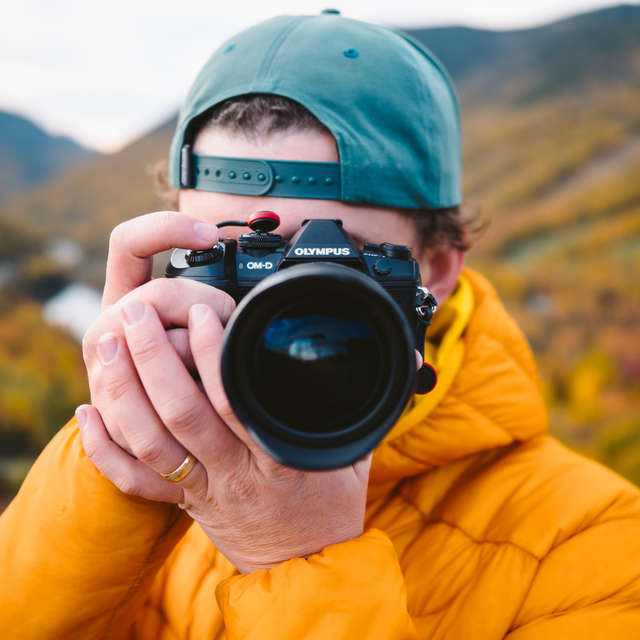
Initially, photographing macro was weird for me as my main line of work is shooting landscapes; essentially the biggest thing you can photograph. Macro is basically the complete opposite of what I normally do. I stepped out of my comfort zone, and in doing so, learned an entirely new way to photograph.
While I was using my landscape and travel gear, you don't need to use Pro level gear for these types of miniature scenes. Some good gear for these shoots could be an E-M10 Mark III or E-PL10, or M.Zuiko 60mm or 30mm Macro lenses.
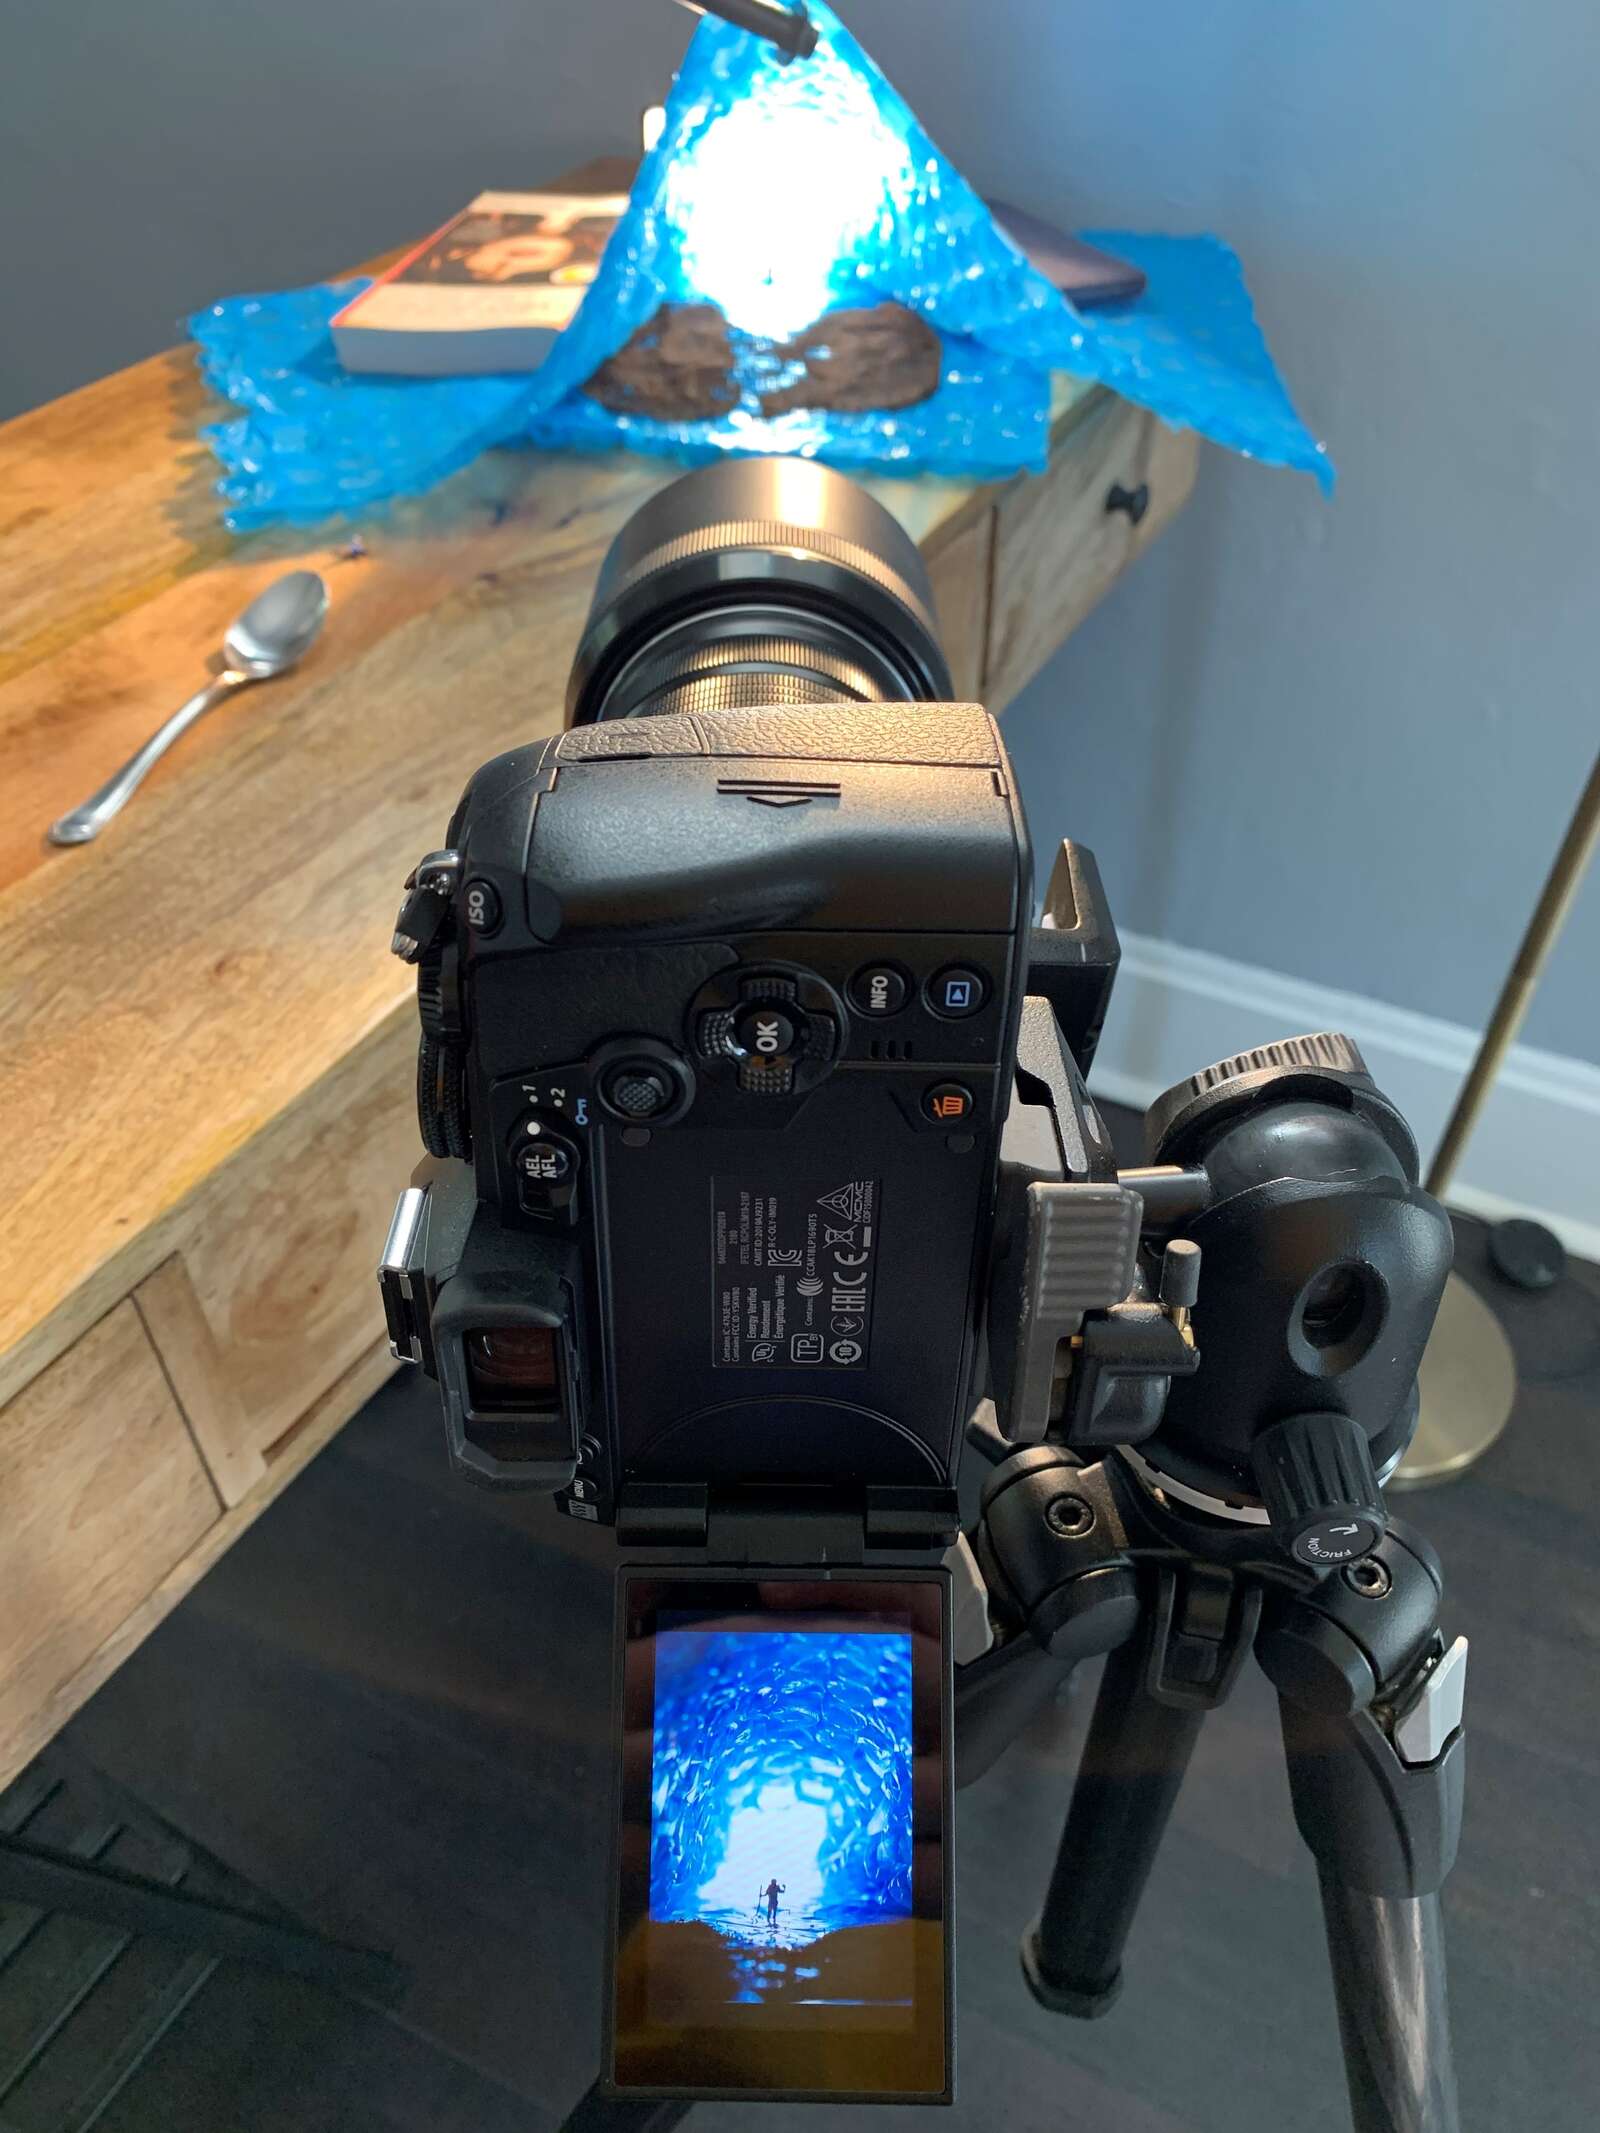
Once your scene is set, play around with different angles to find the exact perspective you want. Shooting above the scene makes the viewer more of a spectator, while putting the camera at scene level, allows the viewer feel like they are a part of the scene.
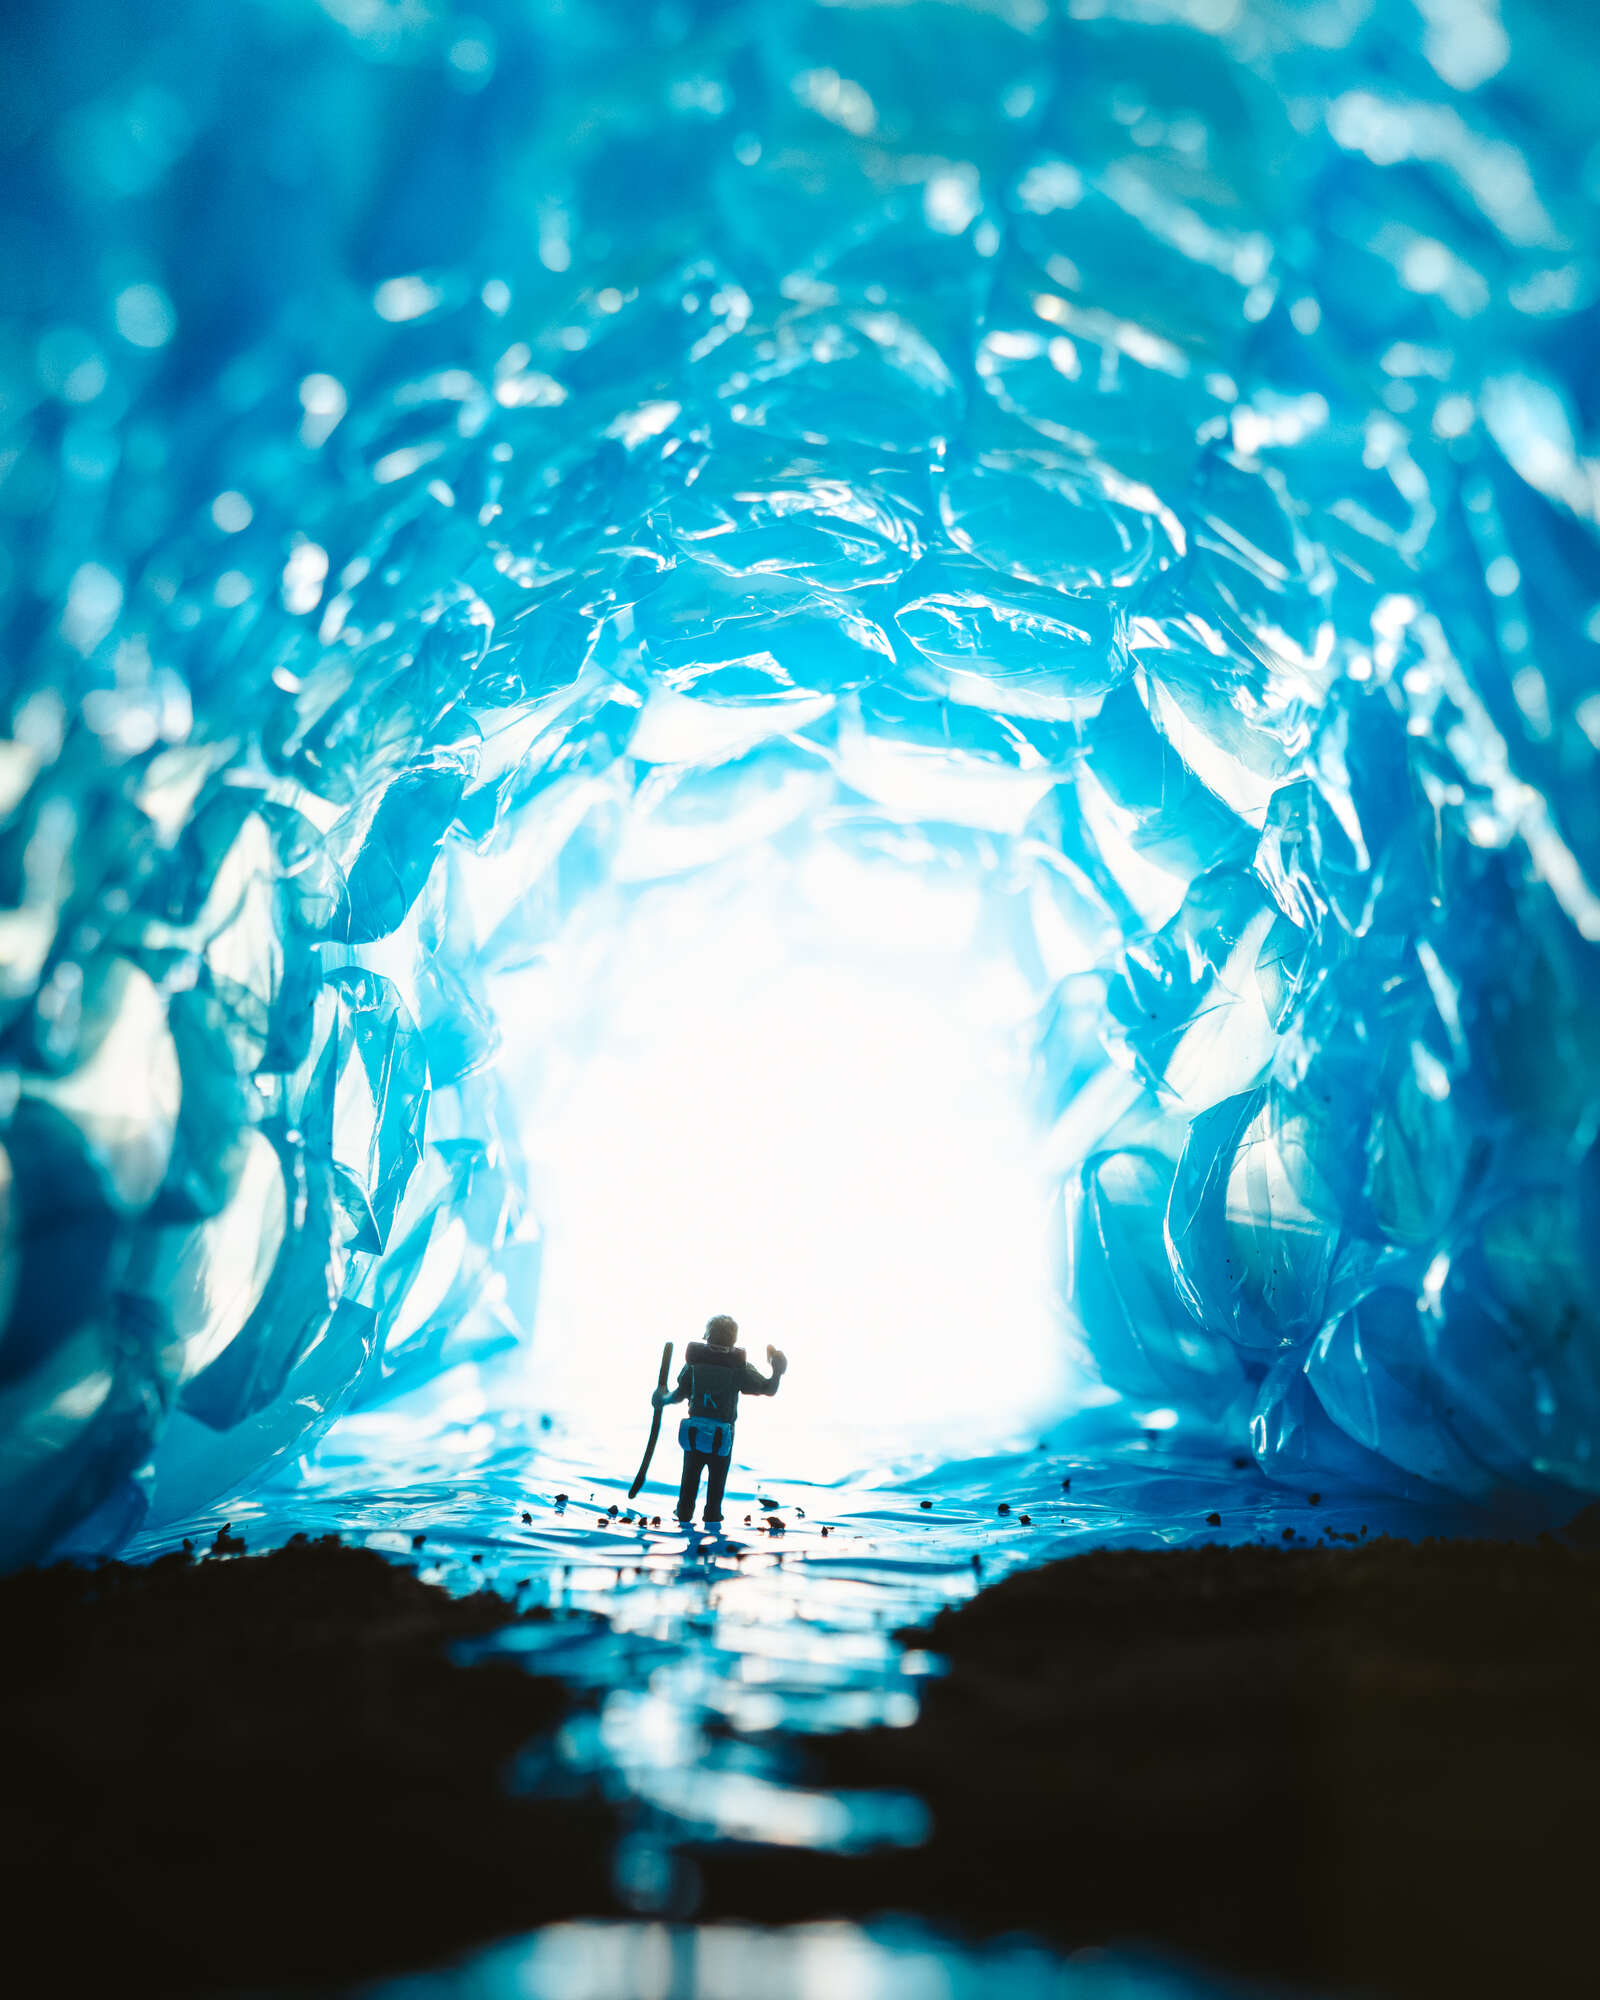
That's what I did for this scene, which replicates a well known view of an ice cave, like what you could explore in Iceland. The ice walls are replicated with blue bubble wrap, and I brought in some coffee grounds to round out the scene.
You will also want to experiment with different focal lengths to know the amount of depth and compression you’d like in the photo. I used an M.Zuiko 40-150mm F2.8 PRO. This lens allowed me a wide variety of focal lengths to work with until I found the sweet spot. I personally like a lot of compression in my photos. In this case, I think it adds a necessary depth when shooting miniature landscapes.
Lighting will be extremely important here because you’ll want to make sure you can capture every detail possible.
If you're getting started with macro, try using a tripod to avoid blur for these detailed, macro shots. Additionally, you can use the OI.Share app to control your camera if you want to be near your subject, making small adjustments between shots.
I recommend playing around with your aperture to see how much bokeh you’d like in your photo; I personally like a lot in my miniature photos. I think it adds more depth to your scene, but feel free to raise your aperture in order to have every detail in focus.
OM-D E-M1 Mark III | M.Zuiko Digital ED 40-150mm F2.8 PRO
95mm | 1/1000s | F2.8 | ISO 200
Learn Something New
You don’t have to leave your home to “experience” nature; you can bring nature to you. I highly recommend giving this a try. I was in a creative rut before I began this series. Sometimes we have to try new things in order to better ourselves and our craft. Being stuck at home gives us the perfect opportunity to try out new things.
While I encourage you to try photographing miniature landscapes, you may want to try shooting something new, in general. It can be a thrilling and eye-opening experience for photographers of any level!
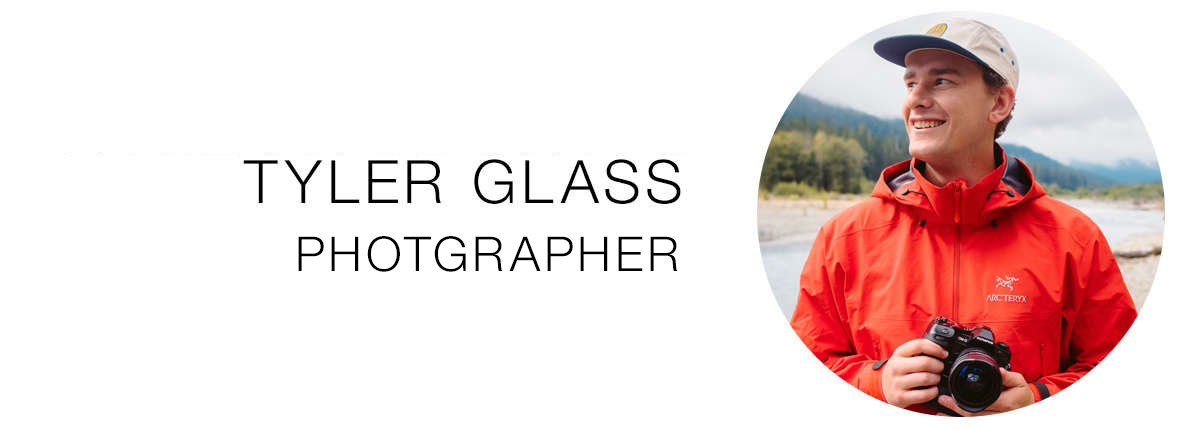
Instagram: @tylerwayneglass
Tyler is a photographer and writer, born and raised in Louisville, Kentucky. His ultimate goal in being a creative is to inspire others through his images, and to care more for the beautiful planet that we inhabit.