I can't resist a great sunrise or sunset. I'm a real sucker for those amazing colors at the bookends of the day. But the reality is that sunset shots are a dime a dozen. So how do you get yours to stand out from the rest of the crowd? Here are some tips that work for me.
IT'S NOT ABOUT THE SUNSET
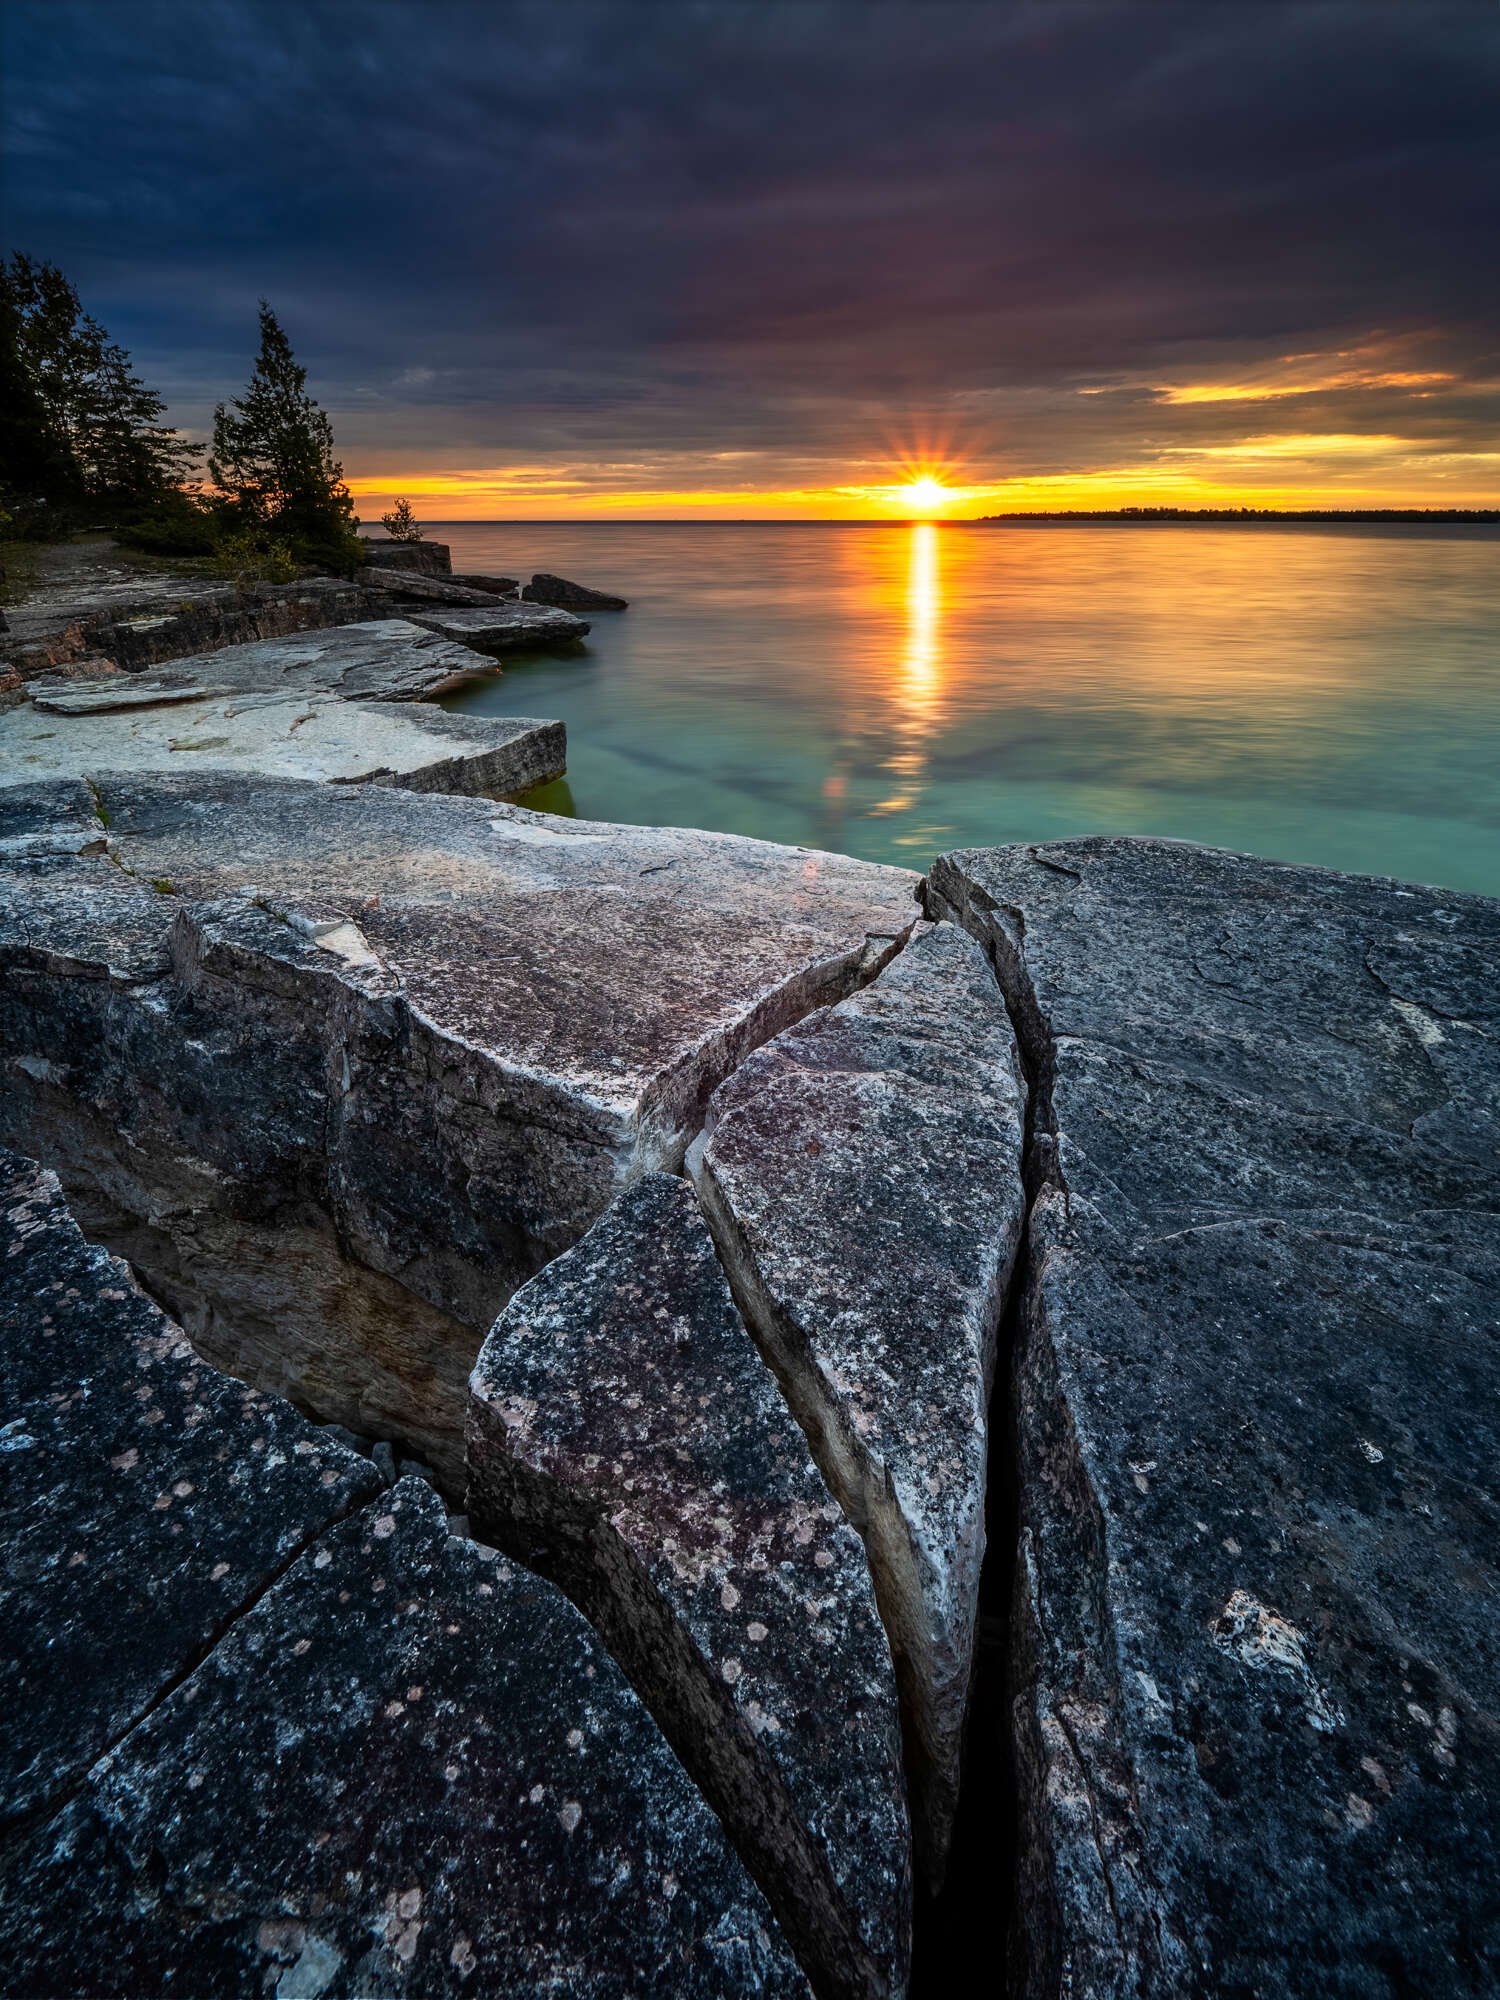
Gorgeous sunset colors are certainly appealing, but they are definitely not enough to maintain your viewer's interest. Think of the sunset as the backdrop to your photograph. What you place in front of those colors is the important thing.
Being in a great spot doesn't mean you will get a great photo. Put twenty photographers on a sunset beach and you will get at least twenty different variations of the day's end - some good, others not. A good photograph takes time, an understanding of composition, and a creative spark.
E-M1X | 7-14mm F2.8 PRO
ISO200 | 1/5s | F/8
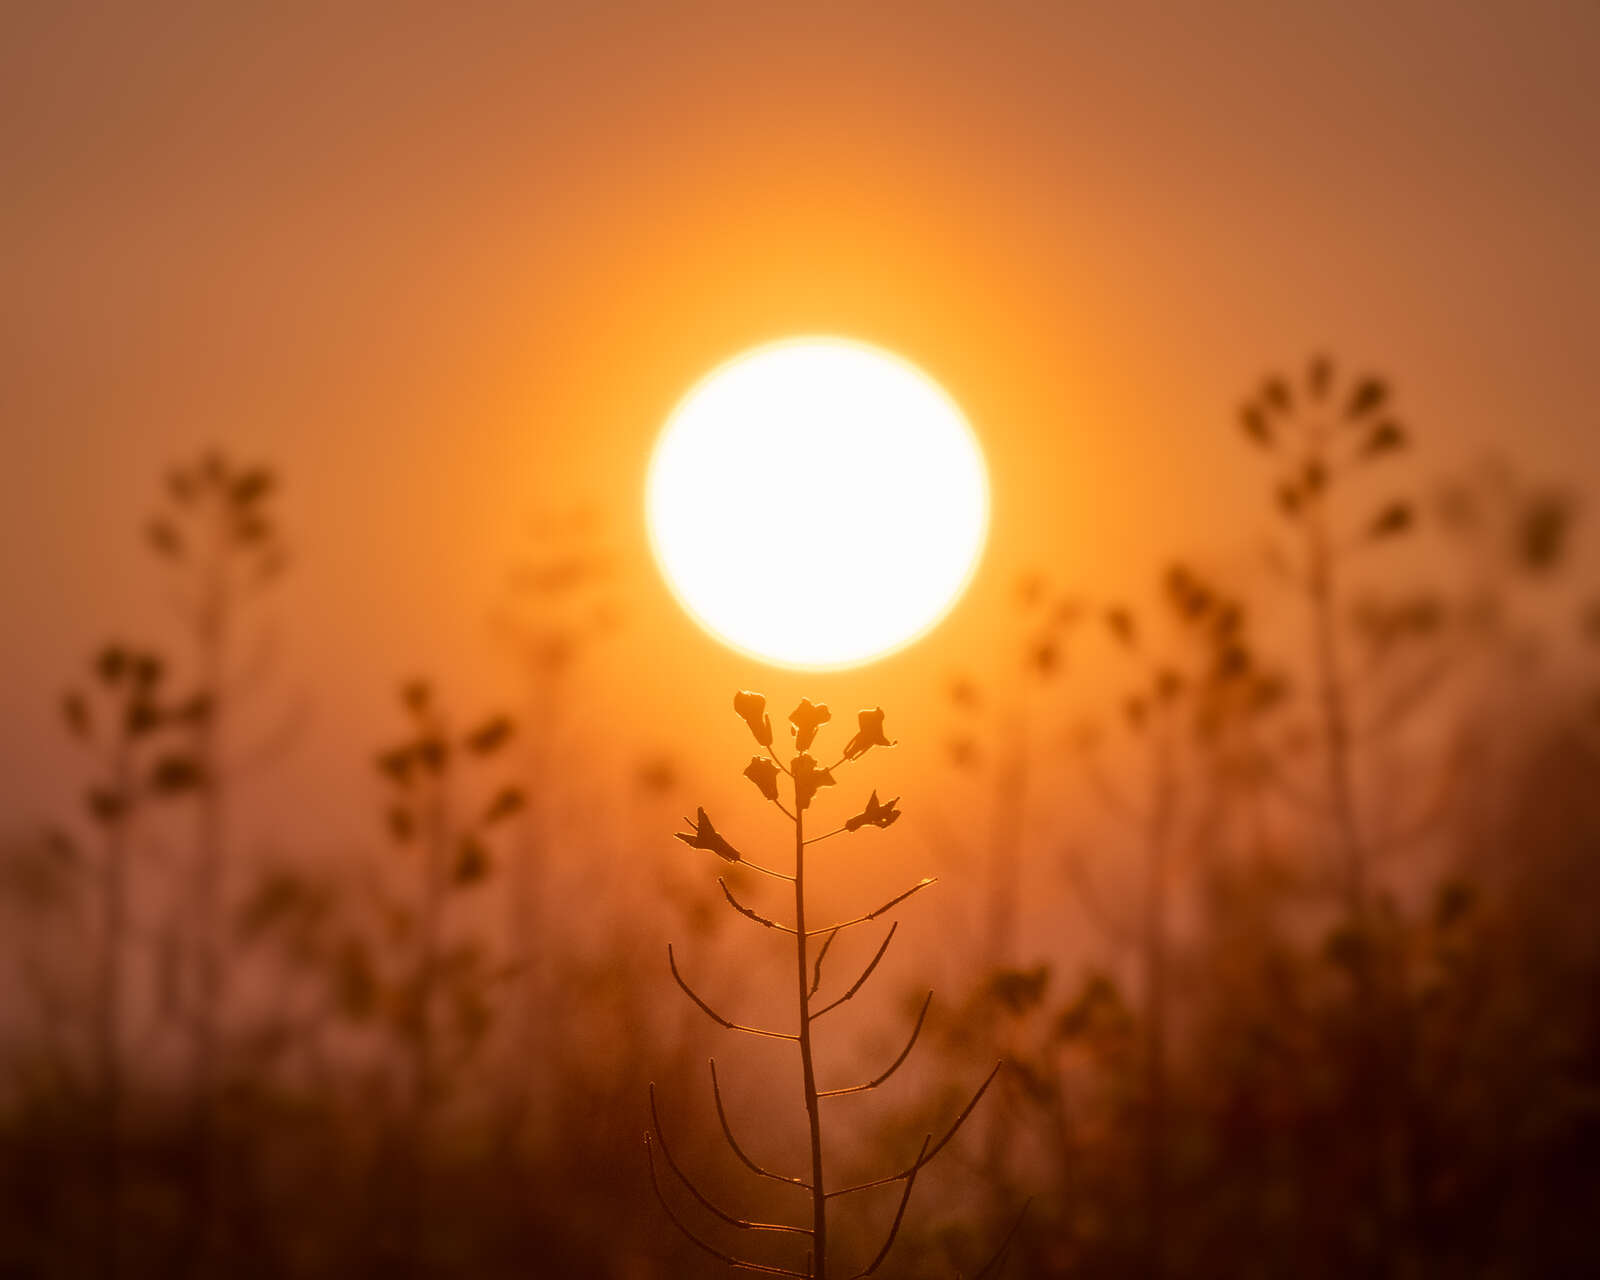
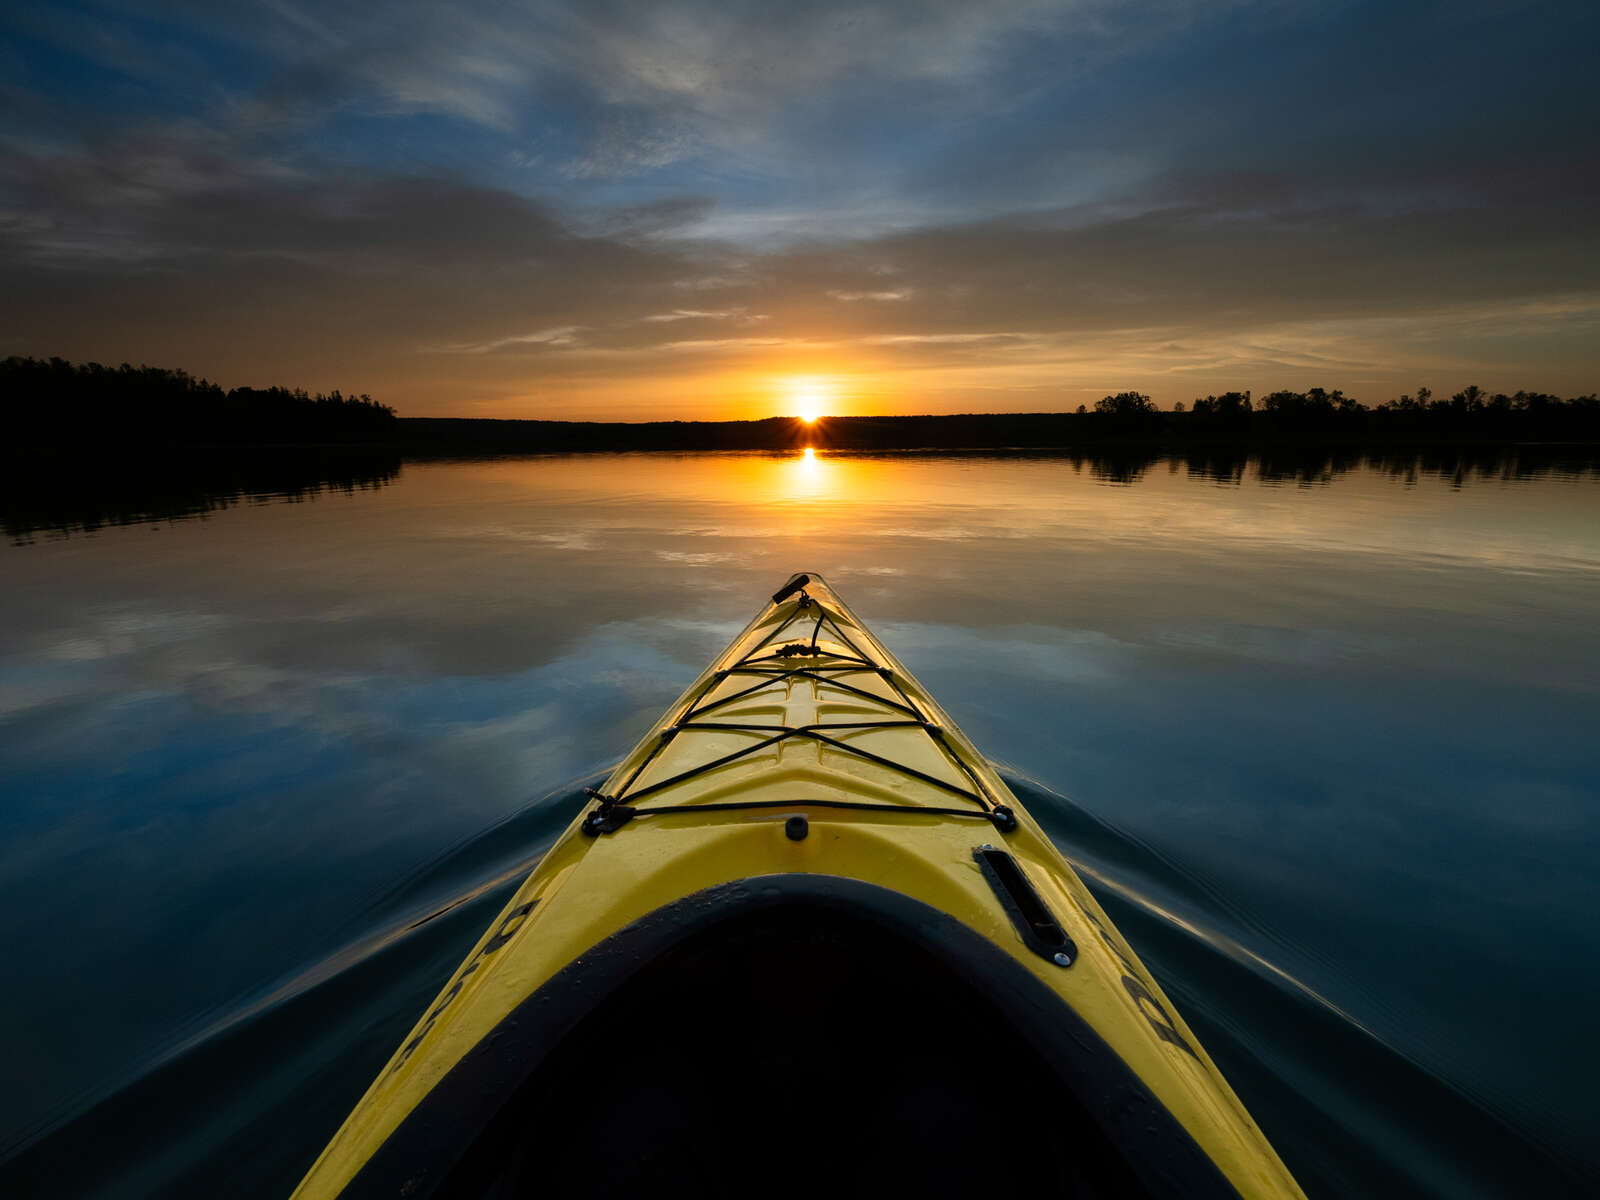
WHAT’S THE POINT (OF INTEREST)?
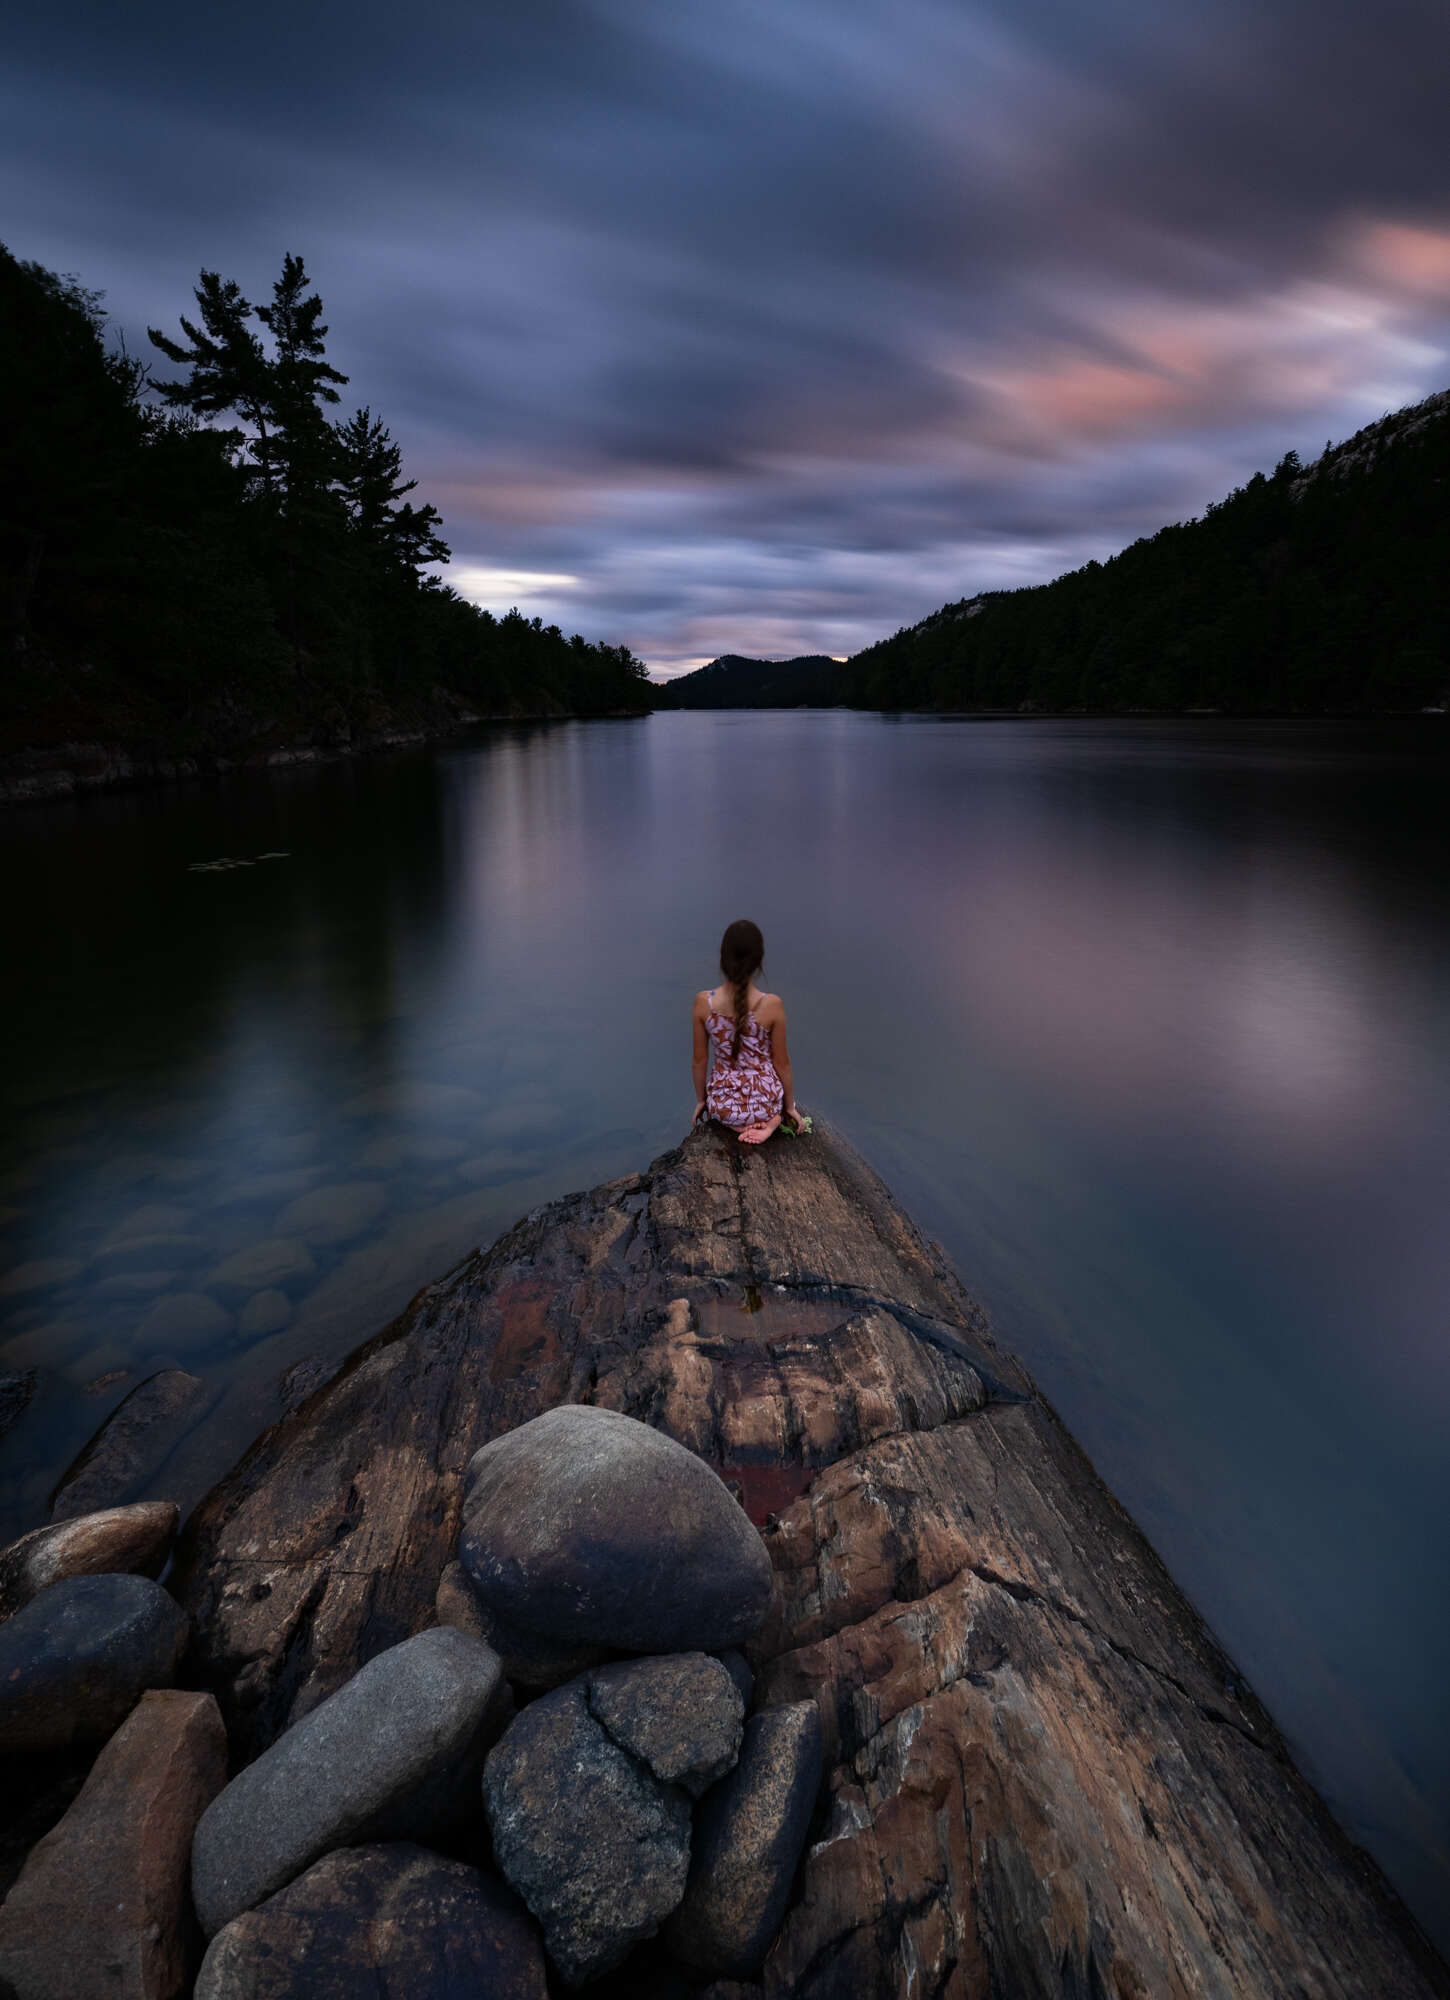
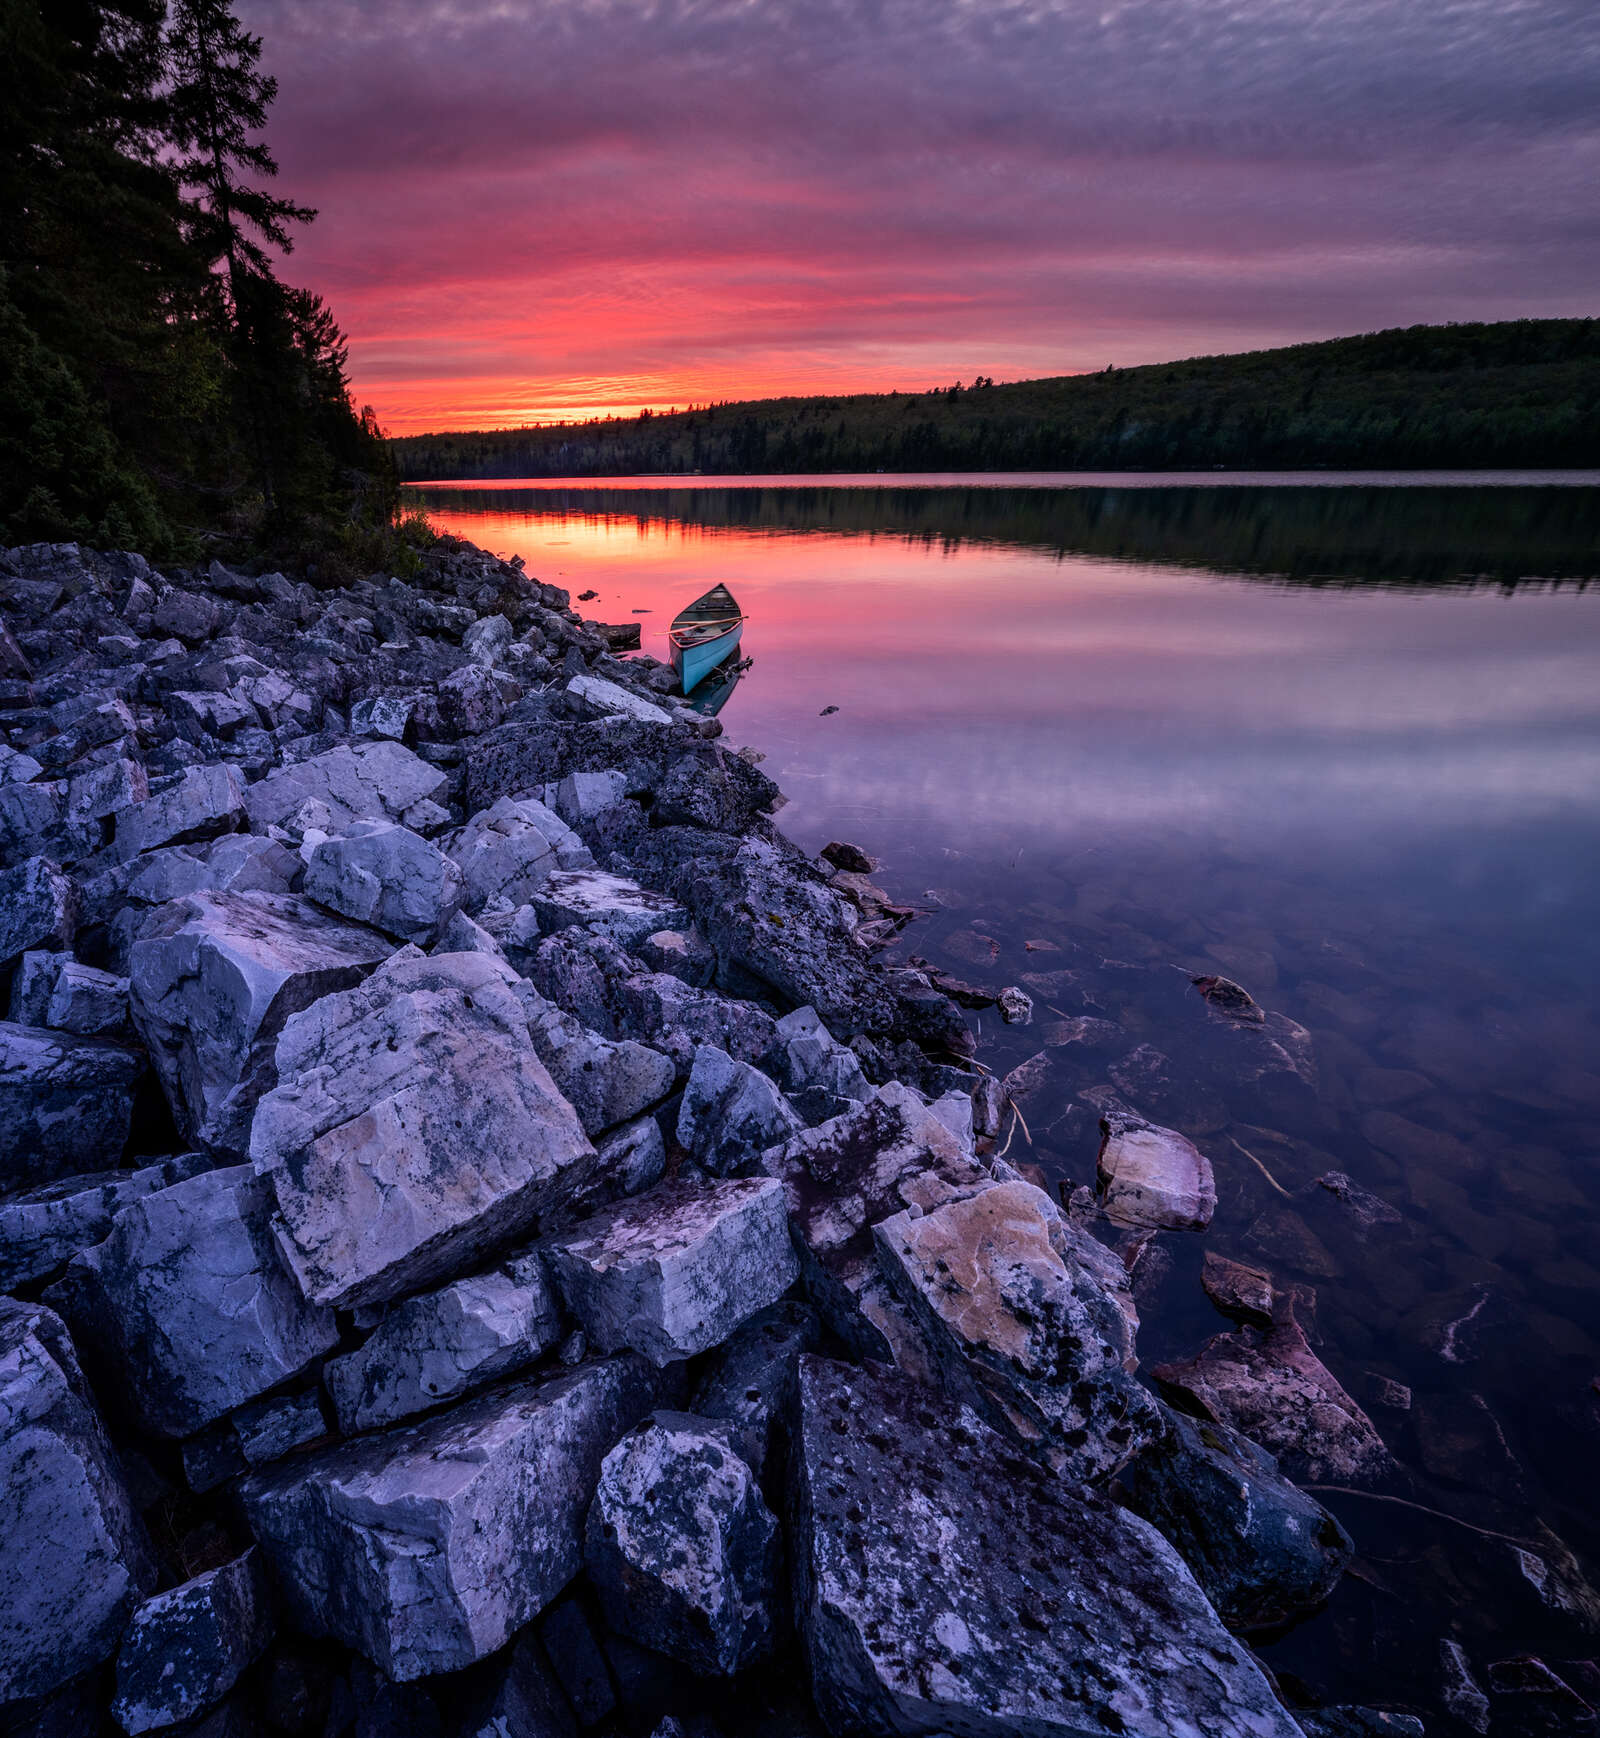
Having a great point of interest is what will set your sunset shot apart from everyone else's. The concept is pretty simple - include something in your photograph that attracts the viewer's attention and keeps it there for a while. For most photos it will be something already present in that location - a piece of driftwood, an interesting rock, the silhouette of a tree or building, people walking on a beach...I think you get the idea.
OM-1 | M.8-25mm F4 PRO
ISO200 | 1/2s | F8
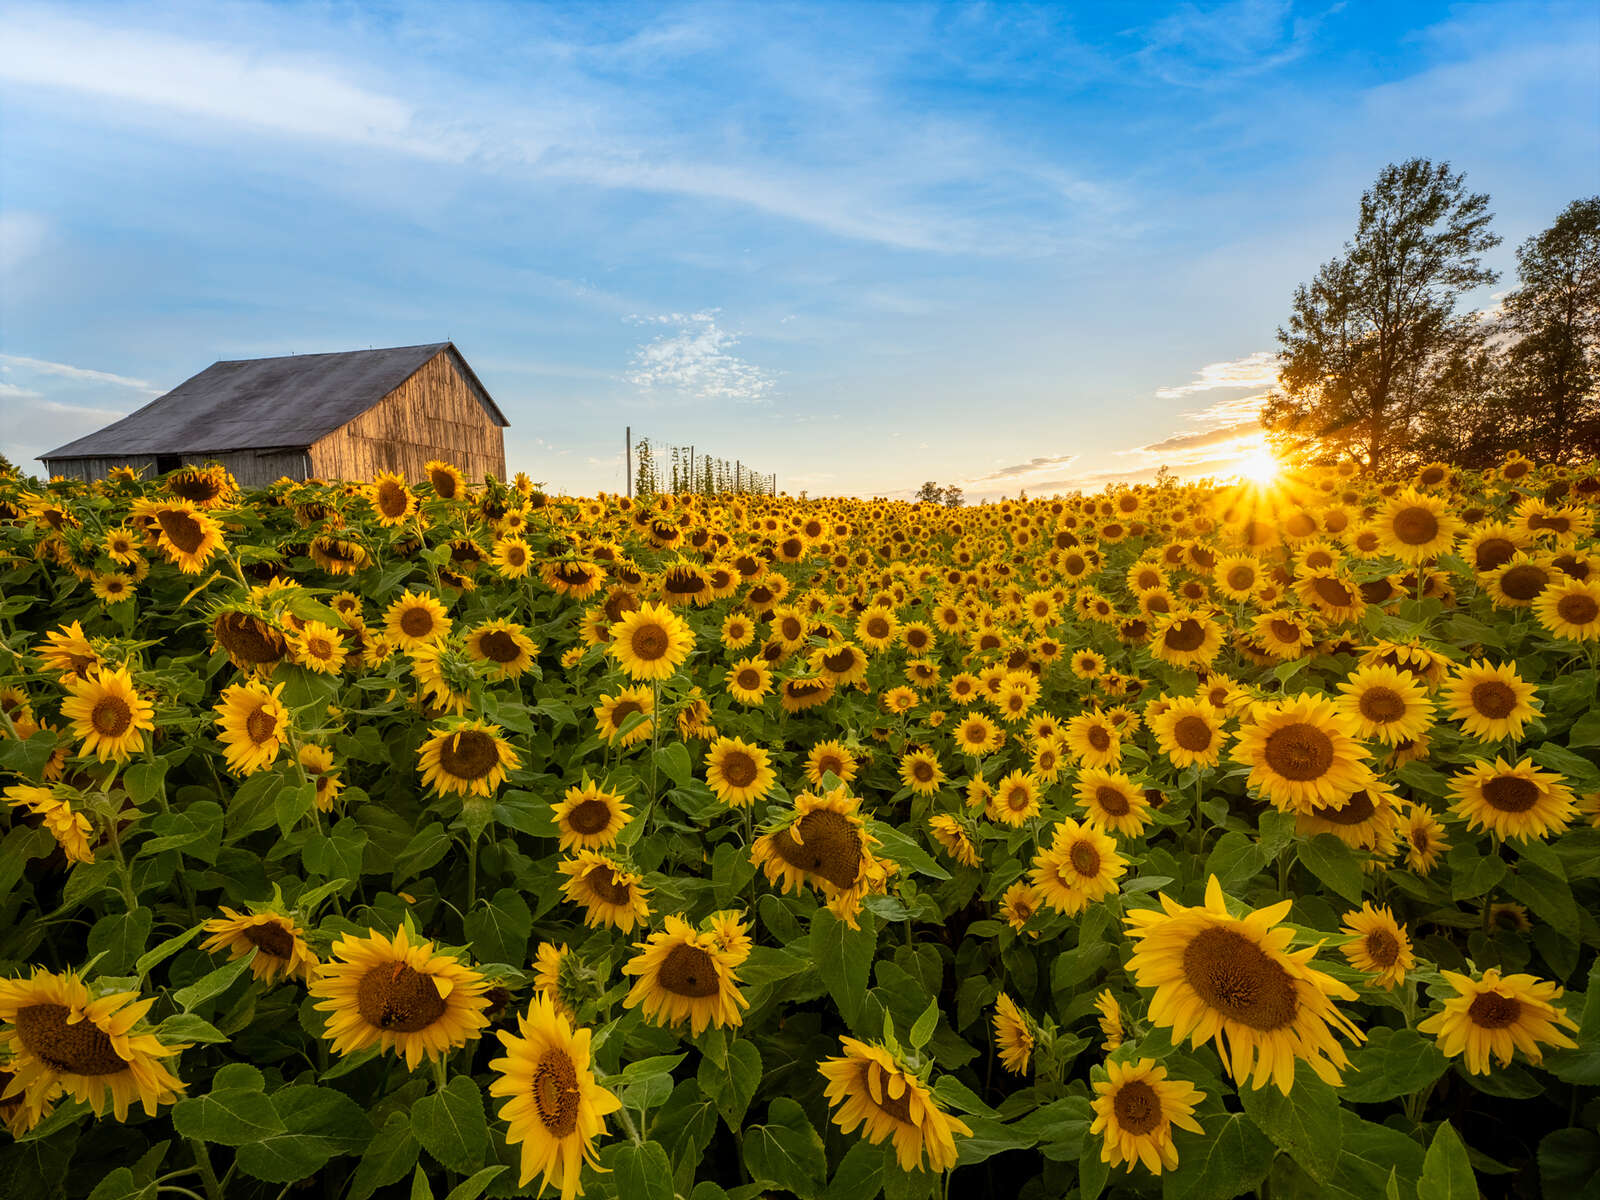
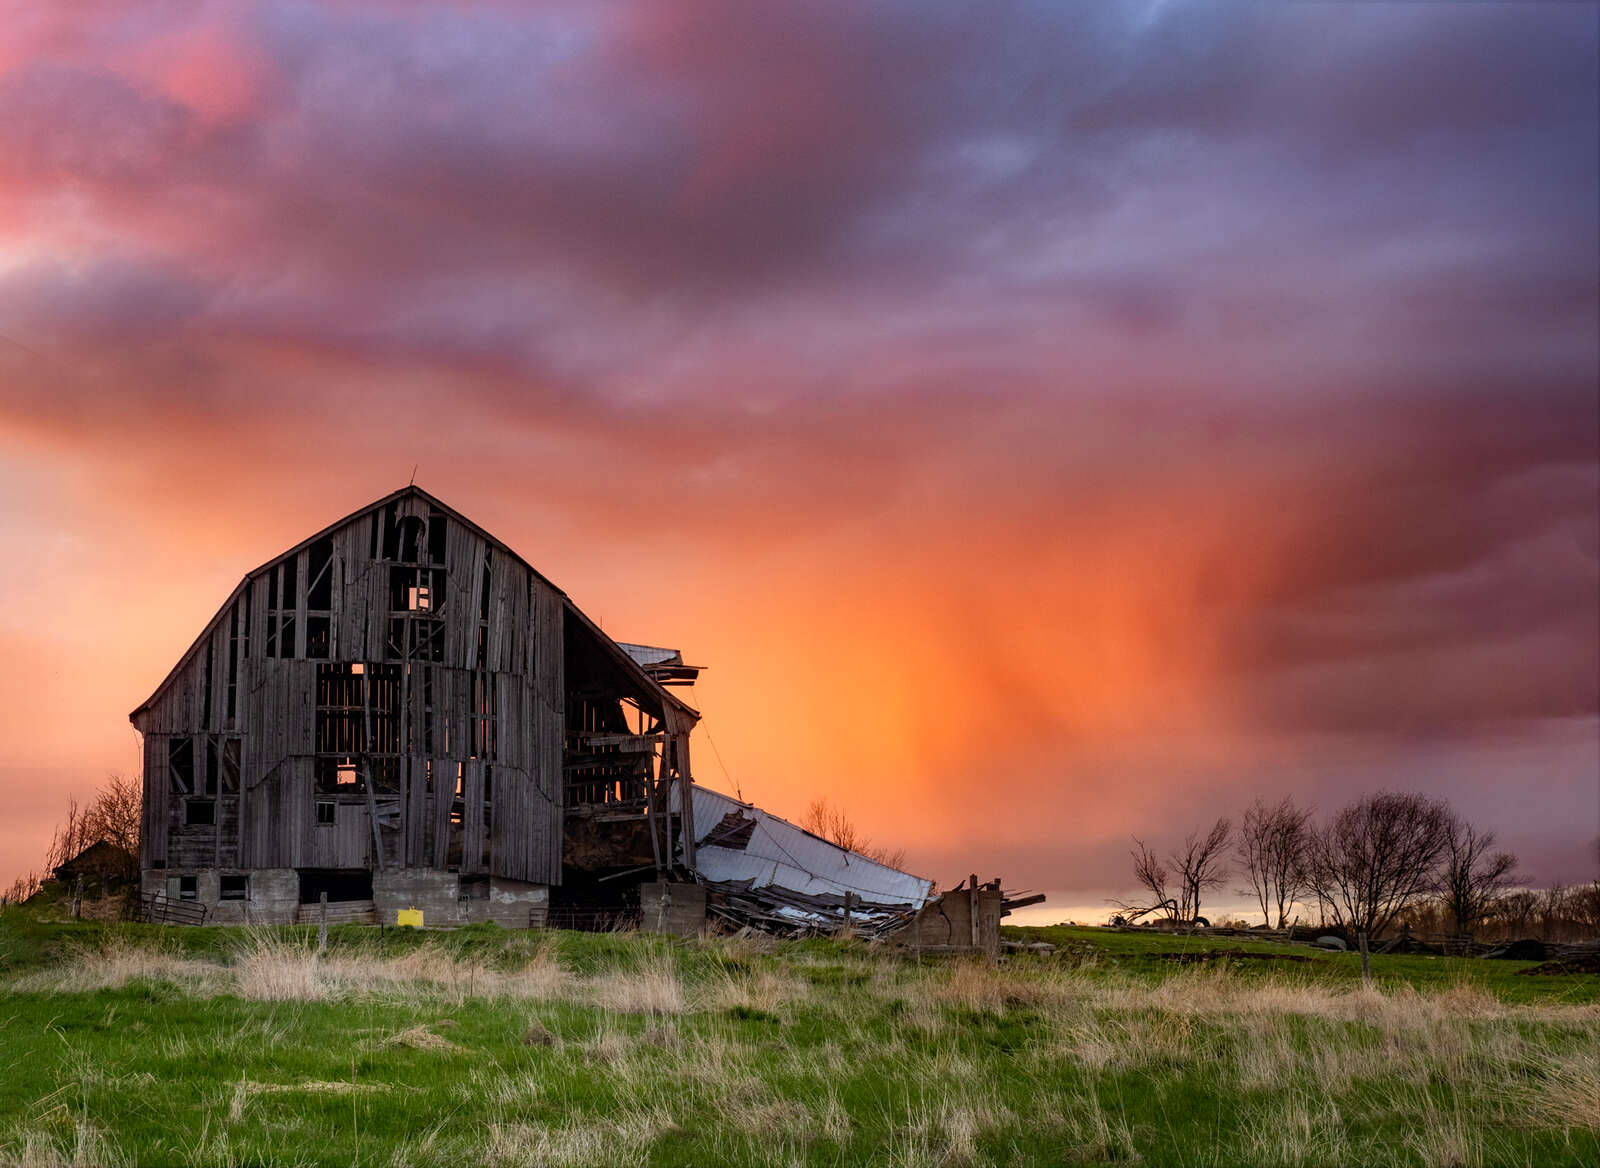
AVOID DISTRACTIONS
Once you have determined your main point of interest, scan the entire viewfinder and look for anything that might be pulling focus and work to eliminate it. Distractions may include fence posts or power lines, people or vehicles, or an unwanted branch sticking into the frame. Moving your camera a few inches one way or the other may be all that’s needed. On other occasions you may have to wait a few minutes for the errant auto to move out of the composition.
OM-1| M.8-25mm F4 PRO
ISO200 | 1/200s | f/6.3
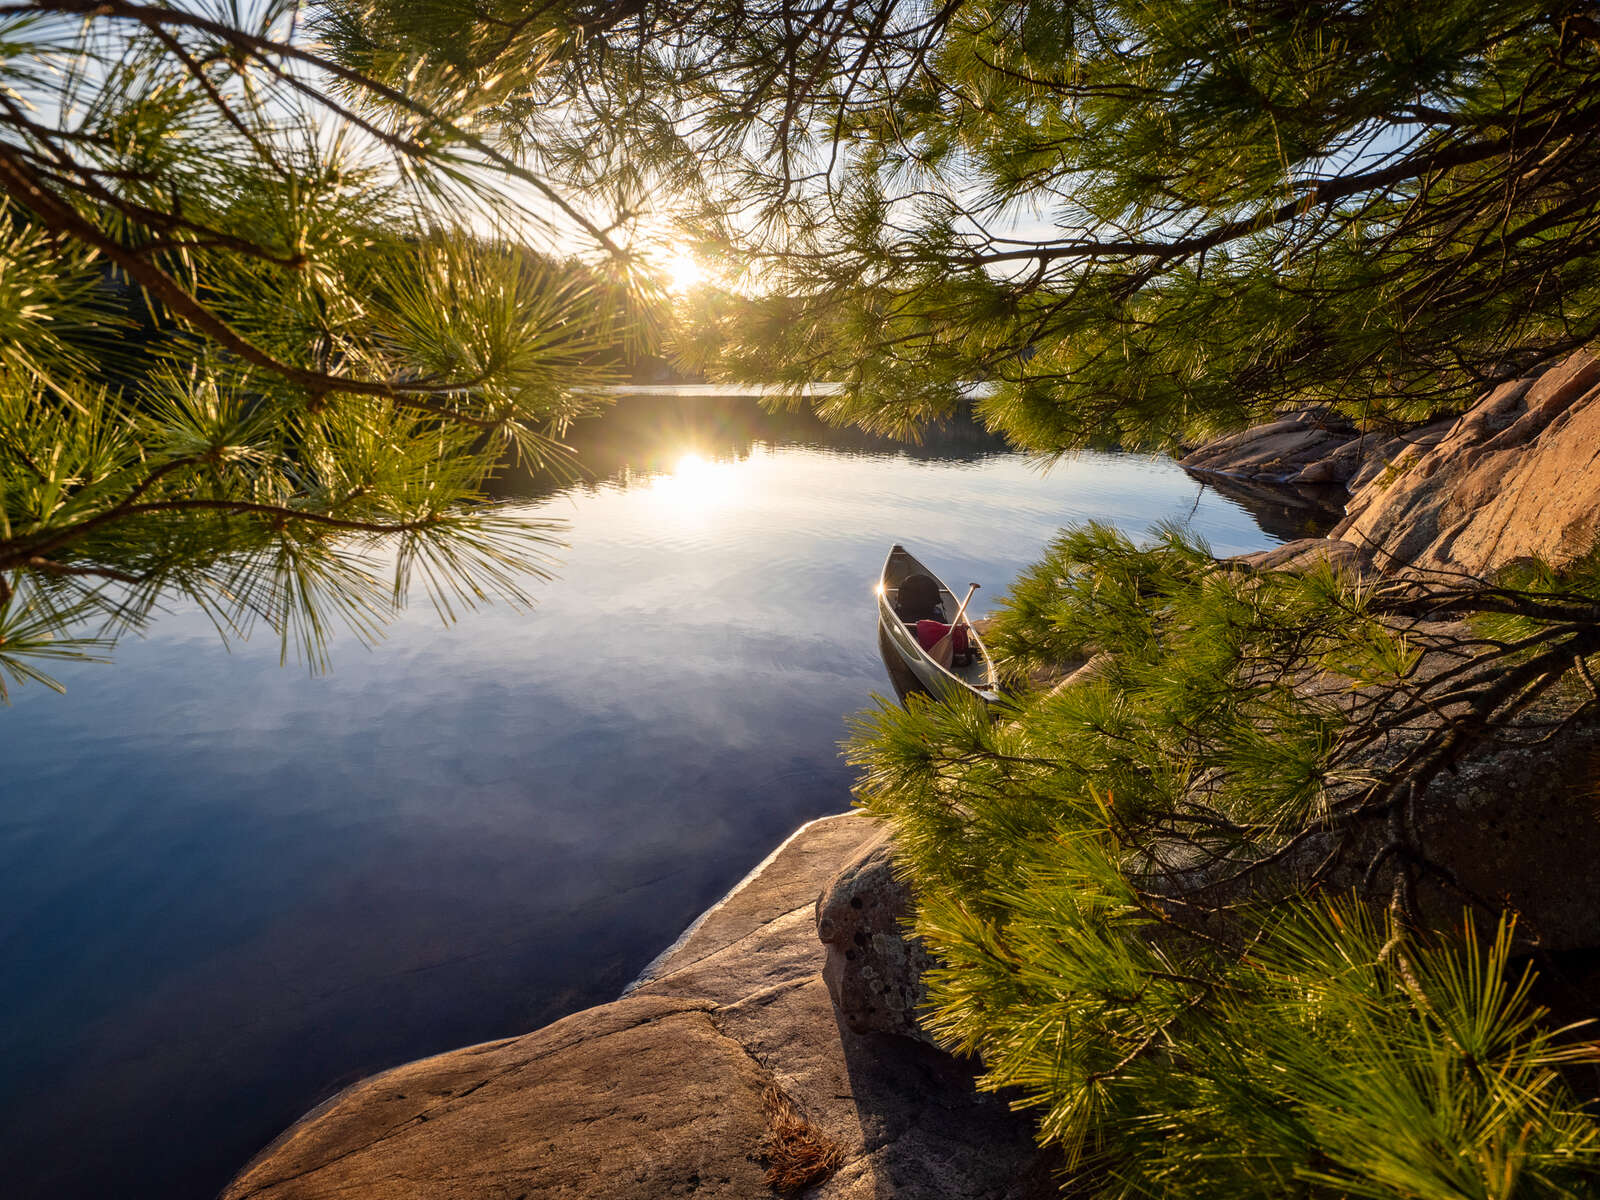
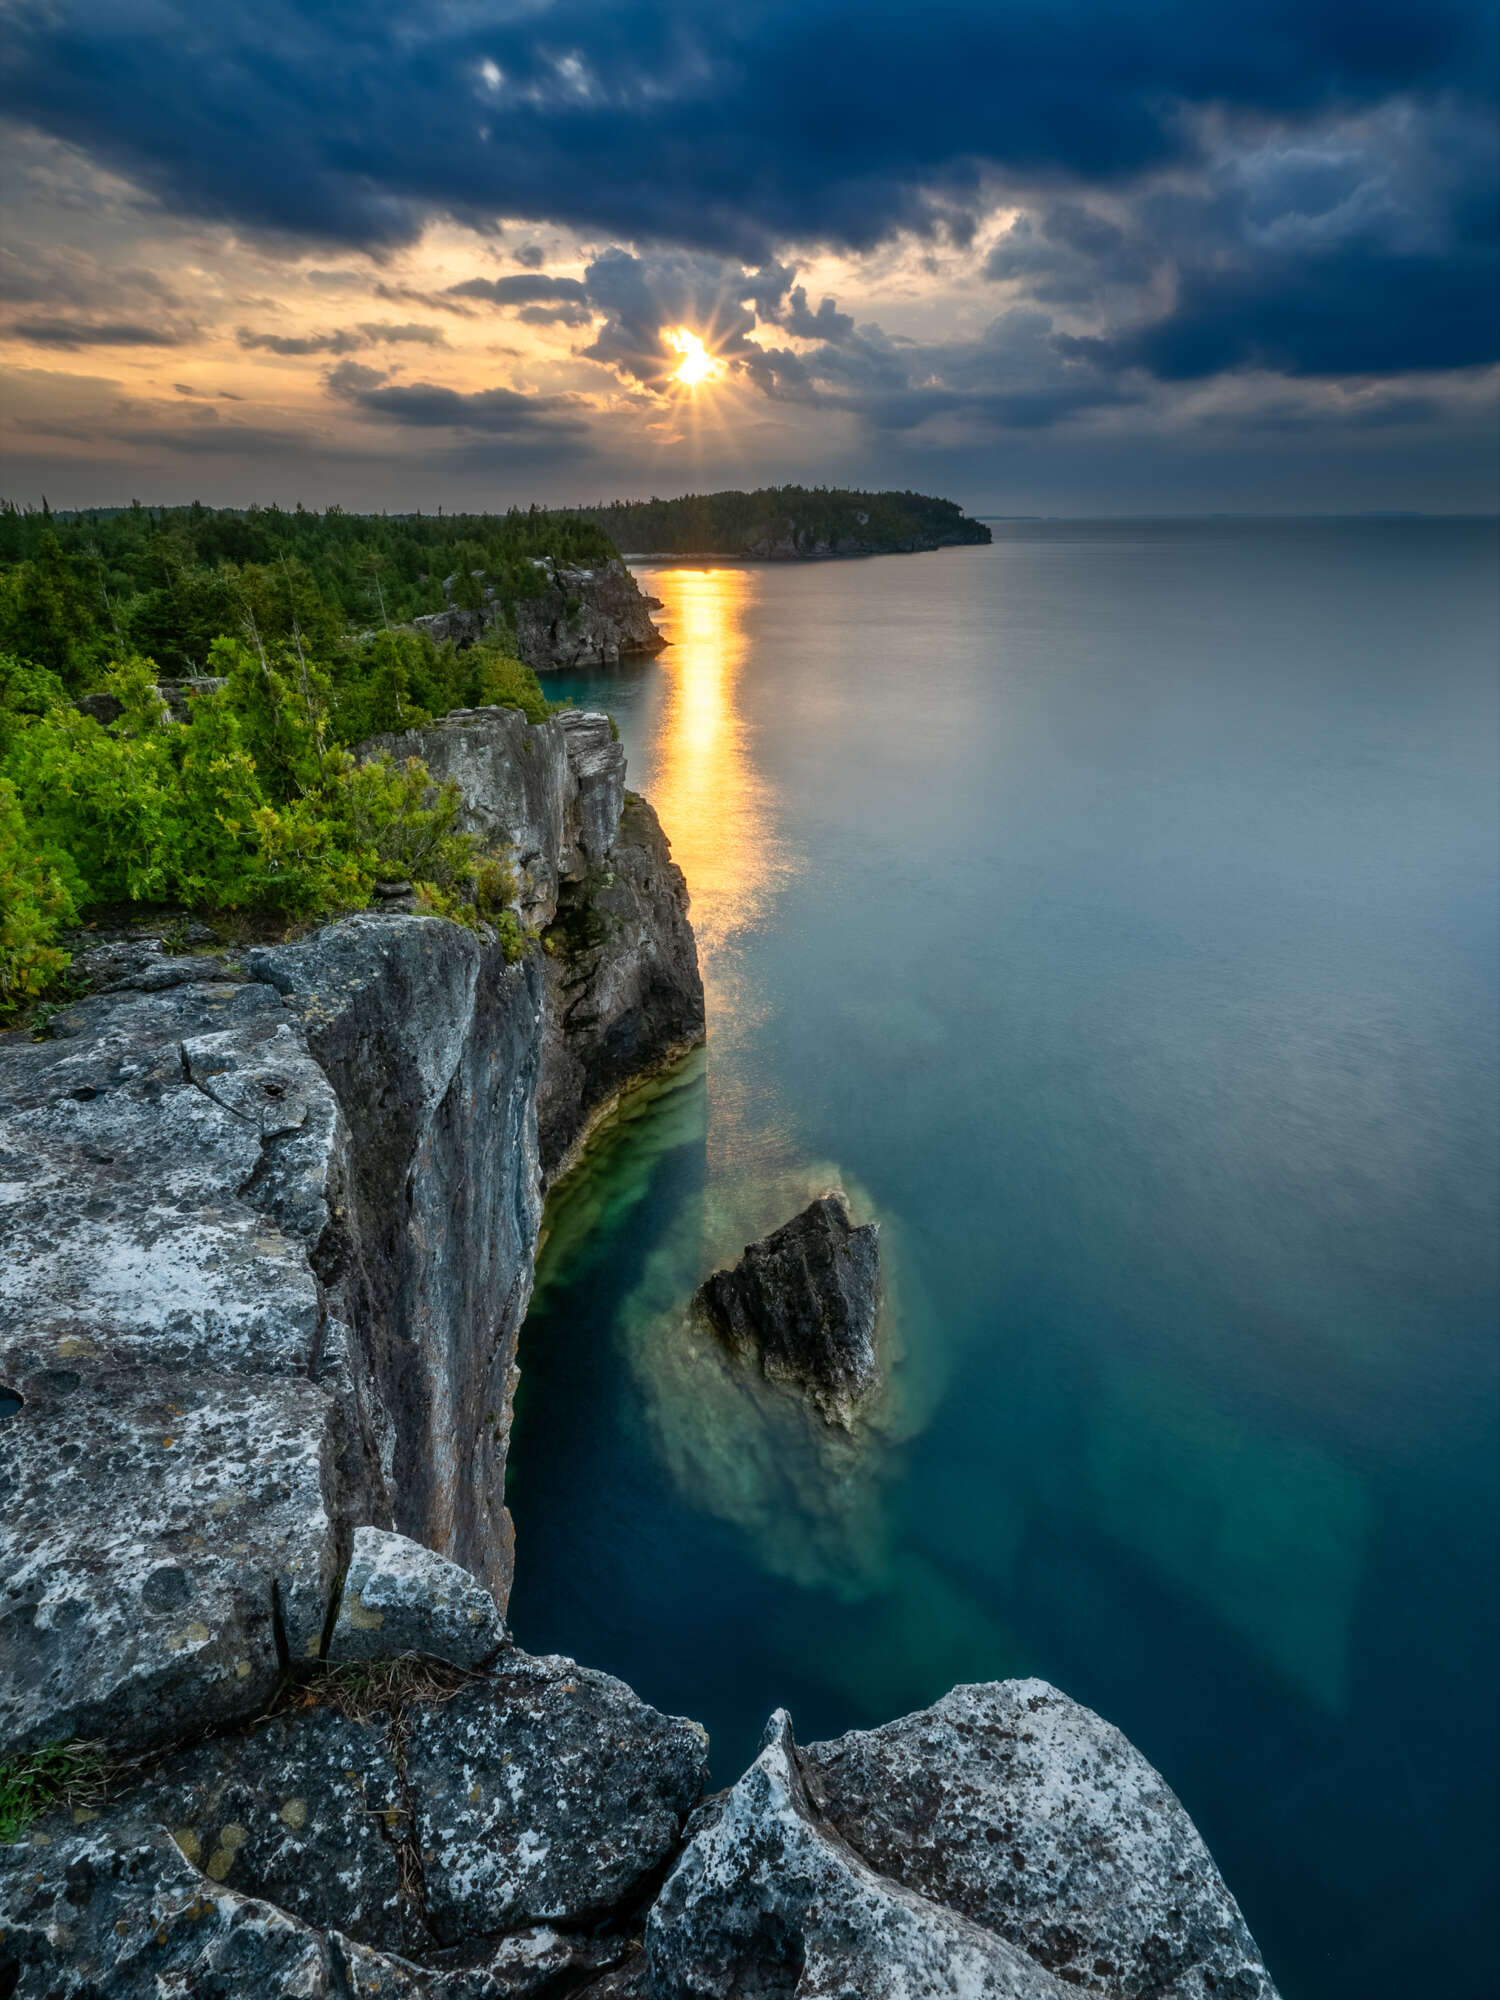
FRAMING YOUR SHOT
Including a natural frame in your image can add depth to the photograph and anchor your main subject.
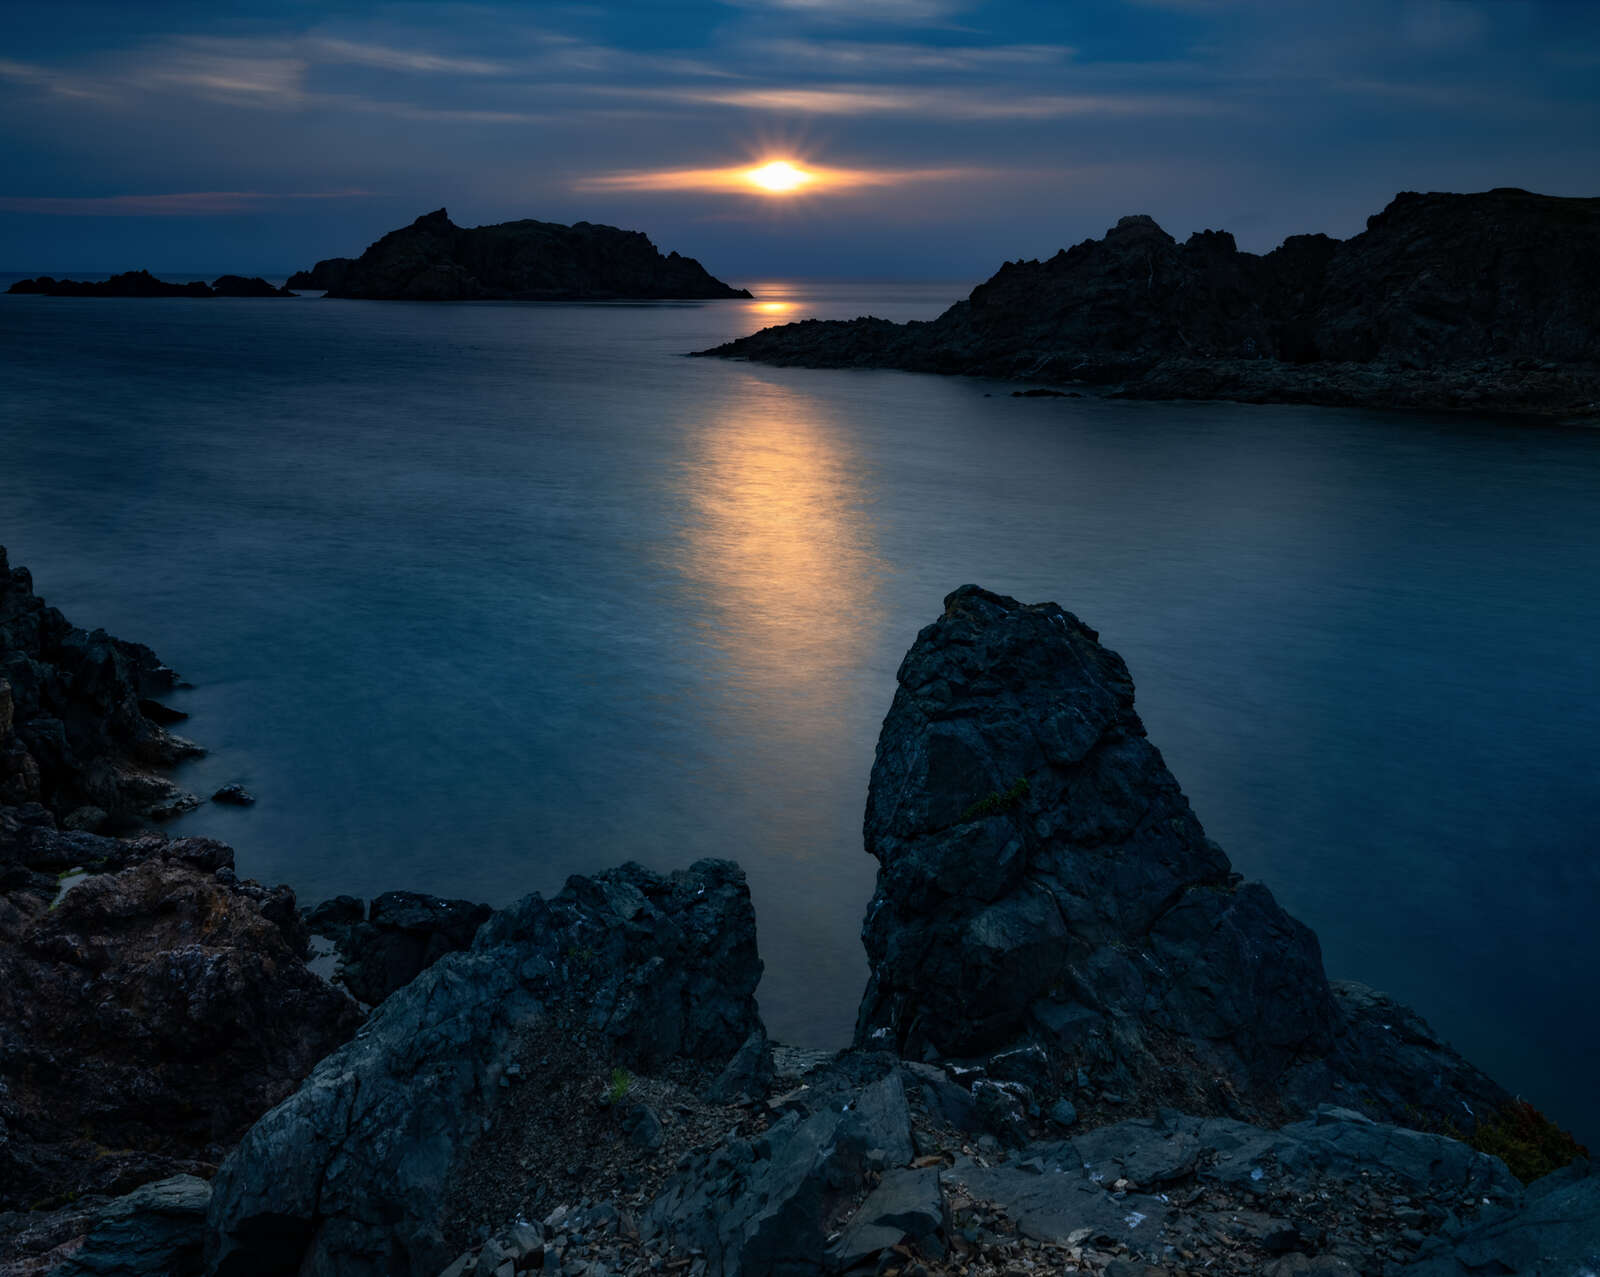
STEADY AS SHE GOES
Once the sun goes down it is time to pull out the tripod. You are now entering the territory of slower shutter speeds. My OM SYSTEM cameras have excellent image stabilization capabilities and can cope with being hand-held at speeds as slow as 1/2 second or longer. I trust my camera to deliver good results hand held, but the real reason I use the tripod is to force me to slow down and focus on composition. That's what really matters.
Of course some of the best colors occur 15 - 20 minutes after the sun has set when the sky has noticeably darkened and longer shutter speeds are a requirement.
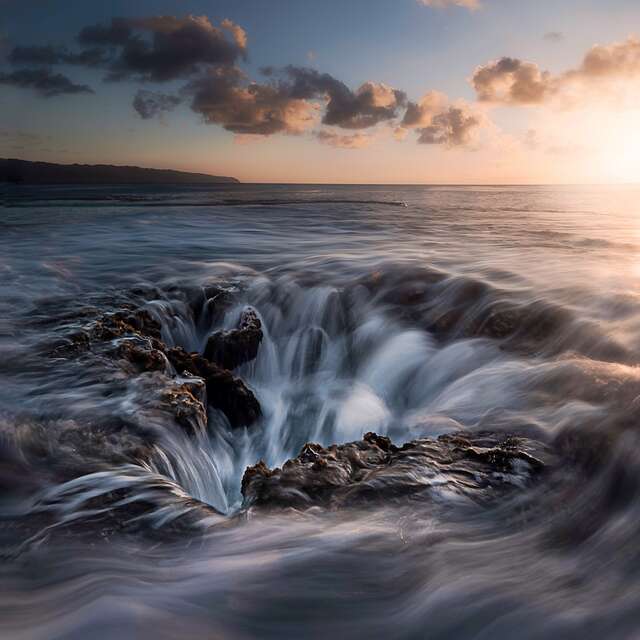
GO LONG
The longer exposures that are needed at sunset can work to your advantage. I tend to head to the water’s edge for many of my images at the end of the day. When the waves are crashing on the beach I like to use longer exposures to smooth out the moving water and create the silky look that many photographers find appealing. An easy way to achieve that look is by using the LiveND feature. Typically, I will set it to ND64 and use a half second exposure.
For a completely different look to your sunset shot try using much longer exposures, somewhere between 30 and 60 seconds. This will create a painterly effect with the clouds and turn the water into glass. You can achieve this using LiveND, but you may need to also add a regular neutral density filter to your lens if it is still too bright out.
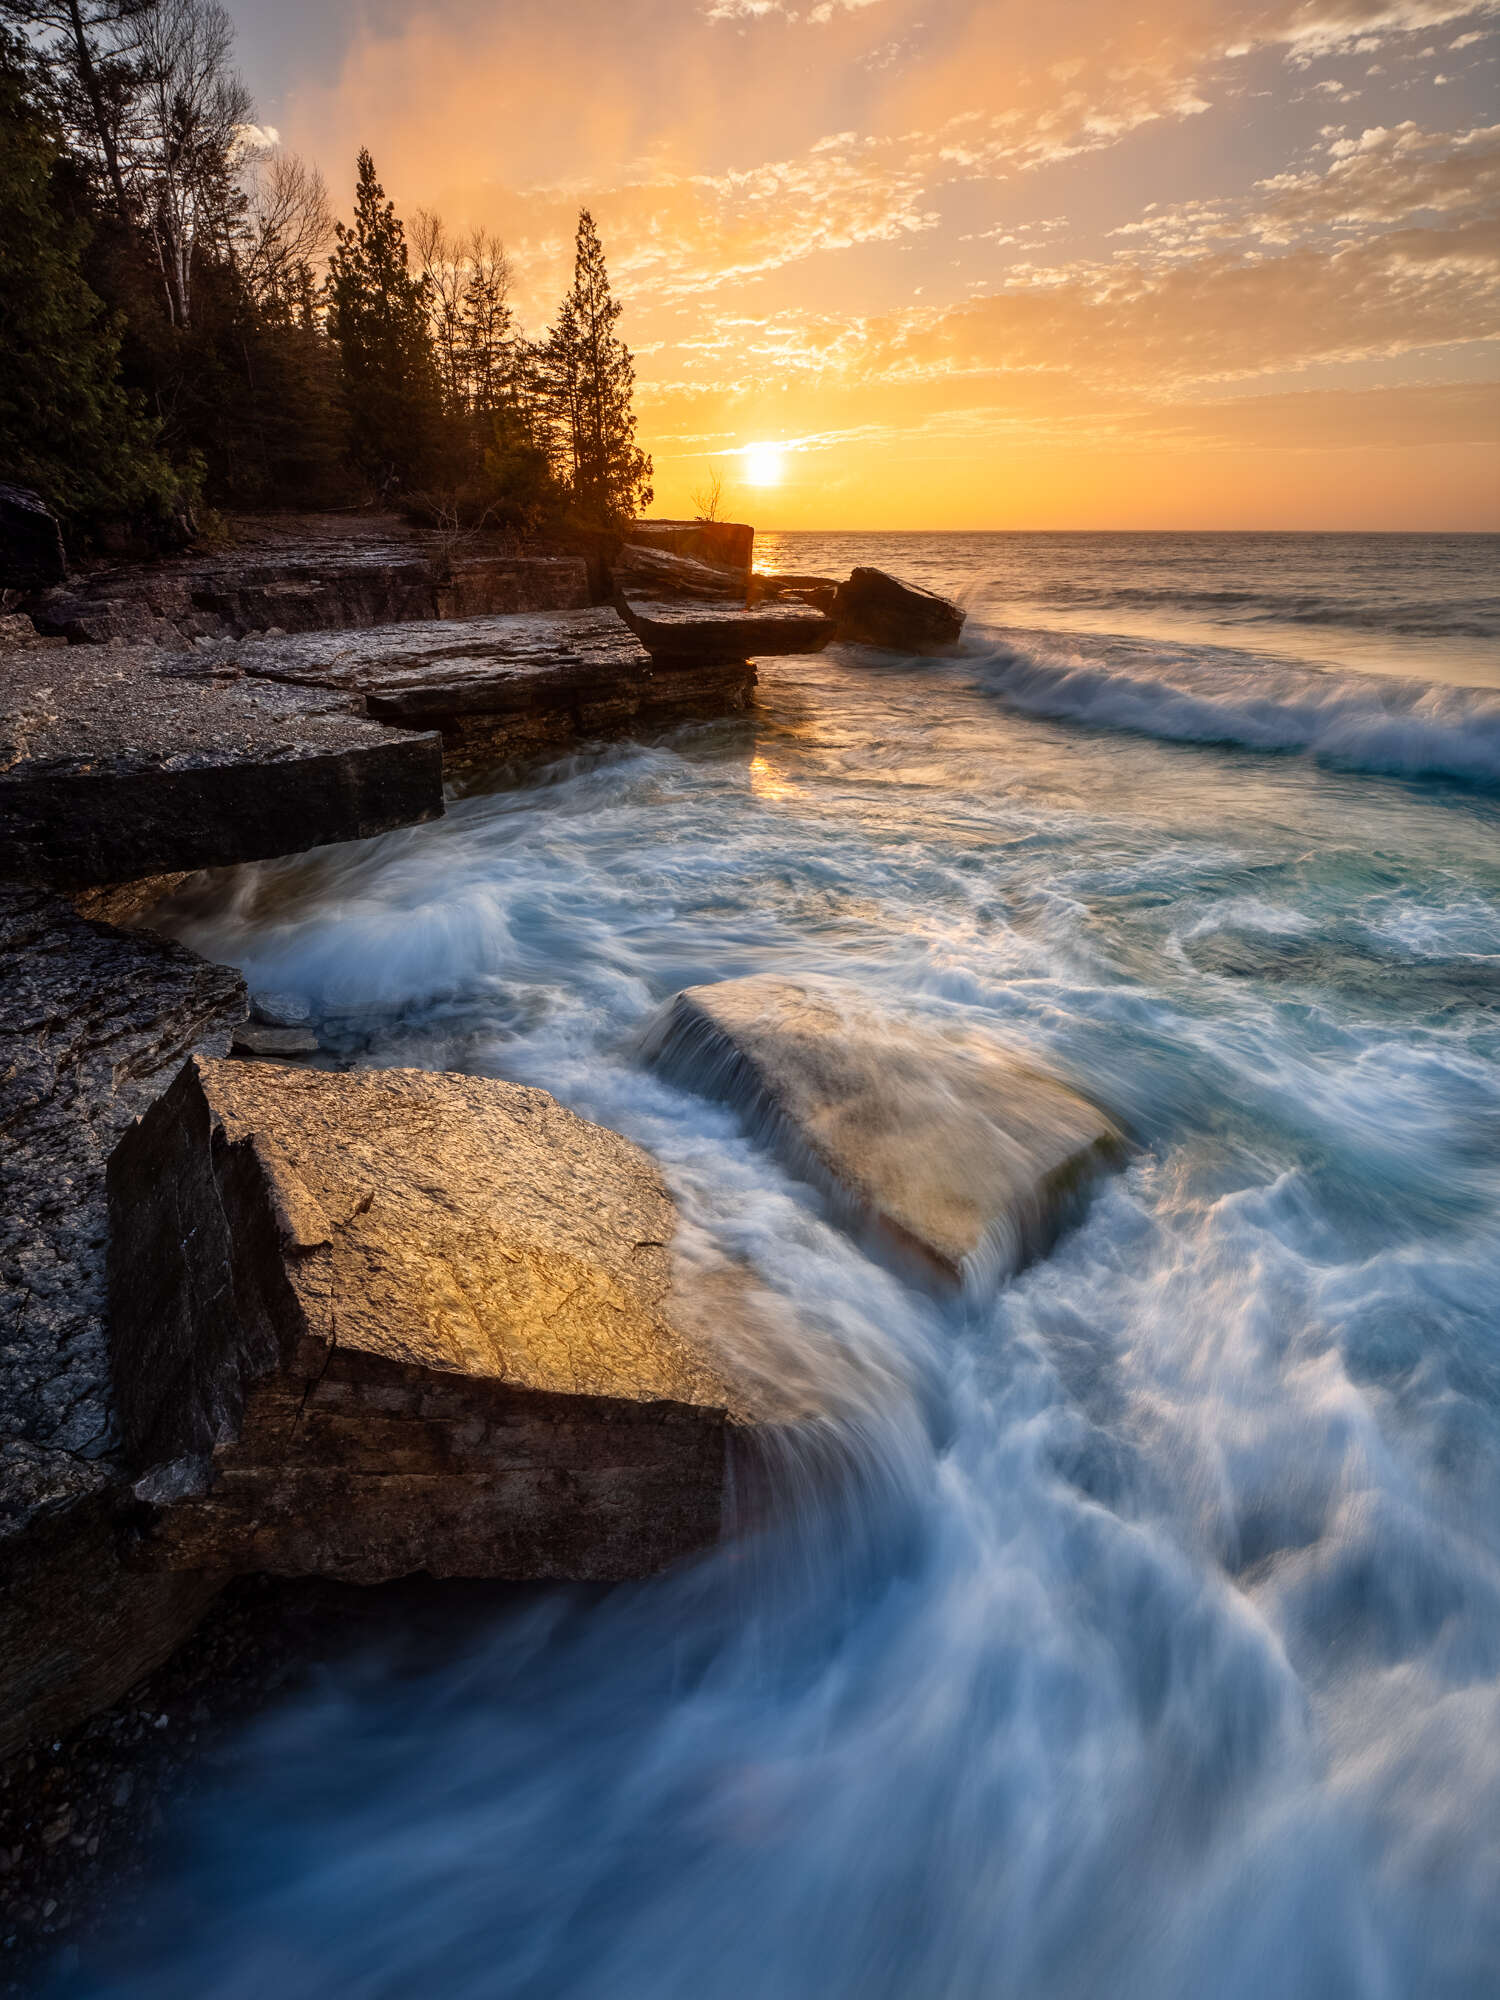
OM-1 | M.Zuiko 8-25mm F4 PRO
ISO200 | 1/2s | F/8
ISO80 | 50s | F/4
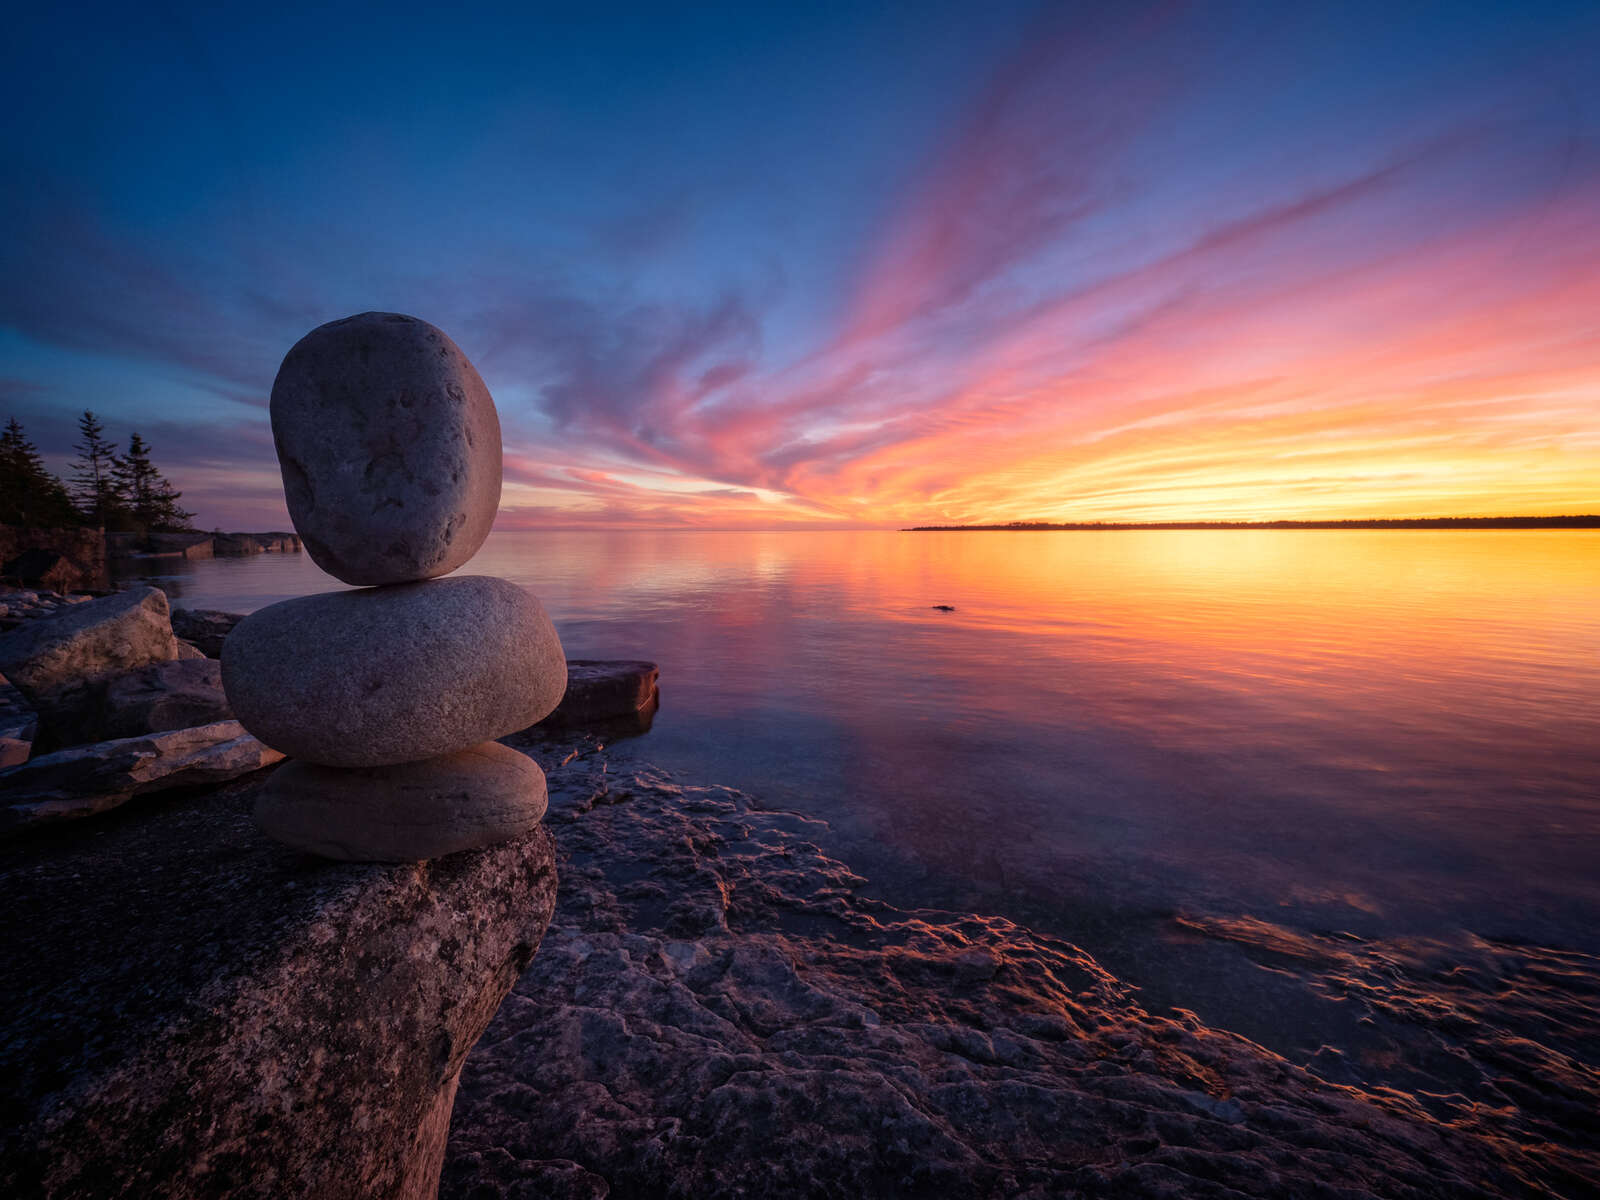
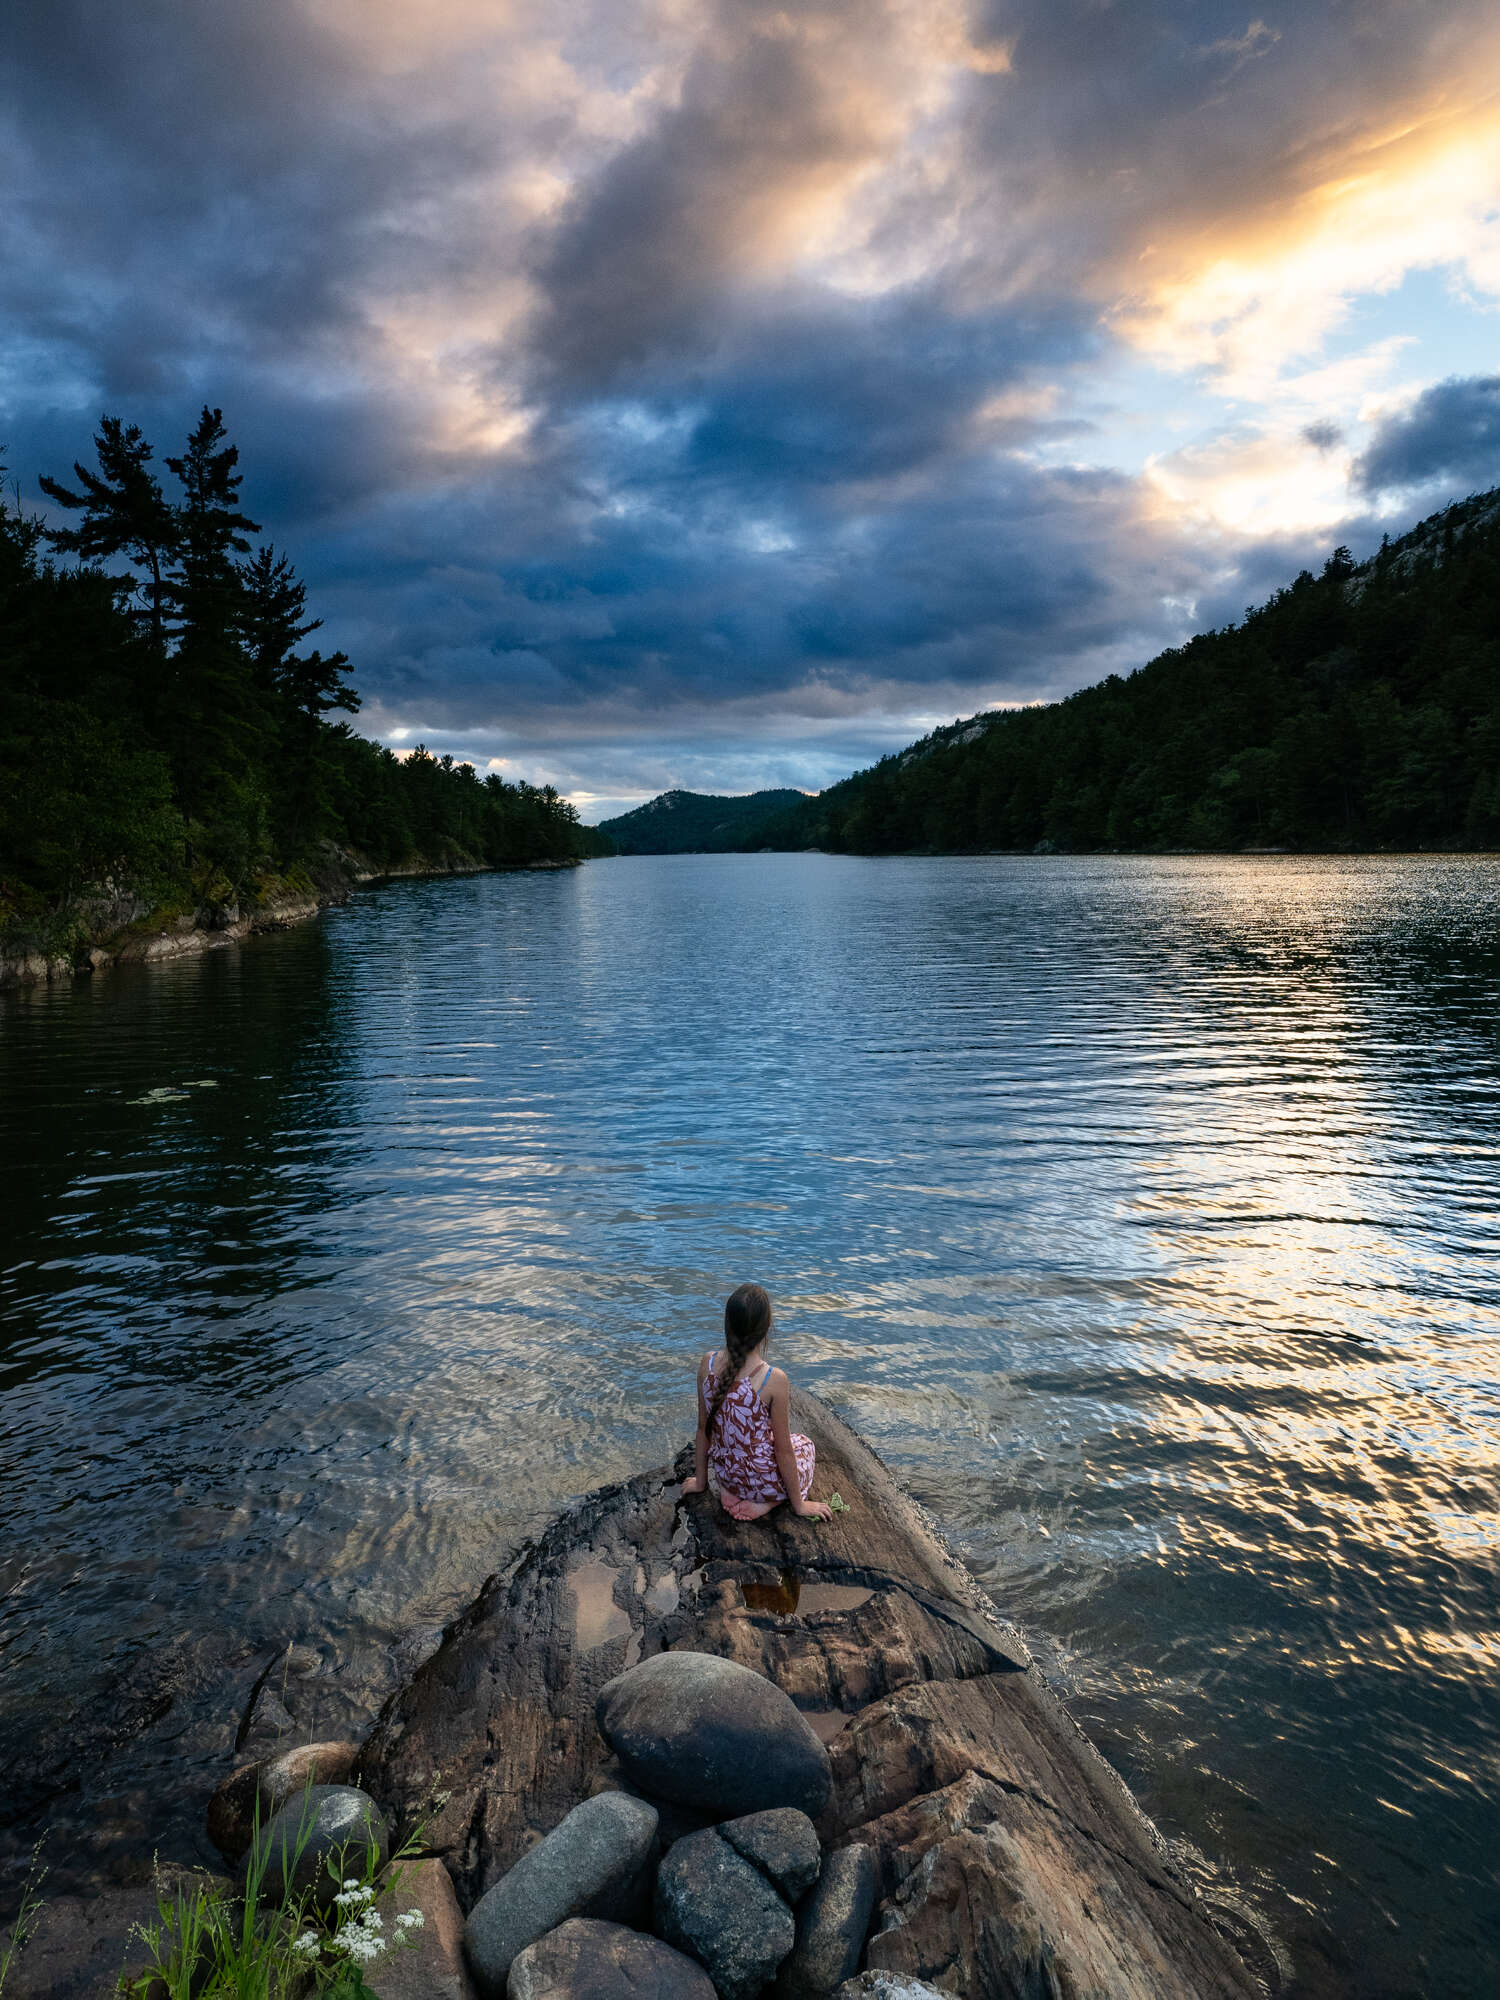
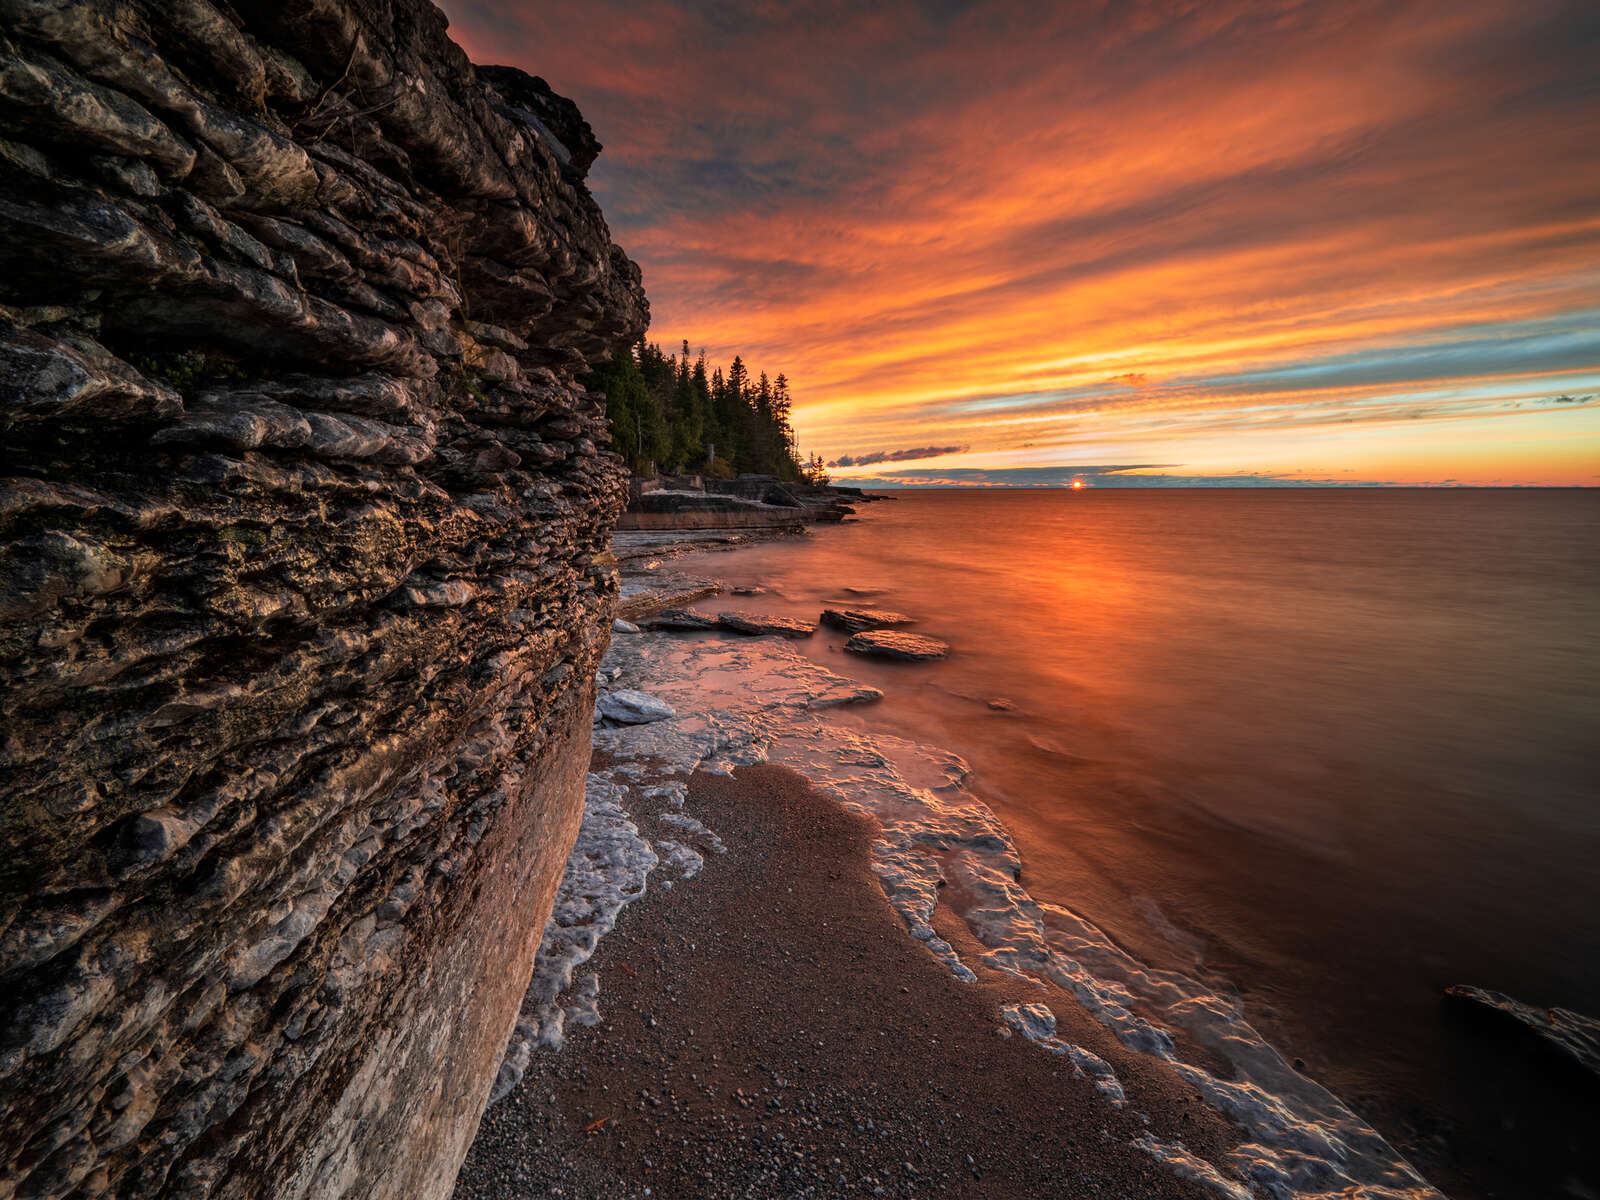
THE CLASSIC LANDSCAPE PHOTO
There are all sorts of ways to compose a shot, but it’s hard to beat the classic landscape setup with a distinct foreground, midground, and background. This type of image usually has multiple subjects in it as well. The foreground usually has some finer details such as interesting rocks, footprints in the sand, or other smaller objects. The midground contains the main landscape of the scene, for example rolling hills or the beach stretching off into the distance. The background is the sky.
The temptation when photographing a sunset is to make the sky the dominant element, after all that is where all the good light is coming from. I urge you to resist that temptation and frame the image so that the sky takes up only 1/3, or even less, of the photograph. This forces you to create more interesting compositions with the foreground elements. One way to make the foreground more dominant is to shoot vertically. Many of my favorite sunset images are captured with the camera in vertical orientation.
OM-1 | M.Zuiko 8-25mm F4 PRO
ISO200 | 0.8s | F/7.1
ISO200 | 1/640s | f/8
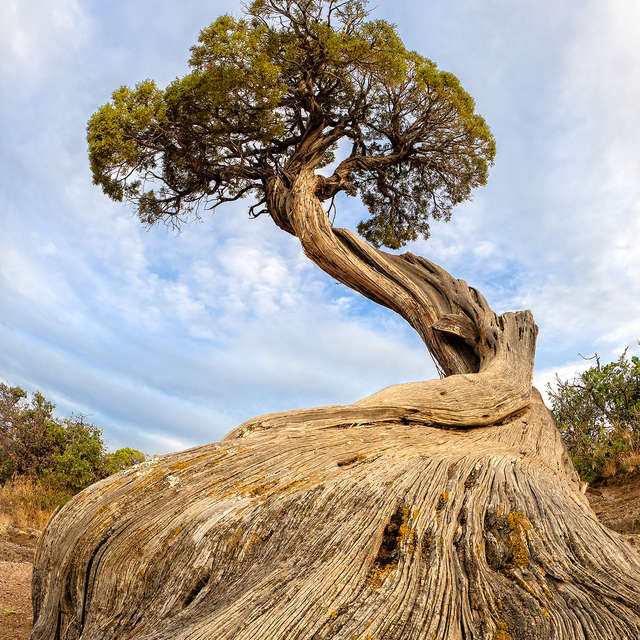
MAXIMIZE YOUR DOF
OM SYSTEM cameras have a number of computational features that I use quite regularly in my photography. The one I use the most however is focus bracketing and stacking. It allows me to get in quite close – mere inches - to my foreground subject and, with a single click of the shutter release, take a series of photos that, when stacked, guarantees that I have clarity throughout my image. This is something you just can’t do with a single image, no matter how small an aperture you use.
OM-1 | M.Zuiko 8-25mm F4 PRO
ISO200 | 1/2s | F/8
TRICKING THE LIGHT
We have all seen photos (and probably taken a few) where the foreground subject is too dark or the sky turns out much too bright. This is fairly typical for photos taken at the beginning or end of the day. The camera's sensor has a hard time adjusting for the difference in light between the sky and the ground. To help compensate for this use a graduated neutral density filter (GND). It is a thin piece of glass that transitions from neutral grey at the top to clear at the bottom. It helps to darken the sky and lighten the foreground giving you a much more balanced exposure. I typically use a 4-stop Hard GND because, for most of my images, I’m dealing with a fairly straight horizon.
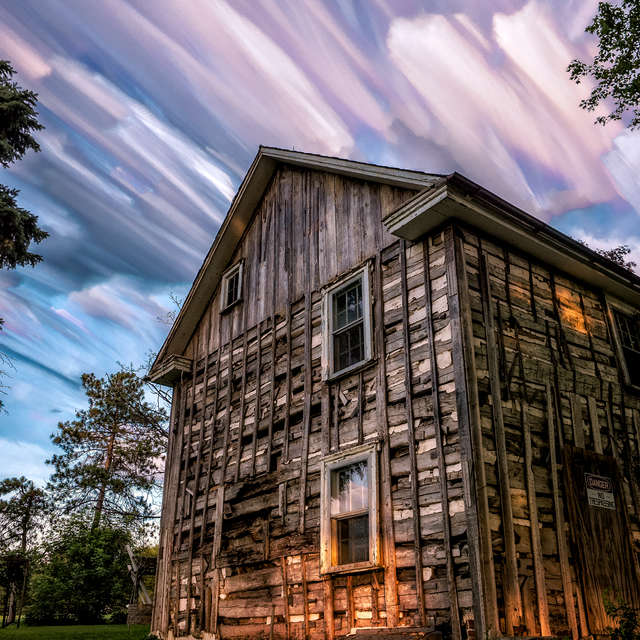
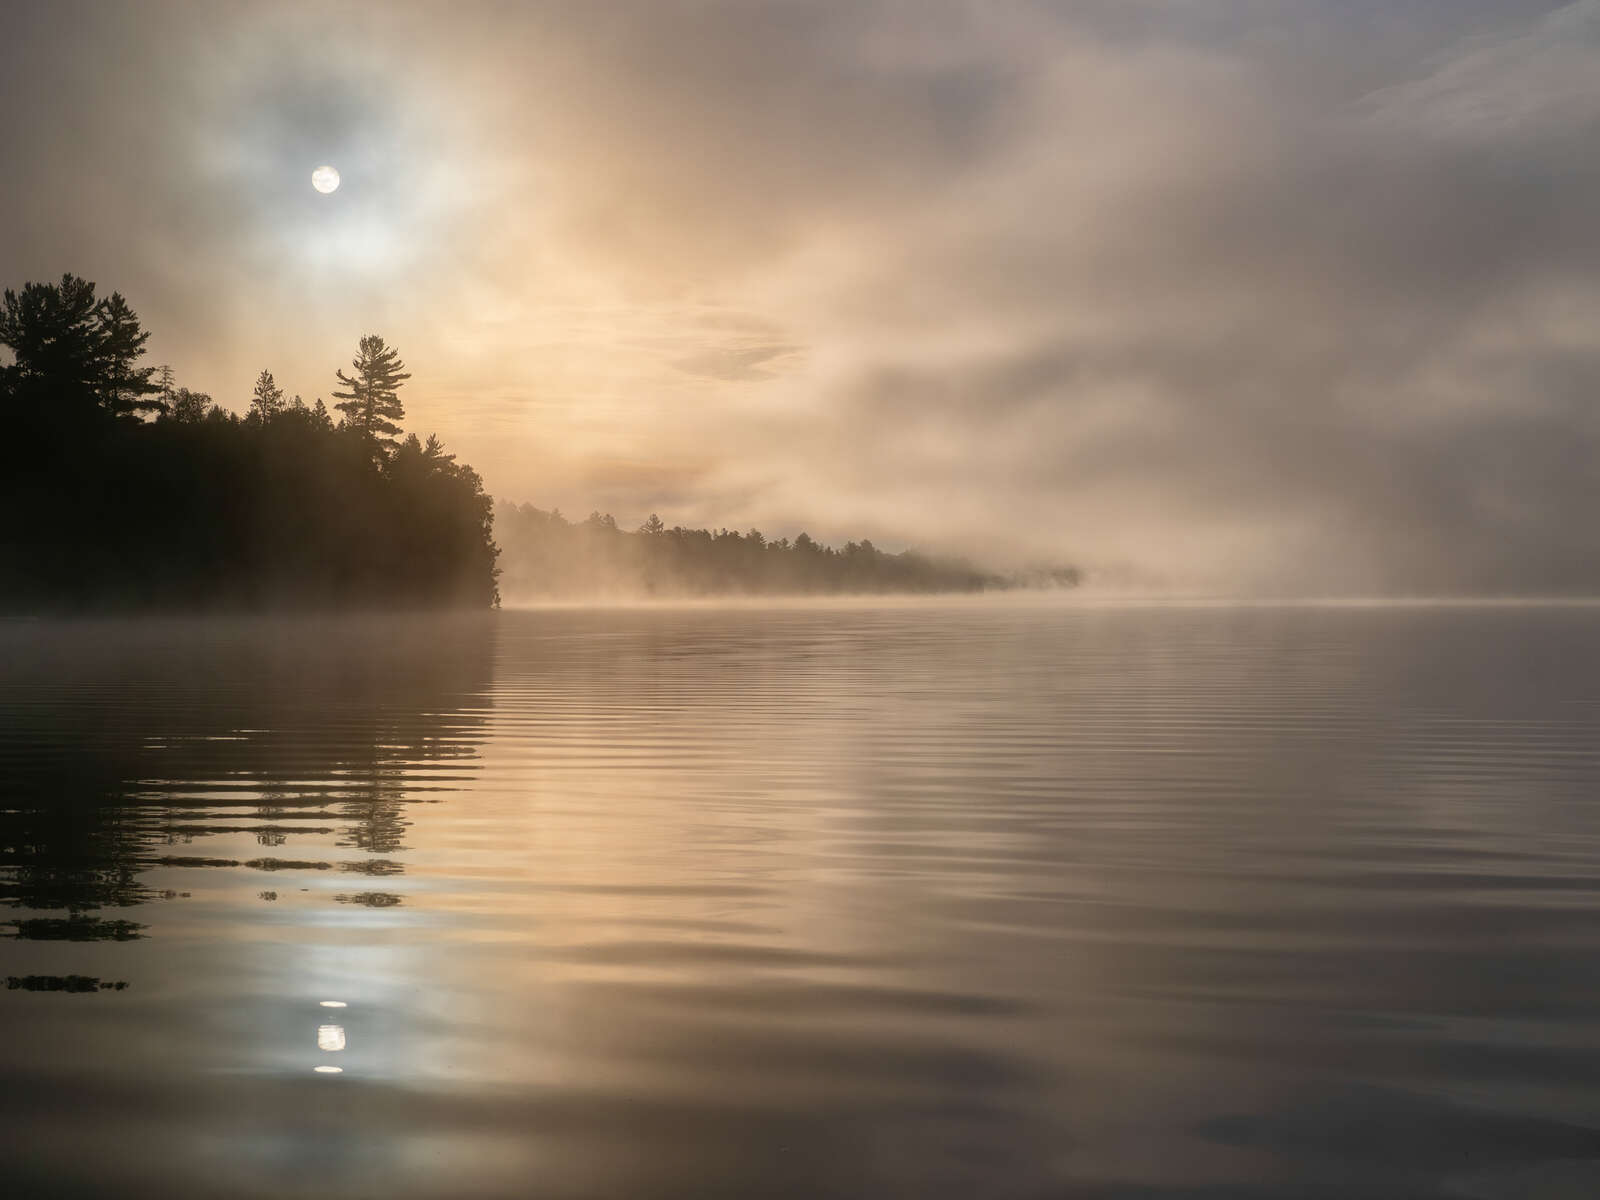
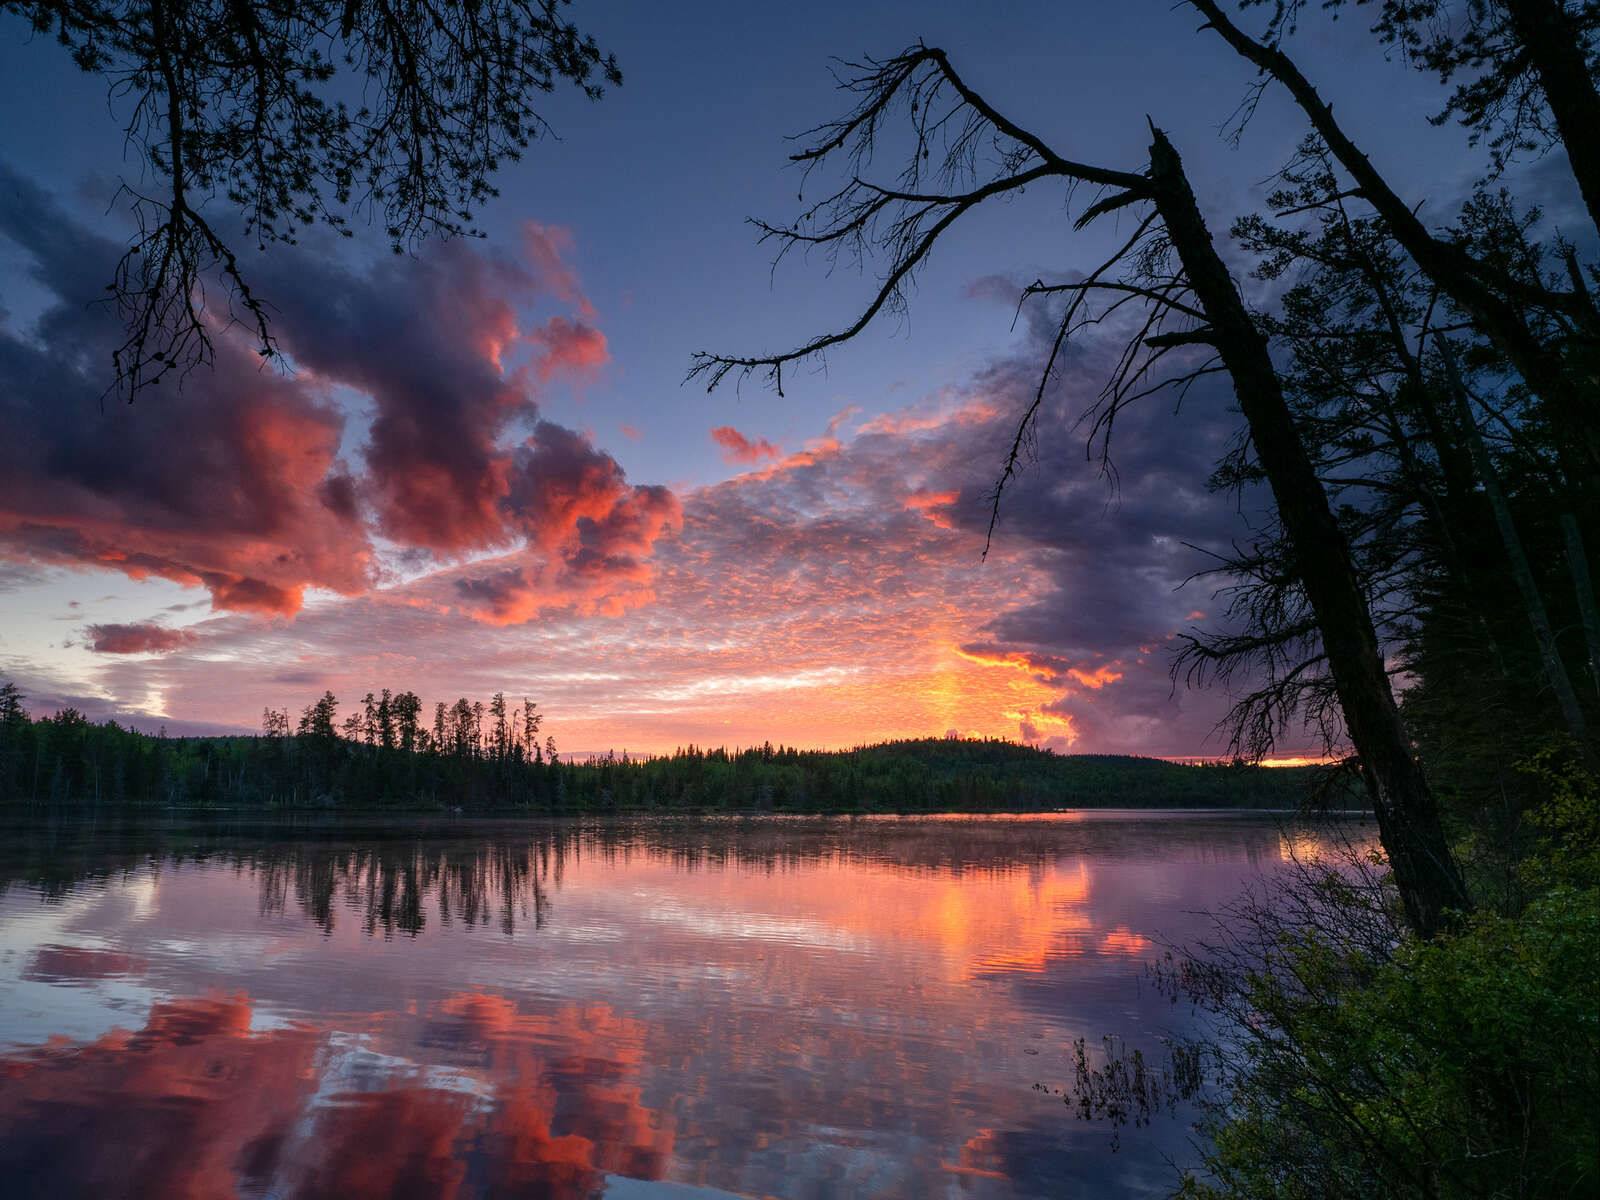
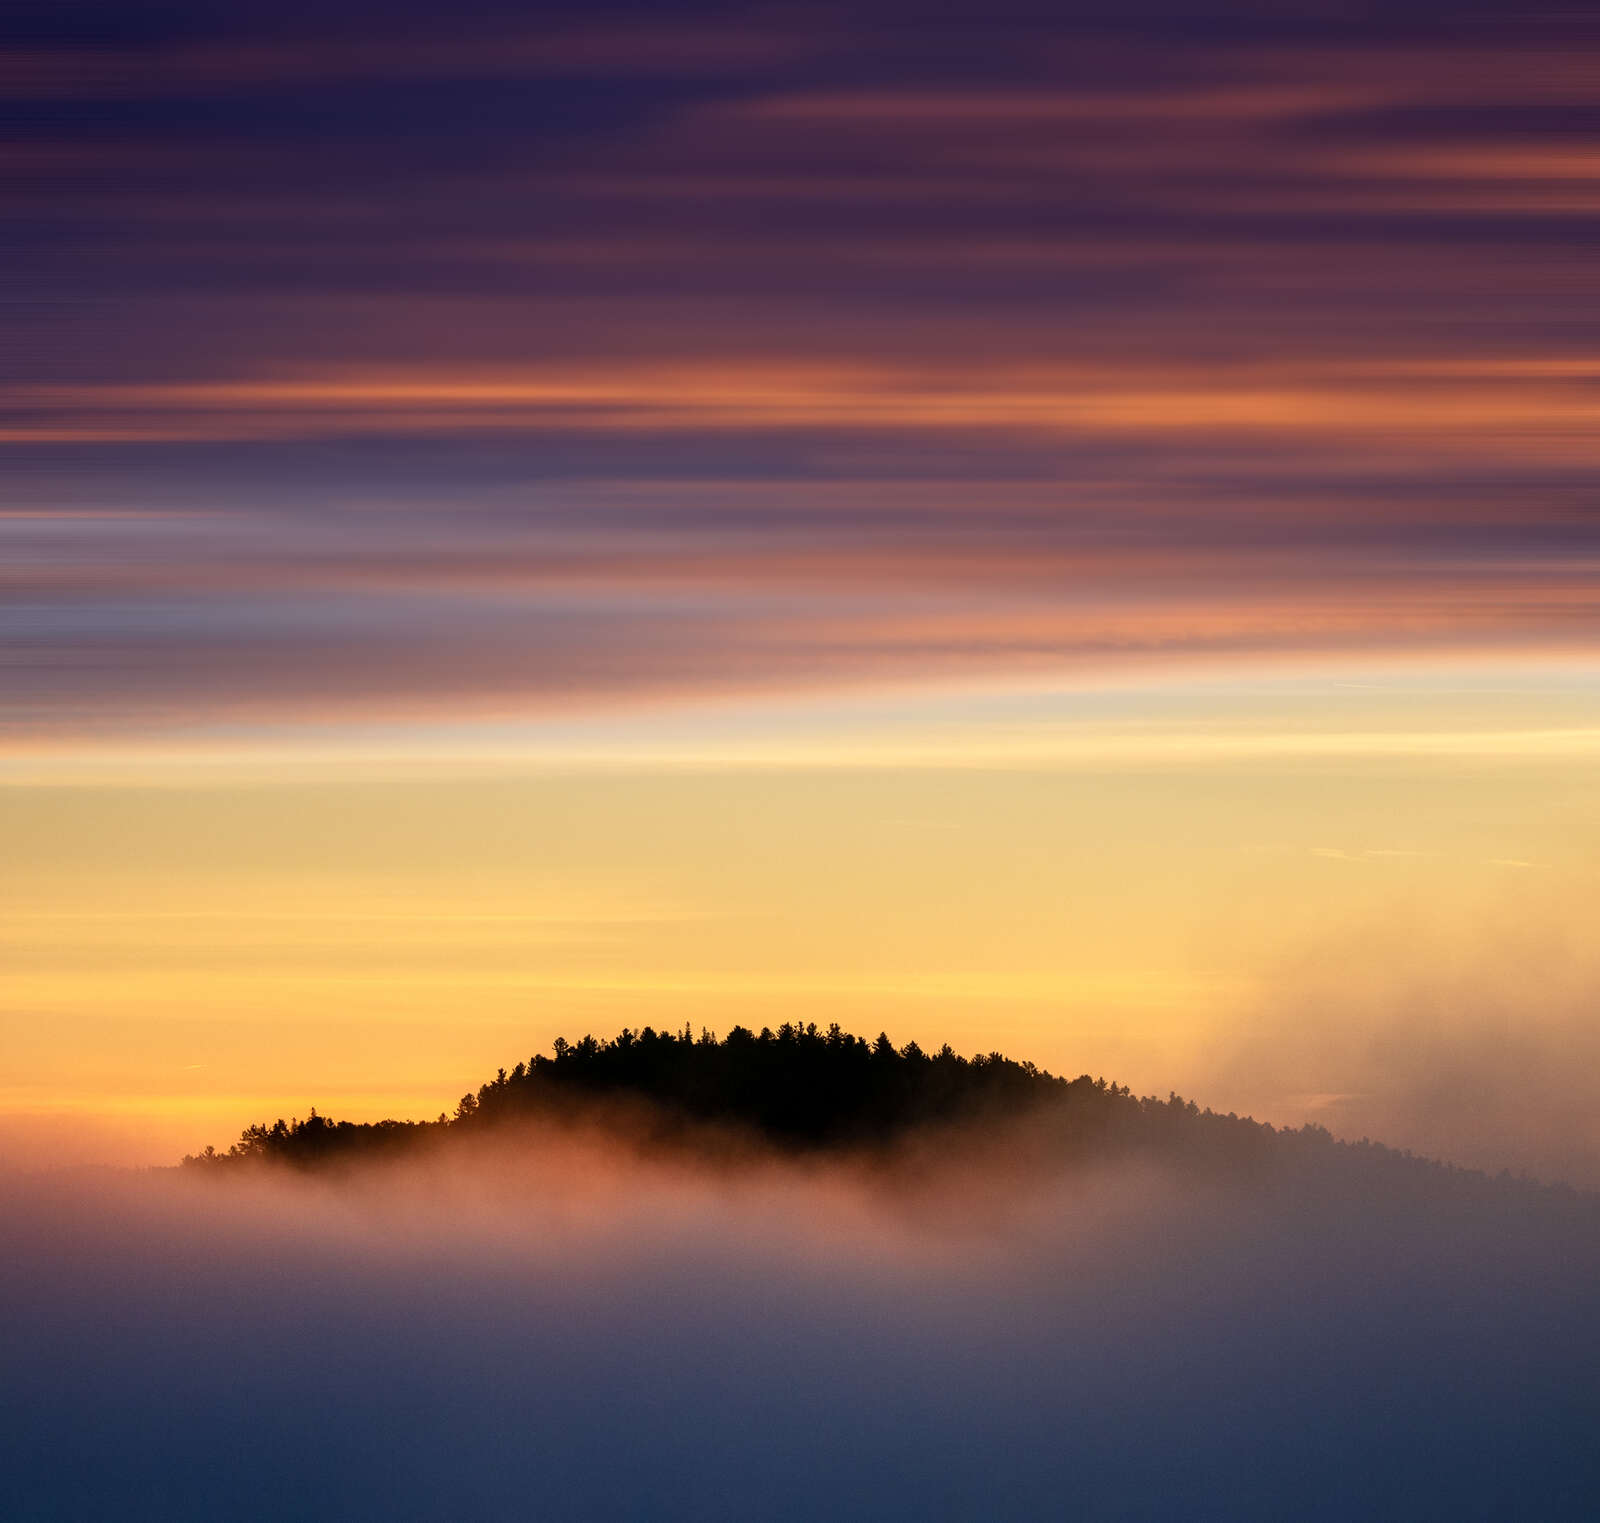
GET MOODY
The typical sunset shot has brilliant pastel hues, usually created by higher level cirrus clouds. There is definite appeal to photographing under these conditions, but thicker, low level clouds or mist can make for much more interesting and moody images. Generally speaking, higher clouds create pastel colors at sunset that can last for a fairly long time. Lower clouds result in richer, darker colors that may only last a few minutes, or even less.
OM- | M.Zuiko 8-25mm F4 PRO
ISO80 | 8s | F/11
OM-1 | M.Zuiko 12-100mm F4 IS PRO
ISO200 | 1/5000s | F/6.3
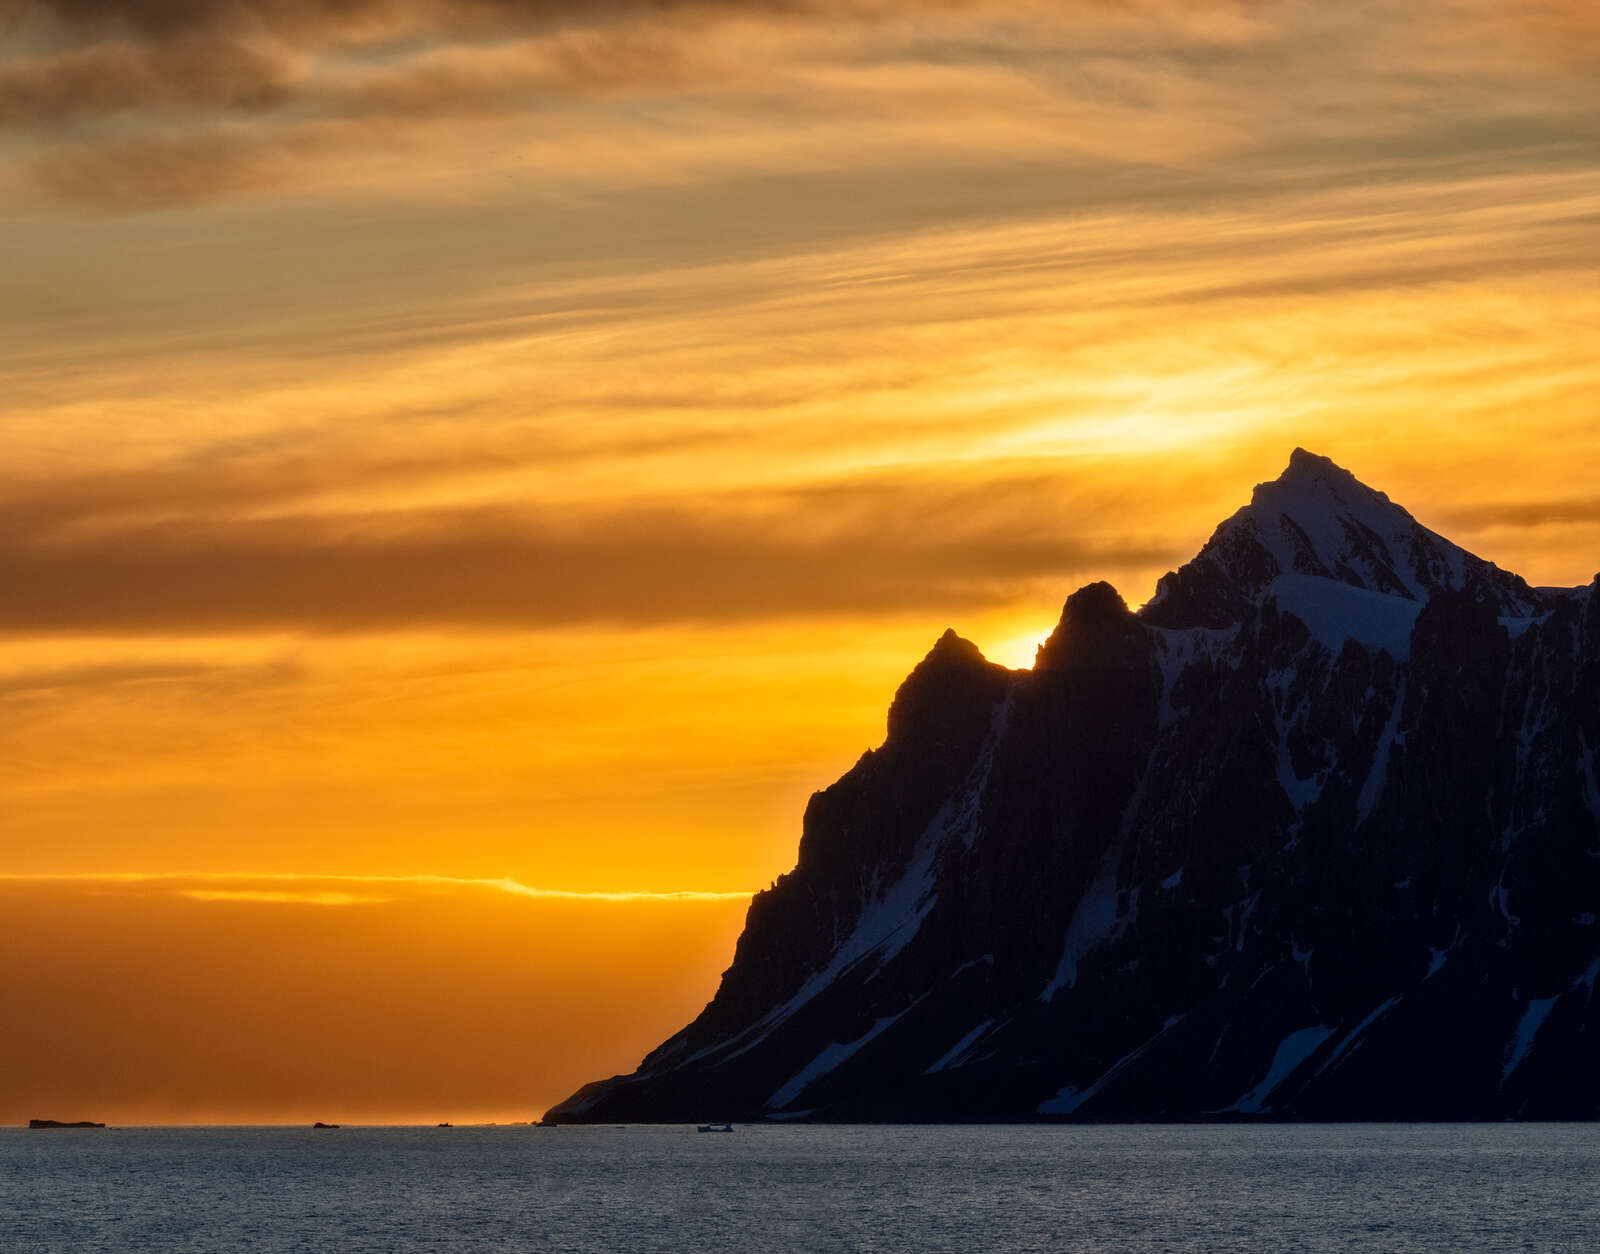
ZOOM IN
Landscape photography is the easiest style of photography to get into. You really only need a camera and wide-angle lens. Throw in a tripod and perhaps a GND filter and you can capture some great landscape scenes. Although we typically want to capture a fairly wide expanse in our sunset shots, don't overlook the usefulness of a good telephoto lens (35mm equivalent of 300mm or more) in your camera bag.
Telephoto lenses are usually used for wildlife or sports photography. The ability of these lenses to compress space and enlarge features can also make them a useful option for sunset shooting.
OM-1 | M.Zuiko 150-400mm F4.5 TC1.25x IS PRO
ISO200 | 1/4000s | F/6.3
ISO200 | 1/2000s | F/6.3
LET'S GET SPECIFIC
This is the equipment that I shoot with and the settings I typically use:
Gear:
• OM-1
• M.Zuiko Lenses – my favorite for capturing sunrises and sunsets are the M.Zuiko 8-25mm F4 PRO and the 12-100mm F4 IS PRO
Settings:
• Aperture Priority Mode
• RAW
• ISO 200 (a low ISO produces a cleaner image with less noise than a higher ISO setting)
• Aperture F/6.3 to F/8 depending on how much depth of field I want
• Shutter Speed - In Aperture Priority the camera chooses the shutter speed. If the camera selects a shutter speed that is just too long I attach it to a tripod. After all, I’m not usually interested in freezing the action with this type of shot.
FINAL WORDS AND IMAGES
Like many things in life, a good end result is dependent on how much work you put into the front end of the project. A bit of planning and a good understanding of compositional techniques will go a long way to producing photos you will be happy with and that will attract the attention of others.
Over the years I have produced far more poor quality sunrise or sunset shots than good ones. It is my passion for the craft and my love of the outdoors that keeps me looking for that next great shot. After all, the sun will rise (and set) again.
ISO200 | 4s | F/18
ISO200 | 1/30s | F/6.3
ISO200 | 1/160s | F/7.1
ISO200 | 1/13s | F/8
ISO200 | 1/200s | F/7.1
ABOUT PETER BAUMGARTEN
Web: creativeislandphoto.com
Blog: creativeislandphoto.com/blog
Twitter: @creativeisland4
Peter has been a dedicated Olympus shooter for over 30 years, and he has found a way to combine his passion for photography with his love of teaching to develop photography and graphic design courses at the high school level.