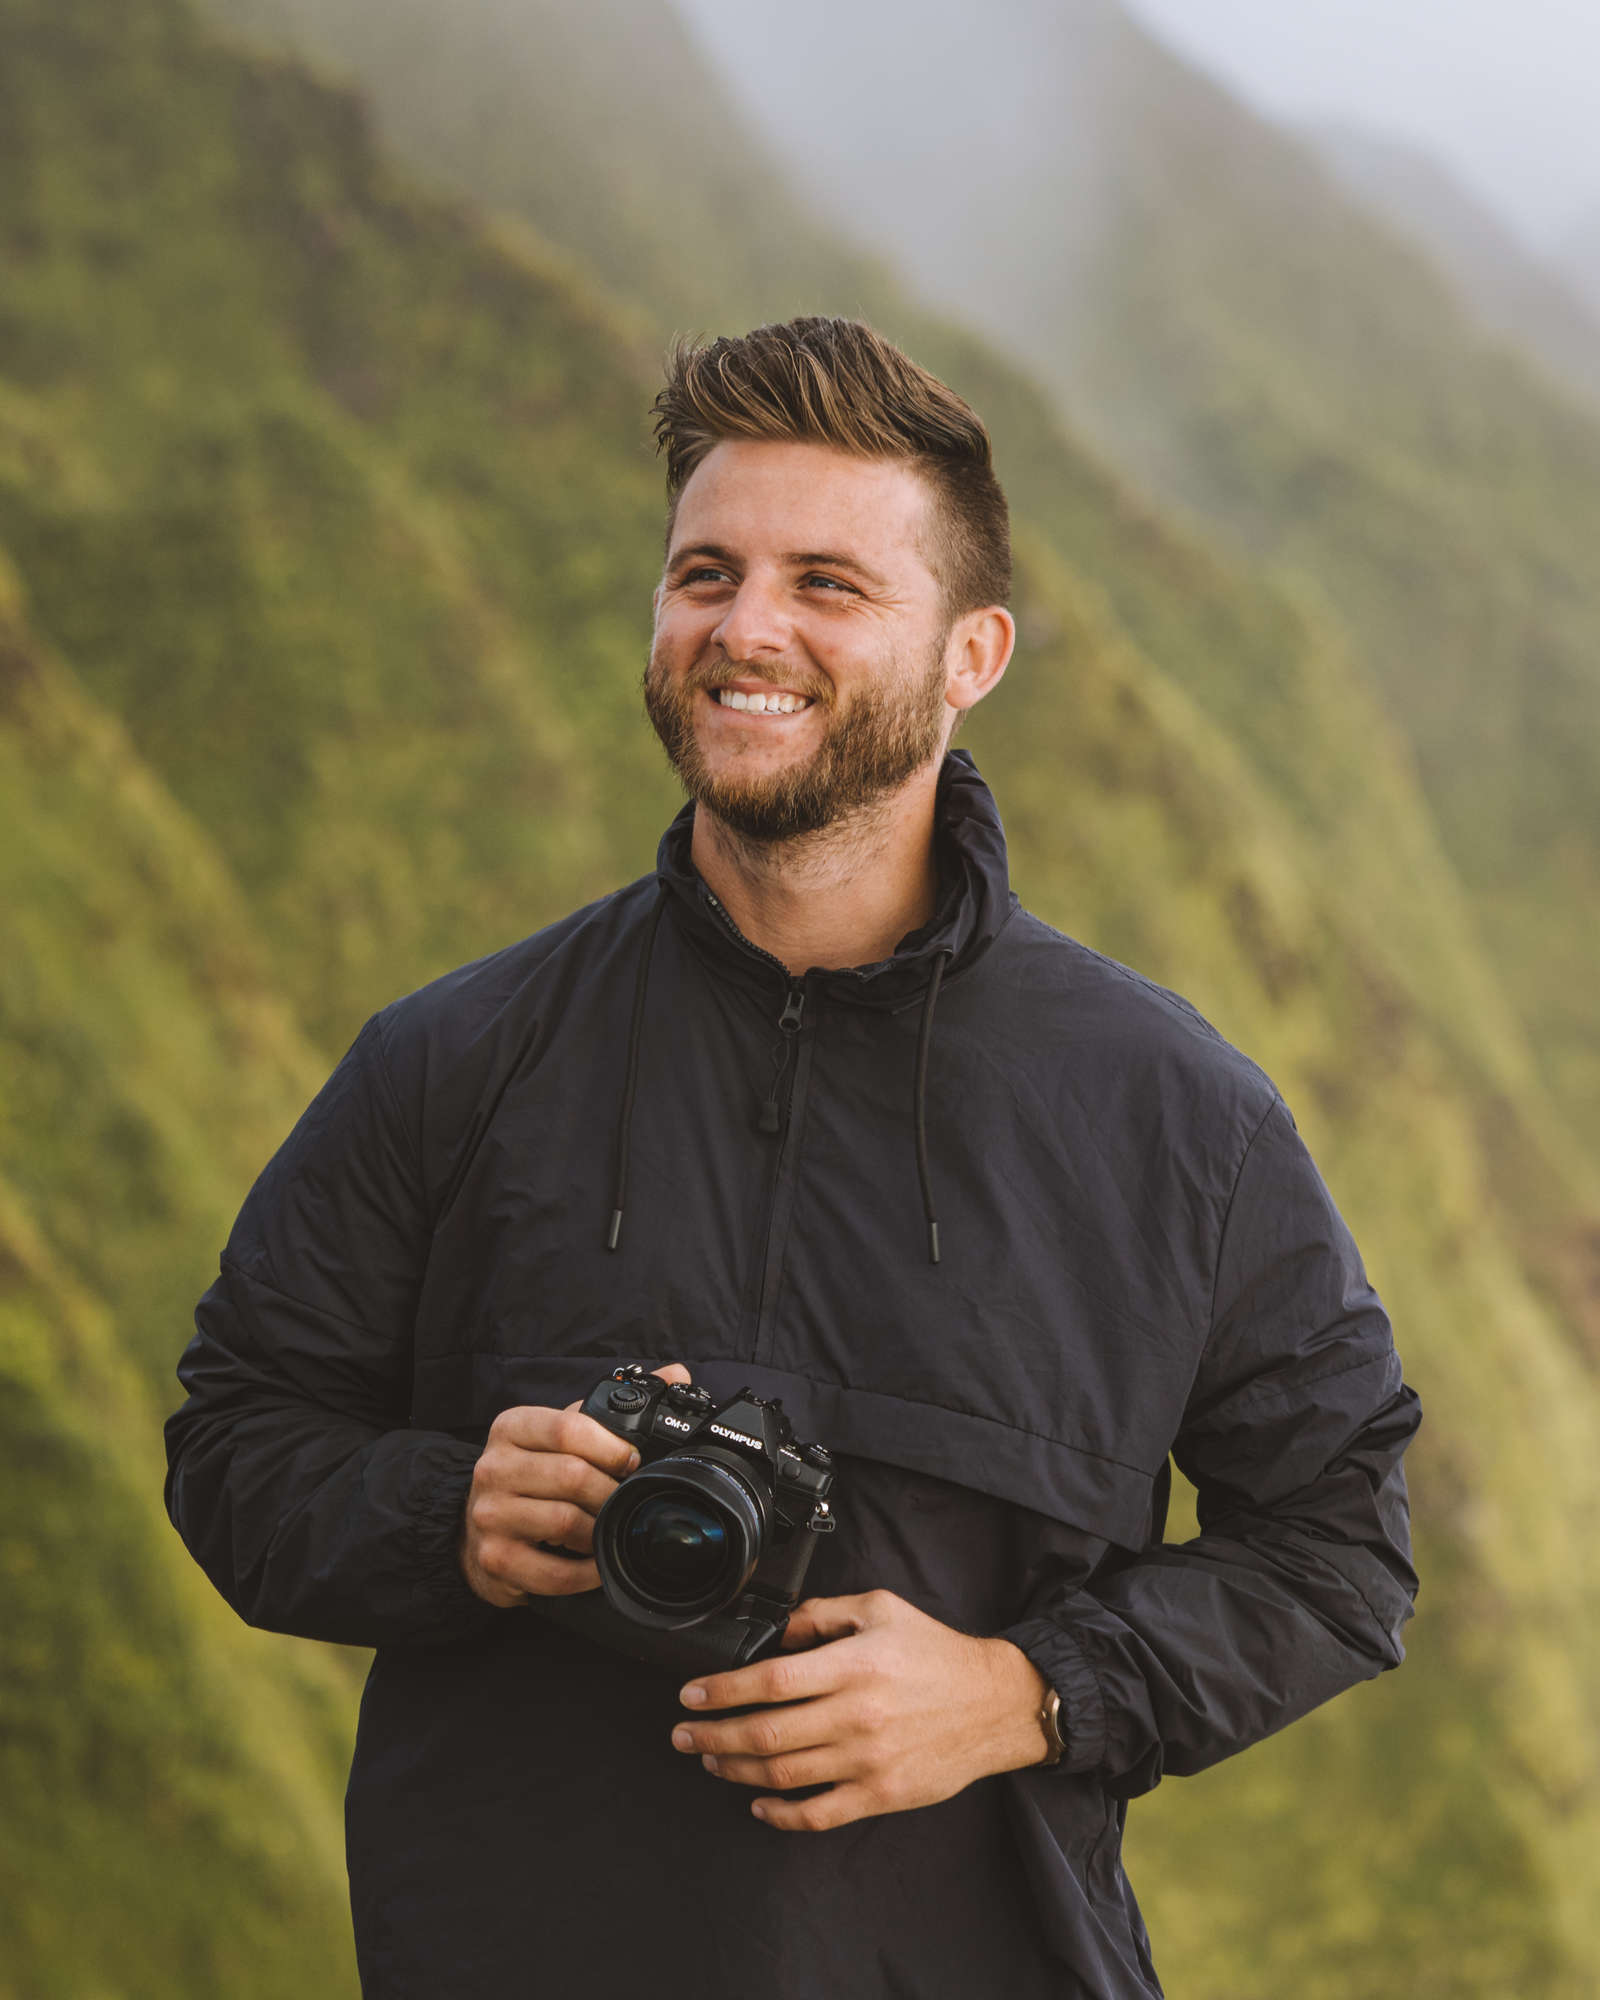
Have you ever wanted to adventure to Hawaii? Olympus Explorer Chris Poplawski walks us through his preparation for the photography trip of a lifetime to the Hawaiian island of Oahu, and share his tips for photographing the island.
1/200s | F2.8 | ISO 125
1/250s | F5.6 | ISO 200
Mapping Your Adventure
It's important to plan ahead as a photographer, to ensure you're not scrambling last minute for directions while trying to catch a sunrise and to make sure you know what to expect when traveling new places. As with every destination, I make a map (or a printed screenshot of Google Maps) to pin point all the locations that I want to photograph that I have collected via research. This is to understand places geographically, have detailed notes of what to expect, and when to explore certain areas.
Prioritizing your interests is also important when managing limited time, and it's always important to have a backup. Plans are almost guaranteed to change once or twice. In Oahu, it's easily to get soaked in with clouds or deal with scattered rain above you and sunny skies 15 minutes down the road.
Get an Early Start
If you're looking to capture the sunrise in Oahu, get ready for some insanely early mornings. I found myself waking up at 3am to reach a peak before sunrise more than I found myself laying on a beach for sunset.
One thing to keep in mind is that sunrise times can shift when you're in higher elevations, and it's better to give yourself extra time when hiking through the night as opposed to cutting it close.
When I plan on photographing a sunrise, I like to be packed up the night before, have my outfit laid out, and aim to walk out the door within 10 minutes after my alarm. Everyone moves differently, so plan accordingly.
Golden hours are my go to hours. But, your map will help you decide your course of action.
1/320s | F3.2 | ISO 200
1/200s | F5 | ISO 200
Camera Gear?
After evaluating my plans for Oahu, I decided to bring a few options for the trip.
- 2 Camera Bodies
- 3 Lenses
- 4 Extra Batteries
- HLD-9 Battery Grip
What's great about utilizing my Olympus gear is that it's some of the lightest gear I've ever traveled with, and these lenses offer the range I needed for Oahu. Constantly remind yourself that 'Composition is Key' and no matter the location always be prepared to shift lenses in the moment to work your creativity.
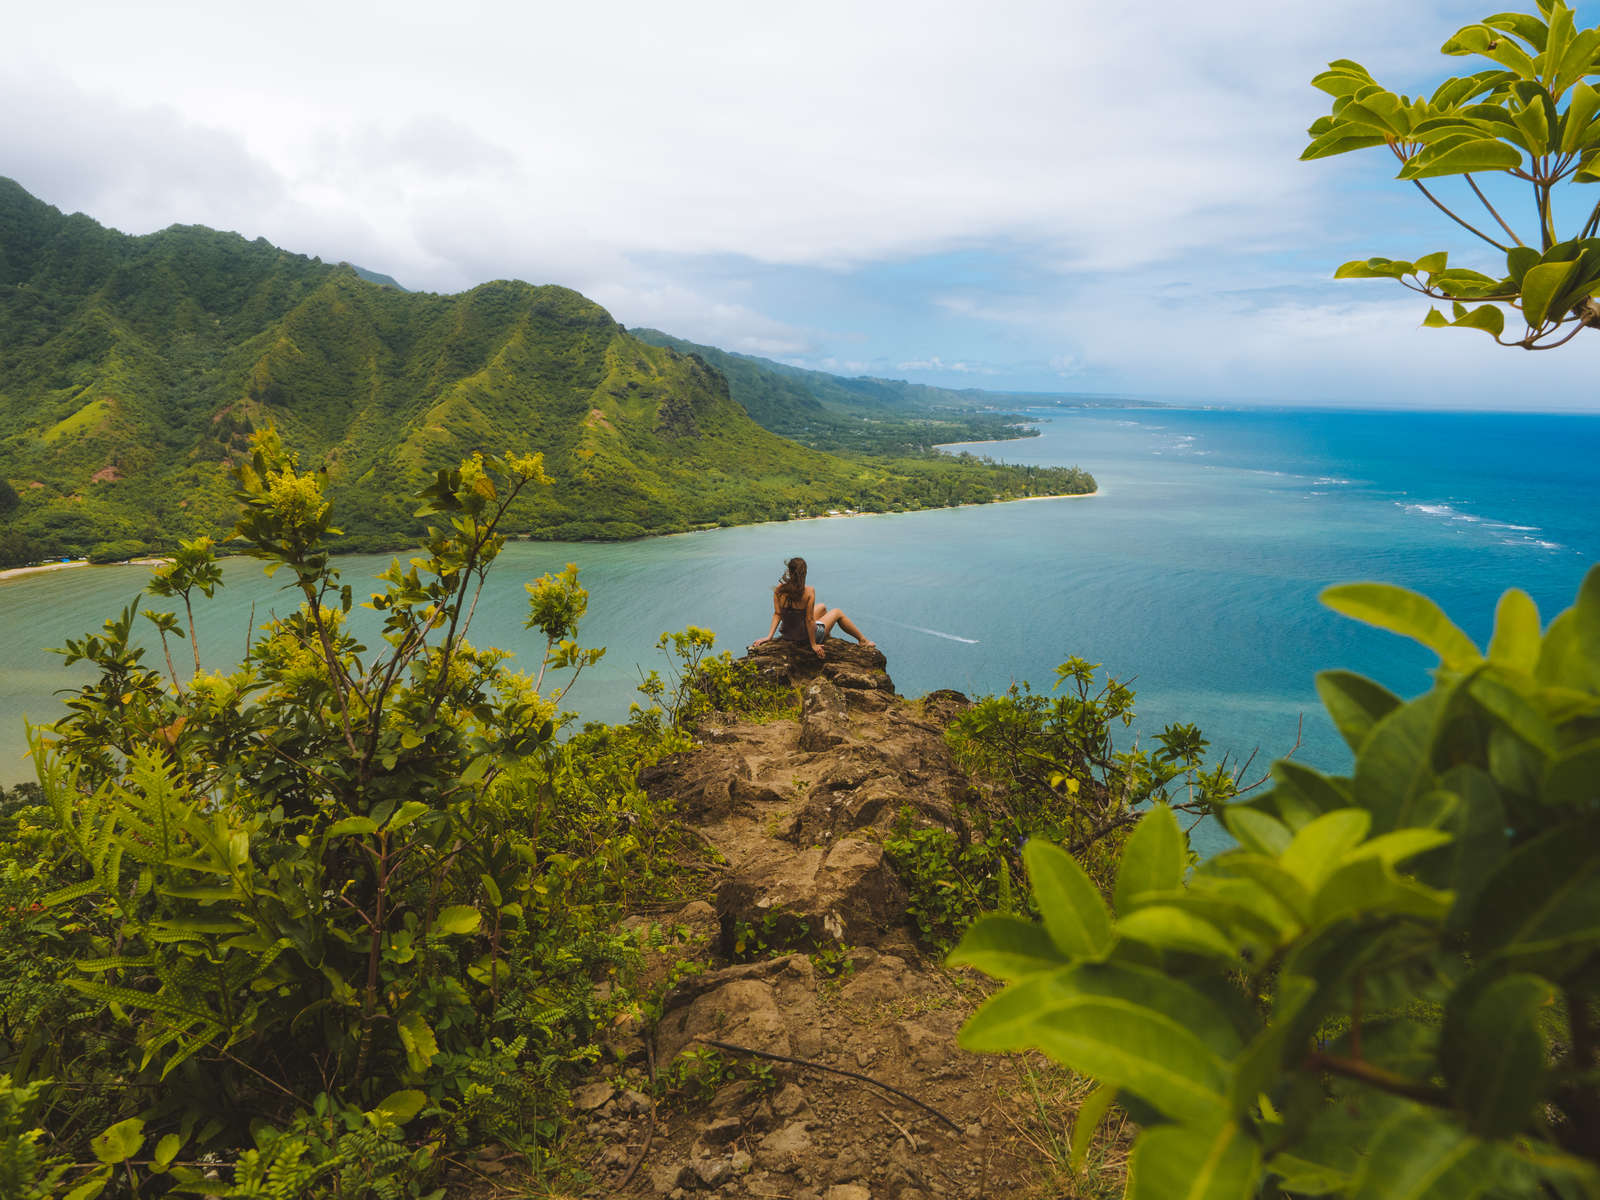
Still a Vacation
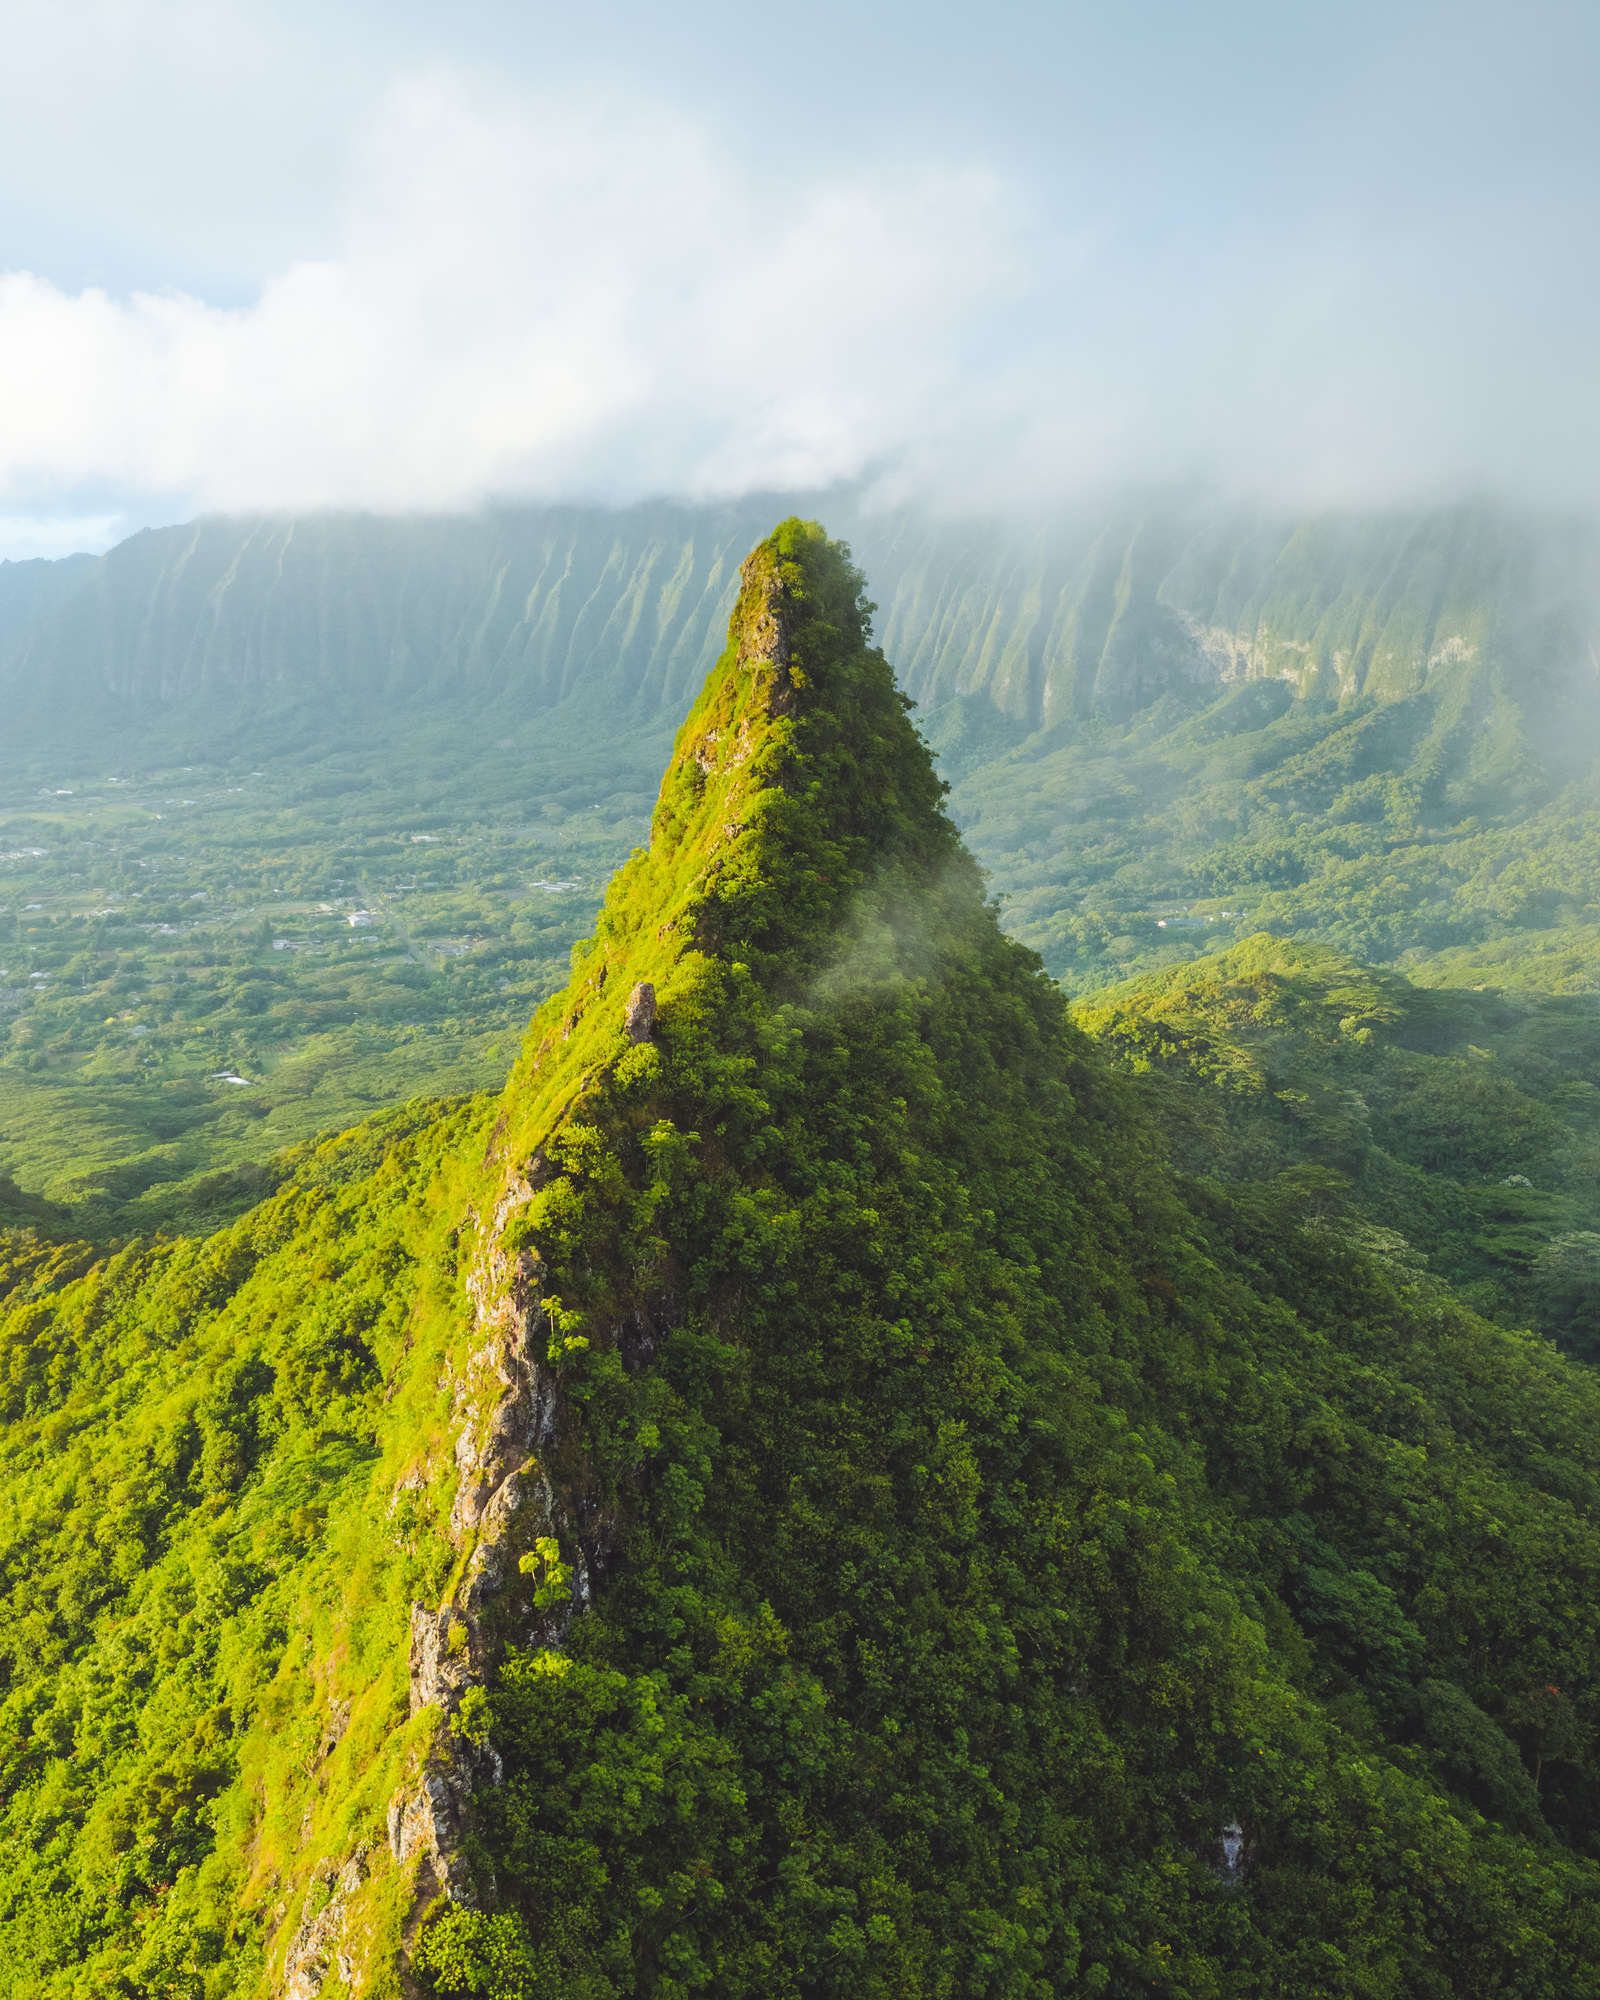
Although I personally choose more mountain tops over beaches for my trip, this doesn't mean you may want to do the same. There are beautiful beaches around the entire island, with views that will take your breath away. I usually stick with my M.Zuiko 7-14mm PRO for most landscapes, but I keep an open mind creativity. In this particular setting, I went with a longer zoom lens, the M.Zuiko 12-40mm PRO and maximized my zoom ability at 40mm. This allows me to pull in the epic mountains in the backdrop and emphasis the scale in comparison to my human subject.
This shot was photographed during the day when clouds tend to hang out, providing shade from the pounding sun while offering a nice, soft light on the mountains.

1/640s | F3.5 | ISO 200
1/800s | F3.5 | ISO 200
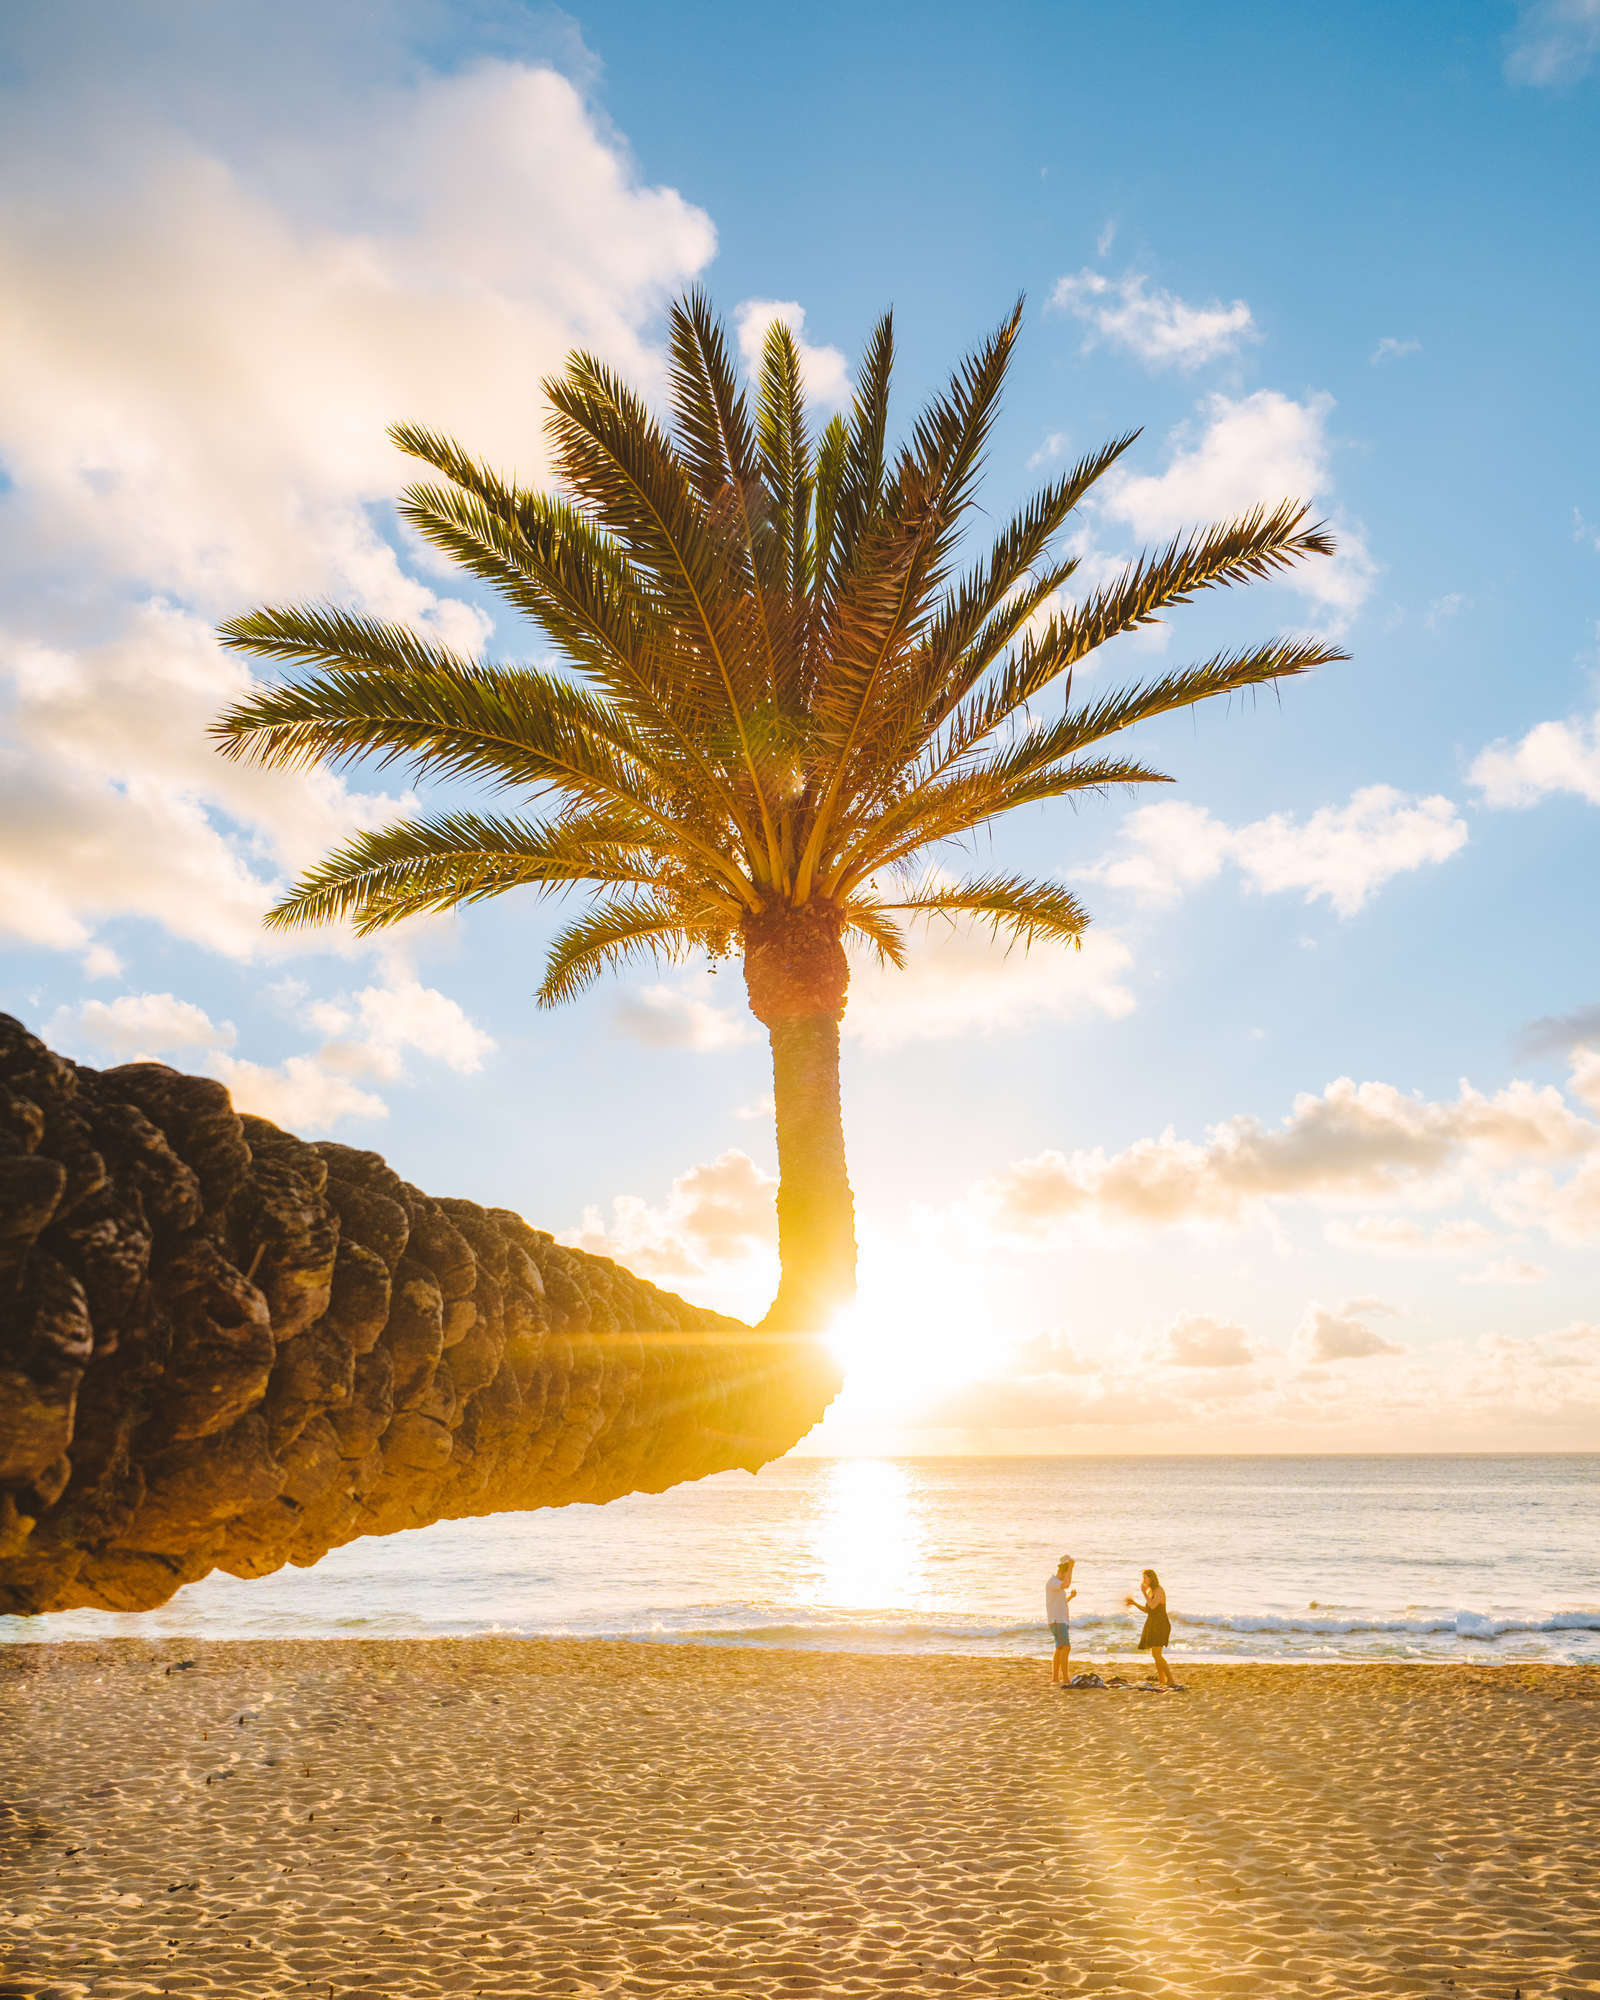
The North Shore
They don't call this "Sunset Beach" for nothing.
This side of the island is where you want to chase light into the sunset. The beaches first attract you to it, but the atmosphere is what makes you want to come back. It's a laid back surfer town with personality everywhere. There are 7-miles of beach famously known for legendary surf breaks - and one of the best places to crash the party with an M.Zuiko 40-150mm lens. Bring your arsenal though, as lone palm trees are scattered among beaches and a wide-angle lens, like the 7-14mm, will come in handy as the sun falls.
P.S. Find a food truck, try whatever you crave most. Acai bowls were my favorite.
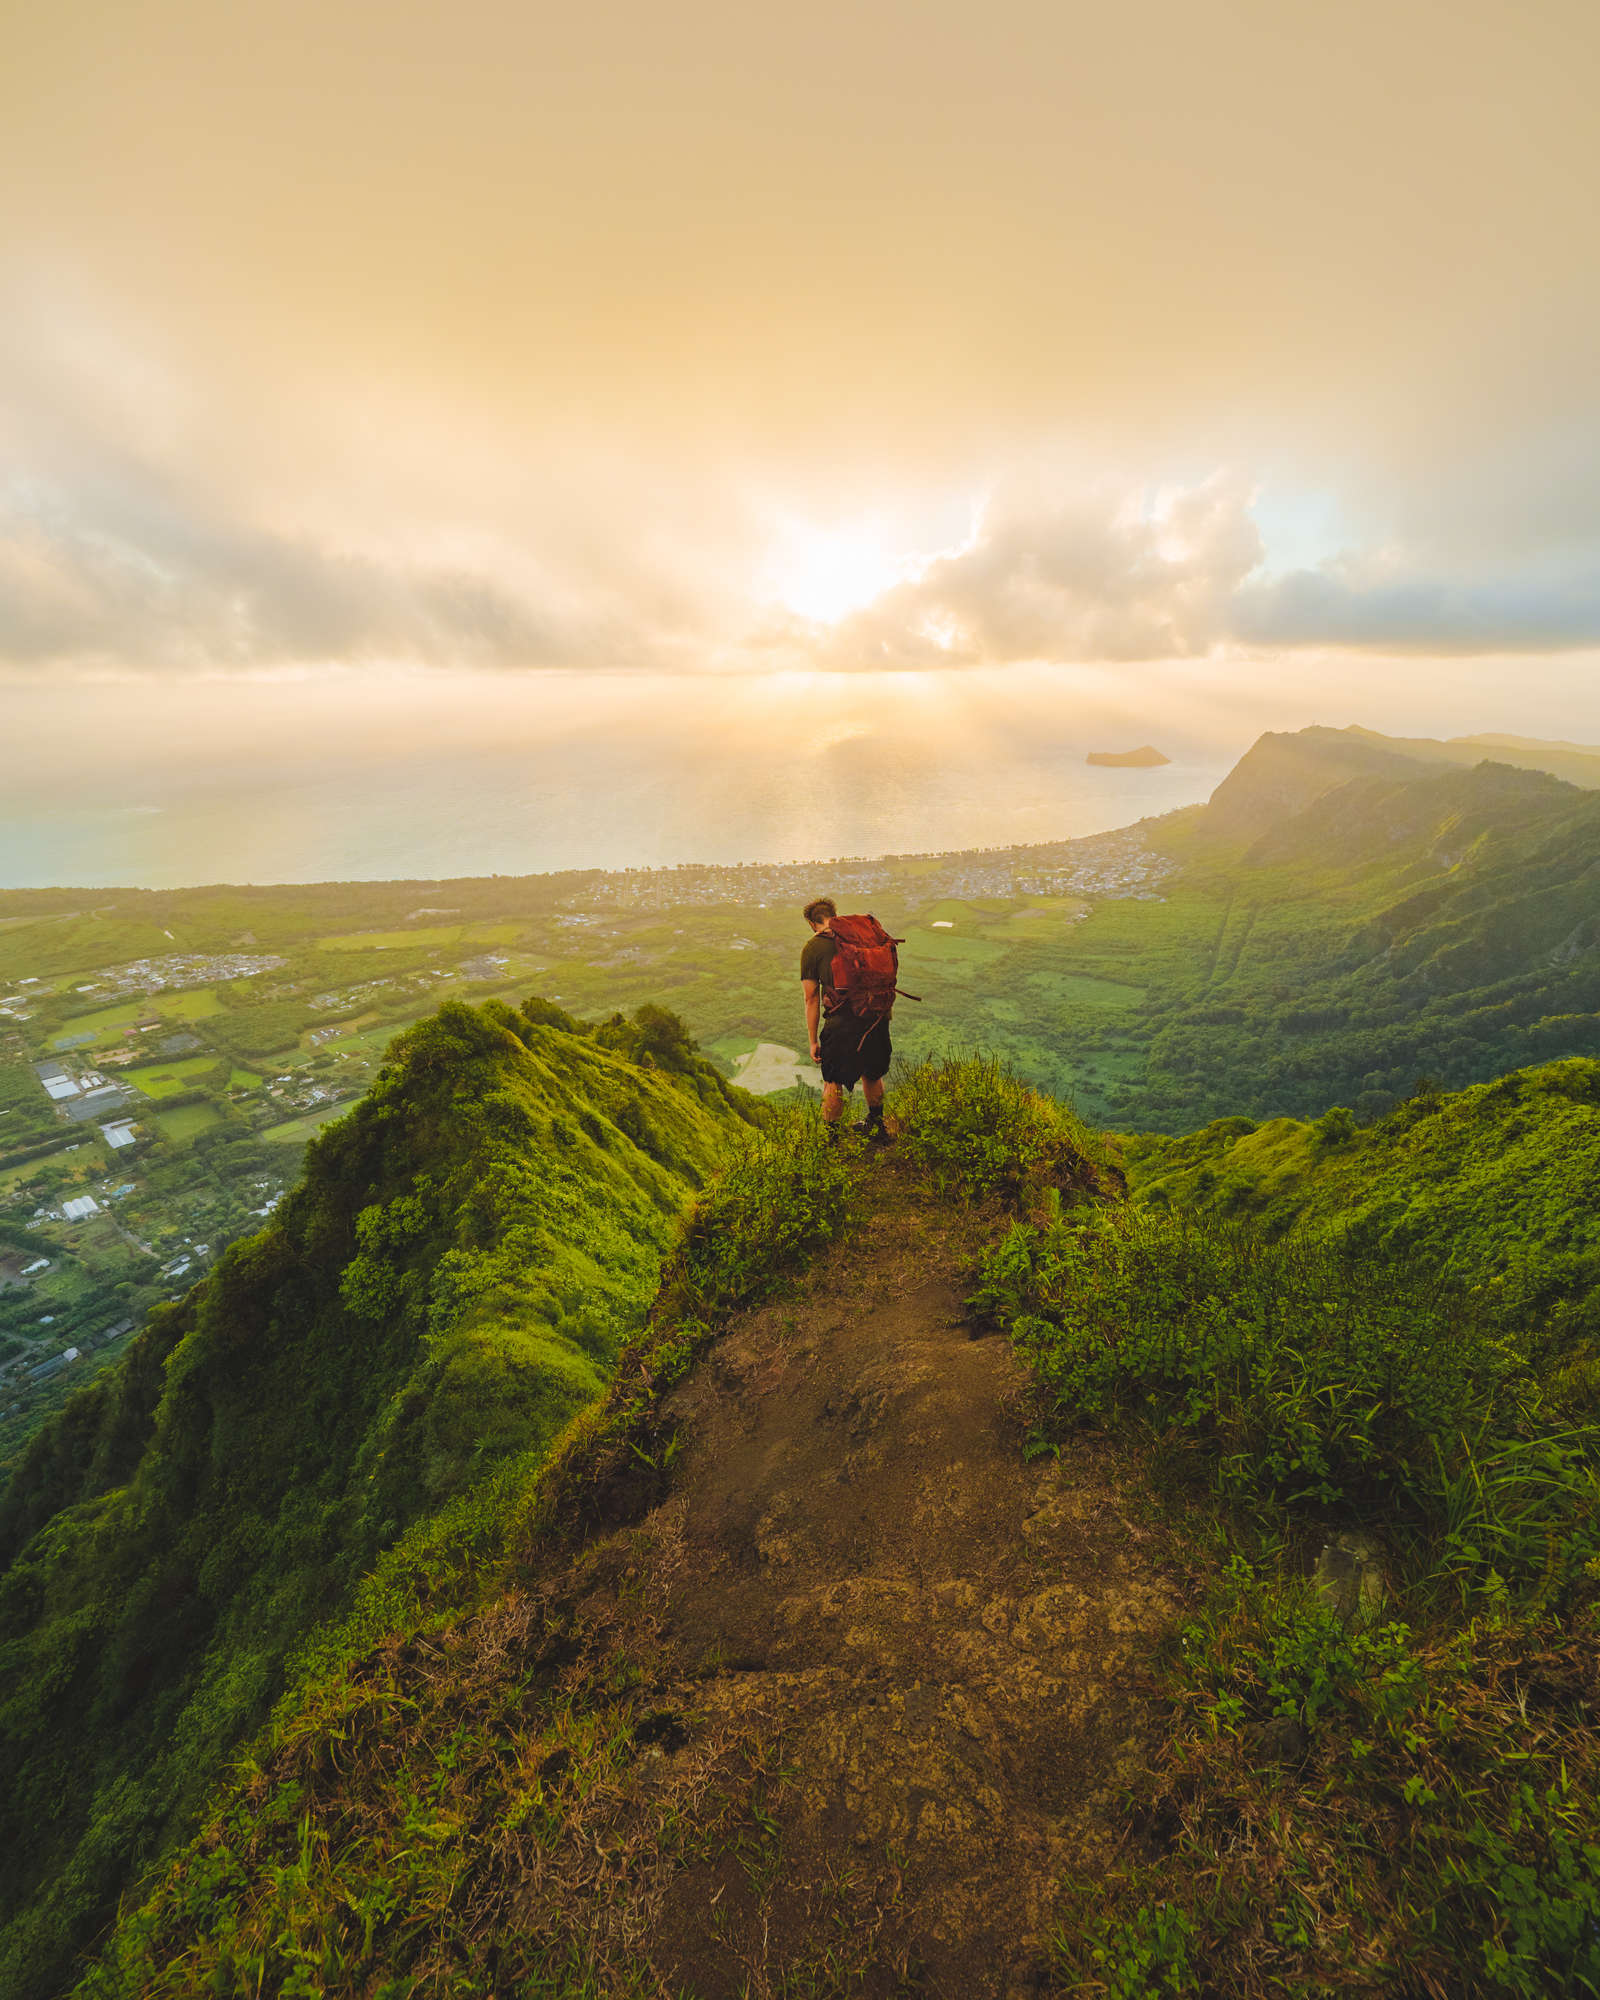
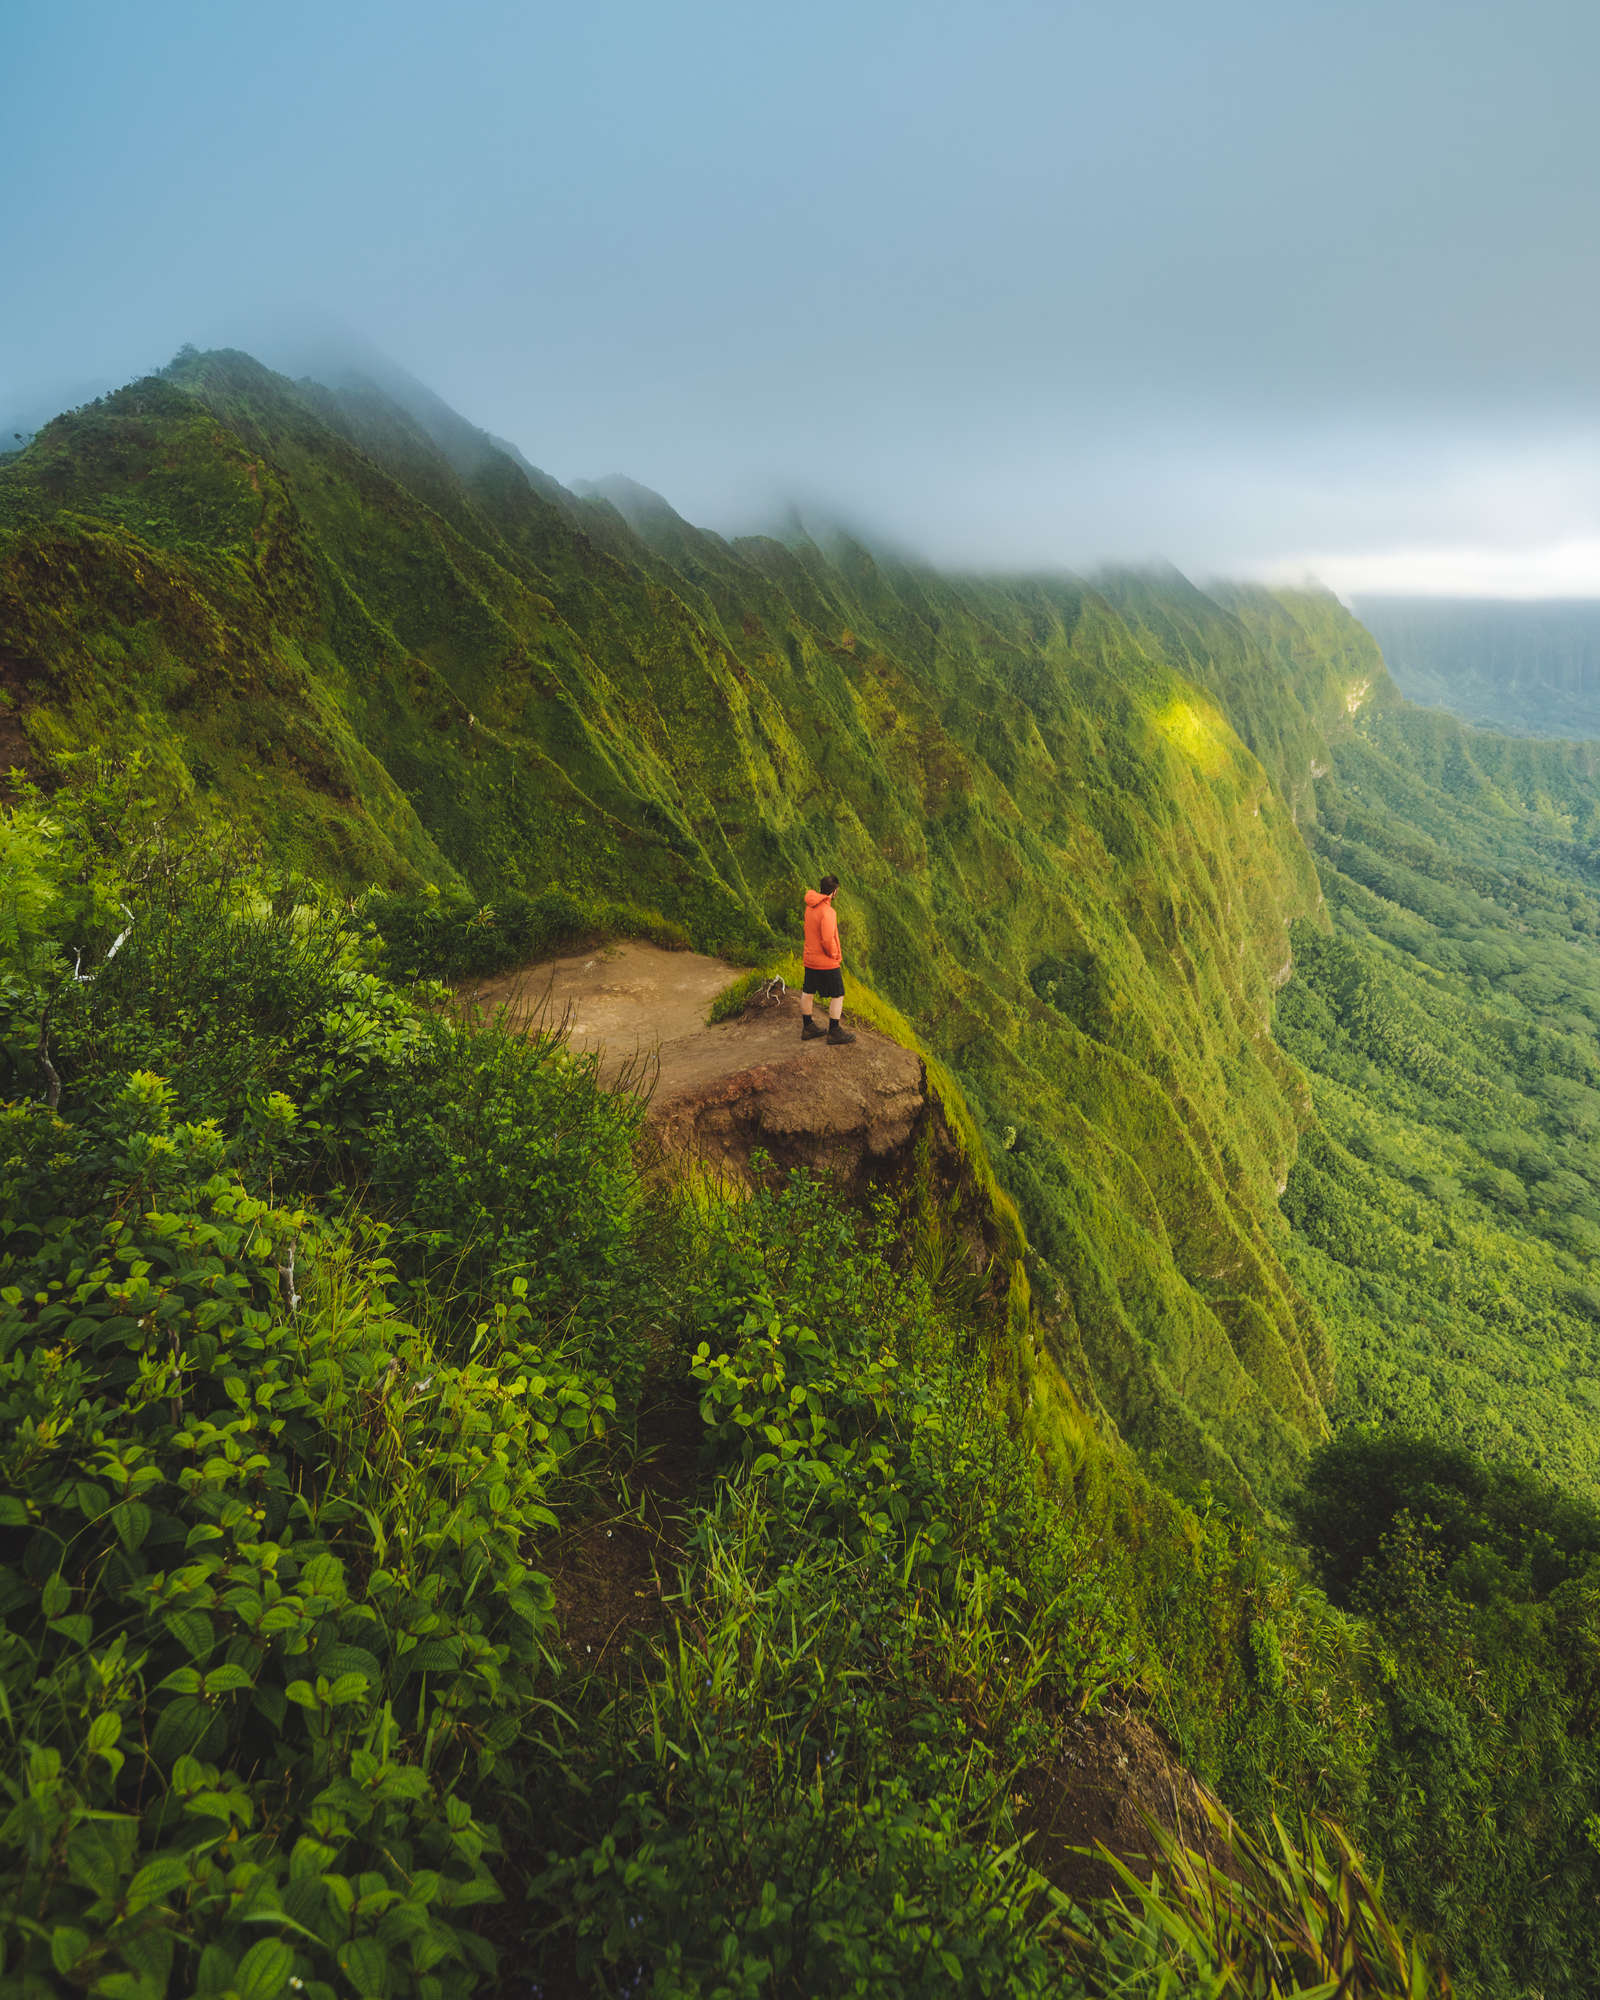
Work for the Reward
So, lets move onto hikes. Having hiked in both Kauai and Oahu, my advice is to brace yourself for sheer drops, muddy trails, straight uphill battles, and always have ropes to help pull yourself up rock walls. Don't let that scare you though, because the views are worth every ounce of fear and drop of sweat. And regardless of your skill level, there are plenty of options to hike.
95% of hikes on Oahu are sunrise locations and most trailheads start in residential neighborhoods. This can mean 3-4am wake up calls, so head lamps are a must and micro spikes should strongly be considered.
If you're starting out in the early hours, be mindful of residents. Keep your voices low this early, softly close doors, park 3-5 feet away from driveways (fines are possible), and disappear onto the trail.
1/500s | F3.2 | ISO 320
1/80s | F3.2 | ISO 200
Safety First
I would encourage everyone to research the trails they plan on hiking beforehand. Some are illegal for your own safety and you can get ticketed, other trailheads are nearly impossible to locate, and some are worn down greatly over the years. Research multiple sources, or find contacts for local tour guides - for my trip I worked with @mike.karas.
Believe it or not, there is a legal way to hike the Haʻikū Stairs - which are also known as the Stairway to Heaven. This route is on the backside of the mountain, not on the "stairs" themselves. As of now, the stairs can pose a serious risk to your life and bank account. (Disclosure: I did not hike nor attempt to hike either route on this trip.)
And perhaps my biggest two tips:
- Monitor the weather. You want to be very careful hiking during and after it rains. And I mean that.
- Do NOT leave anything in your car. I have to acknowledge this and wish I was more aware before I visited - but car thefts are common. It happened to us, it can happen to you.
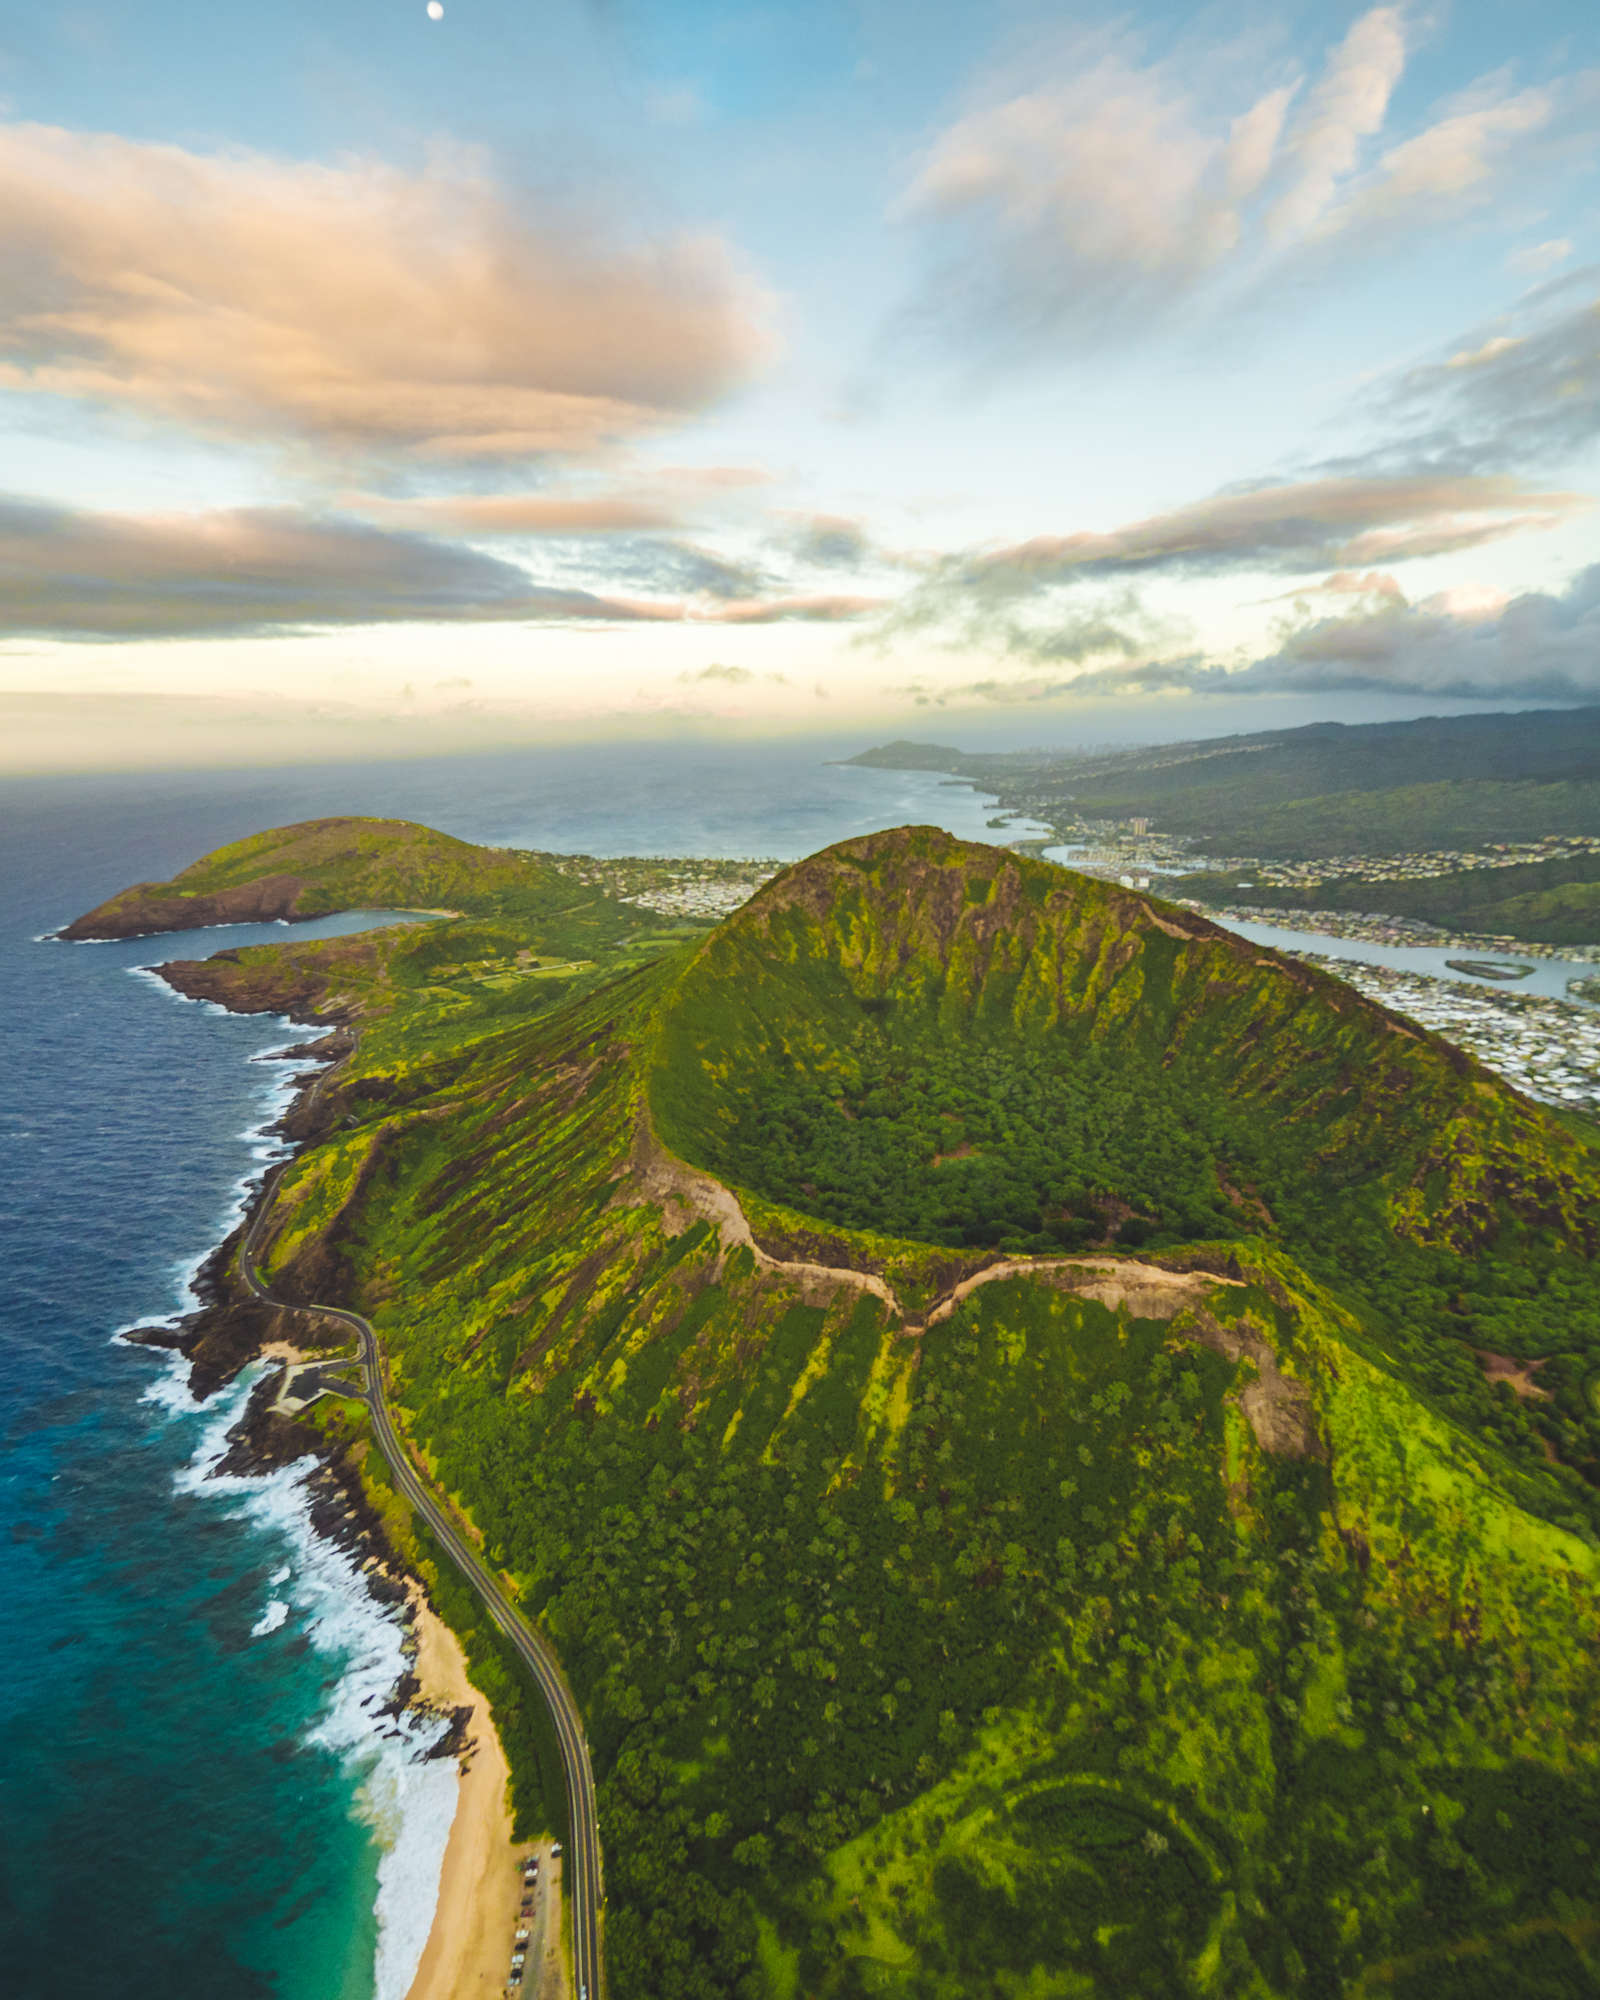
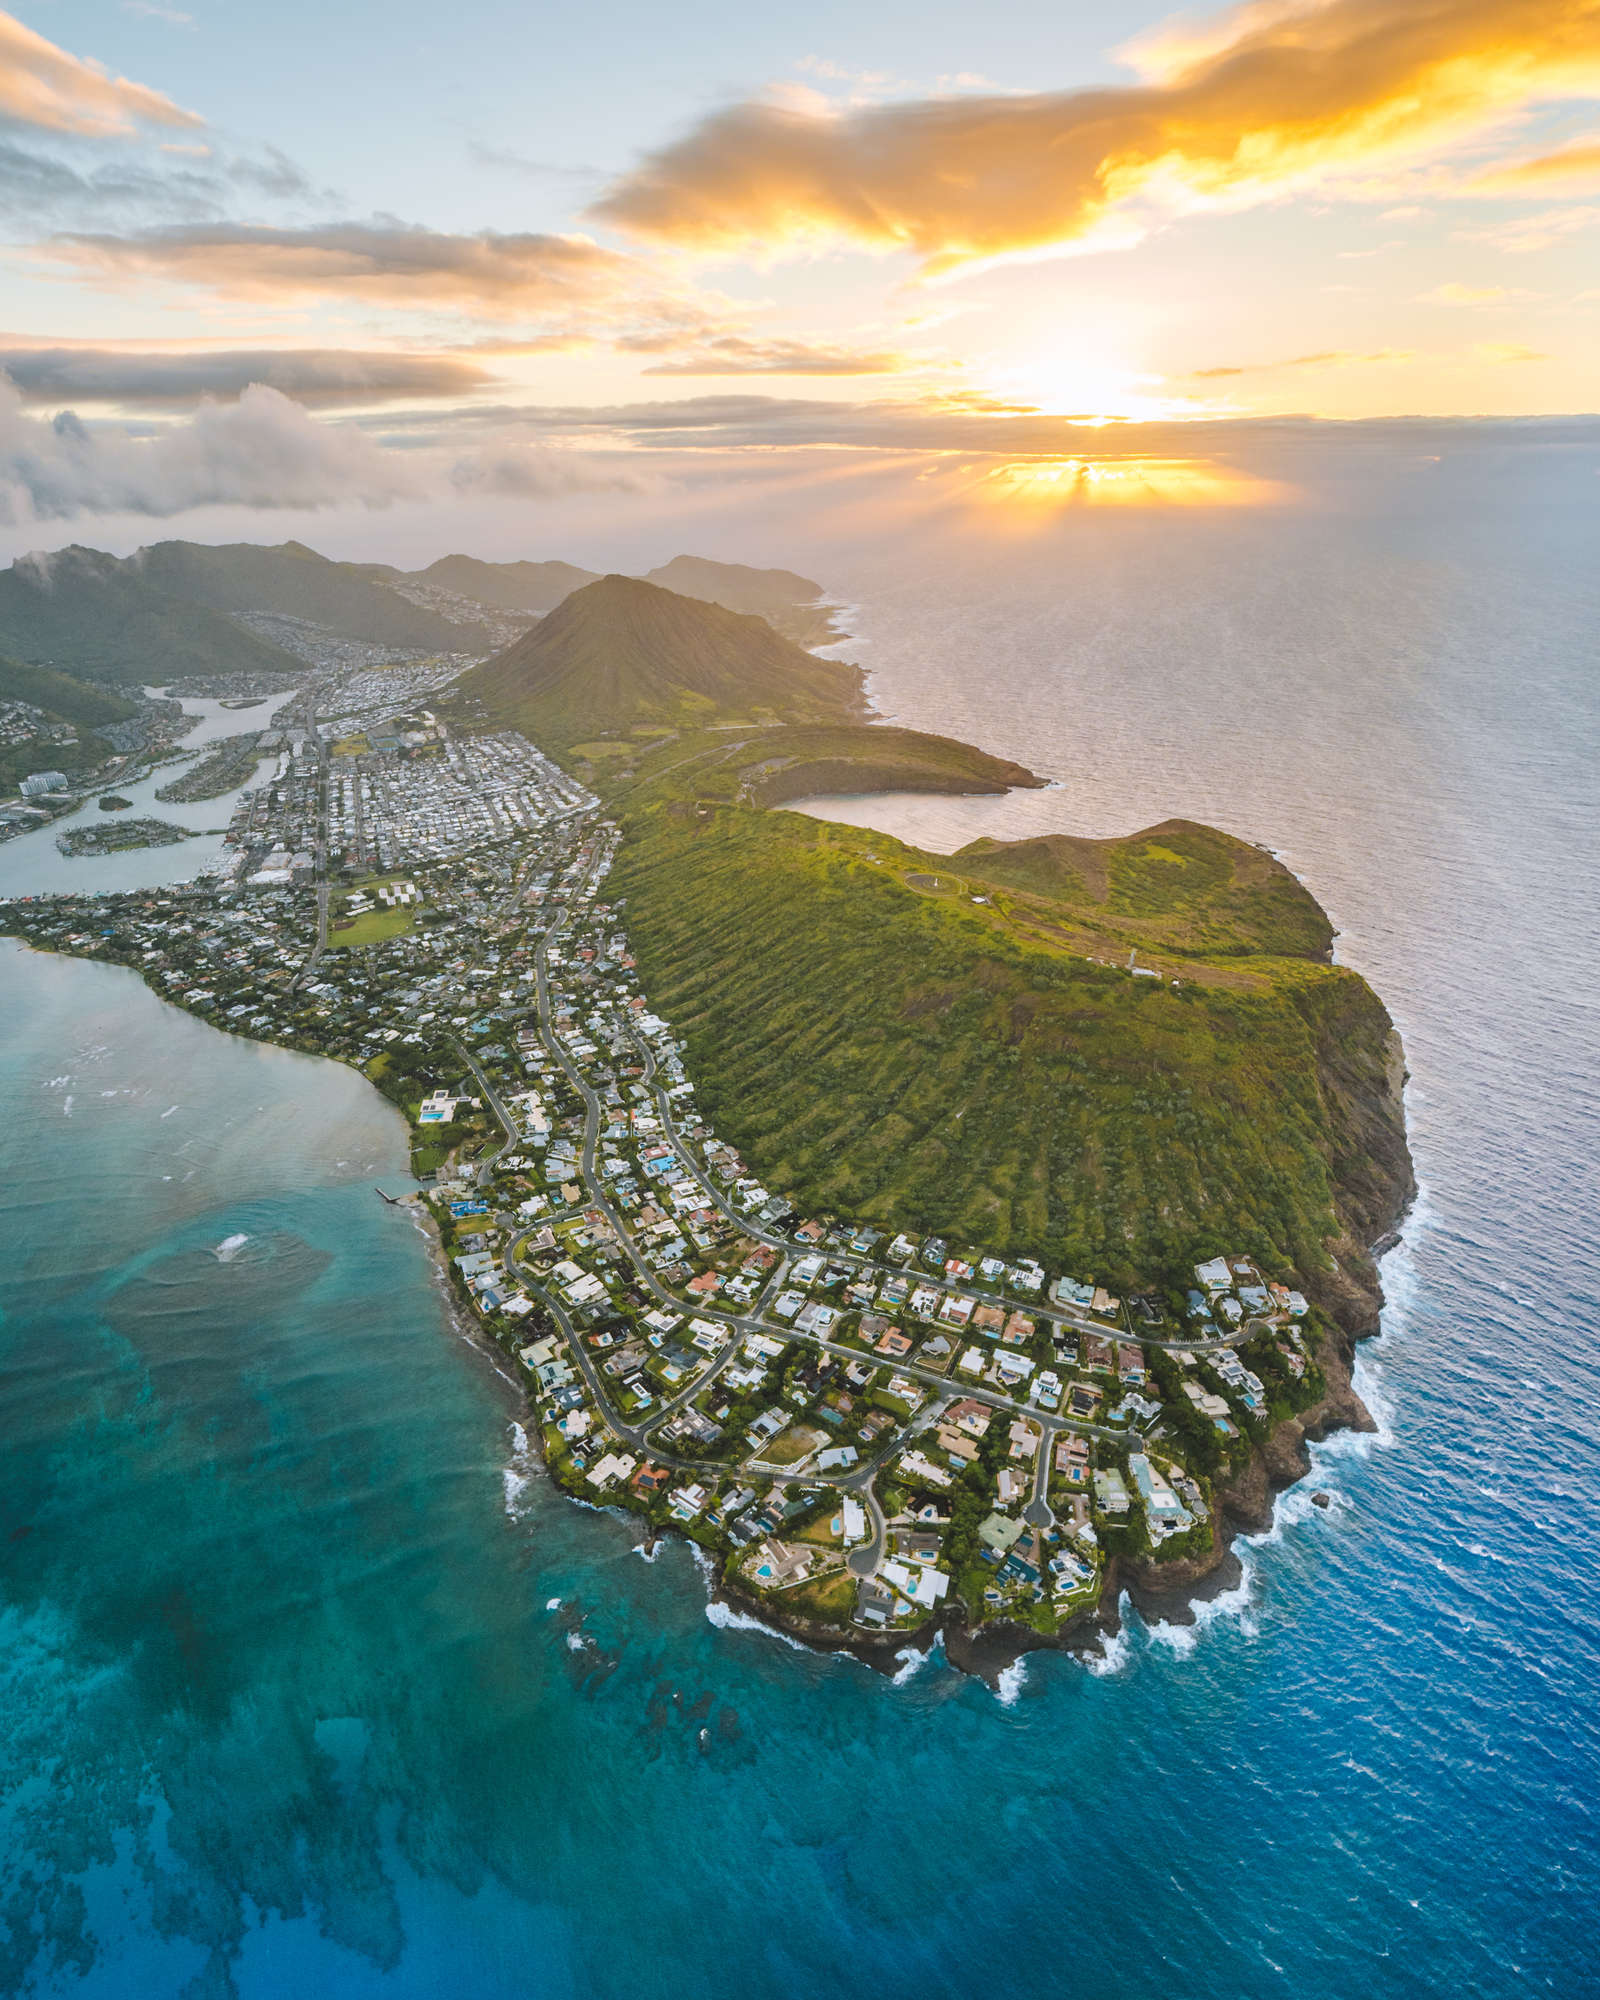
Booking a Helicopter Flight
When in doubt about hiking conditions, one option is to hire a helicopter company. This was easily my favorite experience on the island. You see everything from an entirely new perspective and, in some cases, get to craft your route. We flew doors off with Mauna Loa Heli Tours during sunrise, and let me tell you - few things compare to the morning sun hitting your skin while flying with the wind sliding in and out of the helicopter. We arrived early, had an extended conversation with our pilot, and made it noted how we'd like to approach our time in the air.

1/400s | F4 | ISO 64
1/250s | F3.2 | ISO 200
Better Prepared Than Sorry
If you are able to take a helicopter tour of an island, it's impossible to change lenses while flying "doors off." So I prefer flying with two cameras, my OM-D-E-M1 Mark II and the E-M1X. As I used a combination of my 12-40mm PRO and 7-14mm PRO lenses, holding both and switching cameras instead of lenses mid-flight.
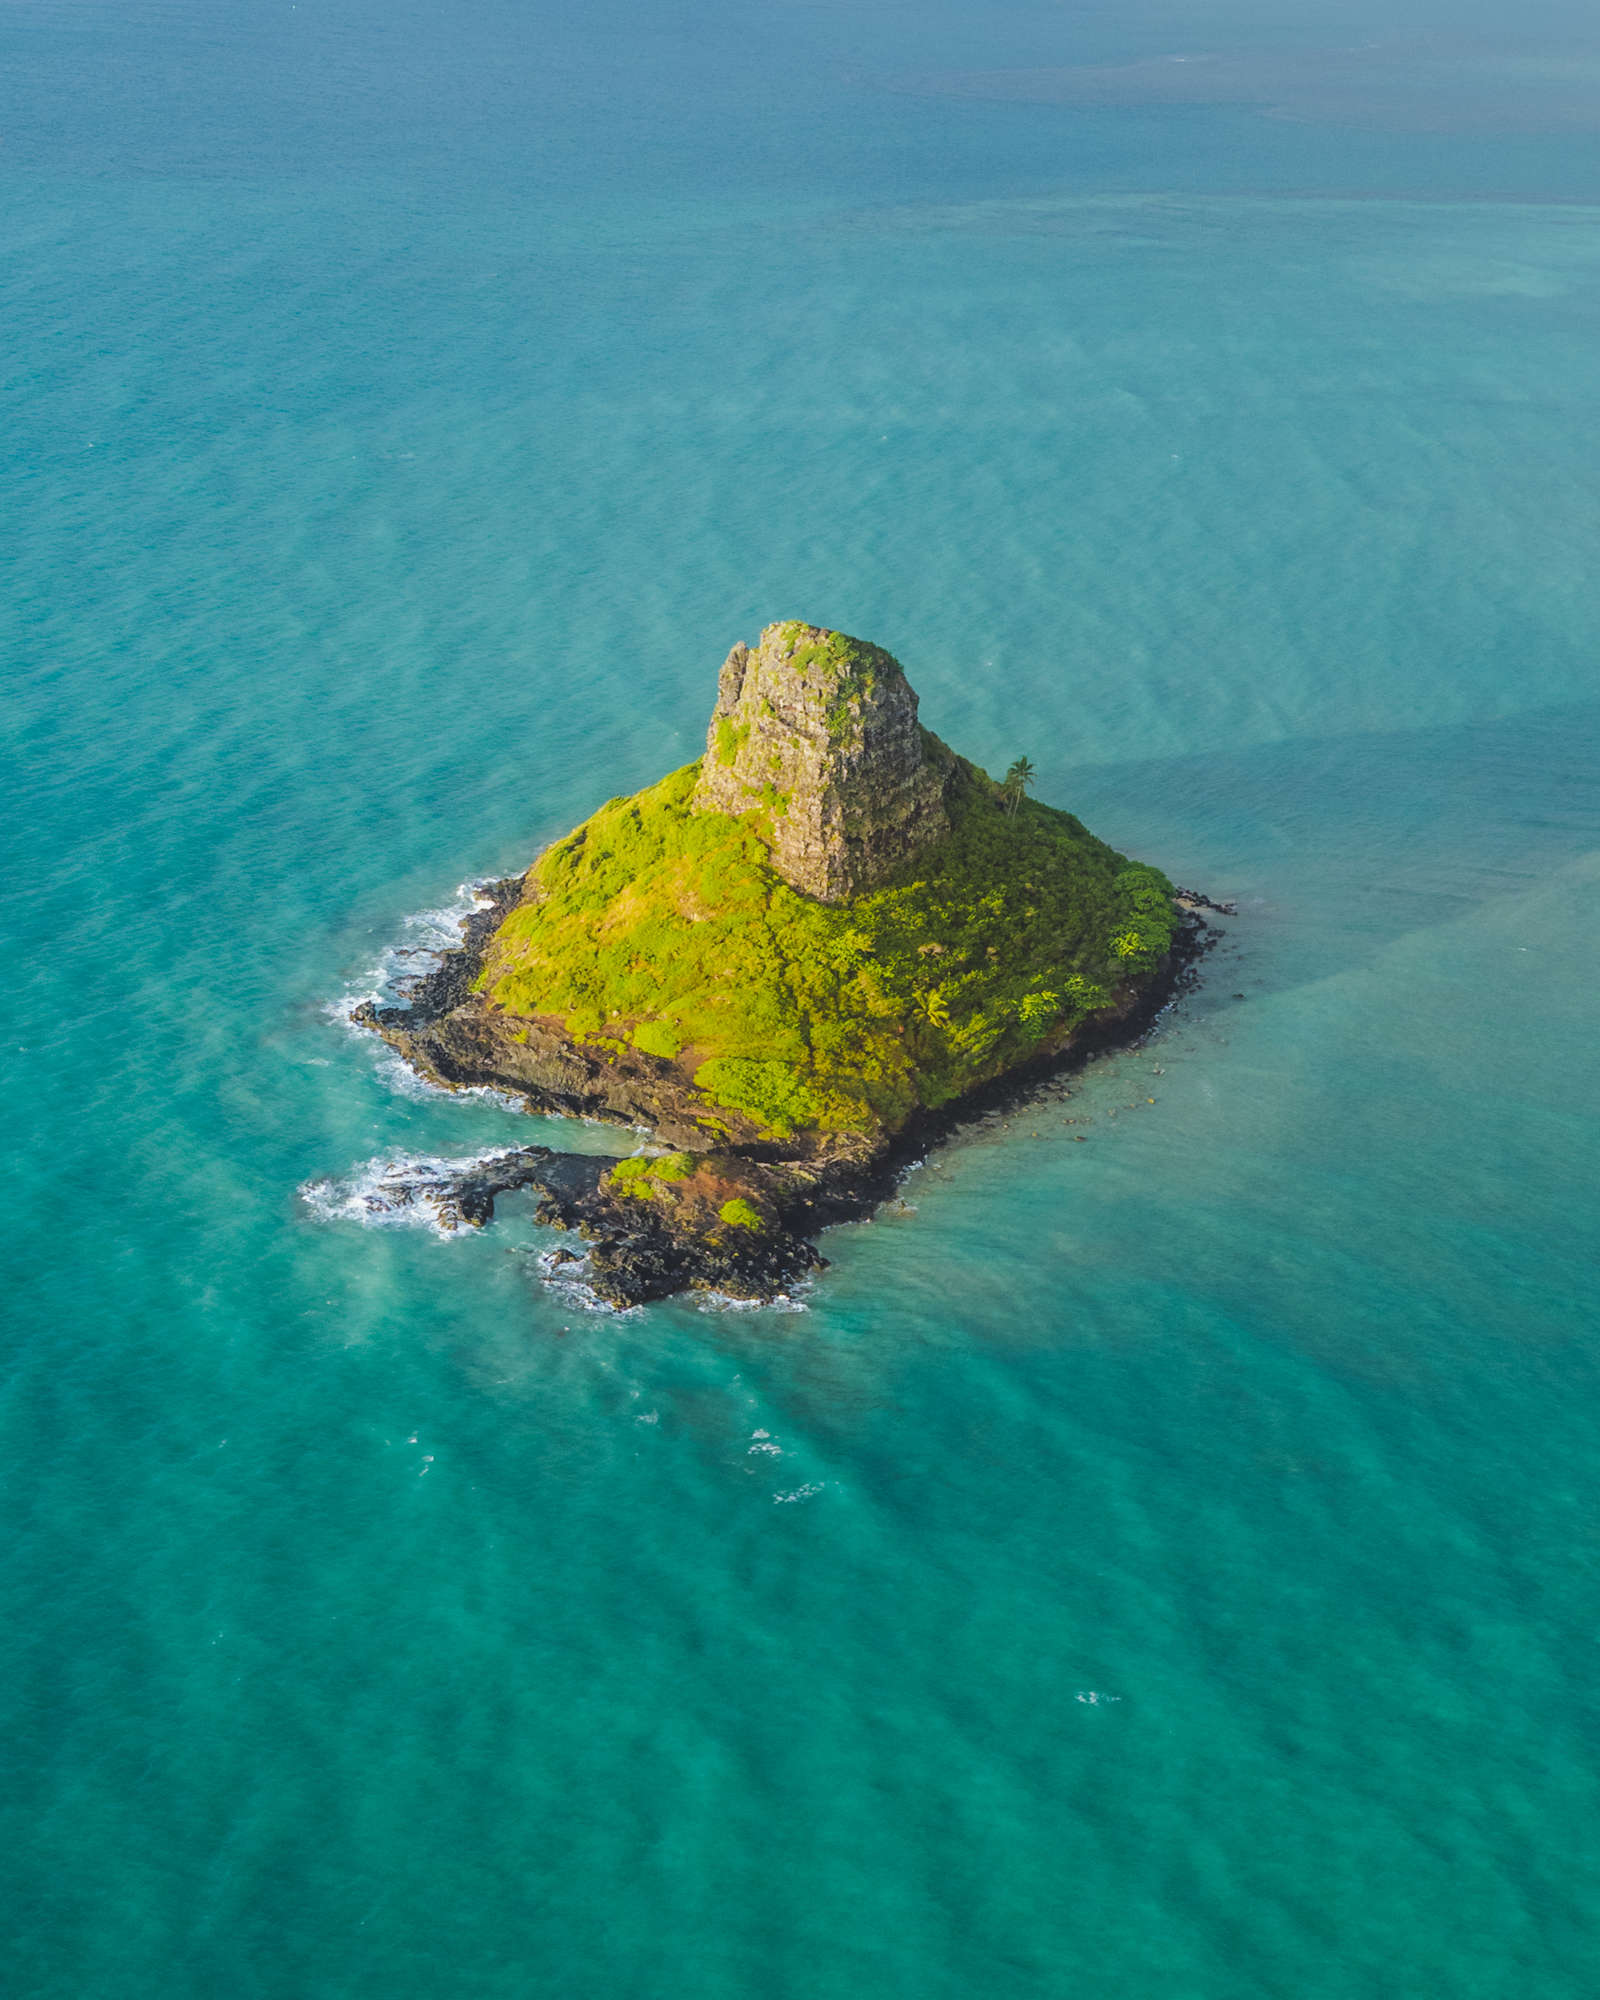
It's vital to communicate with the pilot in the air, helping guide them to the angles you're looking for. Much of the time, it's quick fly-overs so be ready to act fast on your vision. You're lucky to get 1, sometimes 2 circles around a point of interest.
Lastly, you are in a tropical climate, so a wind breaker will do the trick during an hour flight.
Don't Forget the Details
Oahu is enriched with beauty, from the ocean to the hikes to the aerial views. These massive views tend to pull in a photographer so deep, that you can get lost within the landscape.
So, I always try to remind myself to stay on guard for the little details. Equal in beauty and opportunity, this little island offers a wide variety of foliage that compliment photos beyond measure.
Leaves, flowers, grass - whatever it may be, mess around with your composition. Lay down in the mud, crouch behind some wild flowers, use stagnant greenery to create a foreground that will introduce a new dynamic to your work. More than anything, this is what I look out for to compliment my landscapes, and I almost exclusively shoot at F2.8 to achieve the look I'm going for.
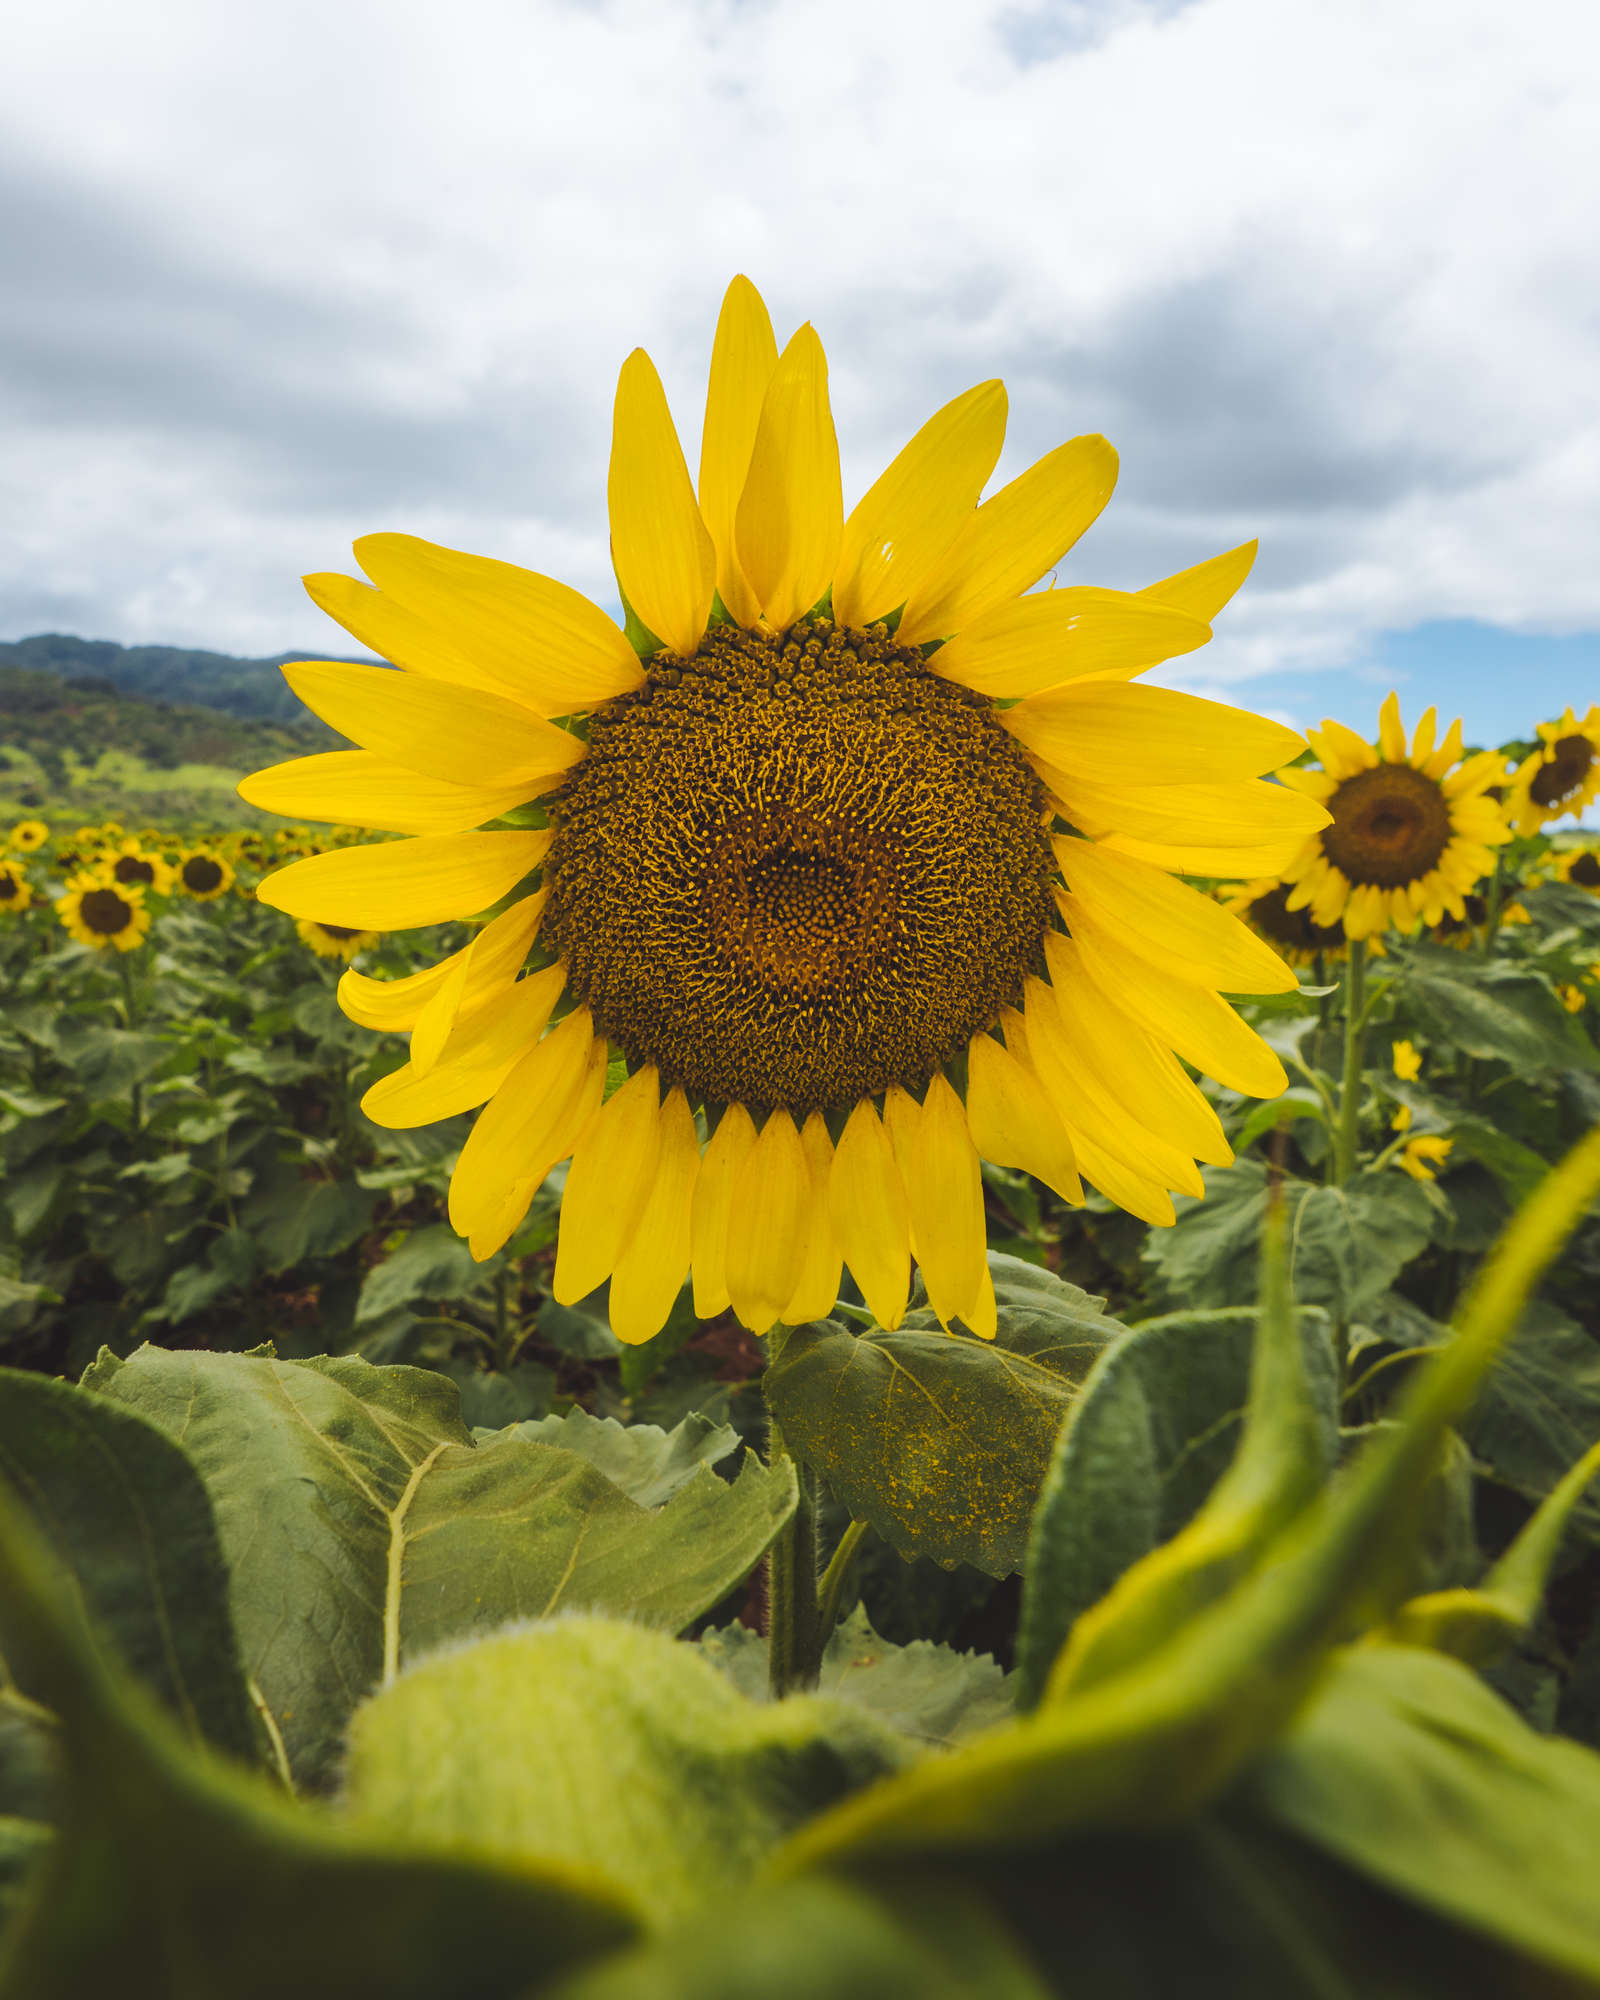
1/400s | F7.1 | ISO 200
Final Thoughts
One of my favorite things about being a photographer for a living is that there is never a short supply of things to do. You can be anywhere in this world, you can flip any thing you are passionate about, and use it as an opportunity to get creative with a camera in your hand. I'm an adventure enthusiast always in search of the next place to create. And I can confirm, Oahu is the adventurers paradise.
1/800s | F7.1 | ISO 200

Instagram: @chrisroams
Chris Poplawsk is a Southern California native who loves experiencing new landscapes and engaging with wildlife in their natural element. While his life's work is mainly dedicated to travel and brand photography, he also spends my time building relationships with couples and people around the world to capture their love stories.