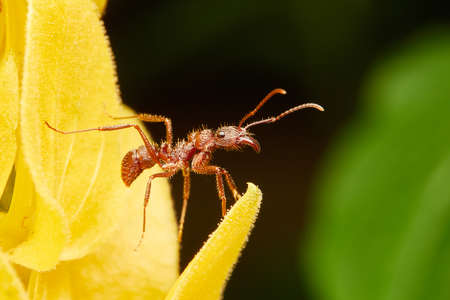
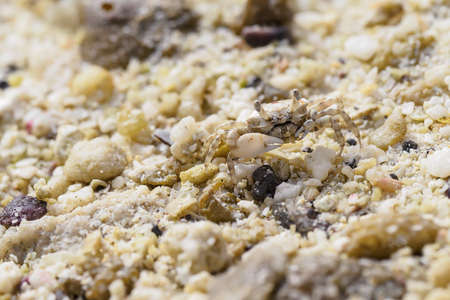
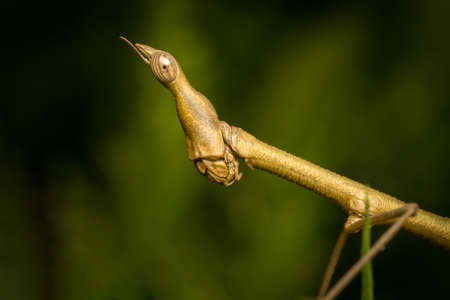
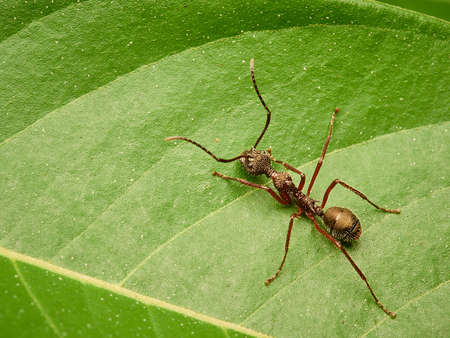
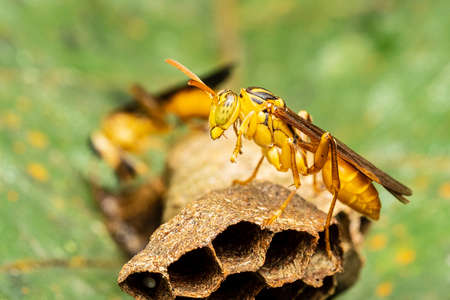
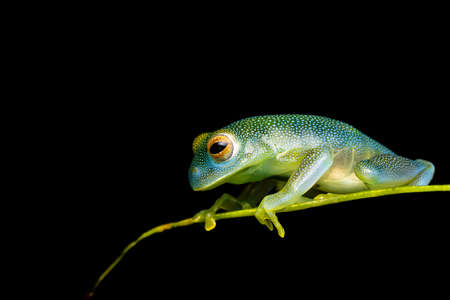
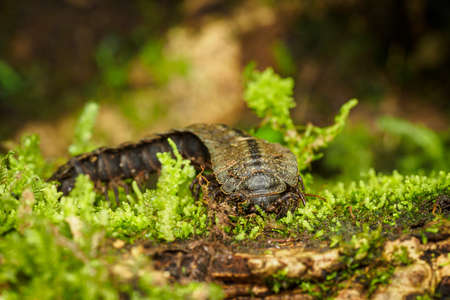
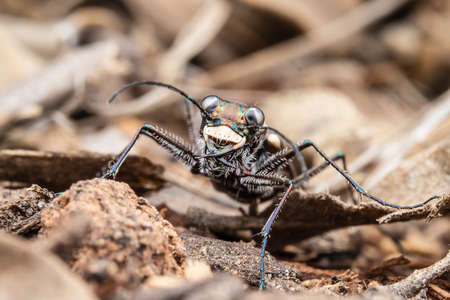
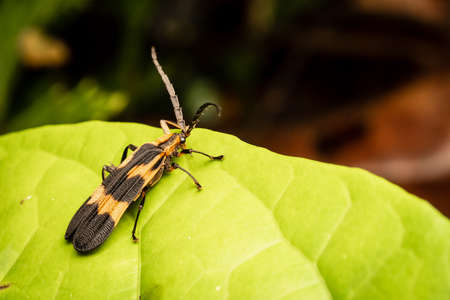
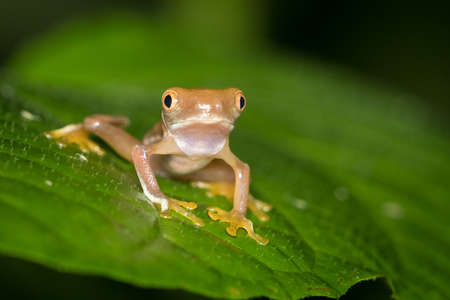
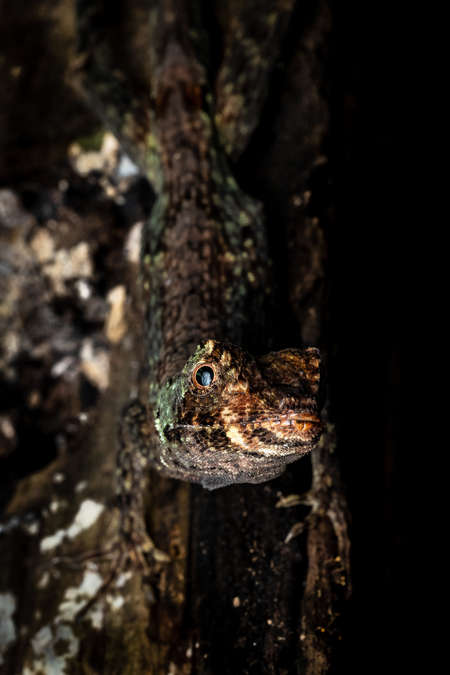
With many people socially distancing themselves for the coming weeks, this is a chance to take time and explore nature in your own backyard. Macro photography is the perfect excuse to go local and look for the little things that you often pass by unnoticed such as beetles, flies, flowers, mantids, caterpillars, butterflies, frogs, and so much more.
Slow Down
Macro photography is the perfect type of photography to really begin to observe in whatever environment you find yourself. Whether your local patch you are going to explore is a tropical jungle, saltwater marsh, desert mountain, tall-grass prairie, or spruce forest, it will behoove you to take your time. There is no need to rush. We aren’t looking to get to the perfect overlook in time for sunset, we aren’t rushing to capture an eagle before it takes flight, and we aren’t scurrying along an urban avenue for street photography. Every aspect of macro photography involves slowing down and this may be just what the doctored ordered during the uncertainty of the next few months.
If you will allow it, macro photography will help you become a much better photographer by teaching you to slow down, breathe, and examine what is around you in a way that very few people do by habit. In fact, rushing is a sure way to spook your potential subject or not even notice a nearby toad, snail, or walking stick. Use this time to become more aware of the sounds, sights, and smells around you.
Be Observant
Clients and others around me often remark, “How did you see that?” Since I was a young child, I have trained myself to look for breaks in patterns in nature. A line that doesn’t seem just right or turns at an odd point, a bump where a bump might not naturally be, a subtle movement in the leaves or grass, an angle that is odd to the eye, or a shadow that reveals a subject. Regardless of your ability to find a subject right now, you can improve your skills and become much more observant of the little things around you.
Walking along the edge of a creek watch for a damselfly or dragonfly perched on a branch or a blade of grass. Take a flashlight at night and scan closely on tree trunks or under leaves. At night or first thing in the morning, it can be very productive to look in the grass or on buildings around security lights, walkway lights, or other lights that have attracted insects and the creatures that prey on them. As you walk through an open field or along a trail, watch for sudden jumping objects or look for insects perched on tall blades of grass. I can’t tell you how much fun it is when you have trained your eye to the point that you are the one that discovers the moth that blends in so beautifully with the bark of an oak tree.
Be Patient
If I could give just one tip and one tip only for macro photography, it would be, “Be PATIENT.” You have already slowed down, you watched closely and found a beautiful subject; now, take your time to cautiously and carefully approach the subject. Watch where your shadow is falling because that sudden change in light intensity can often frighten a subject, but your shadow can also help bring even lighting to a scene as well. Take the time to learn your subjects. Some species of dragonflies will allow you to approach so closely you can use the 60mm macro lens; but some will require the 40-150mm or the 300mm to try and get an image.
Getting low will often allow you to get much closer to some frogs and toads versus looming over them and shooting downward. Crawling a short distance if often very helpful in getting close to subjects. If a beetle begins to crawl on a leaf, wait for it to stop or slow down before trying to get an image. If your subject is not being cooperative at all, that is just fine. Keep looking for one that will be cooperative. Learn to control your breathing so that when you breathe out you don’t startle a butterfly or ladybug. If your subject is perched or sitting in a location where there are just too many sticks, blades of grass, or the like to make a great image, then be patient and look for a subject that is sitting or perched in a great location. Let patience be the determining factor for your photography and not the need to “get an image.”
Go Low
If we want to bring the viewer of our images into the world of the little things, we have to go to their level. This may require kneeling, laying flat, bending, or laying on your back looking up. Great macro often requires a willingness to get in positions you might not normally find yourself. The irony is, I often discover some of my best subjects when I am getting low for another subject. For our images to lead a viewer into the world of our subject, we have to be willing to enter their world to capture the image.
A tip here is to always wear a set of padded gardening or construction knee pads to facilitate kneeling and protecting your knees from rocks or thorny plants. Be prepared for the standard “what are you doing” question. Undoubtedly, I am asked this more often when doing macro photography than any other style of photography. I also recommend wearing long pants, long shirts, and even lightweight sun/hunting gloves as these can protect your skin when brushing up against plants or other things that might cause irritation to your skin.
Take Advantage of Cooperative Subjects
When you find a dragonfly that is willing to stay perched for you or a toad that doesn’t hop off right away, take advantage of this and shoot a variety of shots from as many angles as your subject will allow. Tiger Beetles are notoriously difficult to approach and when I find one that is settled, I don’t just shoot an image or two. I try to capture as many images from as many angles as possible. Don’t take for granted that the next one you come across will be as willing and cooperative as the one you are currently shooting.
The Settings
Camera - My preferred body for macro work is the OM-D E-M1X because I always want a vertical grip when shooting. While you can certainly add a vertical grip to other OM-D bodies, I just like having the built-in grip. I have used my OM-D E-M1 Mark II and achieved excellent results.
Lenses - I am of the opinion that the M.Zuiko 60mm F2.8 Macro lens is one of the best values of any lens. The results that this lens produces is simply outstanding with incredible sharpness, color rendering, and autofocus capabilities. I also prefer the 60mm over the 30mm when working with insects and smaller amphibians/reptiles because of the extra working distance and still achieving 1:1 life size images. The 4/3 system also gives us a greater depth-of-field at any given aperture so this is a huge benefit when it comes to macro photography. I would be remiss though if I failed to mention the ability of the M.Zuiko 40-150mm F2.8 PRO and the 300mm F4.0 IS PRO lenses and what they can achieve. For larger insects, flowers, reptiles and amphibians, both of these lenses offer incredible sharpness, fast autofocus, and great working depth. While you can’t get a straight 1:1 life size image with just the lenses, you can fill a frame with a large subject.
Flash - Because of the proximity of the lens to the subject and the often low light in which we are working, I prefer to shoot with an on-camera flash and a homemade diffuser at least 90% of the time when shooting with the 60mm macro lens. However, I have some great shots that are without flash and it might be necessary to go to a higher ISO or a lower shutter speed which is often a great option due to the amazing image stabilization of the E-M1X.
Mode - I shoot in manual 100% of the time as it is how I learned to shoot from the very beginning. If I were not shooting in manual mode, I would recommend you shoot in aperture priority mode as we are very concerned with depth-of-field in macro photography.
Focus - I find that for a great deal of my macro work using the smallest autofocus point works just fine. But for those really close shots or very small subjects and when I want to achieve 1:1 or life size images, I often find that moving my body back and forth and waiting for the plane of focus to land on the eyes works very well. Controlled breathing and a stable body position is helpful.
Drive Mode - When using flash I generally shoot in single mode so I don’t outpace my flash’s recharge time. If using natural light, I would recommend Sequential Low or Pro Capture Low.
Shutter Speed - If using flash, I prefer to shoot at the highest sync speed on the E-M1X which is 1/250s, but I can go lower if circumstances dictate. In natural light, I might go as low as 1/40s if I have very low light and a still subject, but if I am hoping to stop an insect in flight or jumping I want to shoot as fast as possible.
Aperture - My range of aperture for all macro photography is generally F8.0 to F14 depending upon my lighting. Because we are so close to our subject, our depth-of-field is very limited to begin with so I want to shoot as stopped down as possible. We can also increase our depth-of-field by utilizing the focus bracketing or the focus stacking features of the E-M1X.
Instagram: @bigbendbirdingphototours
Lee is a professional photographer and owner/guide of Big Bend Birding & Photo Tours and also leads photography workshops for Wildside Nature Tours. He lives in the Davis Mountains of west Texas where the night sky and wildlife keep him busy!
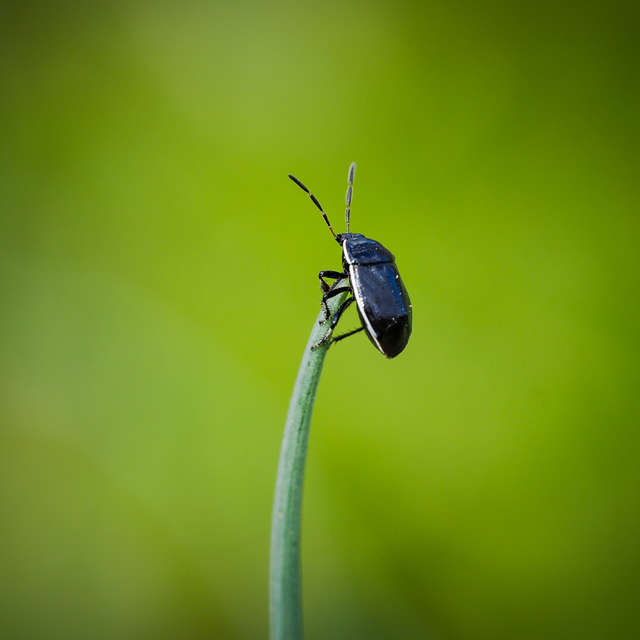
9 Tips for Macro Insect Photography
Capture a bug's life! Master using a macro lens to bring minute details into focus with these tips for getting great insect images.
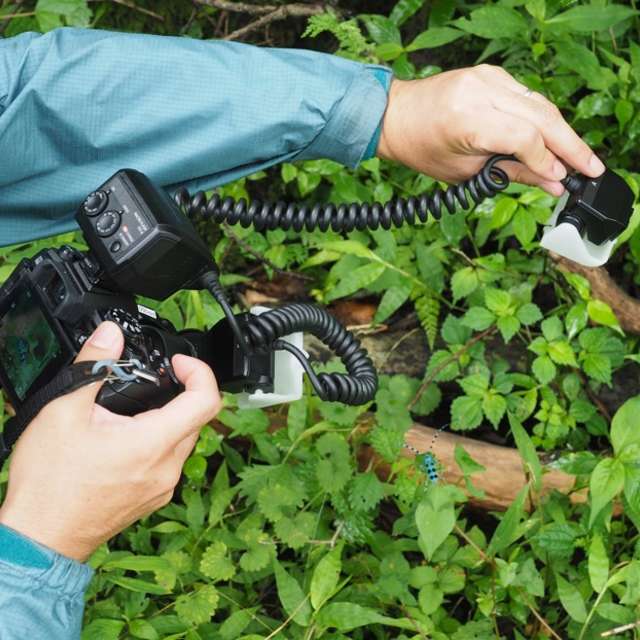
STF-8 Twin Macro Flash: Macro Photography with Gavin Hoey
Learn how you can use the STF-8 Twin Macro Flash to improve your shots with controllable light on your close-up subjects.
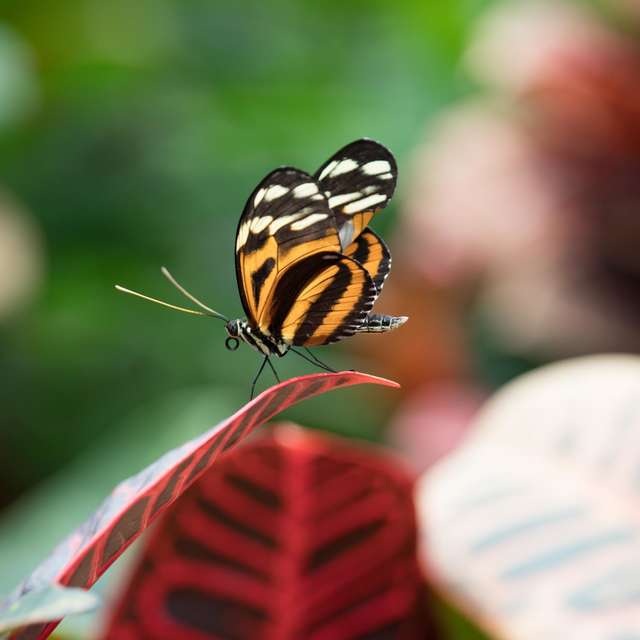
Capturing Beautiful Butterfly Photos
Check out quick and easy tips on using your Olympus camera to capture incredible photos of these fun and beautiful creatures.
