Whether you’re connecting with loved ones or collaborating with colleagues from home, video streaming is now more important than ever. We’re excited to introduce Olympus’ OM-D Webcam Beta software! This free beta software allows you to use select OM-D cameras in conjunction with video conferencing applications.
OM-D Webcam Beta is compatible with the following camera models:
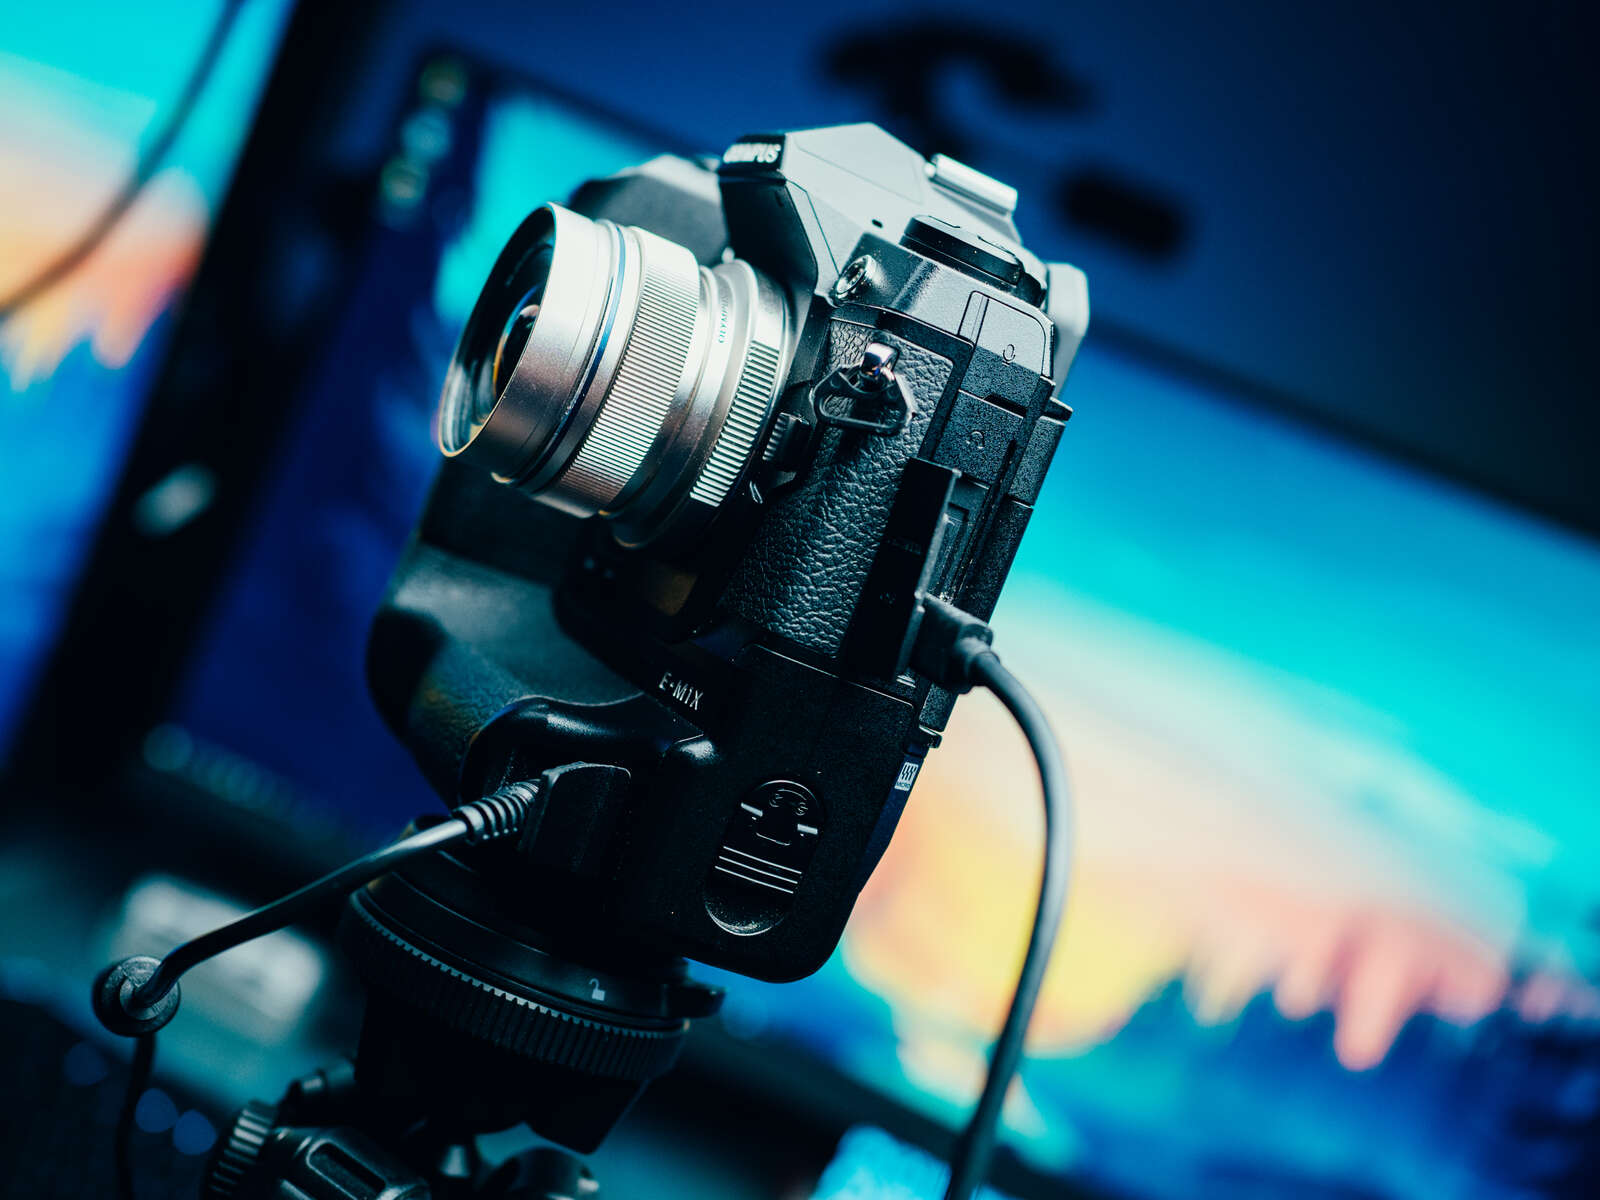
- E-M1X
- E-M1, E-M1 Mark II, E-M1 Mark III
- E-M5 Mark II
Olympus’ OM-D Webcam Beta Software is Now Available for MacOS
Olympus is now offering OM-D Webcam Beta Software for macOS for use with various video conferencing and virtual meeting applications. Simply install the software on a Mac computer with macOS 10.15 (Catalina), 10.14 (Mojave), 10.13 (High Sierra) or 10.12 (Sierra), and connect a supported Olympus camera using a USB cable.
Confirmed native Mac software:
- OBS
- Google Chrome (must restart Chrome after installation)
Follow These Step-by-Step Instructions to Get Started
Installation:
- Download OM-D Webcam Beta.
- Open the setup.exe file and follow the on-screen instructions.
Usage:
- Connect your OM-D and PC/MAC using the official USB-C tether cable provided with the original box.
- Turn on the camera.
- Select
 on the monitor.
 - Open your web conferencing application.
- Go to your video preferences in the application and select ‘OM-D Webcam Beta.’
Getting Started with common applications?
This video will guide you through setting up OM-D Webcam Beta, as well as a few more common applications such as OBS, Zoom, and Teams.
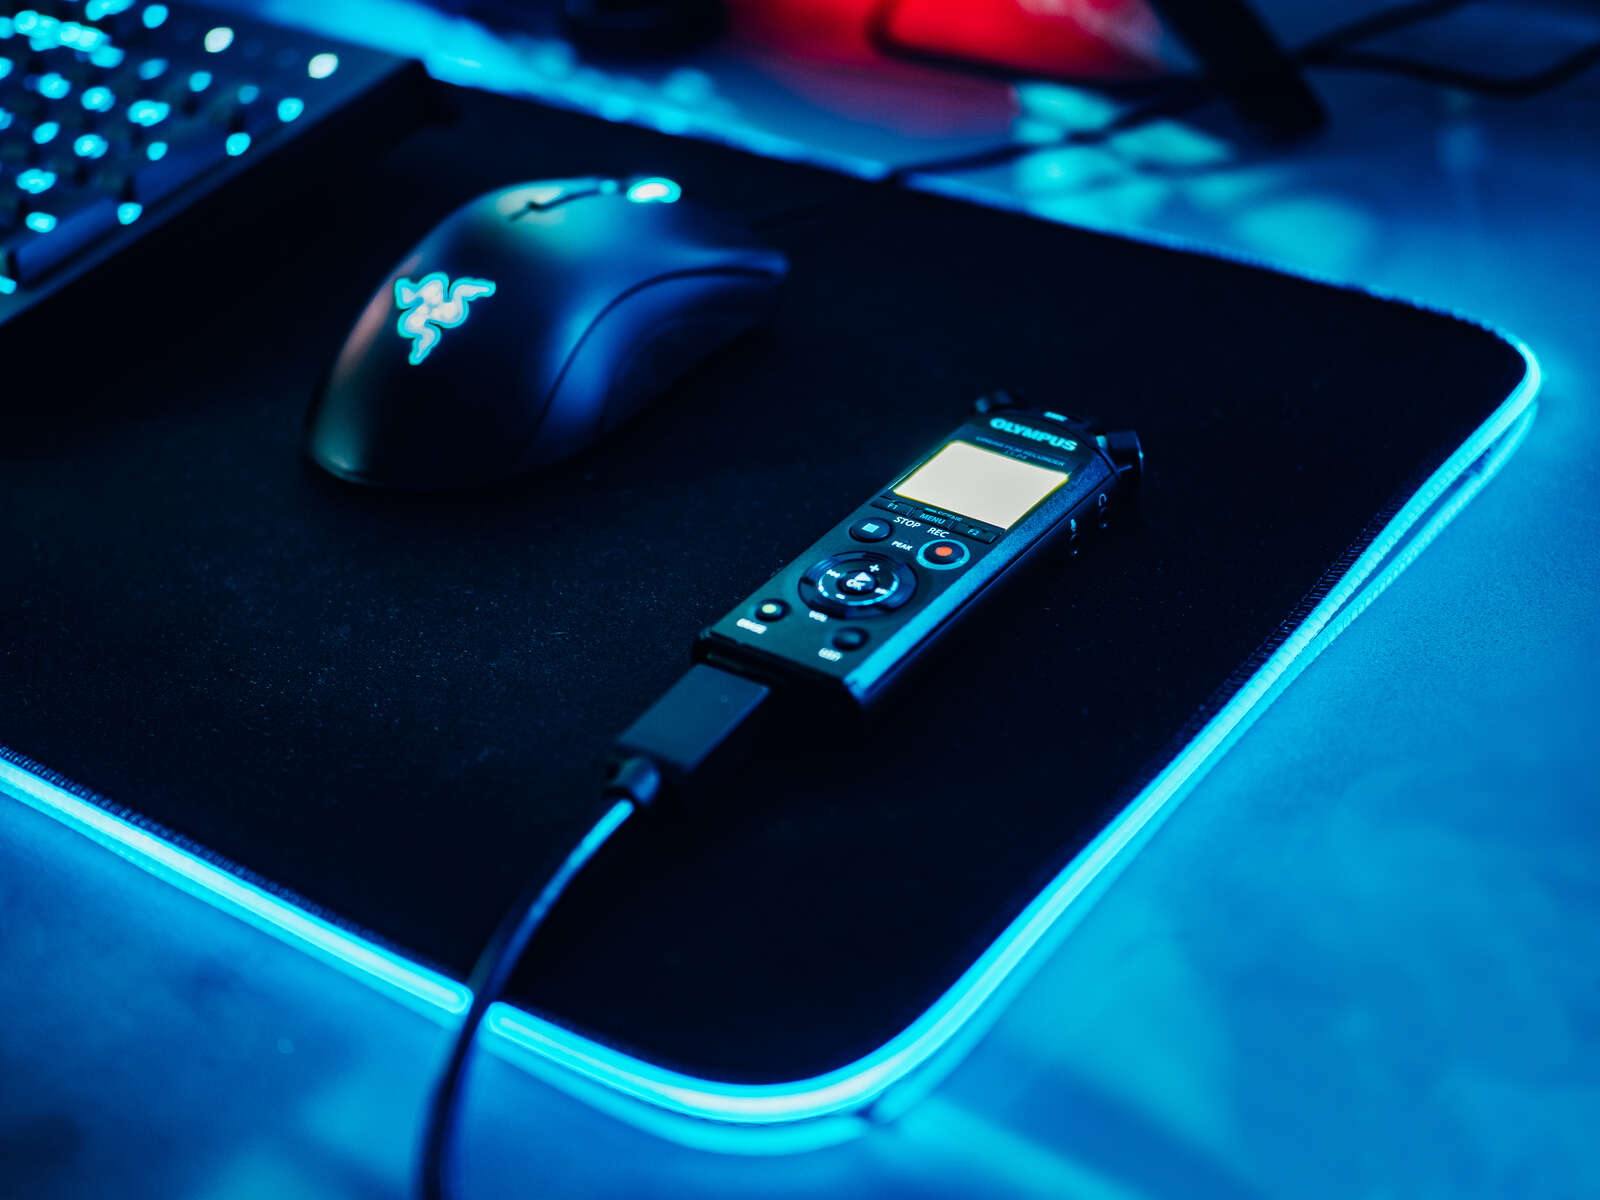
OM-D Webcam Beta software does not output sound from the camera. Thus, the placement of the camera will not impact the proximity that may be necessary for broadcasting high-quality audio. Instead, the audio source can be the internal microphone on a laptop (as may more typically be the case) or a USB microphone. All Olympus LS-P recorders – like the LS-P4 – can be used as USB microphones for video streaming.
How to Set Up USB Audio with Your LS-P Recorder:
- Connect the camera to one USB port, and the LS to another USB port.
- Slide the USB connector slide lever in the direction of the arrow.
- Connect LS Recorder to the extension cable.
- Plug the cable into your PC/MAC
- Press the MENU/SCENE button while the voice recorder is in stop mode.
- Press the + or – button to select the [Device Menu] tab.
- Press the `OK button to move the cursor into the list of setting items.
- Press the + or – button to select [USB Settings].
- Press the `OK button.
- Press the + or – button to select [USB Class].
- Select [Composite]. This will set the recorder to USB Audio Class. The recorder will then be recognized as a USB Microphone/Speaker on the computer