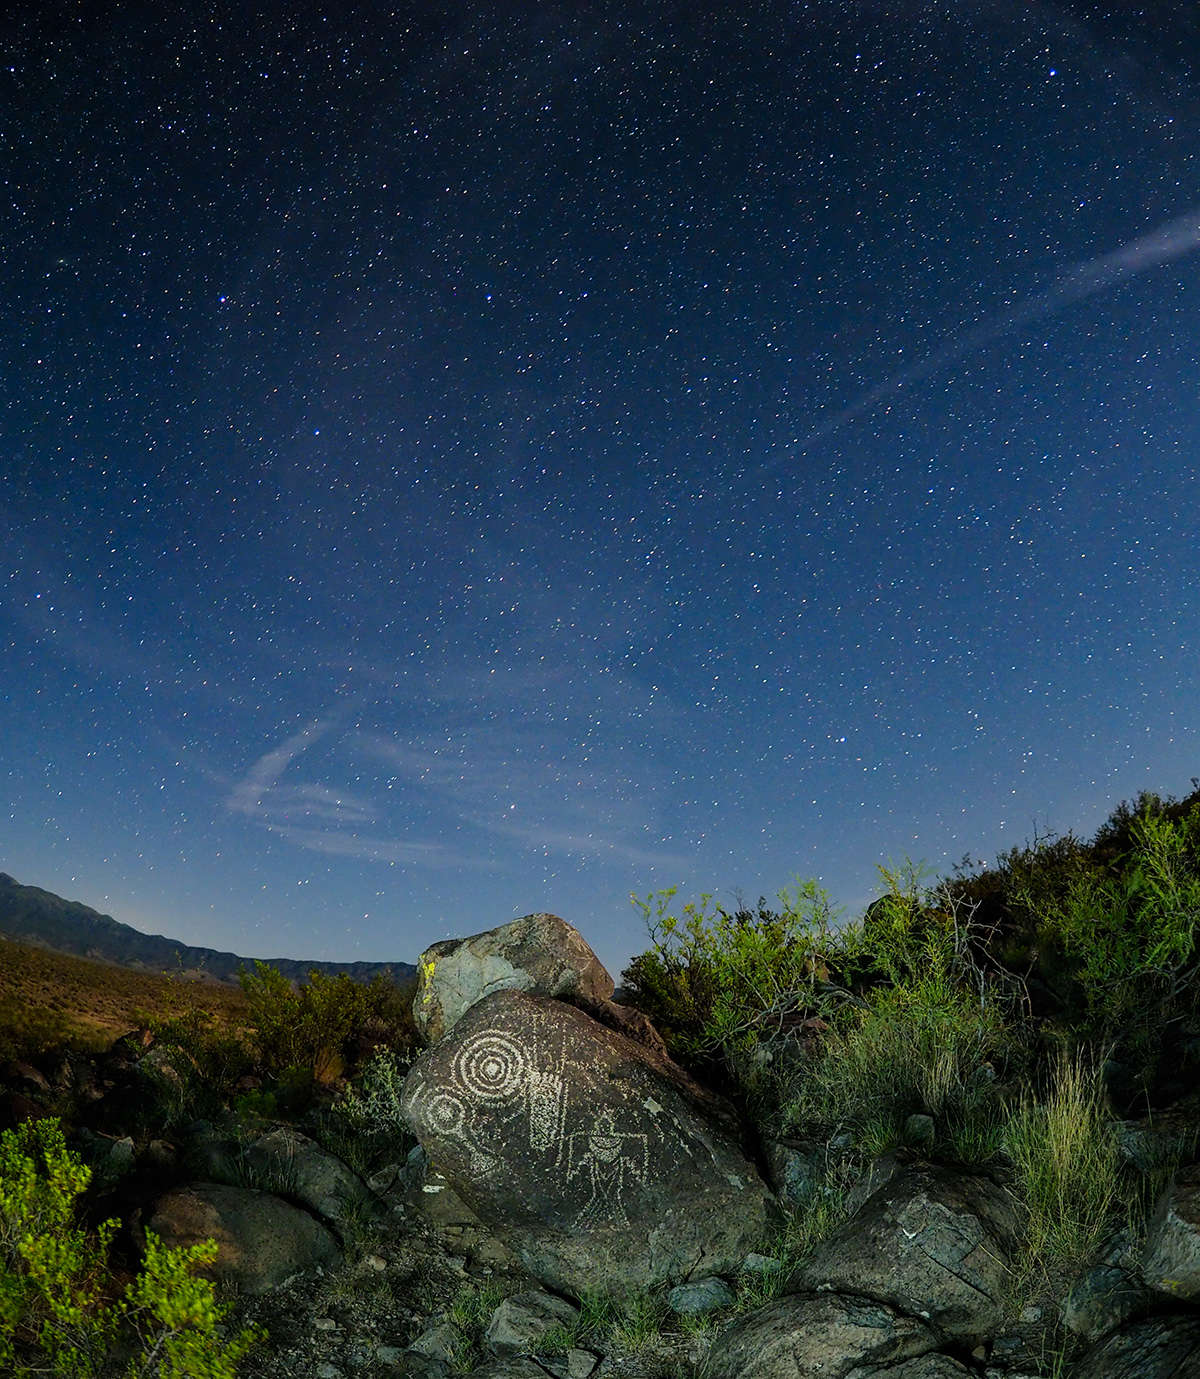
One of the things I love about shooting at night is photographing the Milky Way. If you find dark skies and a clear night, the Milky Way actually looks like clouds – but it's not. Its billions and billions of stars, galaxies, and other solar systems. I get asked questions about shooting the Milky Way all the time: “Is it hard to do?”, “Do I need special equipment?”, “How do you focus?”, “What is the best time of year to shoot it?”.
It’s easy to do – once you know how! You just need a few things: dark skies, a steady tripod, and a camera with manual and a wide fast lens (preferably f/2.8 or faster).
LOCATION
It’s all about location. Shooting the sky is easiest when you have “dark skies” and the right equipment.
But what are “dark skies?” Dark skies are locations an hour or more away from city lights. City light put off a lot of noise pollution and this will make the stars dim.
There are a bunch of programs out there that can help you find dark skies, like the International Dark-Sky Association (IDA).
EQUIPMENT
You might be surprised, but many avid photographers already have everything they need to shoot the Milky Way.
A wide, fast lens is going to offer you the best images. I love the M.Zuiko prime lenses. The M.Zuiko 8mm f1.8 Fisheye PRO and the M.Zuiko 12mm f2.0 are my favorite. For zoom lenses, I like the M.Zuiko 7-14mm f2.8 PRO and the M.Zuiko 12-40mm f2.8 PRO.
My favorite camera to shoot the Milky Way with are the Olympus OM-D’s. These cameras have advanced sensors and noise reduction that's going to help you get the best image possible. My top three recommendations are the E-M1 Mark II, PEN-F, and E-M5 Mark II. I shoot Large Jpeg & RAW at the same time.
The in camera Noise Reduction works great on these cameras - but if I want to process the image later I will do the Noise Reduction in the RAW file myself.

FOCUS
Focus is paramount with astrophotography. Set your lens to manual focus and move the range ring to infinity icon (∞). Now turn the Zoom mode in camera, and fine tune the star till it’s a pin point. I normally use this at x7 or x10 magnification. I also program the front button on my camera to do magnification so I don’t have to search for it in the dark.
If you have something in the foreground, zoom in on it using the infinity setting. If you have a wide lens, your stars should then be clear. (I like to use cactus because I live in the Sonoran desert.)
Once your focus is set up, take a few test shoot and zoom in on the preview, to confirm that everything is sharp. This is very important - you don’t want to get home and find out that the focus was off.
CHECK SETTINGS
If your photos are not showing up bright enough, there could be a few possible explanations.
I have a checklist I normally run though in my head, starting with my basic settings. What is my F-stop; what is my ISO; how many seconds am I exposing for? Am I far from the city; do I have clear skies; have I removed all the filters from my lens?
My basic starting settings are as follows ISO 1600 at F2 for 24 seconds. This is a great starting point . I know I can adjust my ISO up or down after. After I take my test shot, I’ll zoom in and check the stars to make sure I have no movement.
SUMMERTIME
Summertime can be the best time of year to shoot the Milky Way. You also have to check what time the Milky Way comes up. In April, the Milky Way comes up early in the morning just before sunrise, and it goes down early in the night towards the end of November.

A FEW MORE PERSONAL TIPS
I use a cable release to trigger my cameras, like the RM-CB2 for the E-M1 Mark II or the RM-CB1 for the E-M5 Mark II and PEN-F. This will help you avoid any kind of shake that could blur your shot for pushing the button. But you can also use the cameras self-timer or the OI.Share Wi-Fi app as well.
My biggest piece of advice is to have fun. Enjoy the night sky and take your time.
Discover more great tips for capturing the night skies.

ABOUT ALEX MCCLURE
Web: http://www.alexmcclurephotography.com
Alex McClure, an avid photographer for over 30 years, joined the Olympus Trailblazer program in 2013. Alex works to achieve his stated goal to “make beautiful photographs that inspire and motivate people” through his nature, commercial and fine art photography.