I was born and raised in Ouroux-sur-Saône, France, fourteen miles from where the first recorded picture was taken.
You might imagine I had a camera in hand before I could walk, but in fact, it was quite the opposite. It took over three decades before I finally realized I wanted to be a photographer and a year after that to find the perfect gear. I became passionate about capturing images when I moved to the mountains of New Hampshire and was surrounded by wildlife. I would spend hours waiting for a mama bear and her three cubs to wander through the backyard or a moose to lumber down the driveway. I became obsessed with the hummingbirds and all the insects that buzzed around the garden. However, my phone was not up for such challenges. I needed a real camera and had to learn how to use it, outside of the Program mode.
On my journey of discovery, I made numerous mistakes and I hope this article will help you make fewer. Here are my five pieces of advice for the beginner photographer.
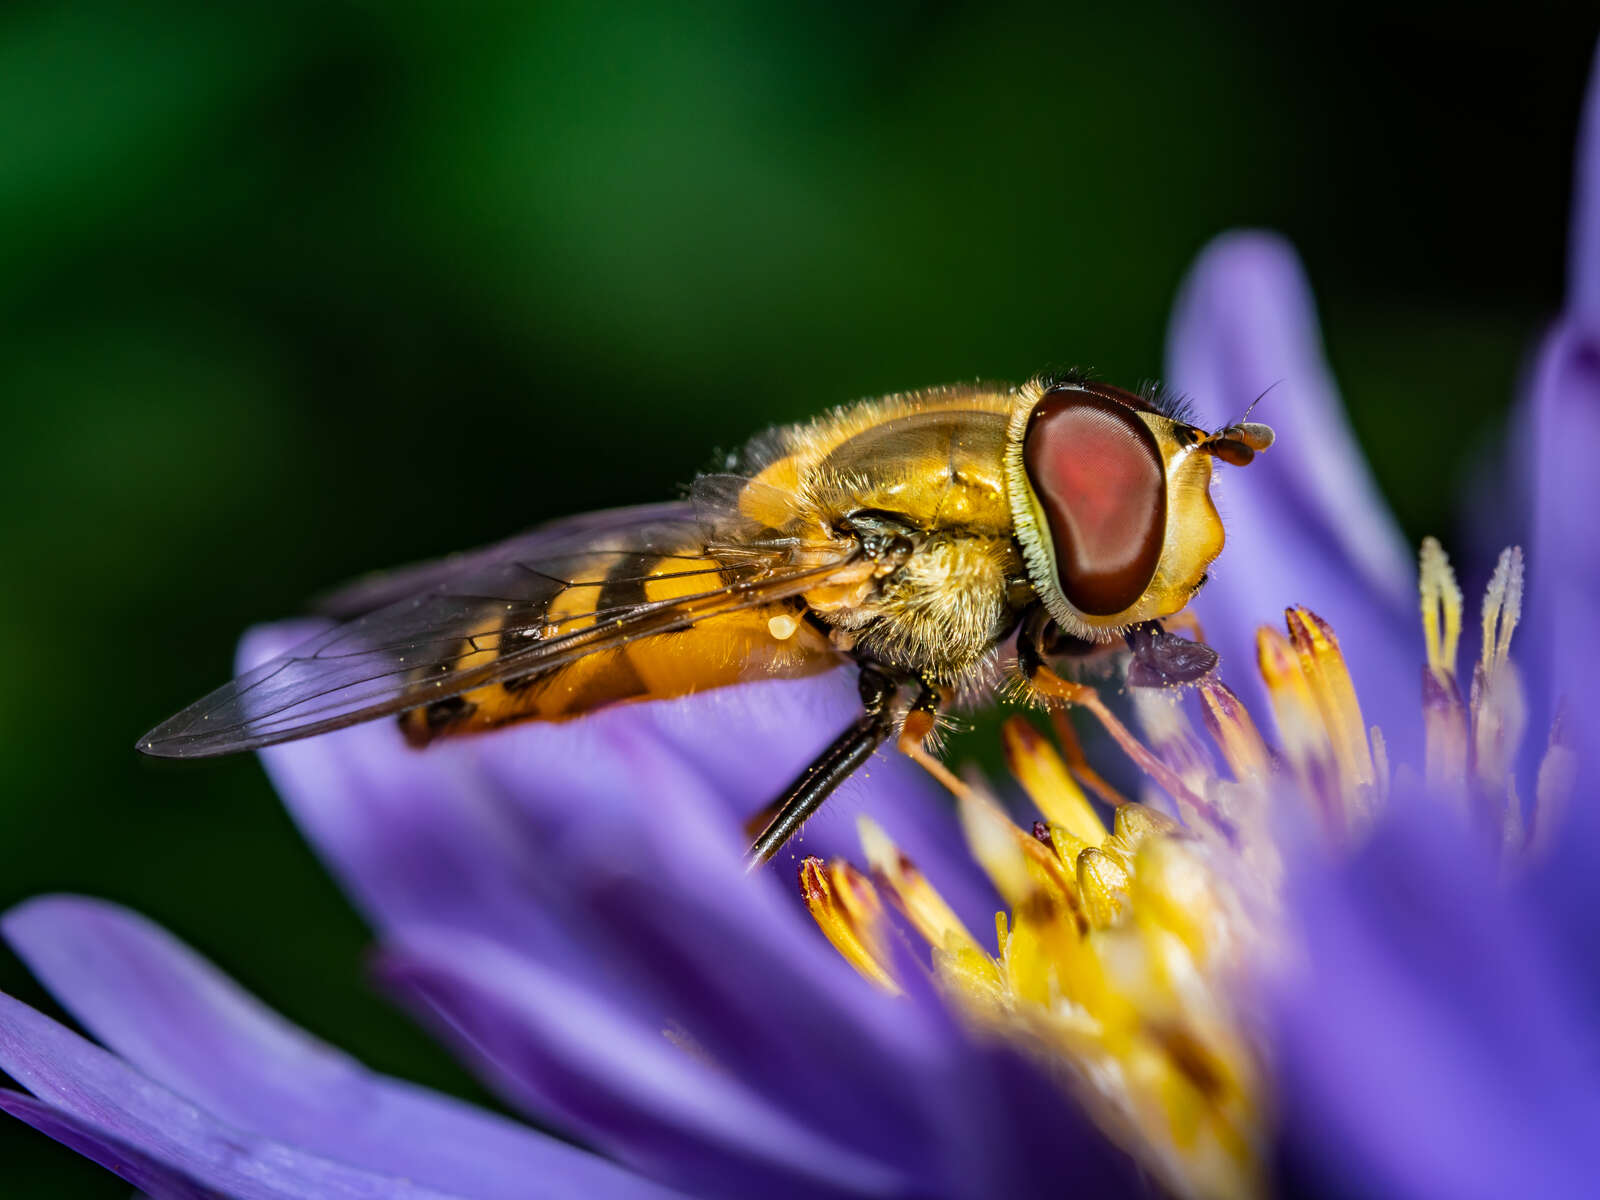
1/200s | F7.1 | ISO 200
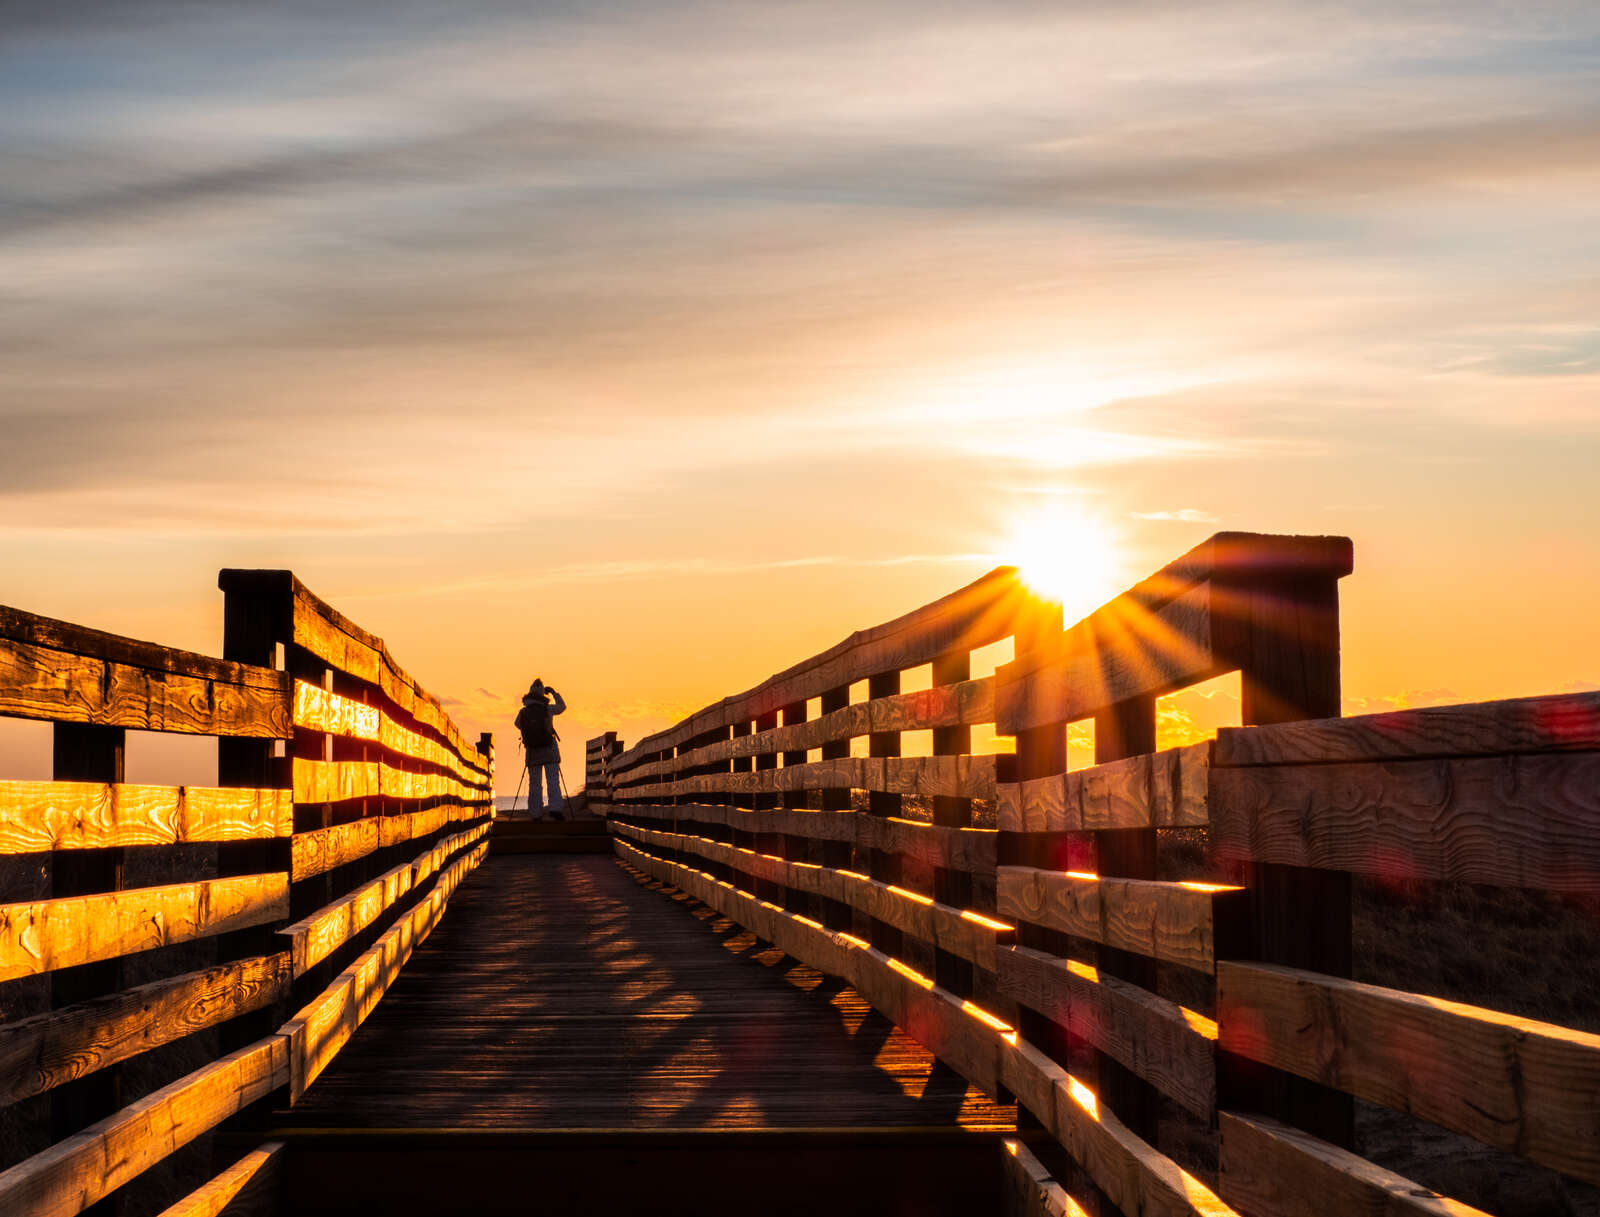
1/60s | F18 | ISO 200
Find Your People
My first piece of advice is to look for a local camera club and sign up. You will find an array of passionate and talented photographers who will be delighted to let you try their cameras and explain why it is the best fit for them. You might also be able to join a photo walk organized by your club and get hands-on experience. It’s at my local camera club that I was introduced to Olympus. I was talking with a member about what I wished to accomplish and she directed me to another member who had recently made the switch to Olympus for the exact same reasons.
If you do not have a local camera club, hopefully you can find a local camera store and test the cameras and get feedback from the knowledgeable staff.
Choose the Right Gear
The camera that is best for me might not be the best for you. Make a list of things that are important to have in a camera.
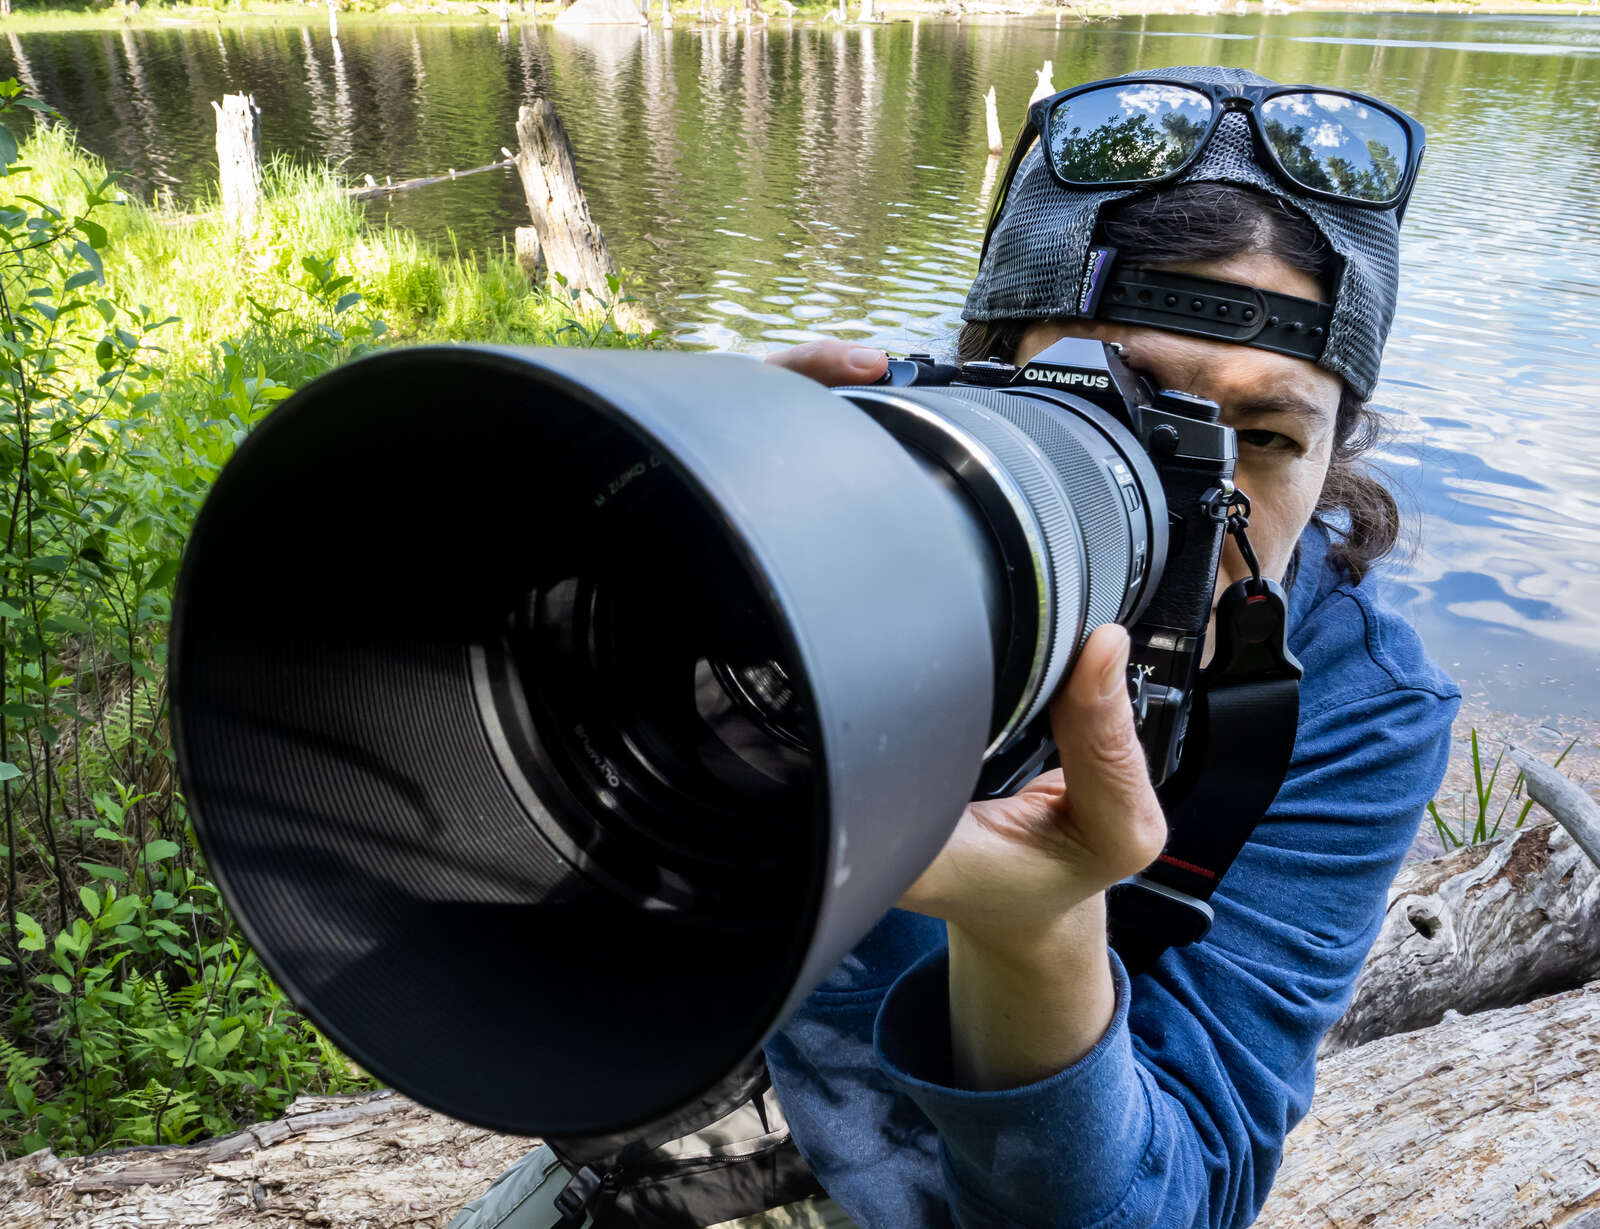
For me, it was portability, weather sealing, and price without compromising on quality. That’s where Olympus really checked all the boxes and more. Then, when I started researching the brand, all the technology packed into such small cameras was impressive and appealed to me. Just to name a few functions, I was especially intrigued by the in-camera focus stacking capacity of the OM-D line for my macro, but also the live composite mode to capture star trails.
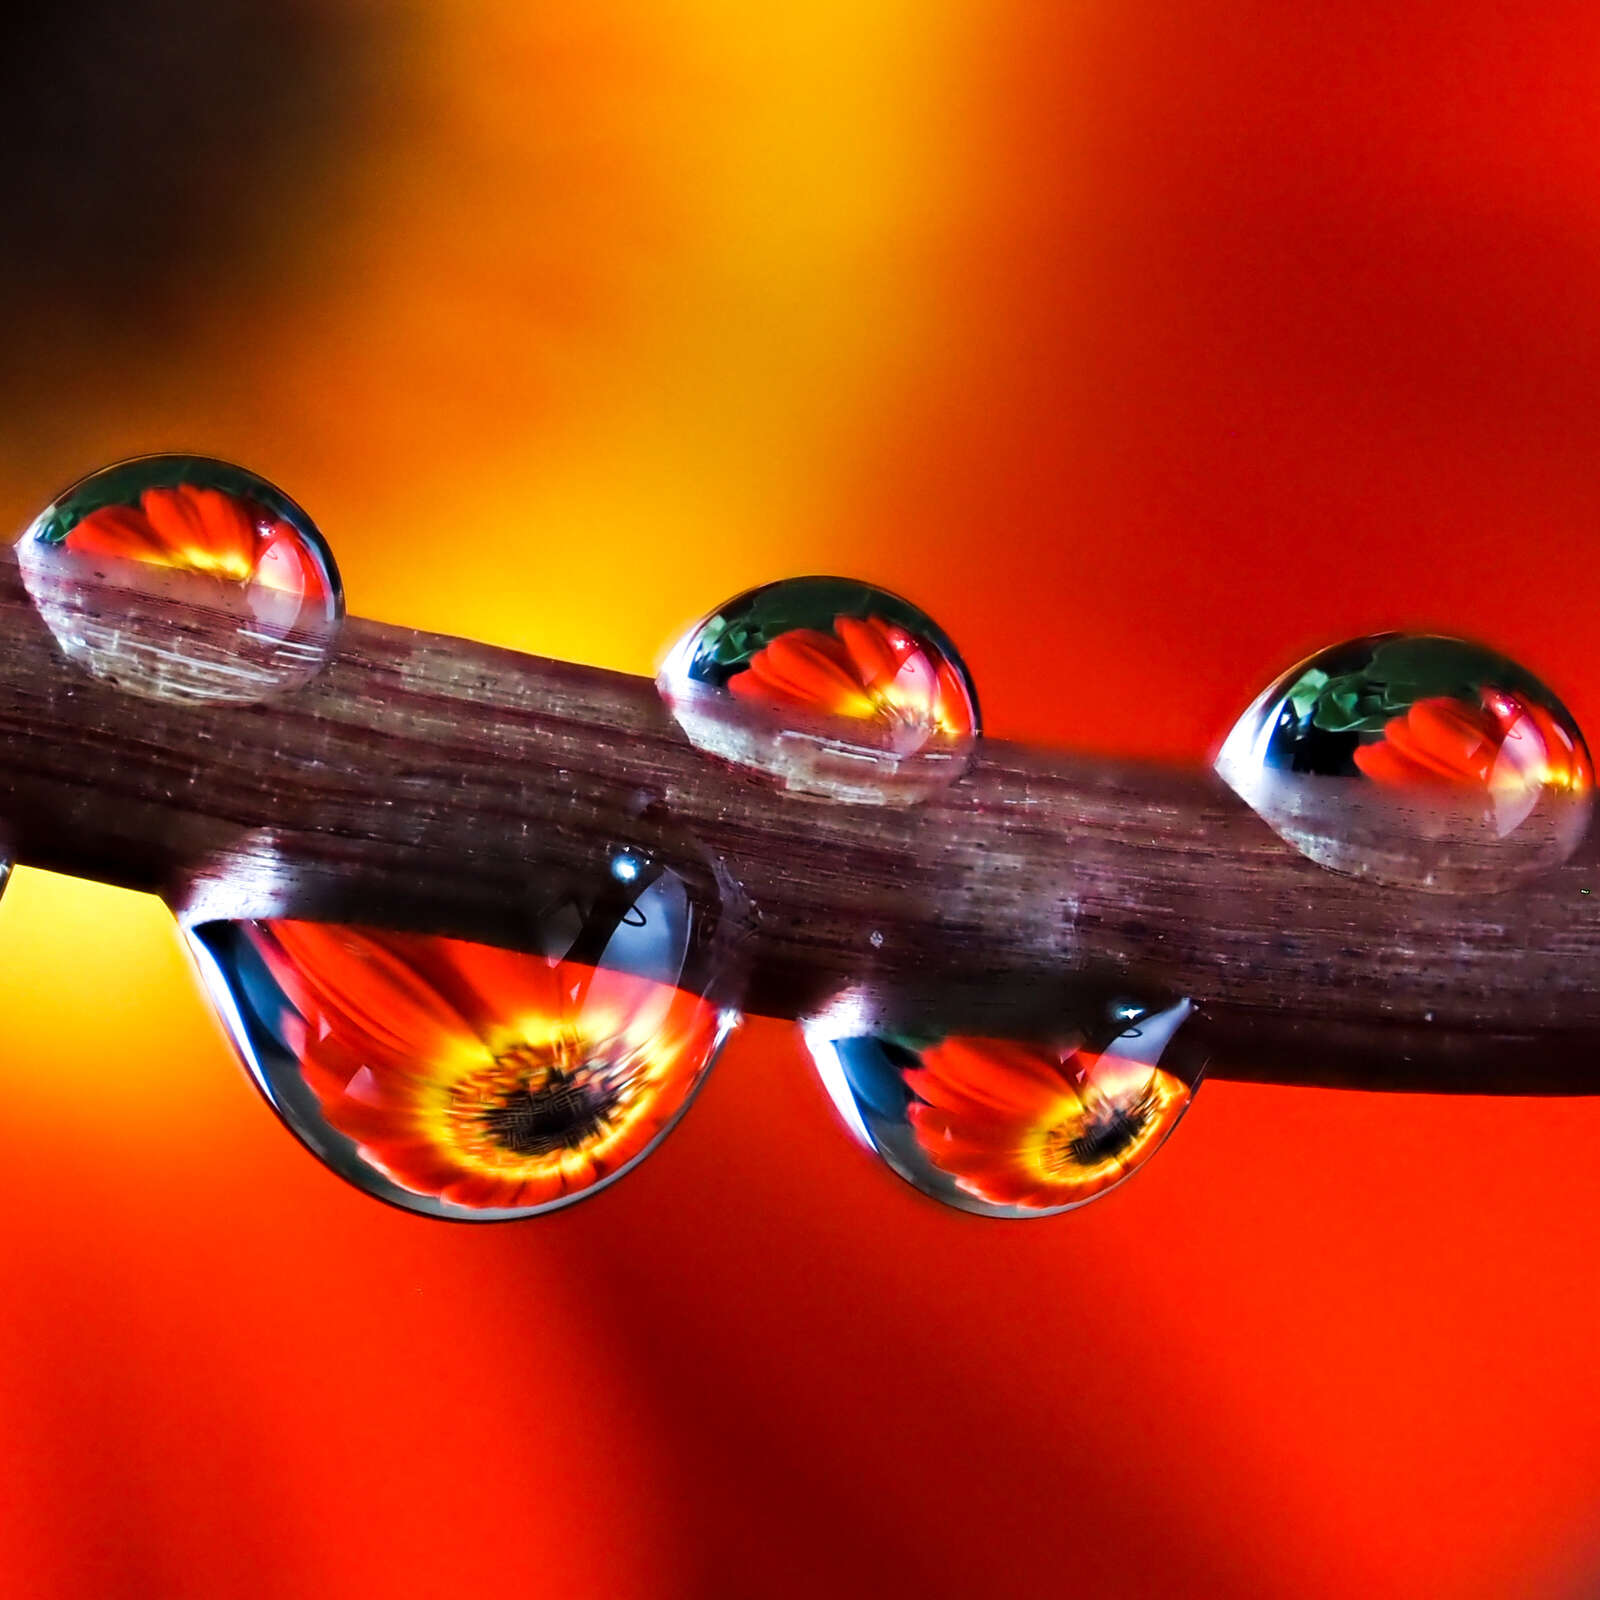
1/3s | F5.6 | ISO 200
1/20s | F9.0 | ISO 640
Start Simple
Don’t get overwhelmed by the number of lenses you should get. Start simple: One body and one or two lenses and build from there. You want to get familiar with your camera and push yourself to use that lens you have. It will force you to move to find different angles and get more familiar with your camera and lens. Going out with one lens and one body is also a great exercise for experienced photographers as well.
Invest in Education
Having great gear is important but so is educating yourself on how to use the tools you have. Investing in education doesn’t necessarily mean money, but it does mean time. There are so many free resources out there if you just take the time to find them. My go-to place is always the Olympus Learn Center. There, you will find articles from getting to know your camera to specific lenses and types of photography. Olympus photographers are constantly writing new articles to help the community.
Another really amazing opportunity offered by Olympus is their free Home with Olympus Sessions. You need to sign up early for these events as they are very popular because they provide private or semi-private training sessions on a variety of topics with Olympus professionals. I have attended a few and highly recommend them as you can ask questions and will learn something new each time.
And last but not least, don’t forget the Olympus Facebook with all the live events they offer as well as following their YouTube and Instagram account.
Practice, Practice, and Practice
Even if you are a natural, knowing your camera like the back of your hand is key to getting the shots. I recommend making another list of what you would like to accomplish with your camera, then pick one idea and go out in the field to practice your settings, seeing how fast you can change from one setting to another. All these exercises will enable you to be ready to capture the shot you always dreamed of taking when it presents itself. As a rule, my camera is never far from me and I pick it up at least once a day to practice.
1/20s | F9.0 | ISO 640
1/125s | F9.0 | ISO 1250
Starter Kit
Depending on your interest, your starter kit will obviously vary. Below is my ideal kit as a macro/wildlife photographer.
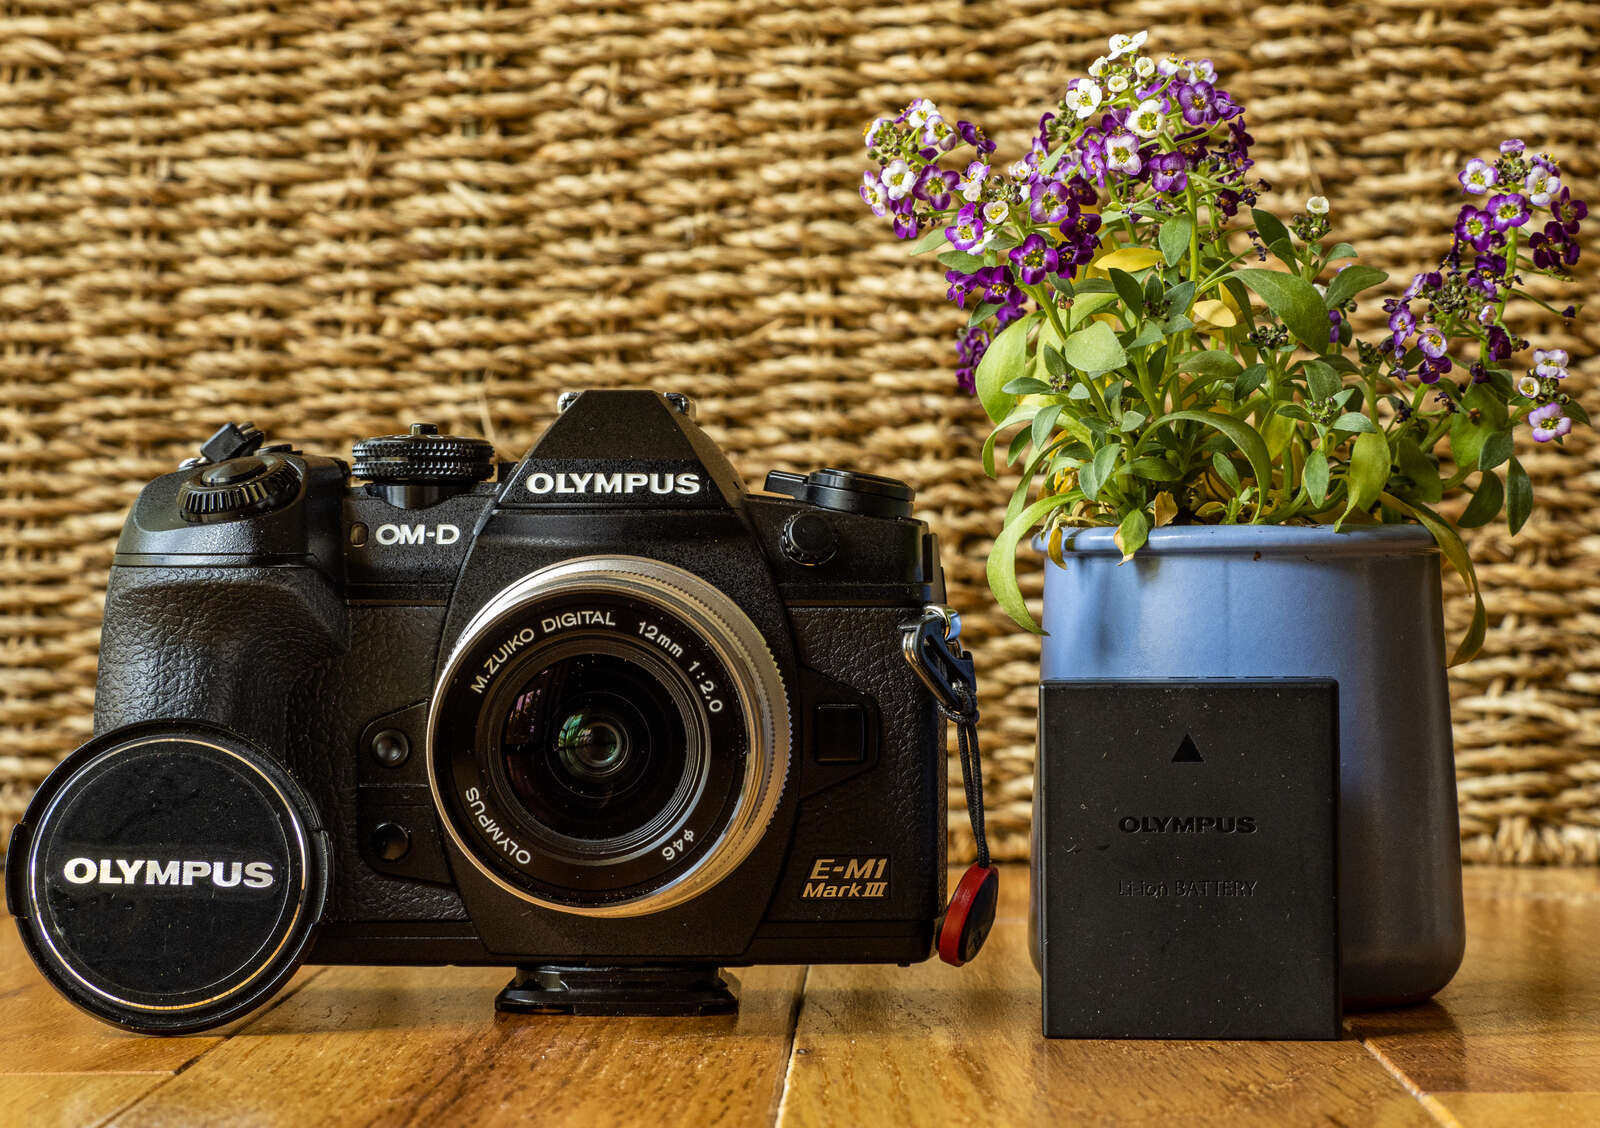
- OM-D E-M1 Mark III: I love this camera because it is compact and enables me to get to all the angles I need. The flip screen is also a must as I use it to monitor my composition as I set up the shot.
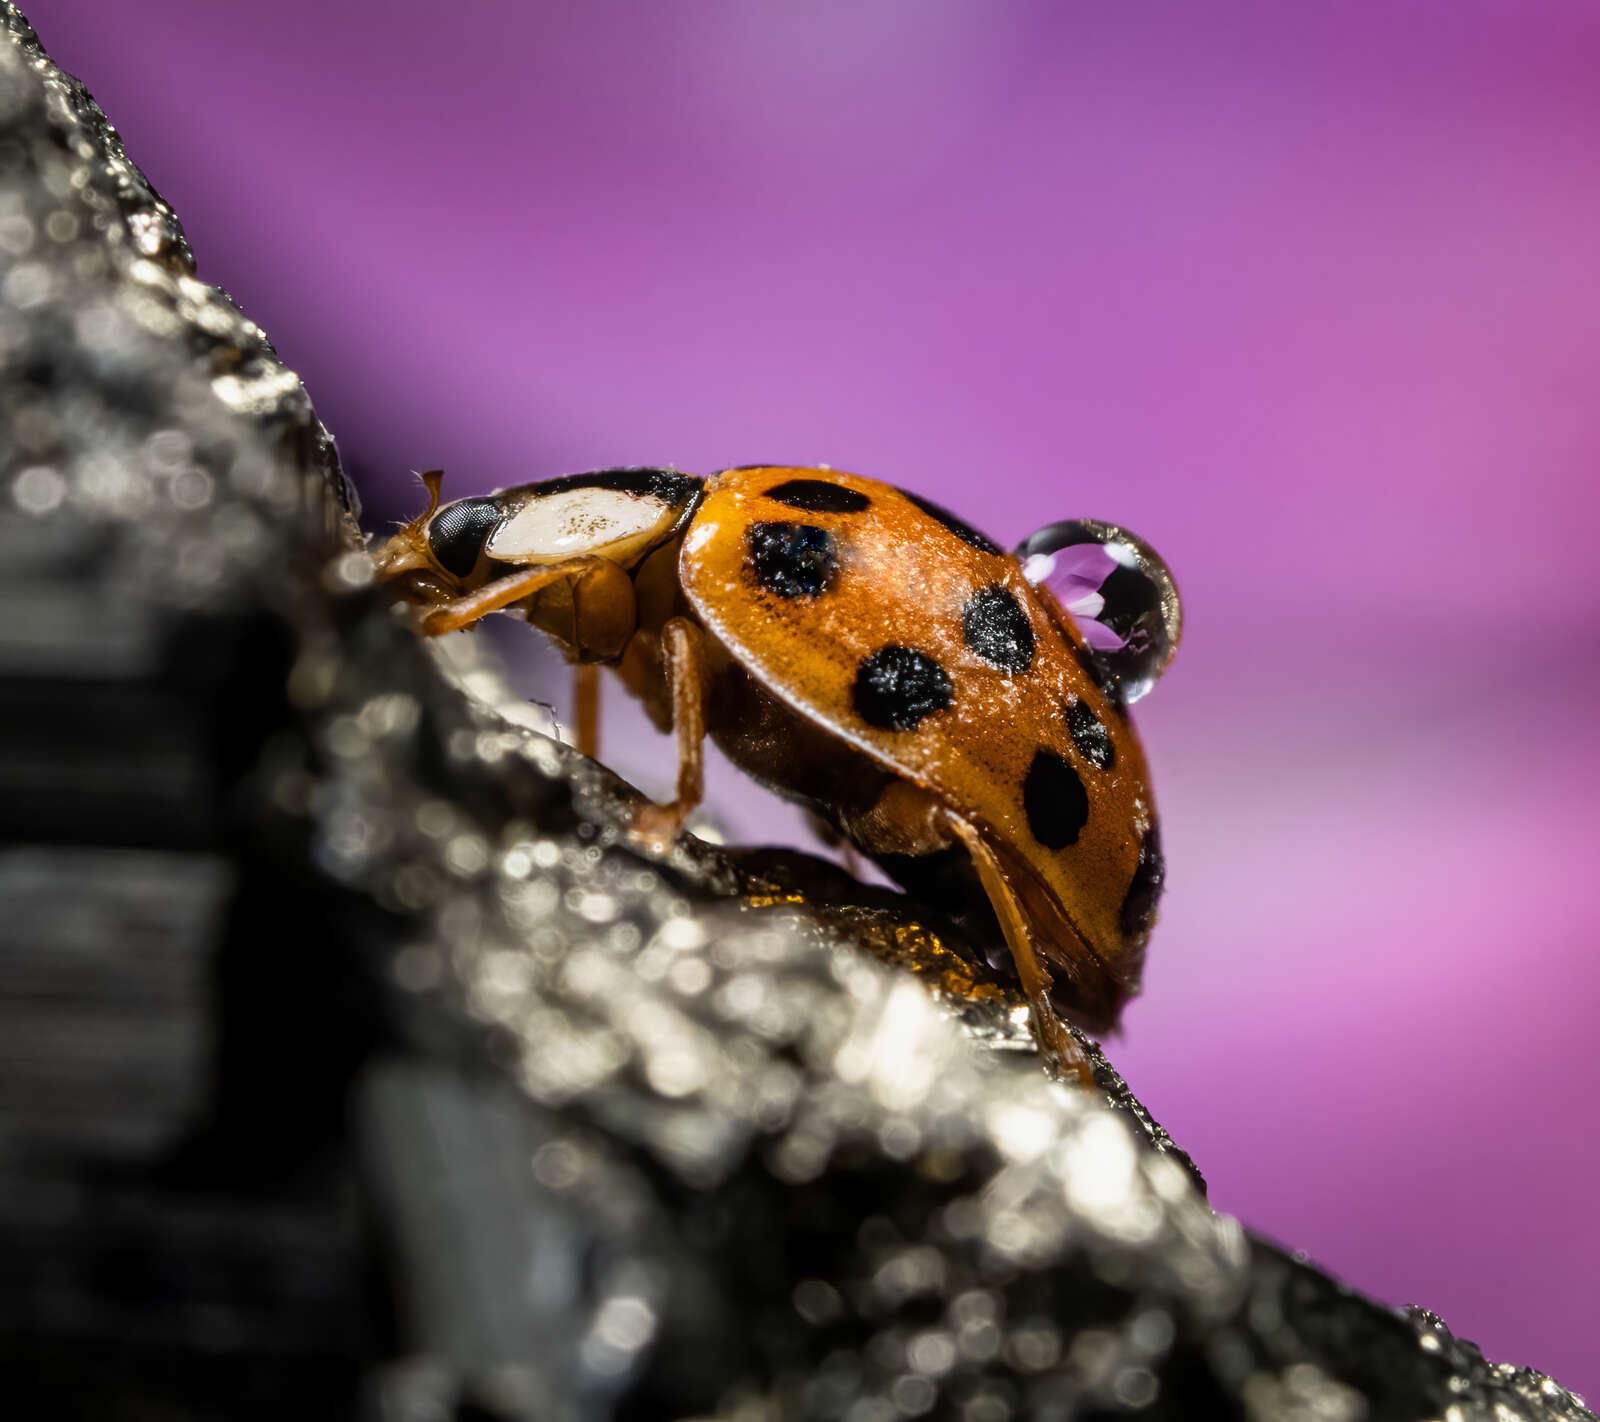
- The M.Zuiko 60mm F2.8 Macro: It was my first ever macro lens. Some professionals argue that there can be a learning curve with this lens, so read the manual and practice. You will master this lens in no time and get sharp and amazing details. And as a plus, you can also use this lens for portrait photography.
- The M.Zuiko 100-400 F5-6.3 IS is my favorite wildlife lens right now. It is sharp and lightweight for its reach. Whatever your starter kit ends up being, do your research, test the gear, and have fun on your photographic ascent.
Instagram: @emilietalpin
Emilie Talpin is a French teacher and photographer based in New Hampshire who is passionate about macro, wildlife, night sky and videography. When not in front of her classroom, she loves traveling, exploring the outdoors, and chasing her next photo.