Bird photography is a growing passion among enthusiast photographers. It can be quite exhilarating to capture an eagle in flight, an owl perched in a tree, or a heron spearing a fish for dinner. This type of photography, however presents a number of hurdles to overcome - travel, time, skill level, and cost. For aspiring wildlife photographers who don’t want to go traipsing into the wilderness, setting up a bird feeder in your yard can provide great photo opportunities to capture the smaller members of the avian community. With a bit of planning and the right camera settings you can capture some great bird images, all while remaining within quick reach of a fresh cup of coffee.
THE FEEDING STATION
Backyard birding can occur at any time of year. When autumn hits I turn my attention to prepping my yard for winter and one of those chores includes setting up a few bird feeders. Like most people I set them up in front of my larger windows so that I can enjoy the various birds that frequent the Northern Ontario winter. Although I love watching them, my real aim is to photograph them.
My main goal is to make the final image look as though it really was photographed in the wilderness, not in my backyard. As such, the location chosen for your feeder will have a big impact on the quality of your bird photos.
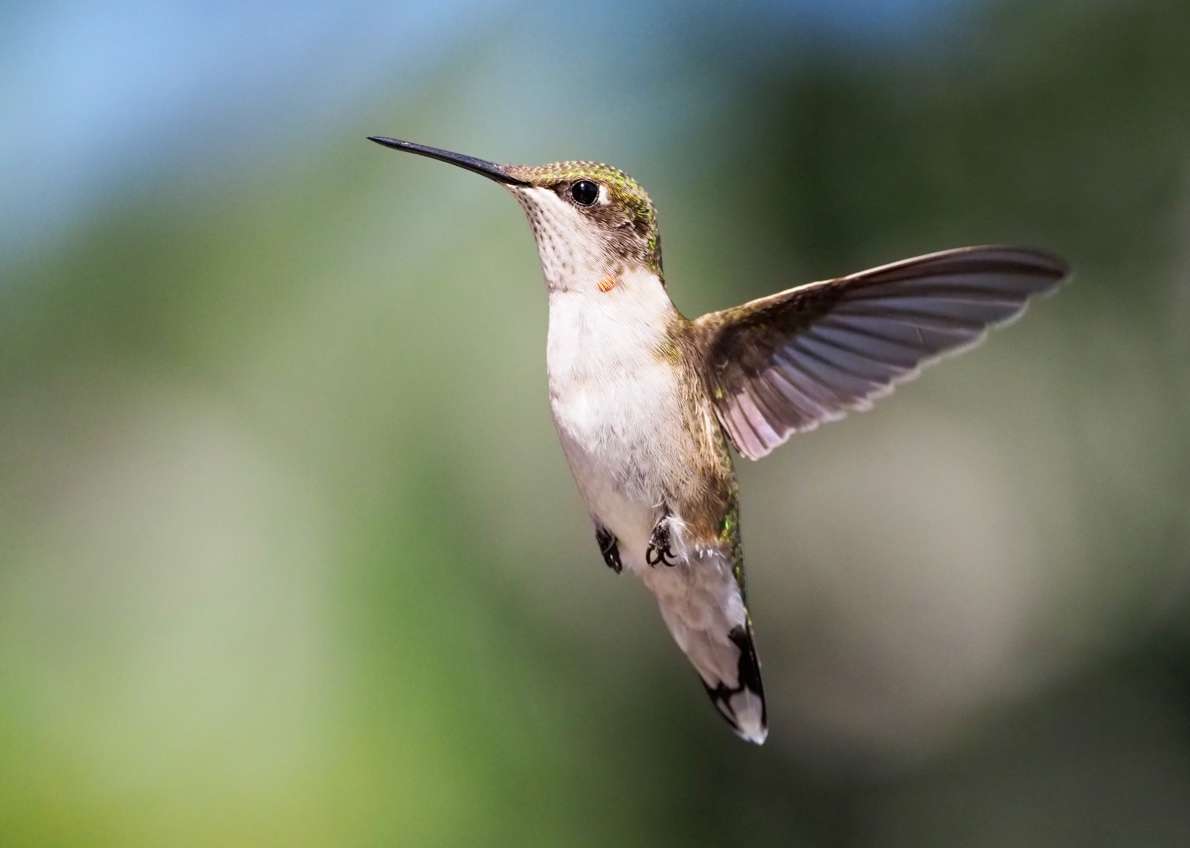
the action of your backyard birds. OM-D E-M1 Mark II, M.Zuiko ED 300mm f4/0 IS PRO. ISO 2000, 1/2500s, f/5.6.
- Set the feeder up near a tree or shrub. Birds will use these branches to perch on in between feeding. An old stump and a few pine boughs can make for an interesting setting close to your feeder. It also provides a number of options for placing seeds.
- Think about where the dominant light will fall when you set up your feeder. The low angle of the winter sun could cause some harsh silhouetting if your feeder is backlit through most of the day.
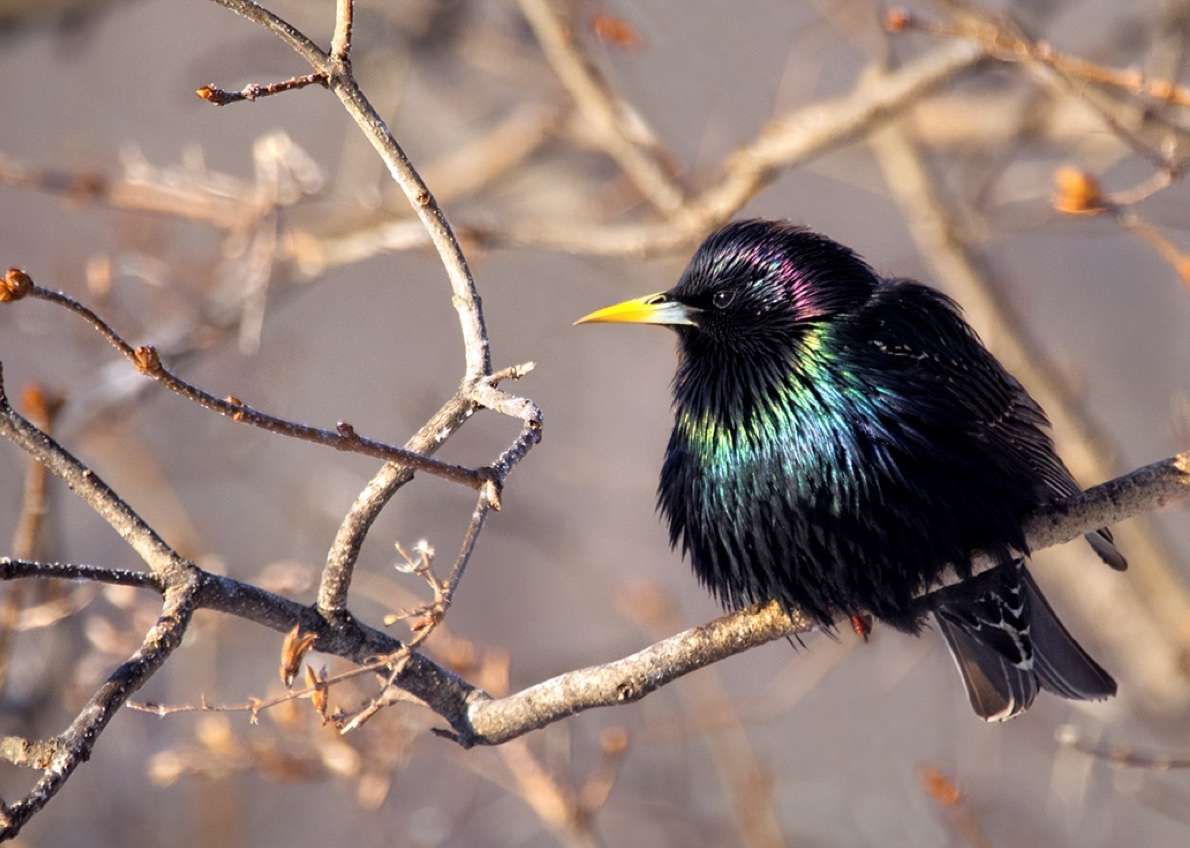
- Add some ‘props’ to help improve the natural look. I usually place coniferous branches and gnarled pieces of wood close to the feeder.
- Birds are creatures of habit and will return to your feeder as long as there is an ample supply of seed or suet. Keep your feeders well stocked.
In the Spring, I begin looking for the newcomers that have returned to nest or are enroute to more northerly climes. My favourite Springtime visitors are the hummingbirds. As such, I will switch things up in order to capture them feeding on the nectar of new flowers and my strategically placed feeders.
CAMERA SETTINGS
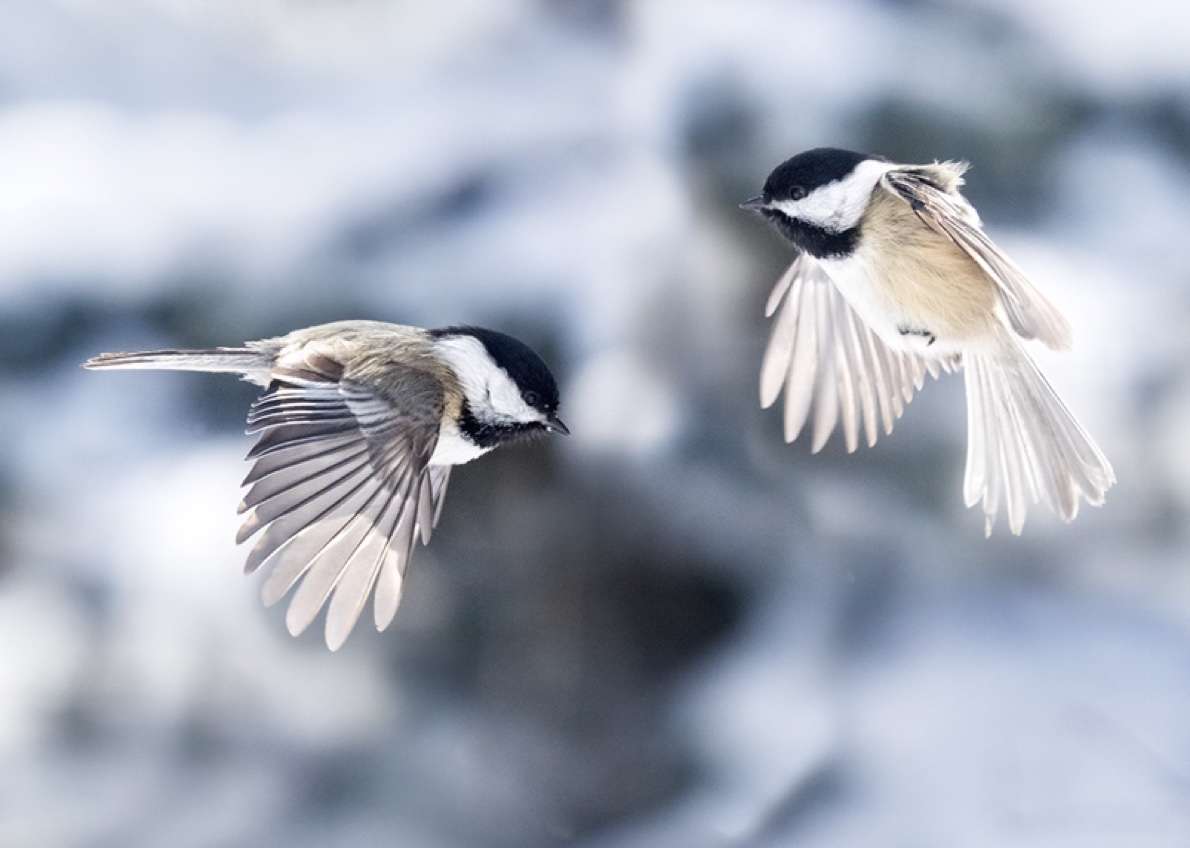
The exposure triangle is never far from my mind when photographing wildlife of any kind. I am looking to balance a fast shutter speed with a narrow depth of field. Given the speed at which these feathered friends can move, I generally aim for a shutter speed of around 1/2000s or faster in order to freeze the action. As lighting conditions change or in recomposing a shot, I may have to adjust the ISO in order to maintain that speed. The 2x2 switch on the OMD E-M5 II and E-M1 are perfect for making quick changes to settings. I never have to take my eyes from the viewfinder.
Although I am not a huge fan of shooting in bright sunlight it can be the perfect conditions for capturing the action around the bird feeder.
Here are my typical settings:
Camera: OM-D E-M1 Mark II, E-M1 or E-M5 II
Lens: 40-150mm f/2.8 PRO with the 1.4x teleconverter or 75-300mm f/4.8-6.7 II
Mode: Manual
Shutter Speed: 1/2000s or faster
Aperture: f/4 or f/5.6 – A larger aperture will help to keep your background soft.
ISO: I will adjust this to keep the shutter speed and aperture within the range mentioned above.
Continuous Shooting Mode
Focusing: S-AF
EV: +0.3 - +1.0 in order to brighten colors and the snow
Pro Capture: The new E-M1 Mark II has the ability to buffer images while you are depressing the shutter release half way. This is perfect for capturing those “faster than the speed of sight” moments when a bird takes off, lands, or has a disagreement with his neighbour.
COMPOSING THE SHOT
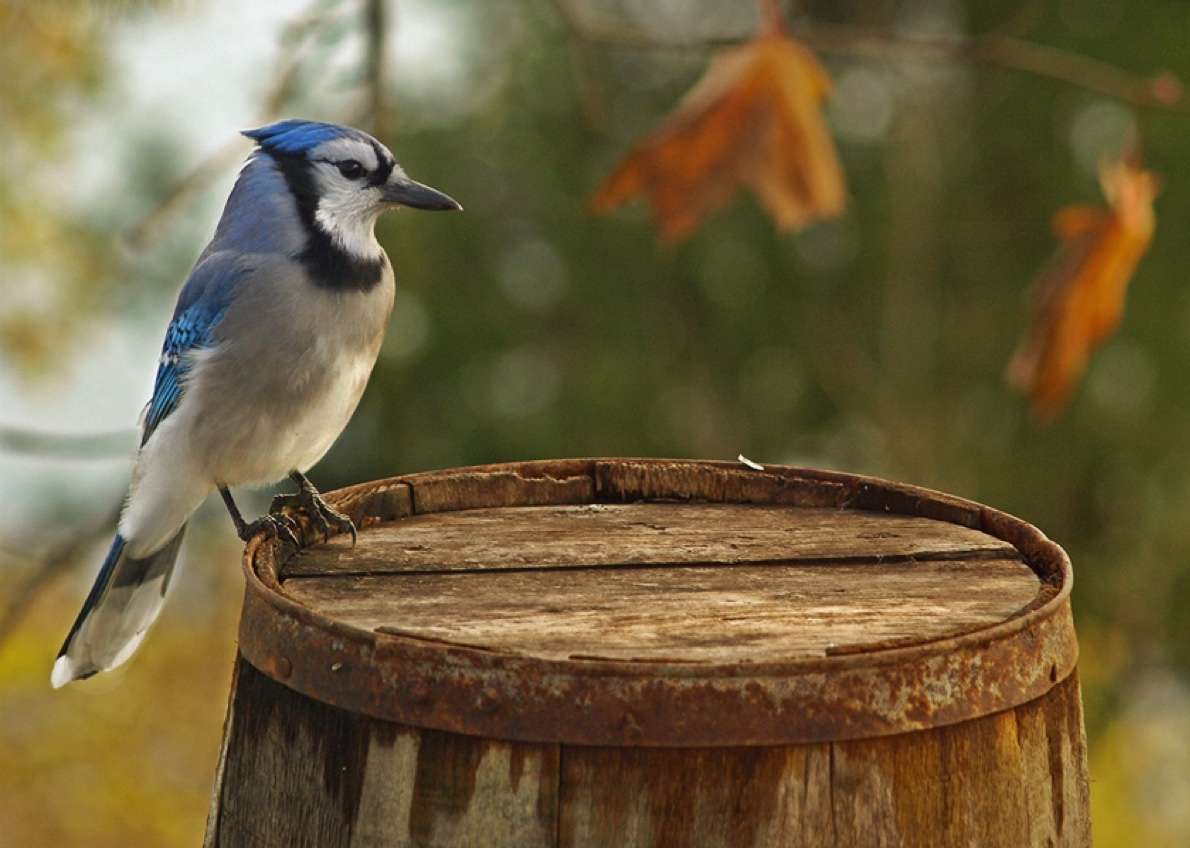
Your goal should always be creating the best composition you can. You may notice the definite absence of the actual bird feeder in all of my images. This is a conscious decision.
- Determine the best angles for shooting and frame your shots before the birds arrive. Look for and avoid distracting elements like fence posts or hydro lines that will take away from the
photograph. - Many species of birds can be quite skittish so if you shoot outside they may require time to become accustomed to your presence. You can also construct a simple blind through which you can shoot.
- It is possible to get good results by shooting through your picture window. Just make sure it is clean and that you shoot at a 90° angle to eliminate glare. A polarizing filter can also aid in this regard but will slow your shutter speed.
- Generally, I don’t use a tripod for my bird shots. I want the freedom to move the camera quickly and capture as much of the action as possible. There are a couple of exceptions, however. If I notice that the birds always return to a particular perch, I may use the tripod to help compose the shot. This way I can take my eyes from the viewfinder and begin shooting once I see a bird approaching that location. In this case I will use the remote cable release (RM-UC1) to trigger the camera. The other situation is when I want to capture the birds in flight as they approach or fly away from the bird feeder.
ABOUT PETER BAUMGARTEN
- Web: http://www.creativeislandphoto.com
- Blog: http://www.creativeislandphoto.com/blog
- Twitter: @creativeisland4
Peter has been a dedicated Olympus shooter for over 30 years, and he has found a way to combine his passion for photography with his love of teaching to develop photography and graphic design courses at the high school level.
Check out other tips from Peter:
The Olympus Guide to Bird Photography
These tips will instantly make you a better bird photographer. View online or download guide.