After spending years chasing landscapes in search of unique subjects, and occasionally dabbling in astrophotography – I realized that I’ve never taken the time to properly take photos of the moon. How could that be? Day in and day out, this beautiful foreign object watches down on the earth with an infinite opportunity of composition. Furthermore, staring up at thousands of stars and a moon always makes me wonder what it would look like to see that beauty up close, every detail of it, from wherever I’m sitting on earth. And that’s where OM SYSTEM comes in with three options:
- M.Zuiko 40-150mm F2.8 PRO
- M.Zuiko 100-400mm F5.0-6.3 IS
- A good old fashioned telescope – I'll be sharing step-by-step instructions for this below!
Editor's note: This article was posted prior to the launch of the ultra powerful M.Zuiko 150-400mm IS PRO super telephoto lens. This lens features a built-in 1.25x teleconverter to extend your zoom range to a 35mm equivalent of 1000mm. Add an optional M.Zuiko teleconverter for a maximum equivalent focal range of 750-2000mm. Learn more about this lens.
If you’re an adventure photographer and you’re already carrying a telephoto lens, like the M.Zuiko 40-150 F2.8 PRO, you’re ready to get creative with the moon.
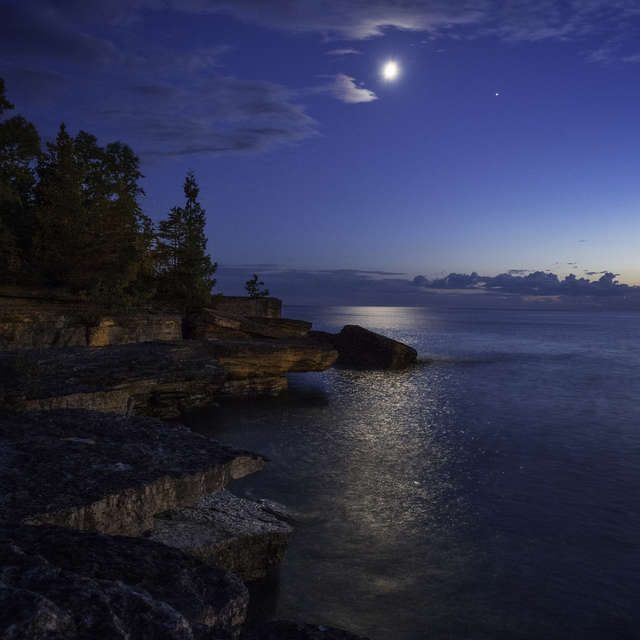
I typically use this during the day, when the sun and moon share the sky. Keep an eye out for the free floating moon especially when it’s closer to the horizon, and challenge yourself to find a unique composition. Personally, I look for trees or natural foliage I can use to frame the moon. Surprisingly, I’ve never needed a tripod and my camera settings have remained relatively similar to shooting landscapes. This may not get you up close and personal to the moon’s surface, but it’s a nice alternative for using the moon as a subject.

150mm | 1/250s | F2.8 | USO 64
374mm | 1/800s | F10 | ISO 500
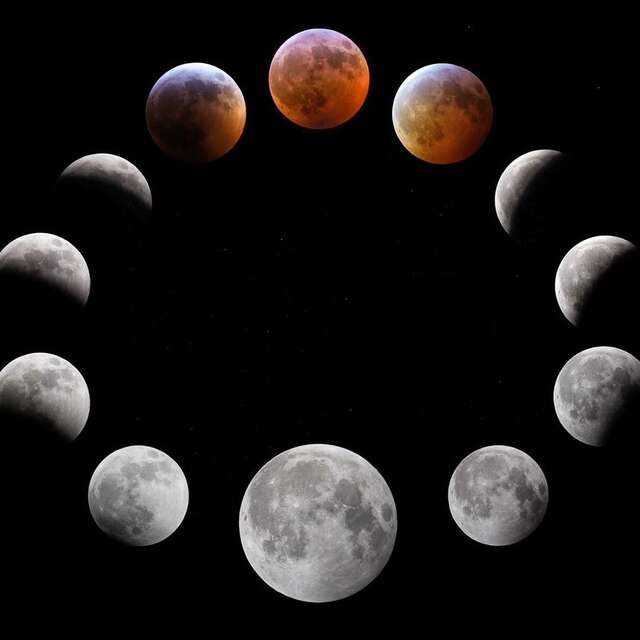
The next option and my personal favorite, is getting your hands on something with more power, like the M.Zuiko 100-400mm F5.0-6.3 IS. Even with that much zoom, I was able to photograph the moon handheld 238,900 miles away. You heard that right, handheld, still no tripod. The powerful image stabilization and superior technology that provides great depth while editing, and it's possible to capture the impact craters, dead volcanoes and lava flow markings with amazing detail. Because I’ve never spent ample time pointing my camera directly at the moon, I made it a goal to toggle settings for different exposures and play around with the outcomes. The moon also moves throughout the night. So, it is very important to take time locking in your focus. Features like MF Assist to magnify the image through the display and Peaking Settings to highlight the focus in red truly help.
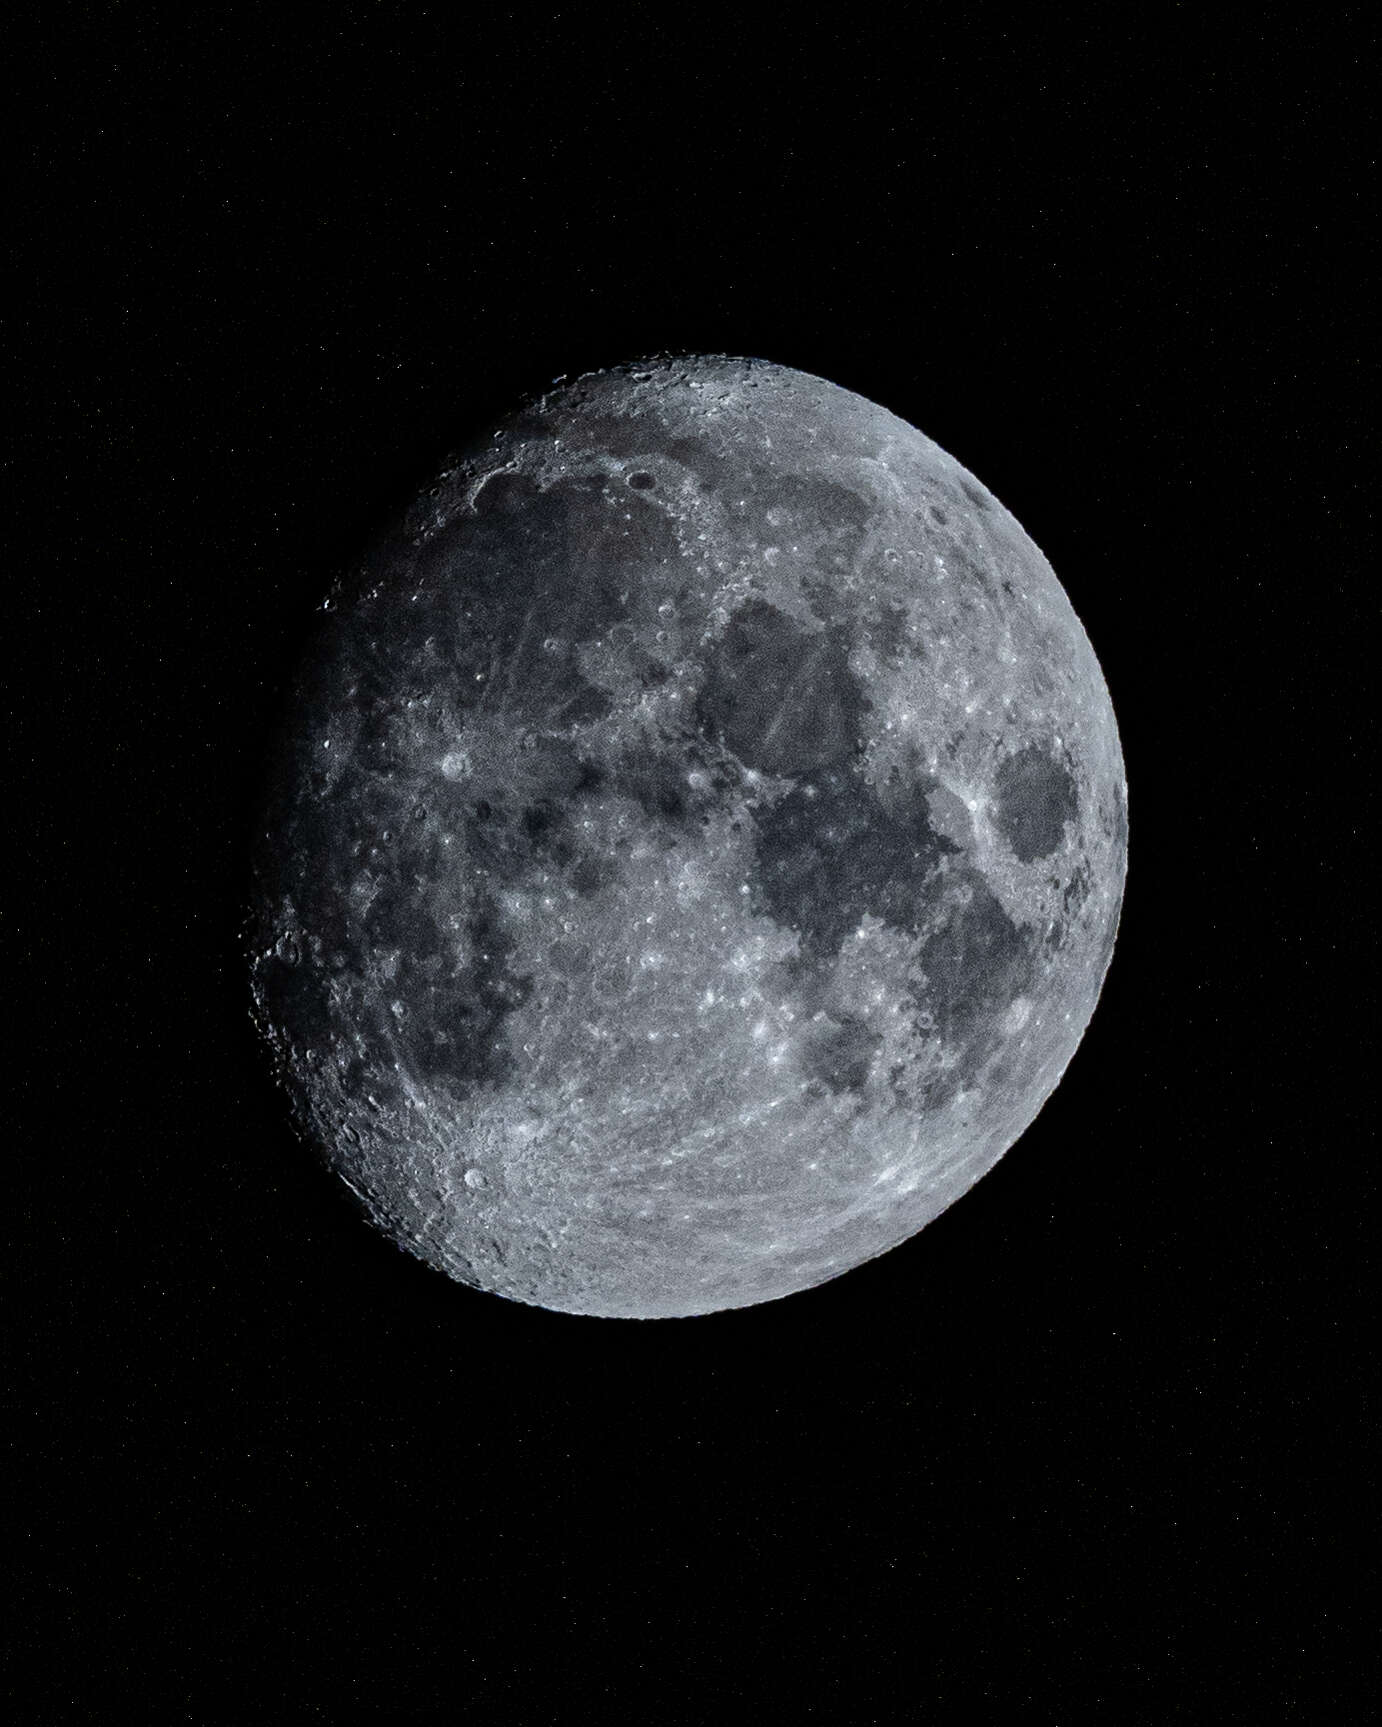
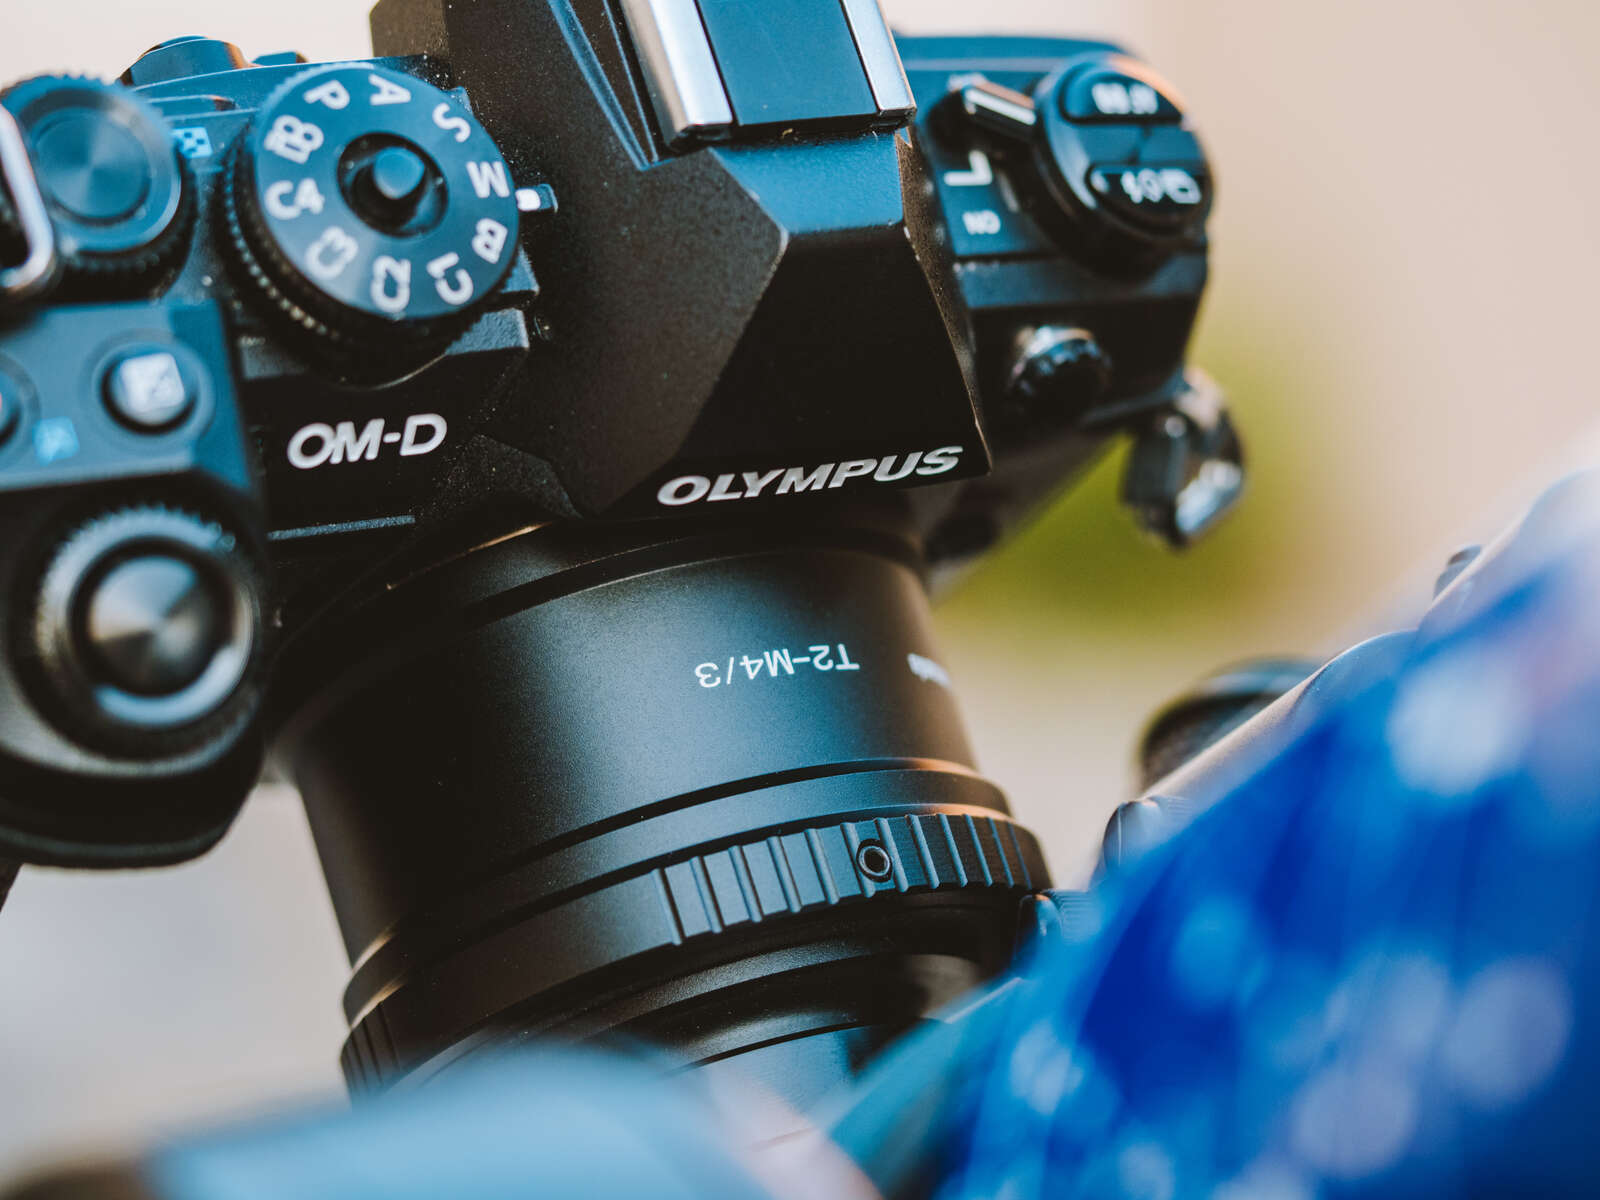
One evening, while taking in the vast night sky and appreciating the beauty, it dawned on me that I had an old Meade telescope gifted from my father still sitting in the closet. I remembered setting it up and looking through it as a child and seeing the craters of the moon. Was that my childhood imagination, or did that telescope actually work as well as my memory was claiming? I knew I had to find out. This sparked the idea of connecting my OM-D E-M1 Mark III to an Amazon product known as Astromania T2 Mount, then using the Meade telescope port to bring it all together. Although the telescope got me much closer to the craters, I can easily say I’m surprised my 100-400mm was so comparable. Considering it did not require the additional effort of setting up a telescope and the timely process of finding and focusing on the moon. Either way, you need a camera to capture this still frame in the way you see below through a telescope. You see this object everyday so far away, and to pull yourself this close using technology is simply astonishing.
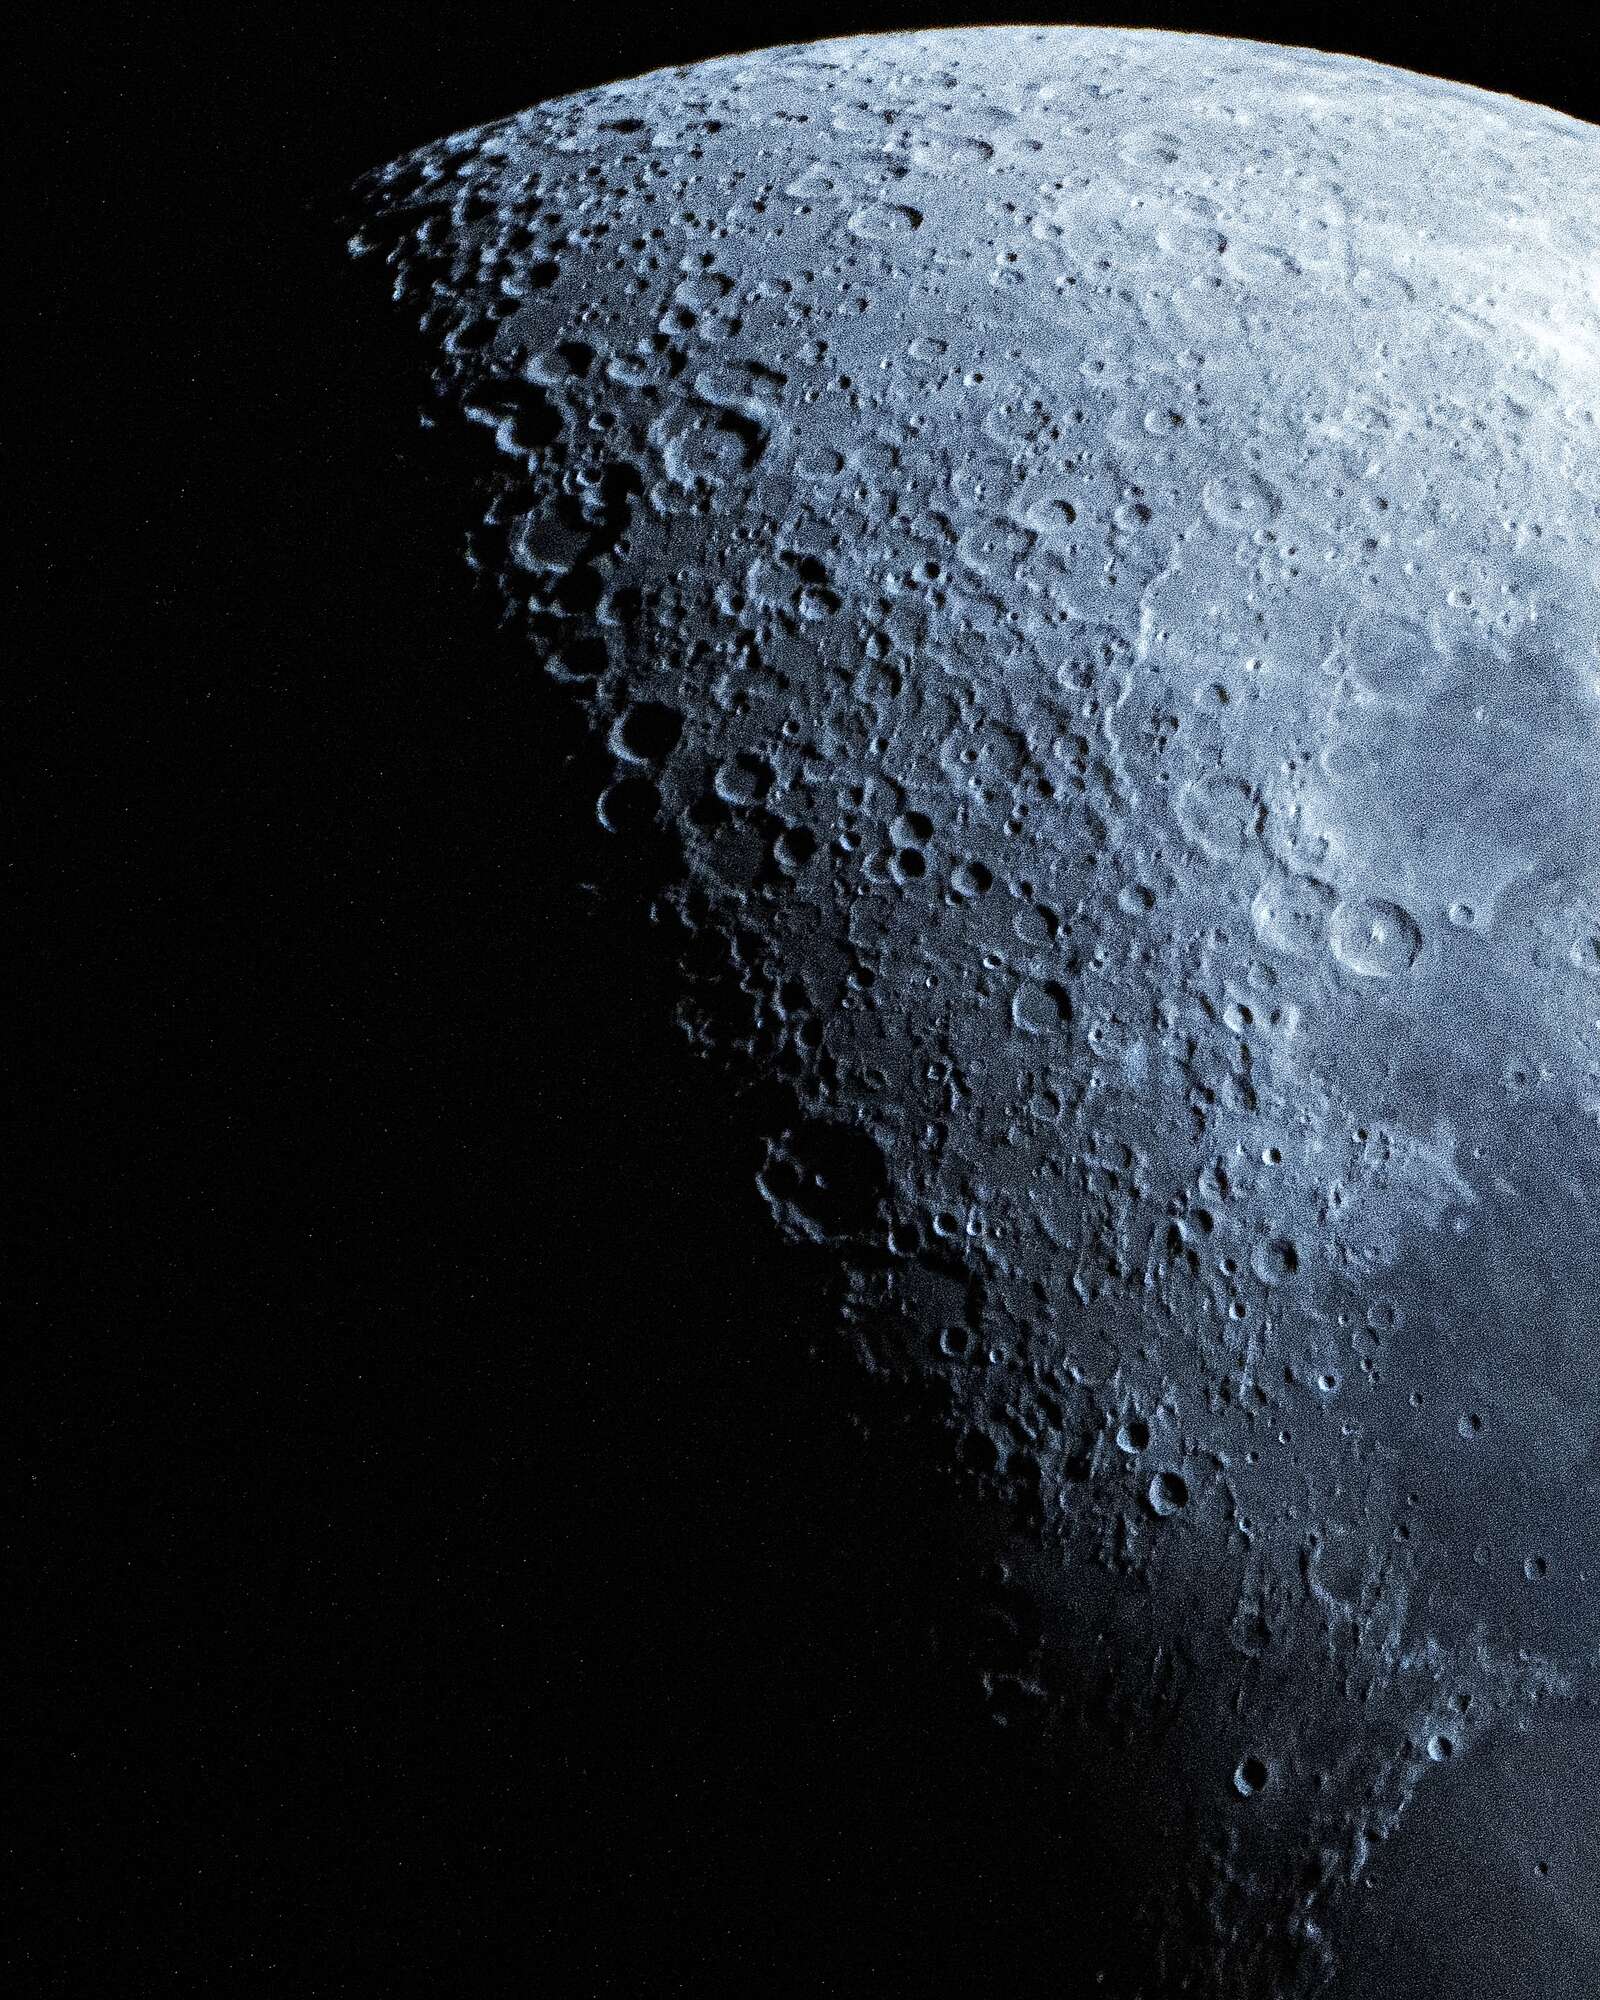
1/160s | ISO 1600
How to Photograph the Moon Using a Telescope for Beginners
Believe it or not - connecting your camera to a telescope to take photos is fairly simple. Once you know how to properly get everything hooked up, the world of astrophotography is at your fingertips.
Because it does get more complicated when you dig deeper into space and shoot nebulas, or planets further in the distance- we’re going to keep this tutorial exclusively about photographing the moon. It’s close, easy to find in the sky and for the most part, can be done manually if you don’t have a big fancy telescope at your palms.
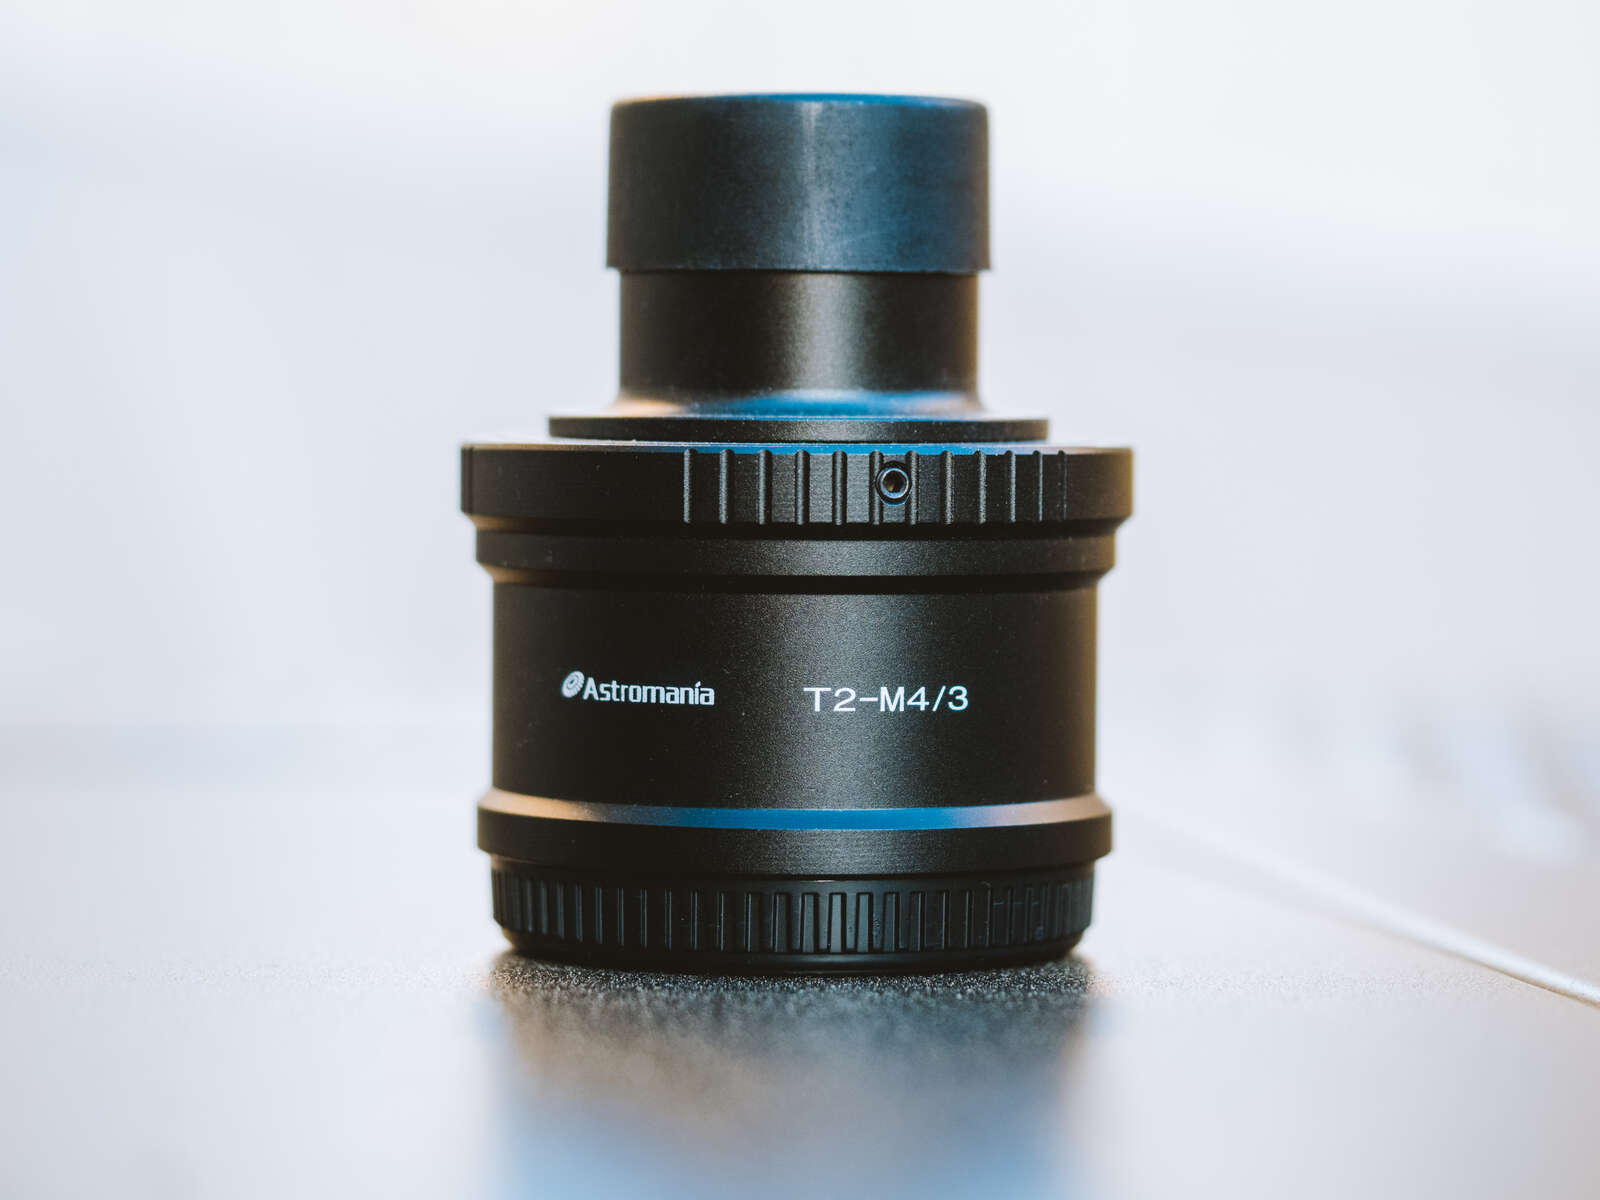
For $22, you can buy an adapter that allows you to fluently attach any of your Olympus or OM SYSTEM cameras to most telescopes. It is known as the Astromania T2 Mount and this makes the attachment process as easy as it can be. You can also explore using T-rings and adapters that thread onto the rings, but I believe the T2 mount makes the most sense.
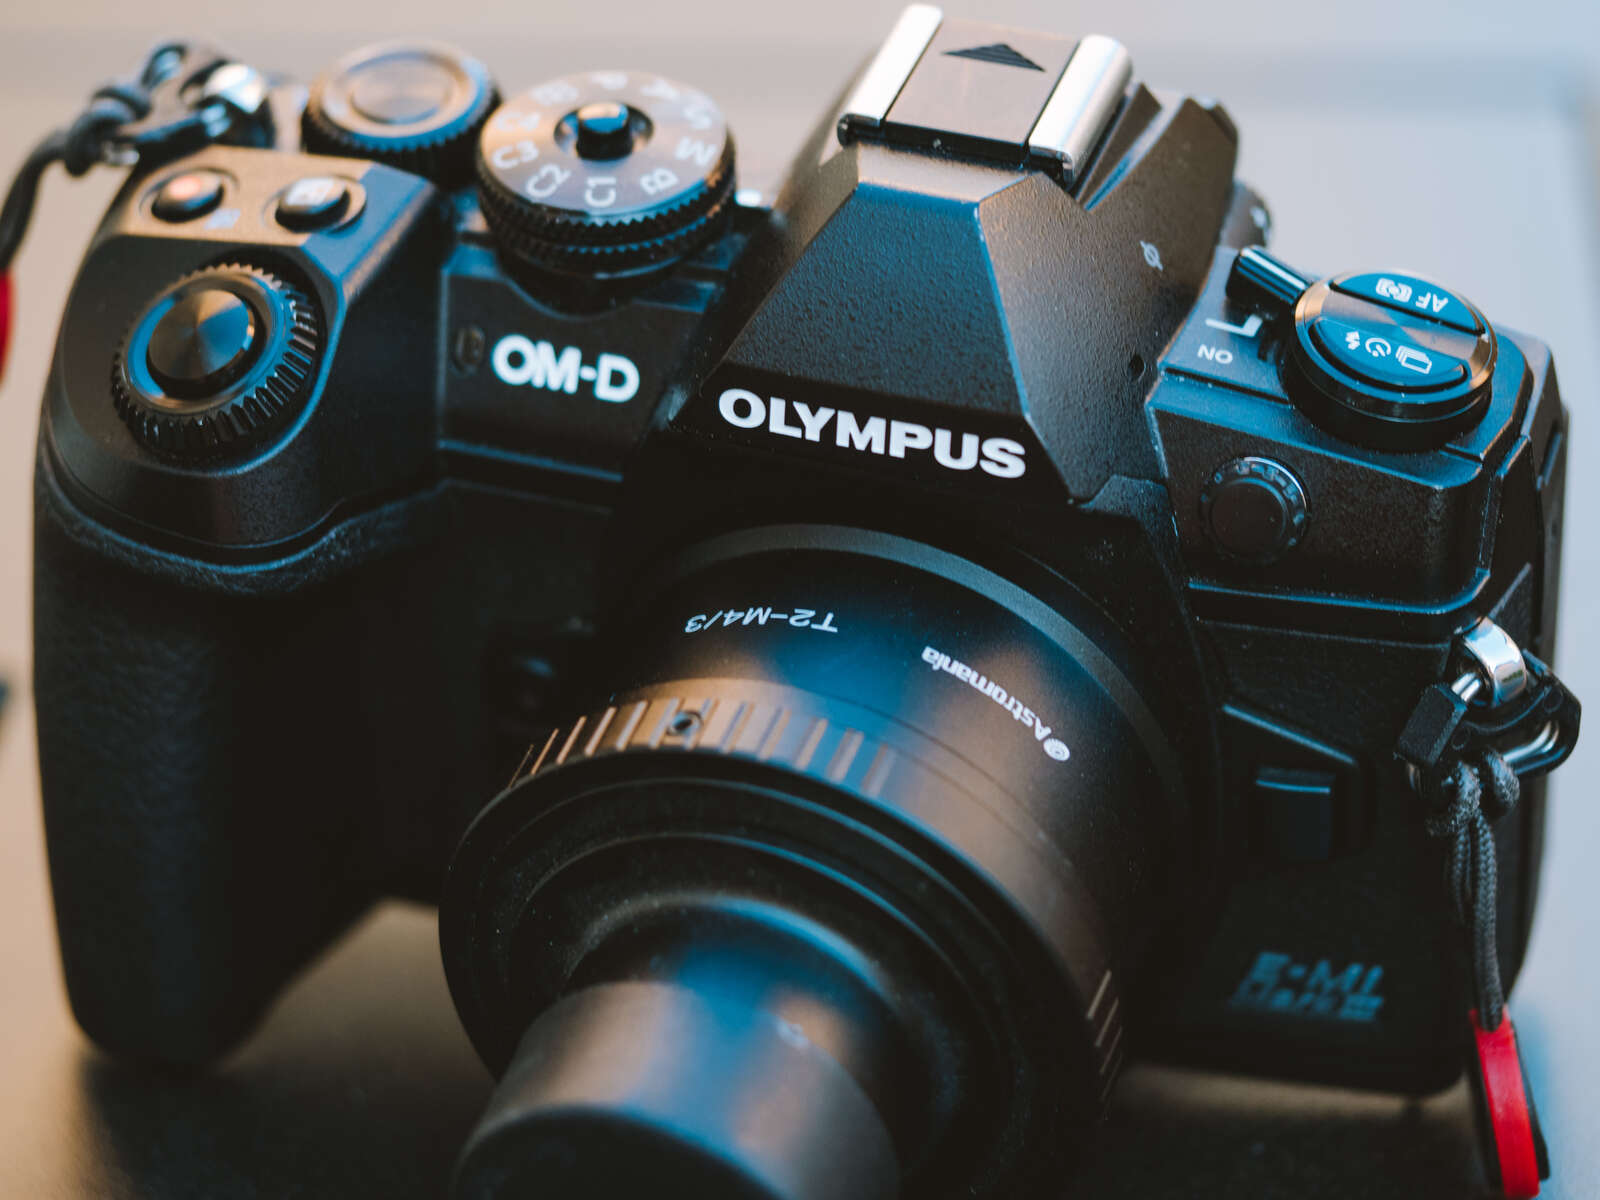
Connect your camera to the Astromania T2 Mount - this is using my E-M1 Mark III.
This step is easy – set up your telescope! You really don’t need anything fancy to get started, as I found an old Meade telescope (don’t even know the name) and it did an incredible job.

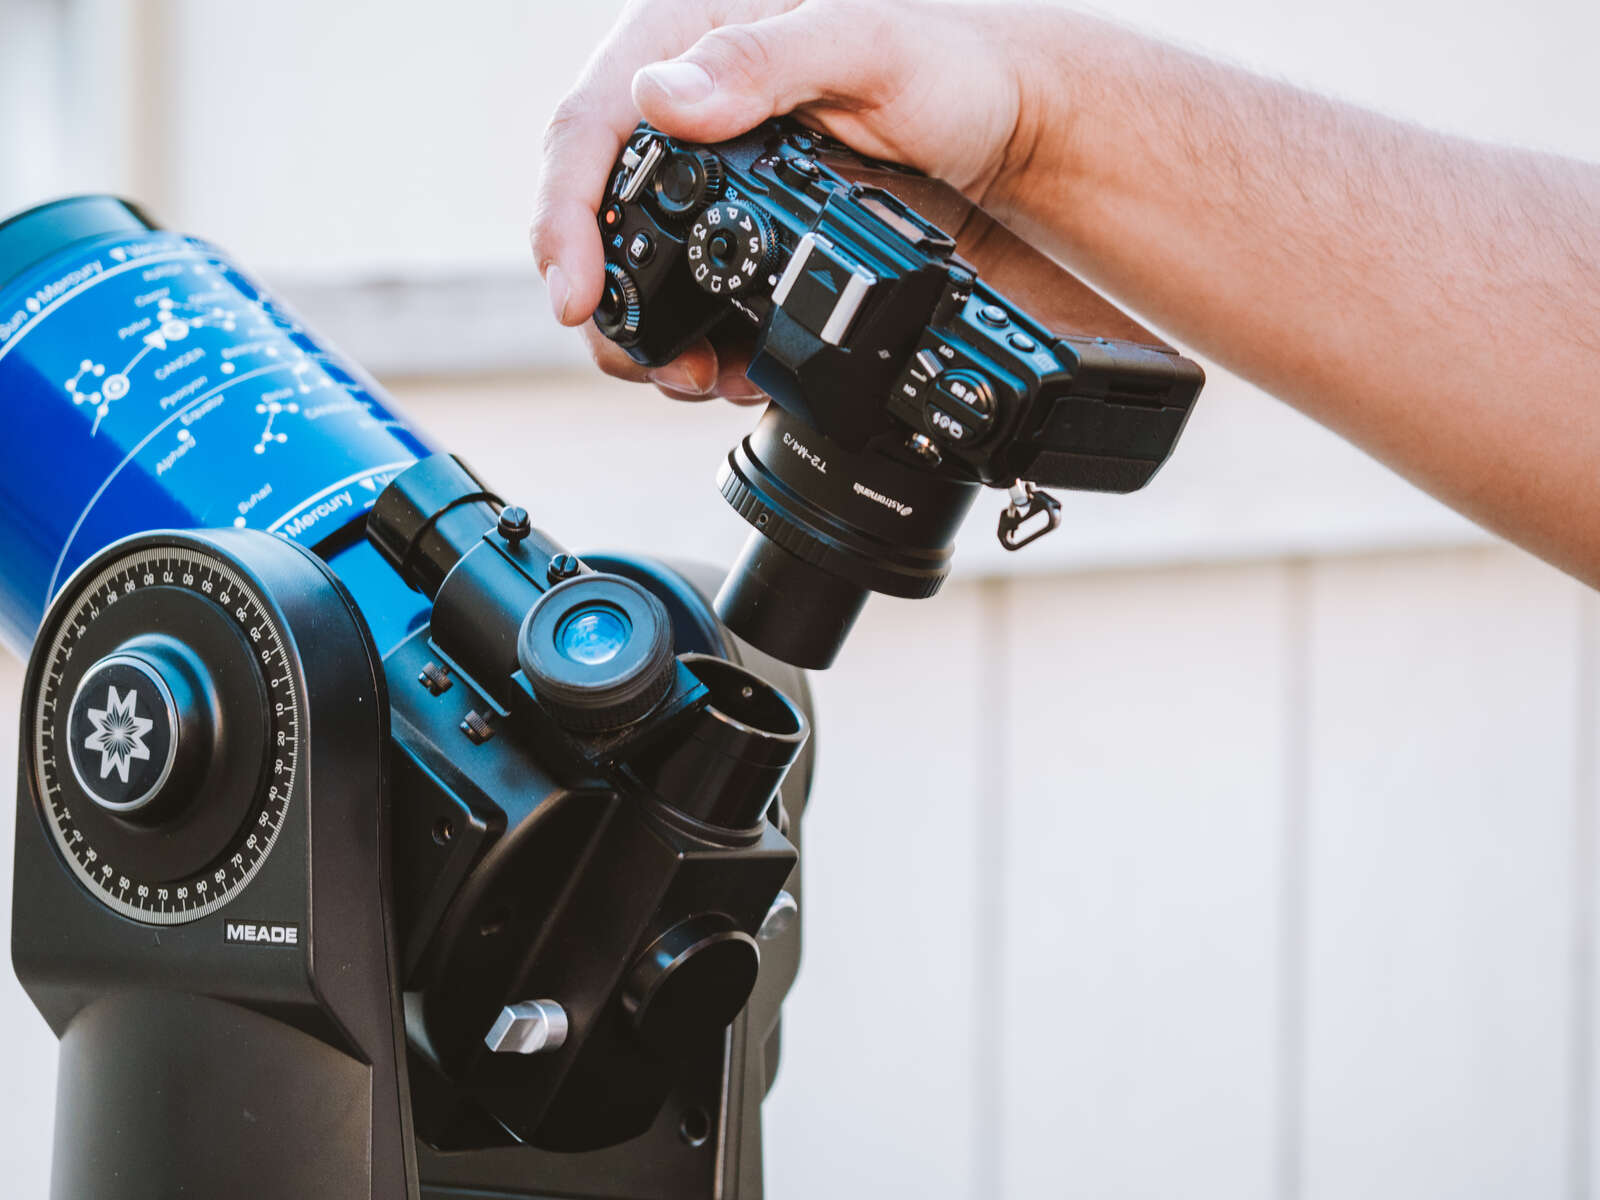
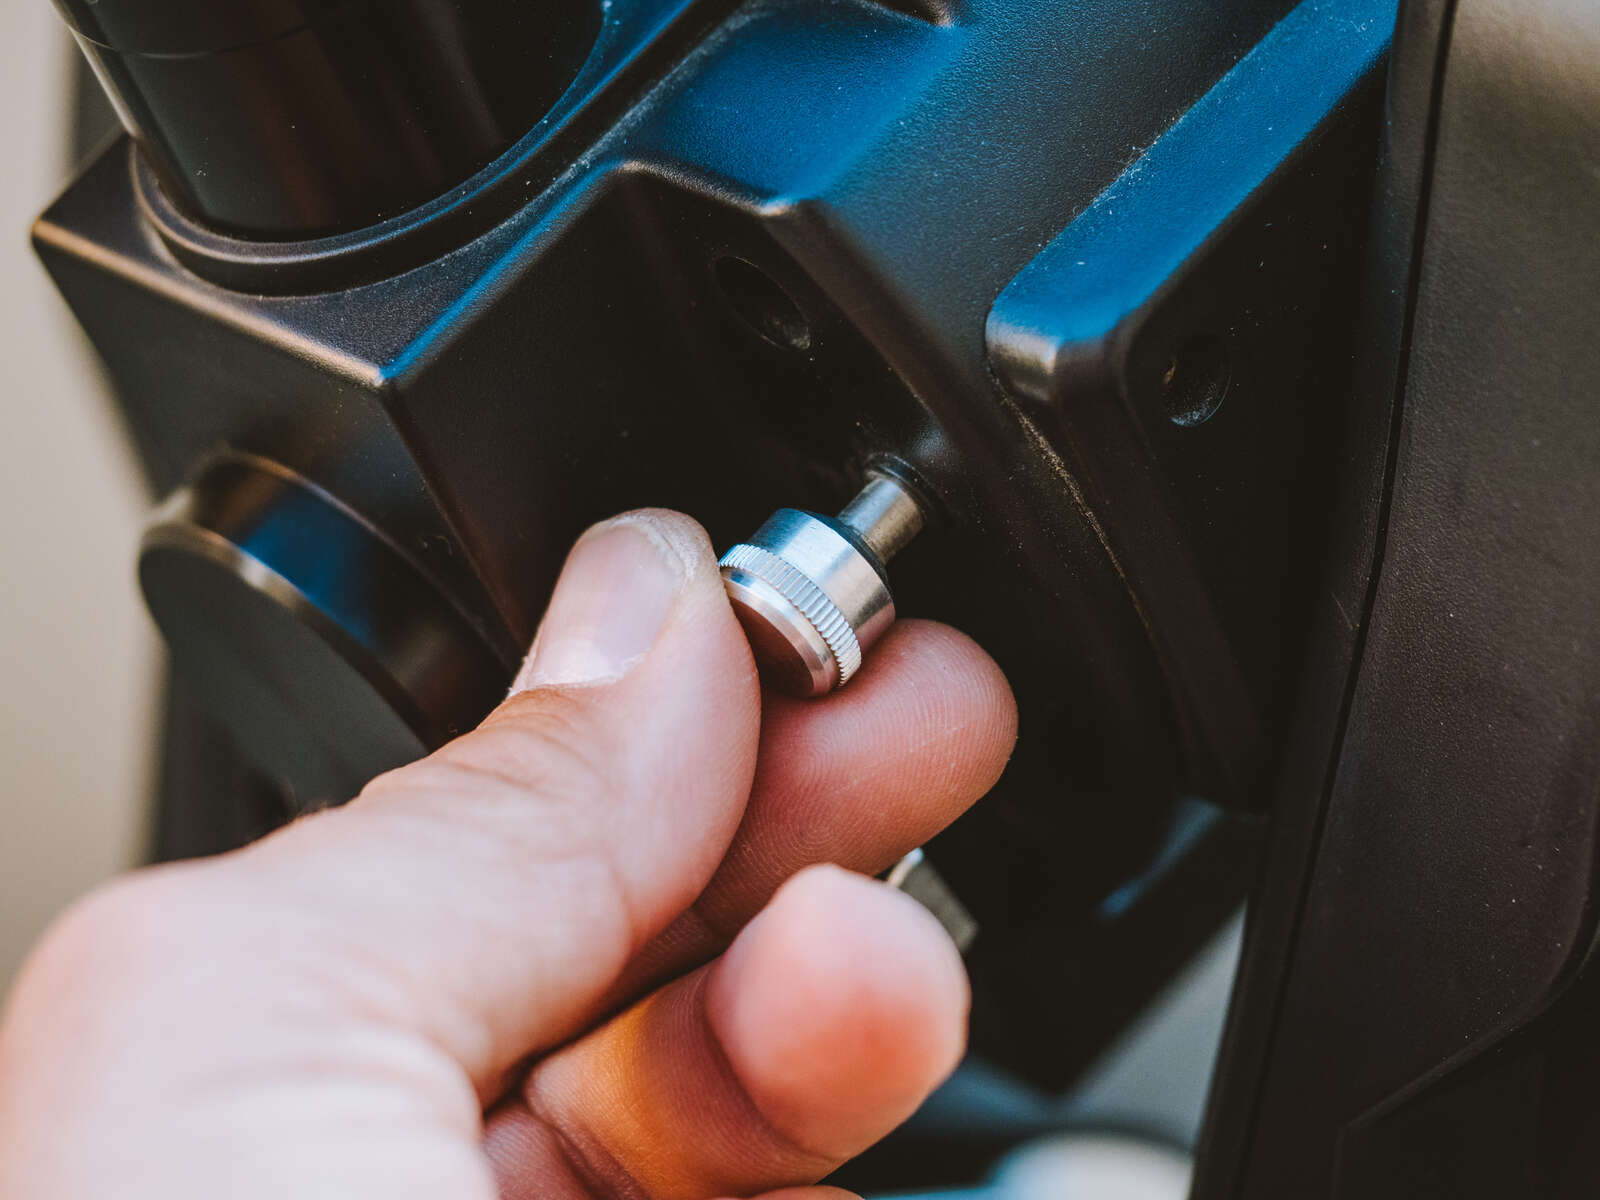
The T2 Mount adapter connected to your camera must lock inside the focus drawtube to avoid any shake. Otherwise your photos may come out blurry. There should be “locking screws” already on the outside of your eyepiece or drawtube that allows you to tighten the adapter in place. You have the option to shoot vertically or horizontally.
Then it's time to celebrate – you have successfully replaced your camera lenses with the native focal length of the telescope! Now it’s basically a giant telephoto lens and can be increased simply by additional attachments that slide directly onto your T2 Mount.
Lastly, play with the features of the telescope and develop an understanding of your camera settings for astrophotography. I recommend starting with your shutter speed around 1/200s and ISO 1200. F-stop will be ‘unknown’ because most adapters are not native technology that allows you to alter that. Depending on the conditions of the night sky, this can shift. I definitely recommend using a 2-second timer after you release the shutter, using the OI.Share app, or investing in a remote shutter release cable.
There’s typically a smaller eyepiece located to the left of the camera, and it’s a wider view of the night sky above. I use this to locate my subject, so I can get the moon in frame easier before jumping to 800mm via the camera.
The focus dial on the telescope is also very important, as you can see in the photo. Once you locate the moon, this is how you find focus shifting the glass of the telescope. Thus, allowing your camera sensor to pick up what you want to focus on.
Truth be told, there are few things that make me feel smaller then when I spend an evening sitting under the night sky. I sat down the next evening after finally accomplishing this mission, and stared up at the same wonders of the night sky. I looked at the moon, and tried to re-envision what I had seen the night before so close and so vivid. Only to realize, the moon is bound to endless compositions and I was just getting started. Bigger telescopes, different angles, camera filters, 4K video and so much technology we have to our advantage.
Now that I understand basic knowledge and application of my photography options, I can let creativity take over to perfect my future moon imagery. And what I can say for sure – the end product of capturing the moon is an addicting feeling of ‘how will you photograph it next’.
Instagram: @chrisroams
Chris Poplawsk is a Southern California native who loves experiencing new landscapes and engaging with wildlife in their natural element. While his life's work is mainly dedicated to travel and brand photography, he also spends my time building relationships with couples and people around the world to capture their love stories.