If you’re like me, you’ve spent plenty of time scanning through the photographs of the amazing Olympus bird photographers like Keith Wallach, Scott Bourne, Steve Ball, and Ben Knoot. Eventually, you’ve probably started wondering what you can do to get out there and start taking your own bird photography. Or maybe you’re already interested in birding and you want to add photography to your field journal repertoire. Either way you’re here looking for some tips, and I’m here to help you get started.
My interest in birding started in 2020, although I had definitely pointed my lens at birds before that. When #BlackBirdersWeek started trending on Instagram in June of 2020 I found myself fascinated. I wanted to get deliberate about birding and learn to take better bird photos too.
So let’s start with some general tips for birding, and then some useful pointers for bird photography.
The very first thing you need is a good resource. There are several ways to go here. The traditionalist will want to invest in a good quality birding book. I enjoy both the art and the information in Sibley’s Field Guide, and have found Sibley’s Birding Basics to be very educational.
There are plenty of free resources on the internet. The Audubon Society and the Cornell Lab of Ornithology both have brilliant birding resources available for free. For the “on-the-go” resource, both organizations have free apps for your phone that can help you identify birds in the field by description, by photograph, and even by song.

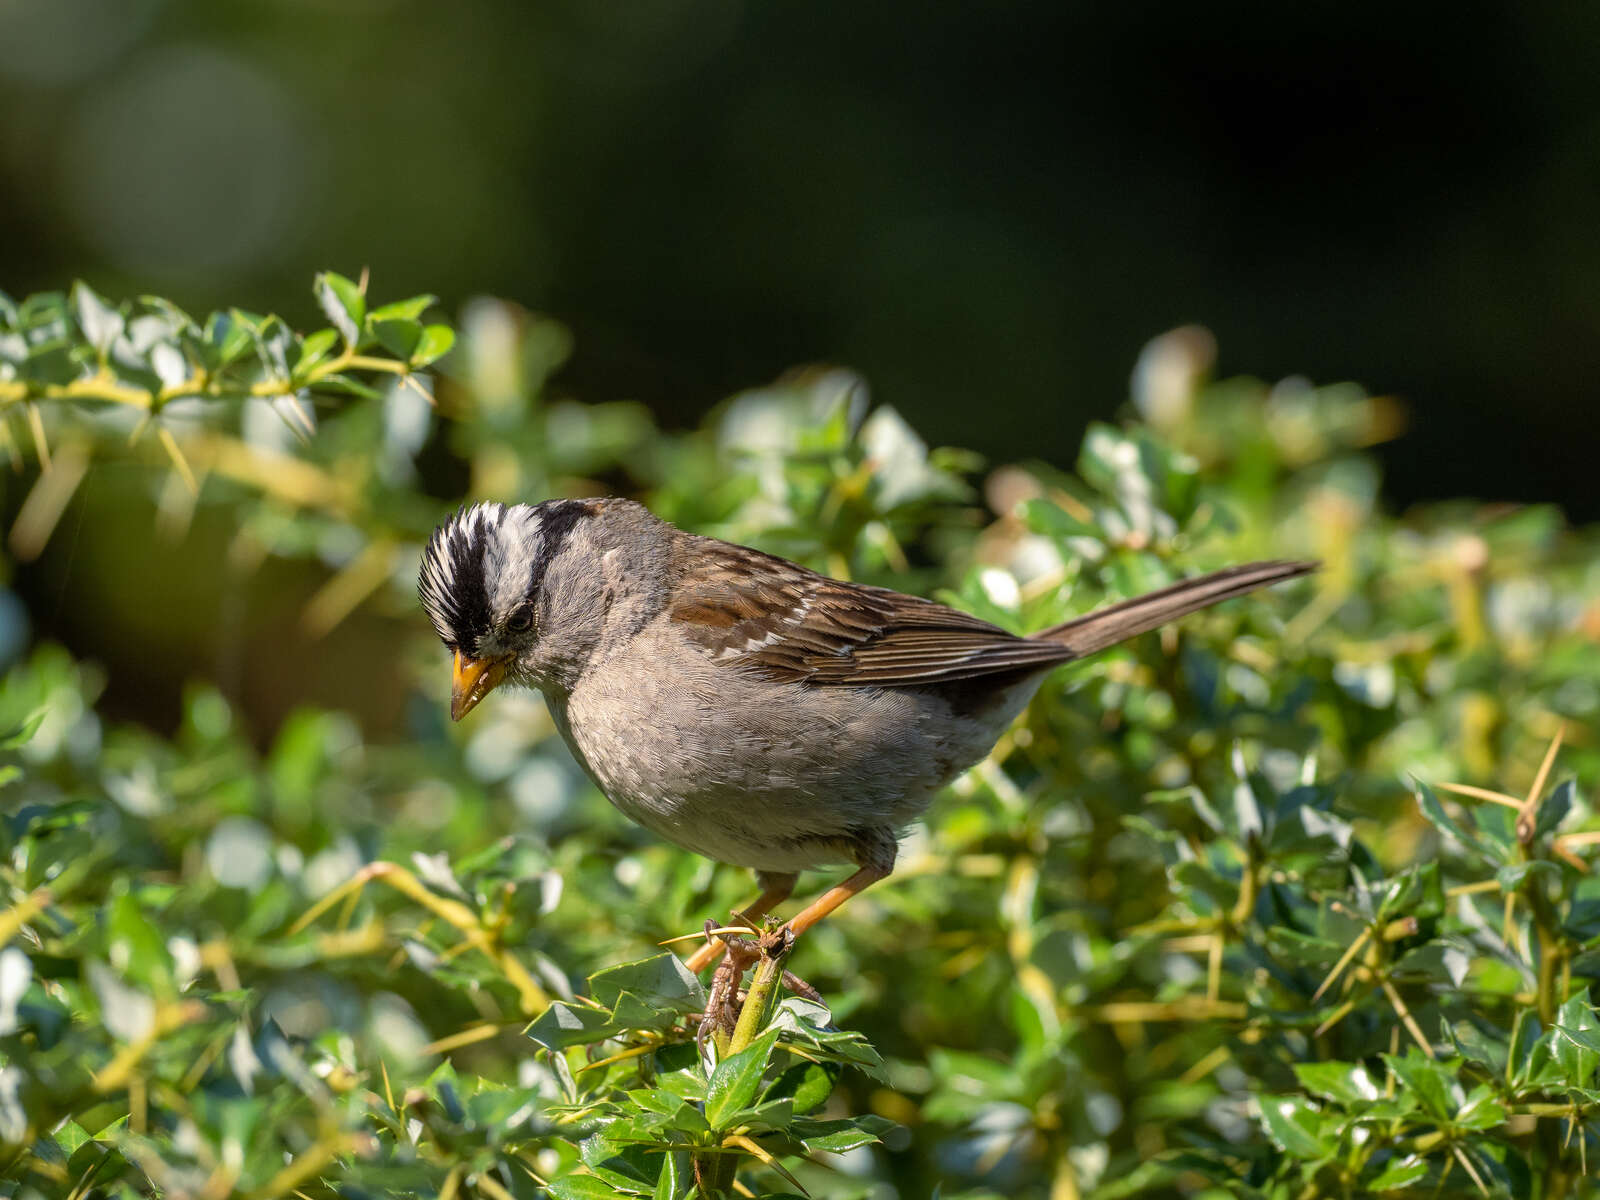
1/640s | F4 | ISO 200
1/1250s | F4 | ISO 200
Now, how do you find the birds, you ask? I have a few simple suggestions.
- Leave your sunglasses at home or in the car, or maybe on top of your head. Sunglasses and photography don’t mix well. (I don’t really want to tell you how many times I’ve raised my camera up to my face to catch a moment and smacked myself in the sunglasses with the viewfinder.) You’ll find that besides the “smack yourself in the face” issue, you will also lose time and maybe miss a great photo if you have to wait for your eyes to adjust to full sun.
- Follow your ears. It may seem counterintuitive to go out listening when you’re out to create a strictly visual art, but when you are searching for a tiny bird in a great big world your first sign may be its song.
- You may not even have to leave your yard. If you have a yard, plant some seed bearing flowers or put out a bird feeder or bird bath. You will likely be pleasantly surprised at the variety of birds that may show up at your doorstep. In urban areas, birds are pretty much the only wild animals that are considered acceptable to feed. But take care to try not to habituate them, even city birds need to keep a healthy level of wariness for humans.
- Birds are most active at dawn, and to a lesser extent at dusk. Like most rules, you can break this one to good effect at times. A less active bird perching on a tree limb can be an easier photography target than one flitting around trying to catch it’s breakfast. Also, the bright midday sun can allow you to use faster shutter speed and lower ISO.
1/640s | F4 | ISO 200
1/640s | F4 | ISO 200
An extra note on habituation: please be careful when birding to avoid disturbing the birds, especially if they are nesting. If the birds are stopping their behaviors to look at you, then you can assume that you are too close. Just like with any wild animal, we want to be respectful of the bird's natural predator/prey behaviors. Stay far enough away that the birds feel comfortable enough to continue their feeding or courtship or nesting behaviors. Be deliberate. Be respectful. Follow the bird’s lead and the norms of the place you are visiting.
Most national parks and forests ask that you not feed the animals, and that includes the birds. In places like these you will find birds that are clearly habituated to people and have become nuisances in their food-seeking behaviors. They will even swoop down on occupied picnic tables or swipe food out of unwary people’s hands. Obviously this is not ideal for the people, but can be downright dangerous for the birds. On the other hand, some sanctuaries and parks may encourage you to feed their birds, and may have specific bird-appropriate treats available for you to purchase. Go with whatever is appropriate for where you are.
Now let’s talk about camera gear and settings. My gear of choice is the E-M1 Mark III and the M.Zuiko 300mm F4.0 IS PRO lens. The 300 mm lens is fast and gives you tack-sharp results. The 4.0 aperture creates a beautiful bokeh, and the pairing of the small and light E-M1 Mark III is easily maneuverable and light enough to wield all day.
For settings, I tend to use aperture mode the vast majority of the time. With my primary focus on landscapes, I am accustomed to having the artistic control of the depth of field. In wildlife and birding there are times when full manual or shutter priority are more appropriate and helpful, specifically in dim lighting or to capture fast action (i.e. hummingbirds). I personally struggle to remember to increase my ISO when the light is dim or indirect, but I am learning! I still prefer to open the aperture over increasing ISO, to avoid increasing the noise in the final image. However, with a wide open aperture and narrower depth of field it is easier to miss the focus on our zippy little subjects.
I recommend checking out Keith Wallach’s excellent video about backyard bird photography!
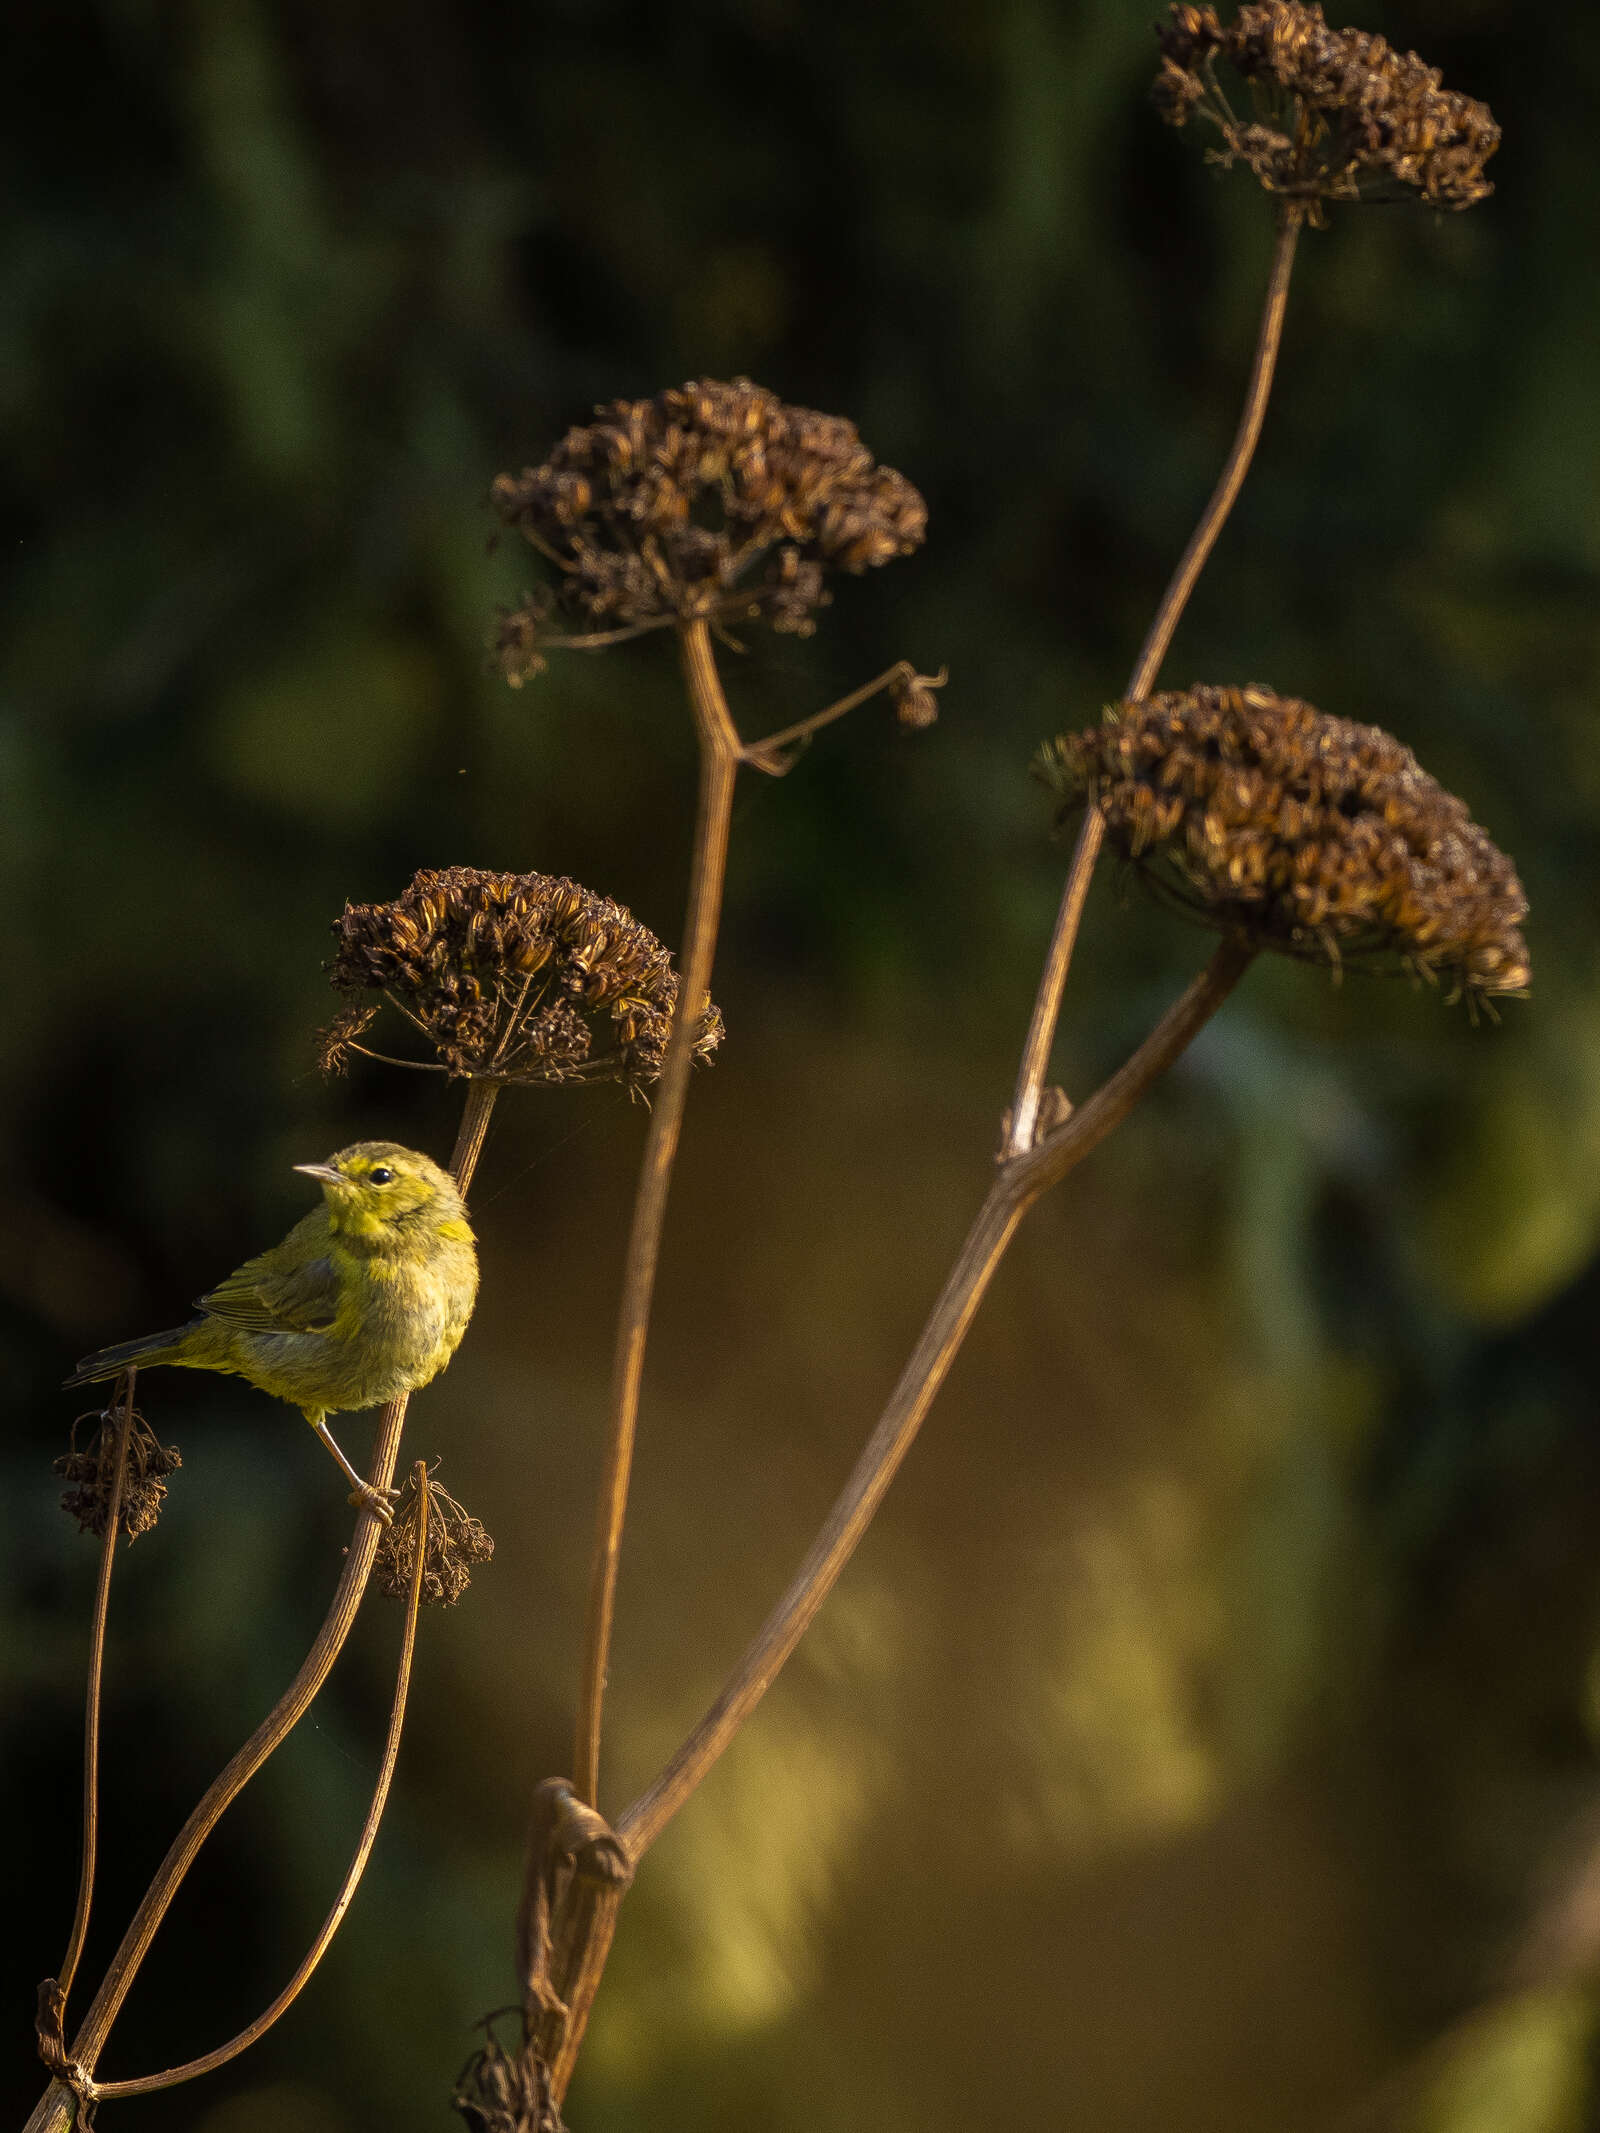
1/2500s | F4.5 | ISO 200
1/2000s | F4 | ISO 200
I use Silent Shutter mode if focusing on a relatively still or slow subject and wanting to avoid the noise of the focus lock and the shutter which can disturb or startle the bird.
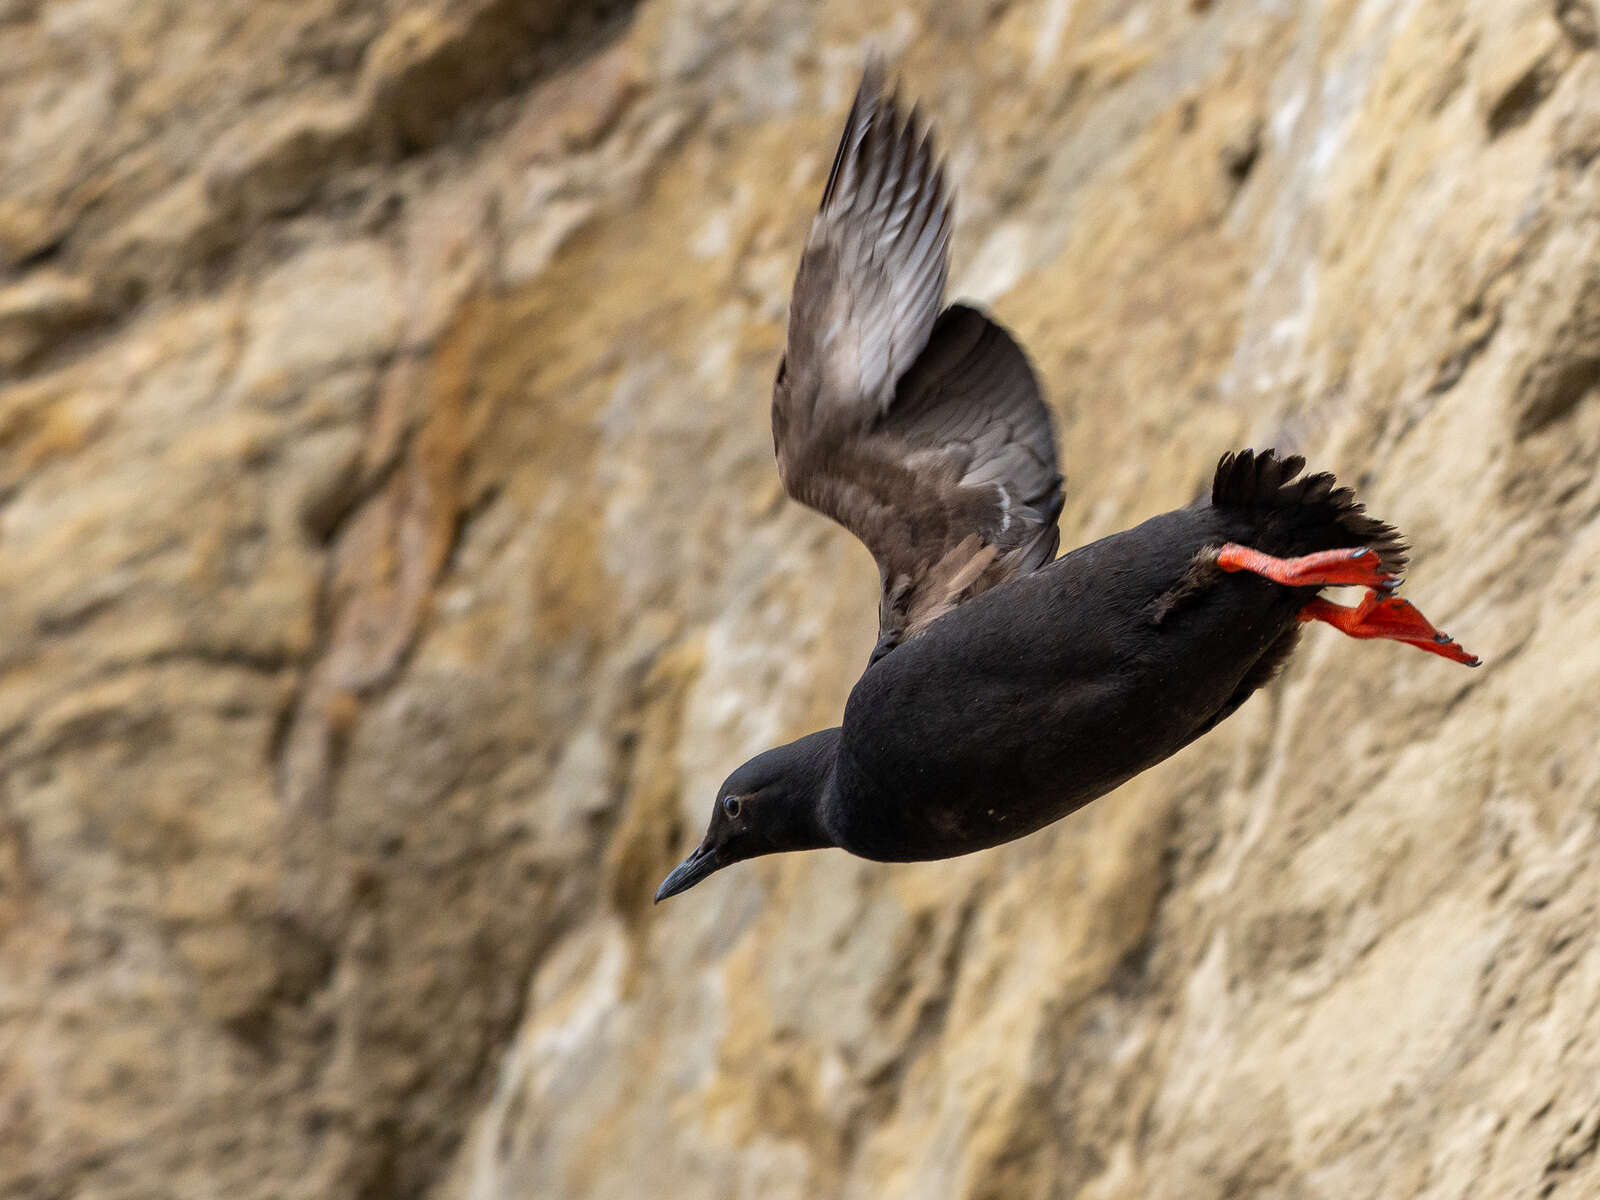
Silent Sequential Low allows for up to 18 frames per second (fps) and the camera will refocus between each frame, which is excellent for birds in flight, especially if you use Continuous AF+TR (auto focus plus tracking) to track your subject as you hold down the shutter button. You can adjust the sensitivity of your C-AF to a higher value to help keep a tight track on your subject as it flies toward or away from you or changes speed and direction unpredictably.
For the fastest of birds, Pro Capture Low is the best choice; I call it a little bit of tech magic. Pro Capture Mode gets the camera to essentially allow you to go back in time! When you press the shutter button halfway frames are buffered until you press the shutter button completely. Then the frames are permanently recorded from a set number of frames before and after you pressed the button. Voila! You have traveled back in time to catch the action you wanted!
Two little warnings. First, Pro Capture will use your battery much faster than single frame photography, so make sure you take a spare or two. Also, you will have multiple photos each time you press the shutter. You’ll potentially fill your memory card much faster too. In silent mode, you may not notice that you left your camera in Pro Capture Mode, and like me find that you’ve taken a multitude of identical landscape photos by mistake when you change subjects but not settings. Oops!
1/800s | F4.5 | ISO 200
1/1000s | F4 | ISO 200
1/800s | F4 | ISO 200
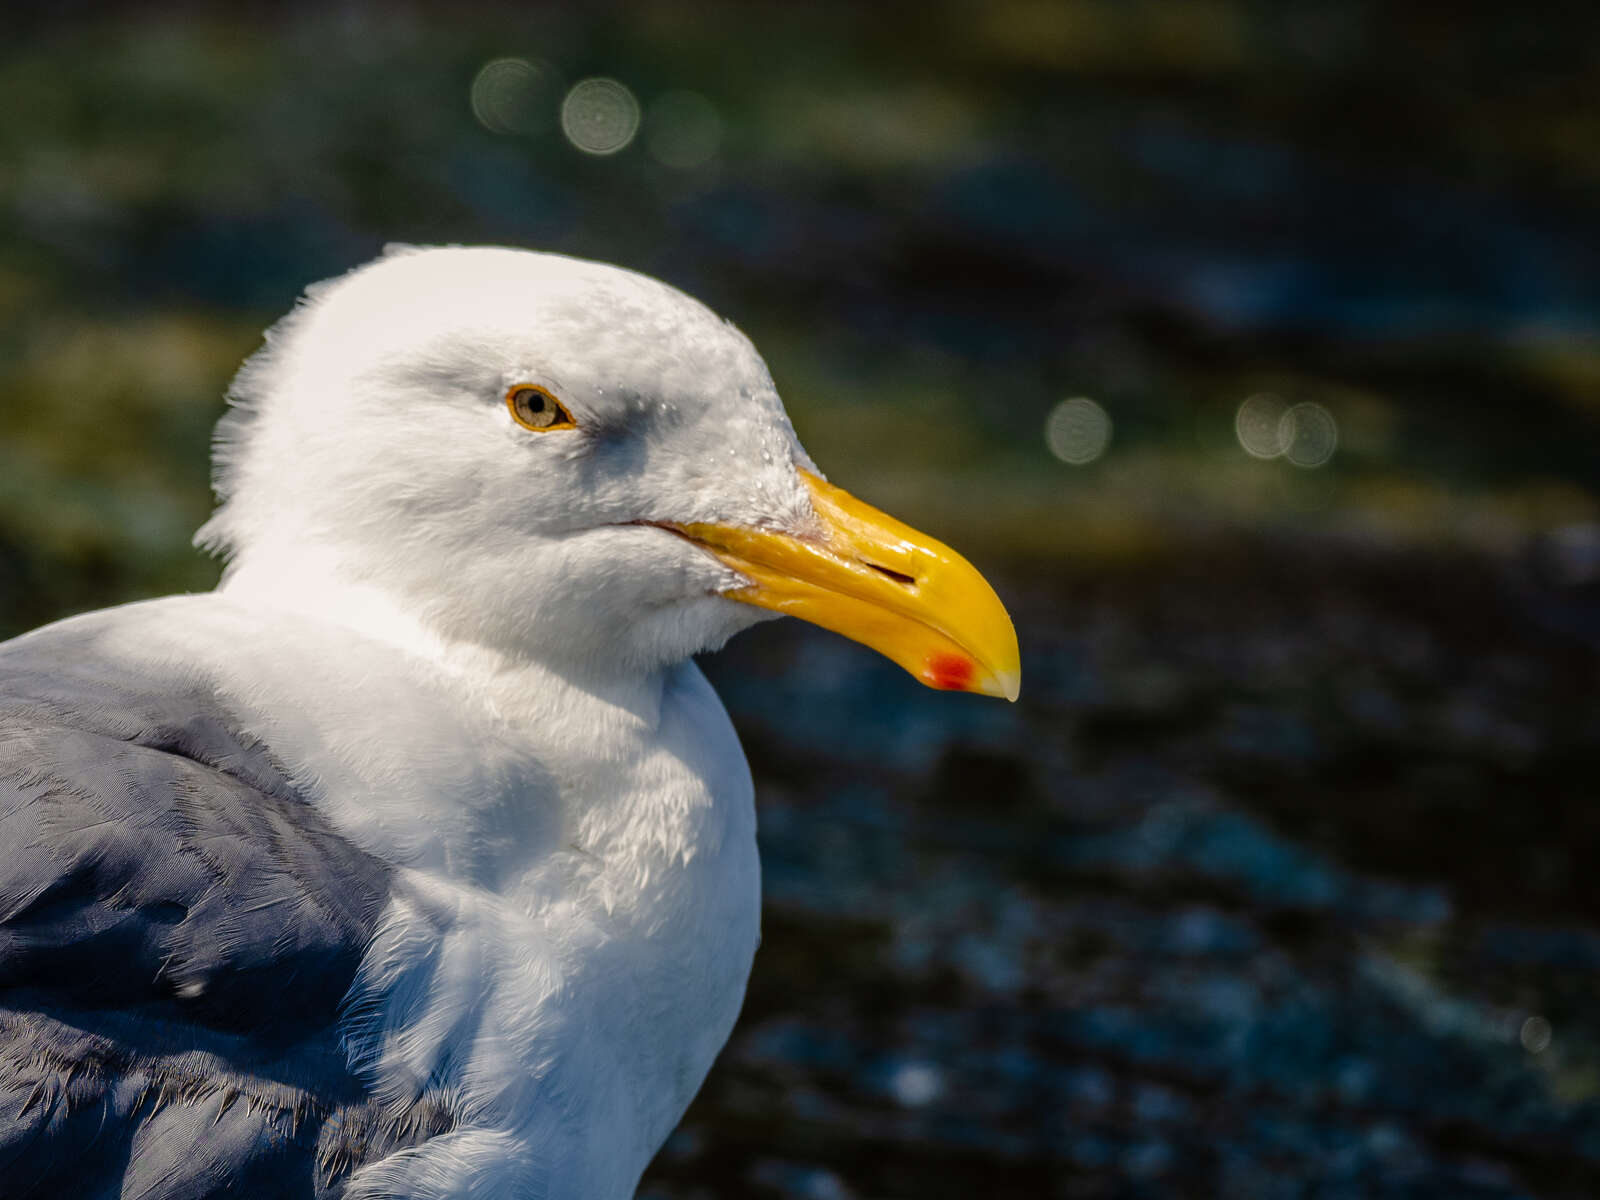
OK, now for the part I like best. Let’s talk about the artistic considerations of bird photography. As I see it, there are two types of bird photography; the portrait, and the environmental wide angle. Both have their appeal, and with the 300mm zoom you can have a lot of fun getting either type of bird photo. Composition-wise it can be challenging to think “on the fly," and that means you need practice, practice, and more practice. For the portrait-style photo, try to remember to keep the background as simple as possible, and to leave the “blank” space in front of the subject, whichever way the subject is facing. Use a shallow depth of field to bring up the importance of the subject and create that beautiful bokeh effect for the background and foreground.
It’s ok to crop your photo. Read Brooke Bartleson’s article about cropping for wildlife photography.
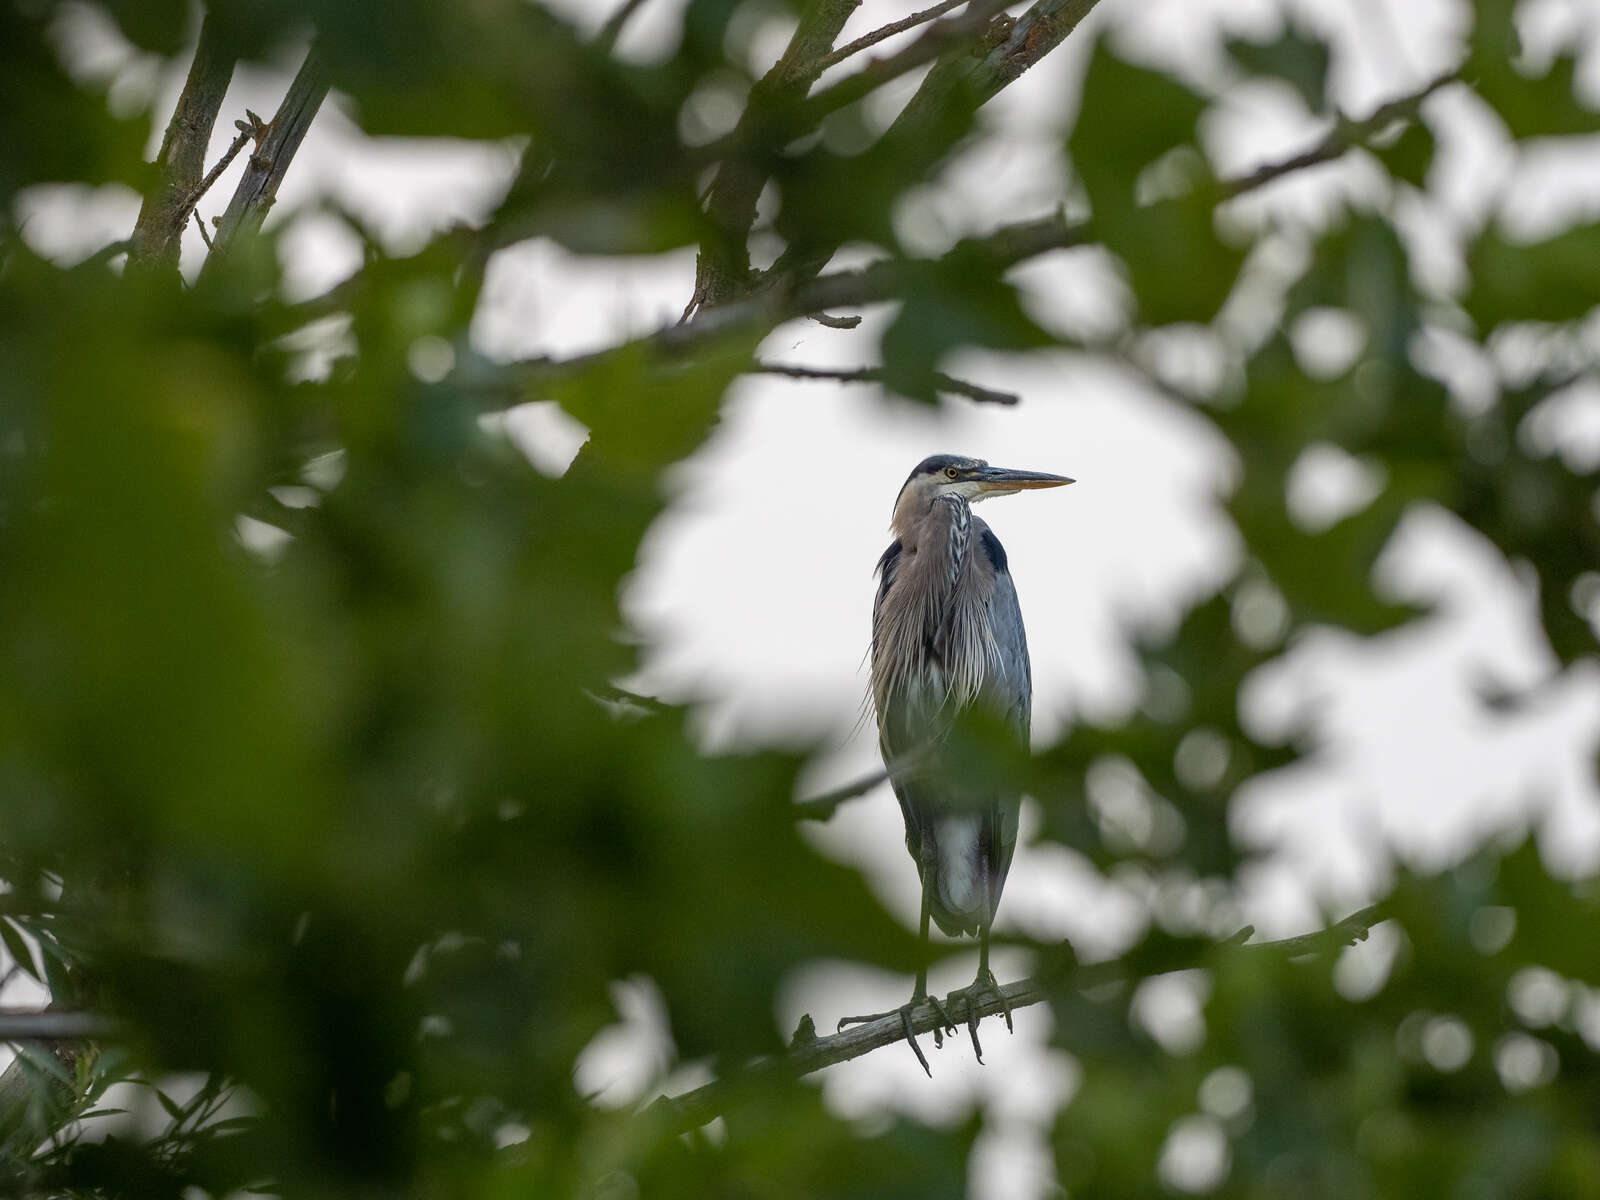
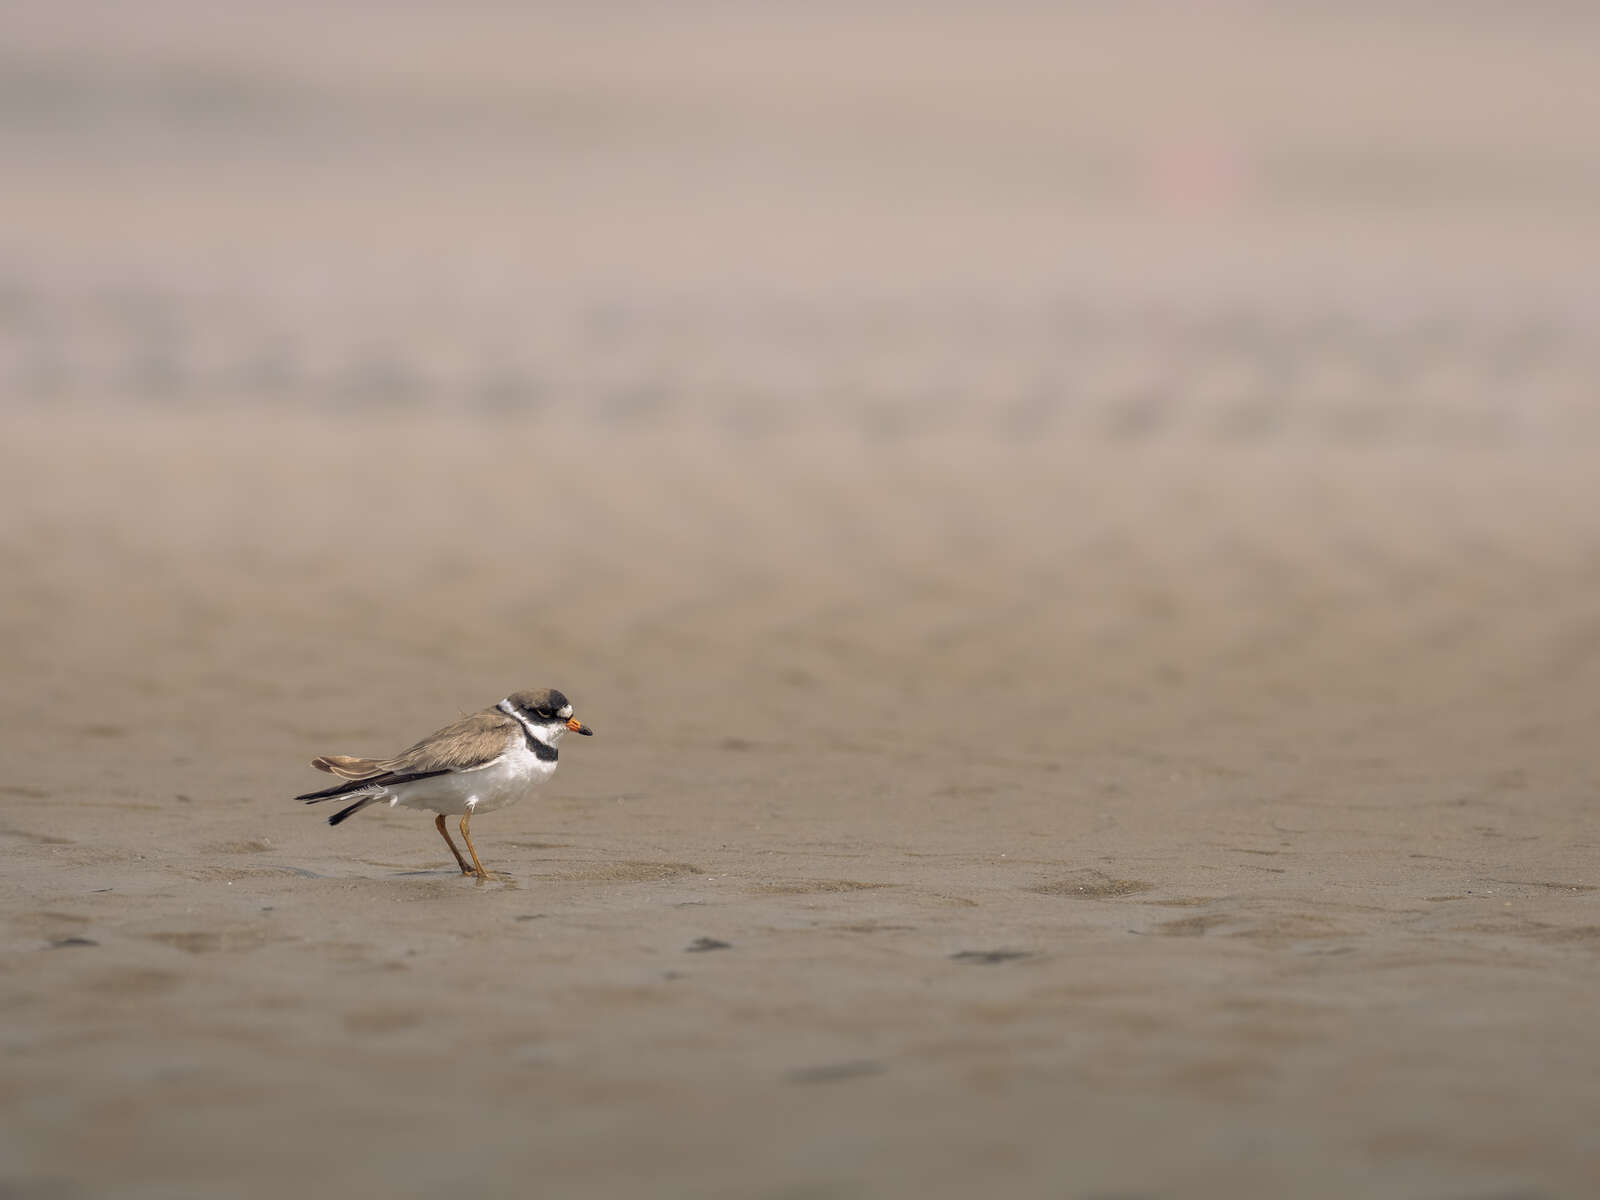
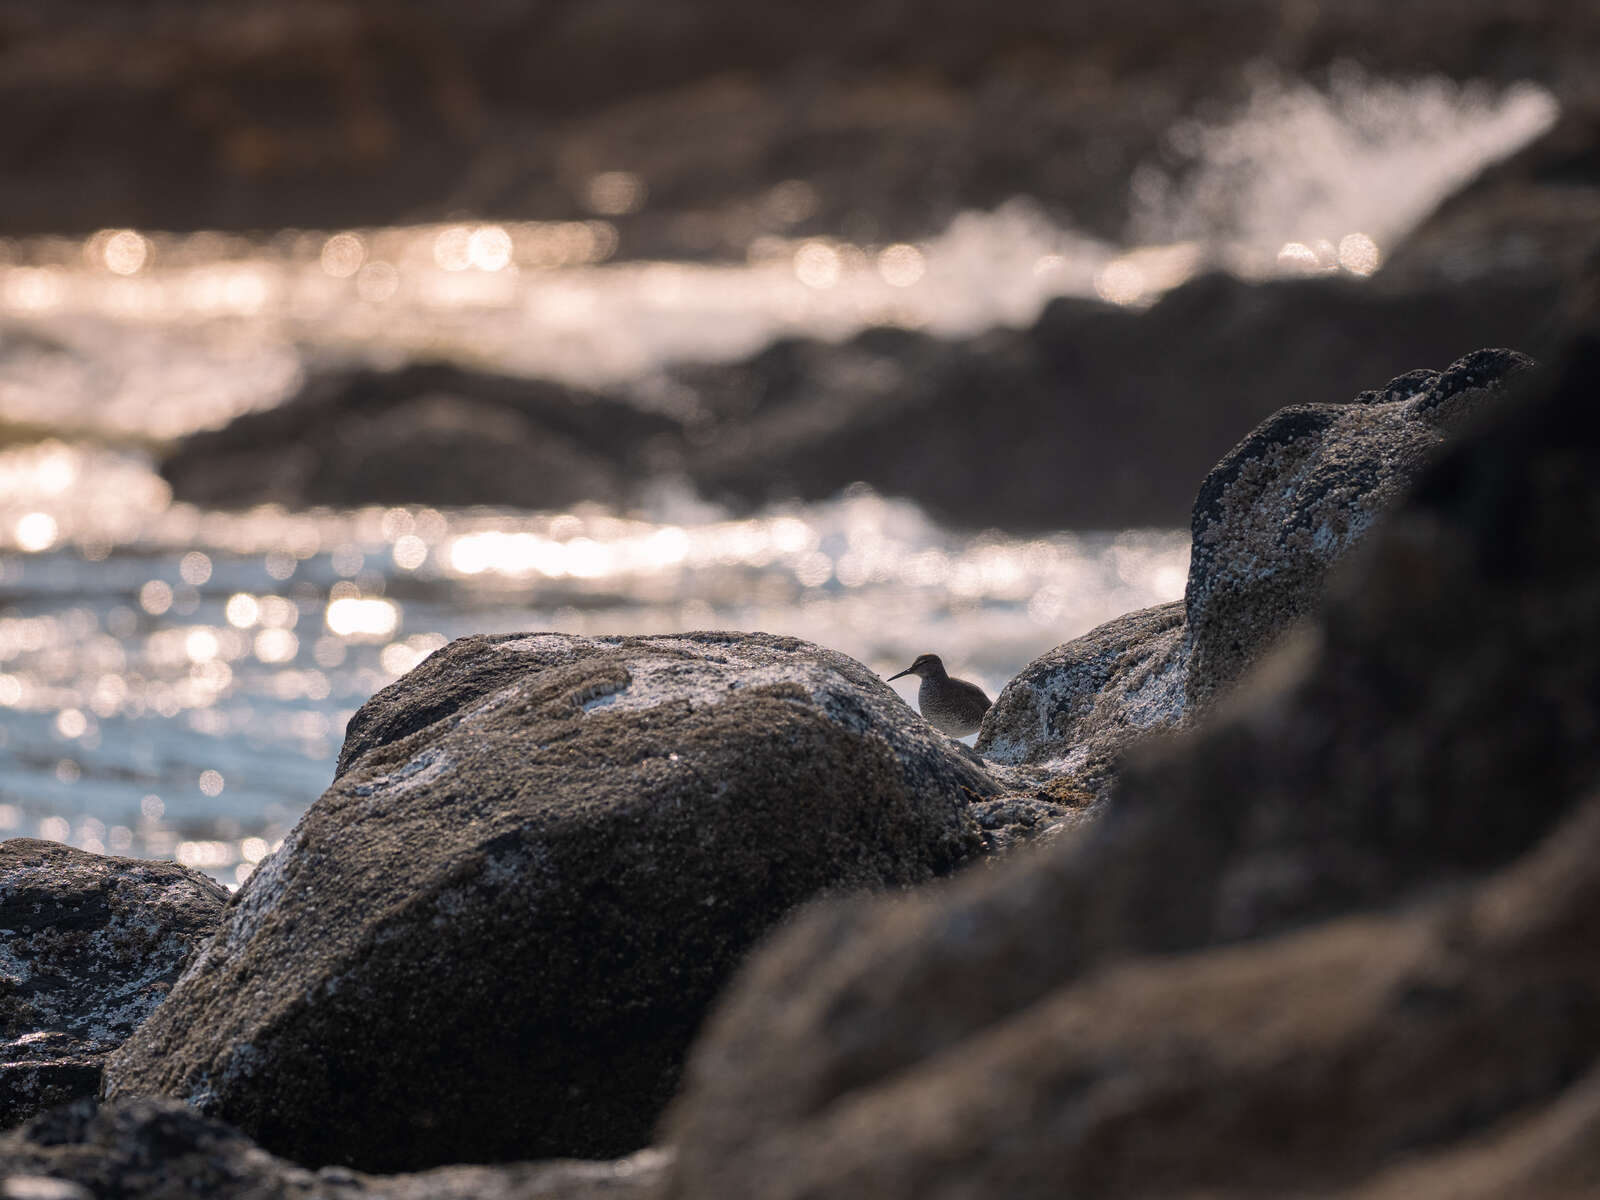
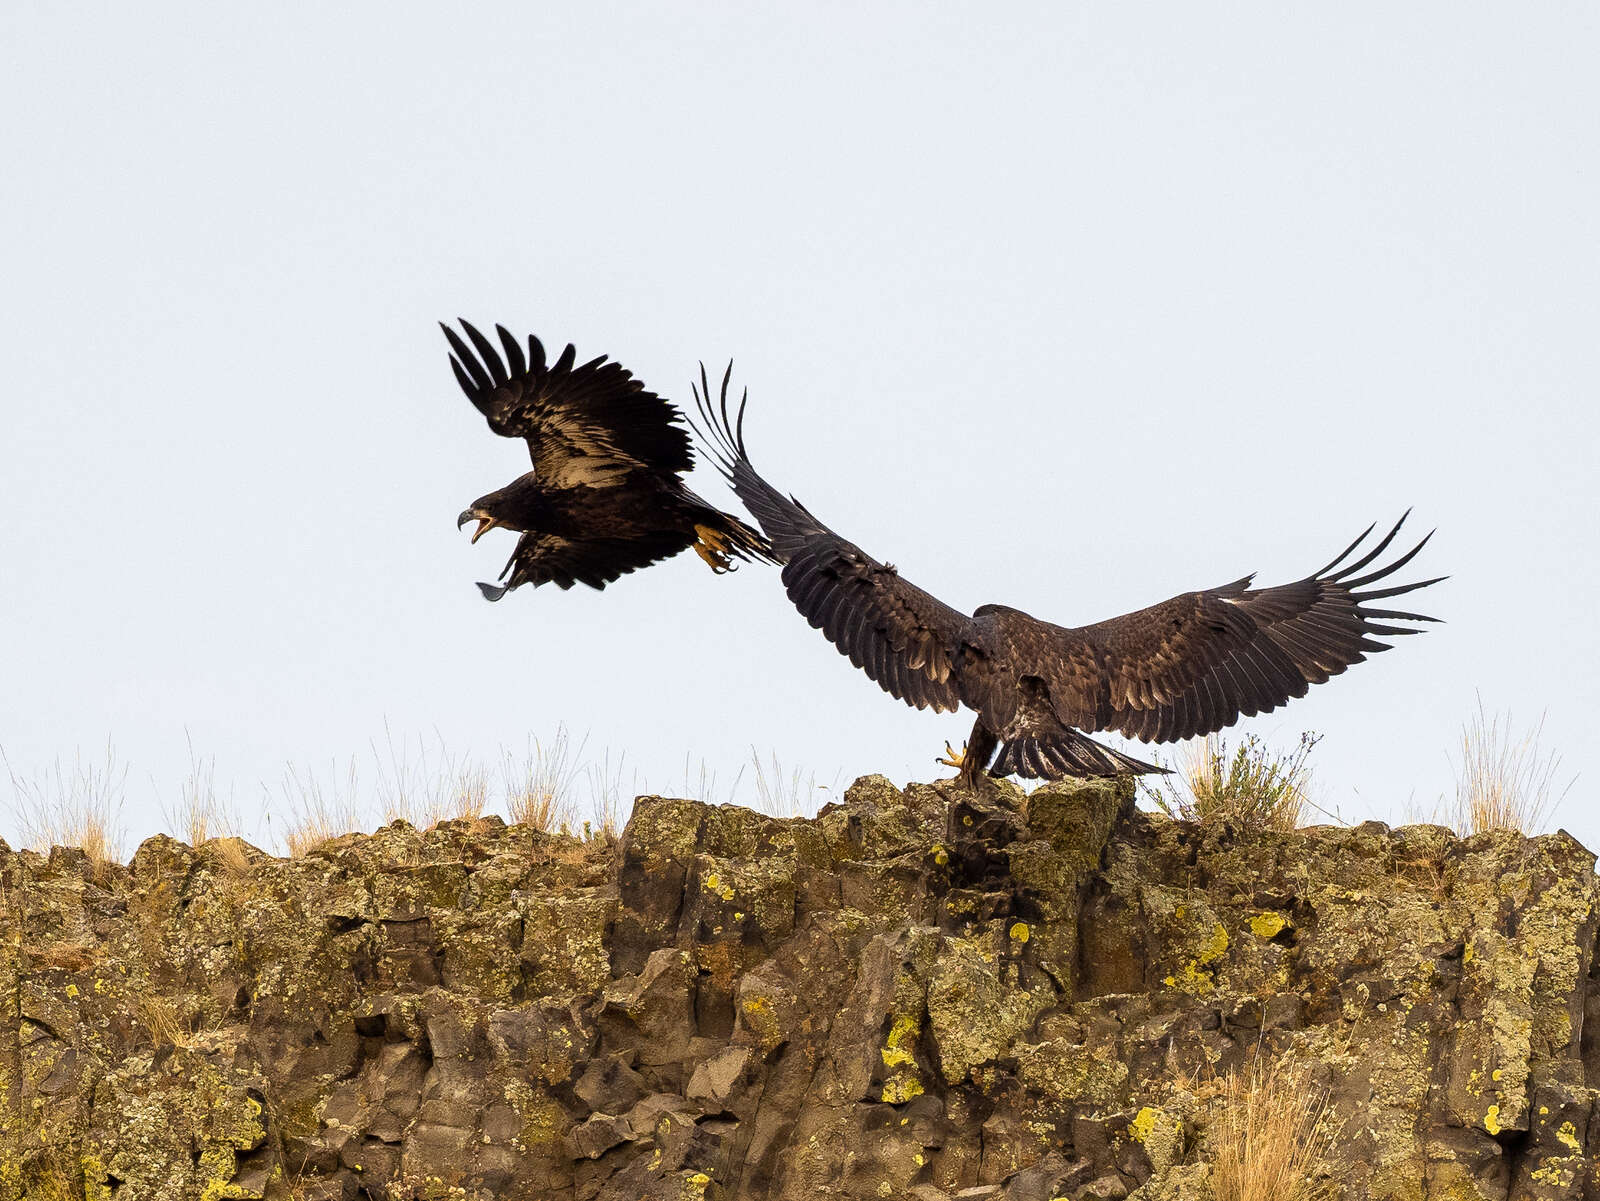
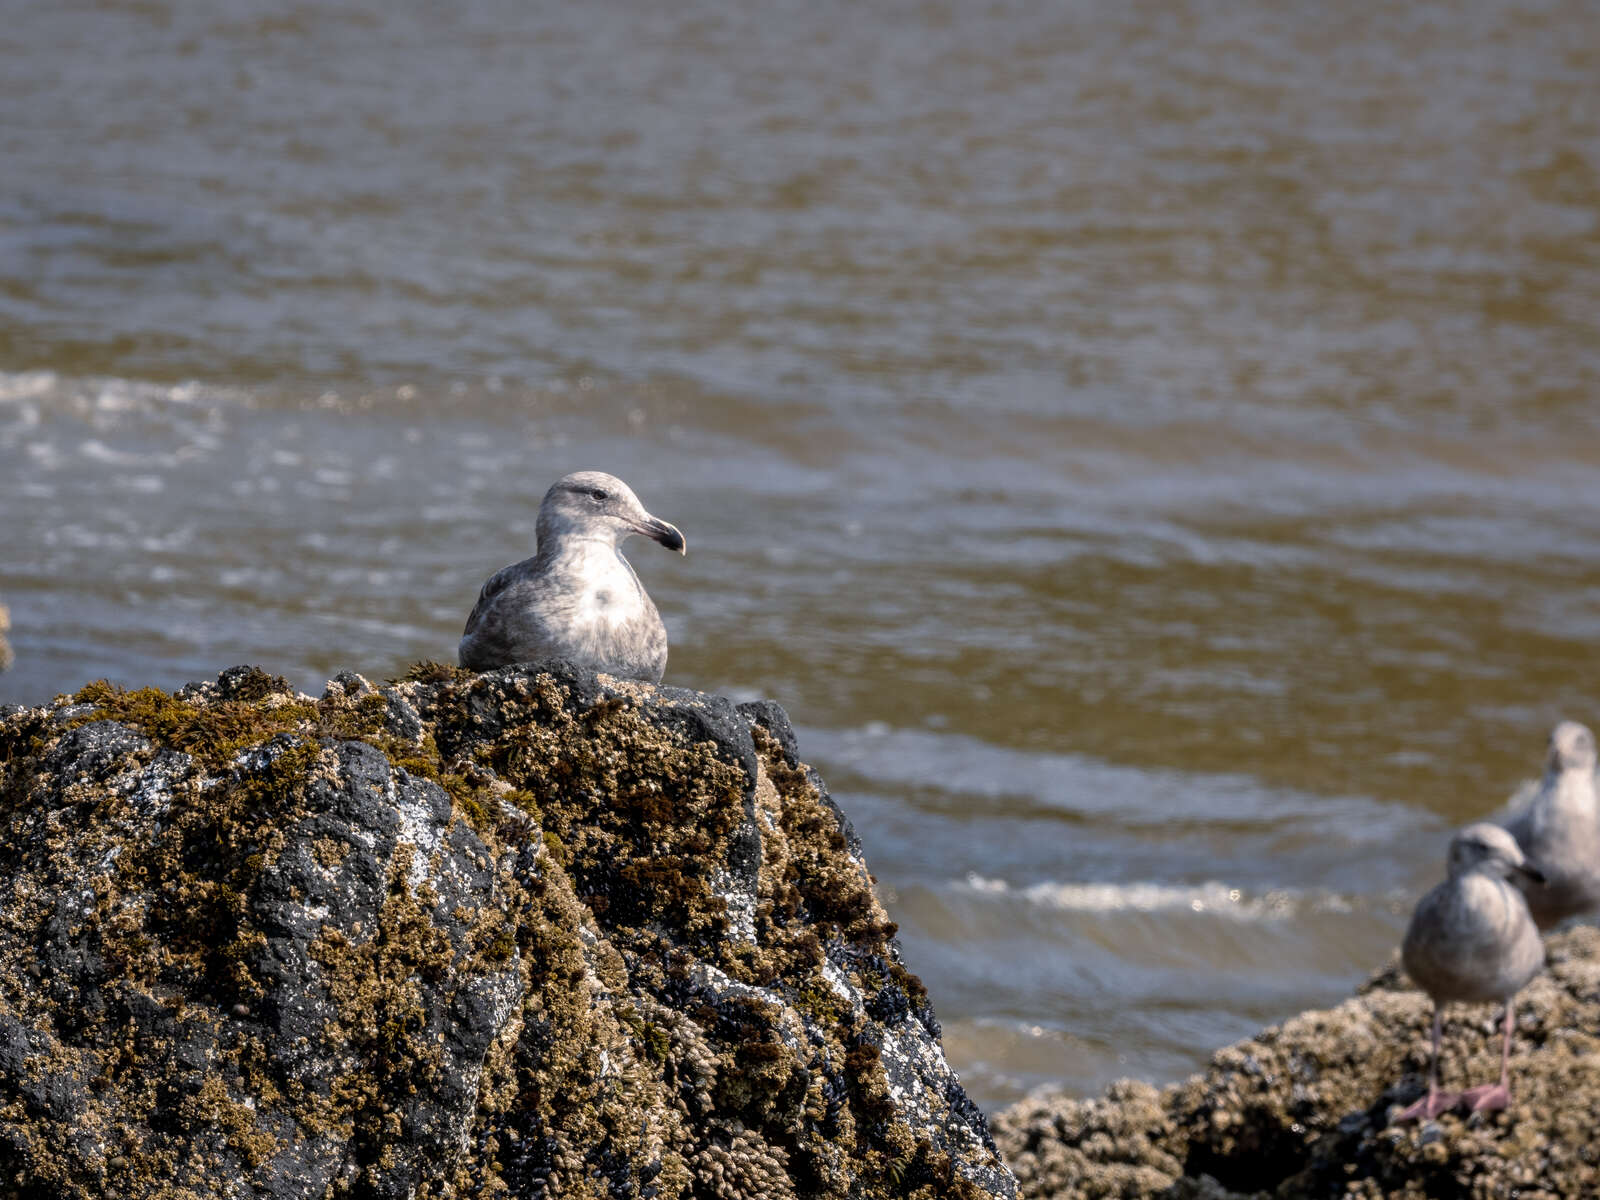
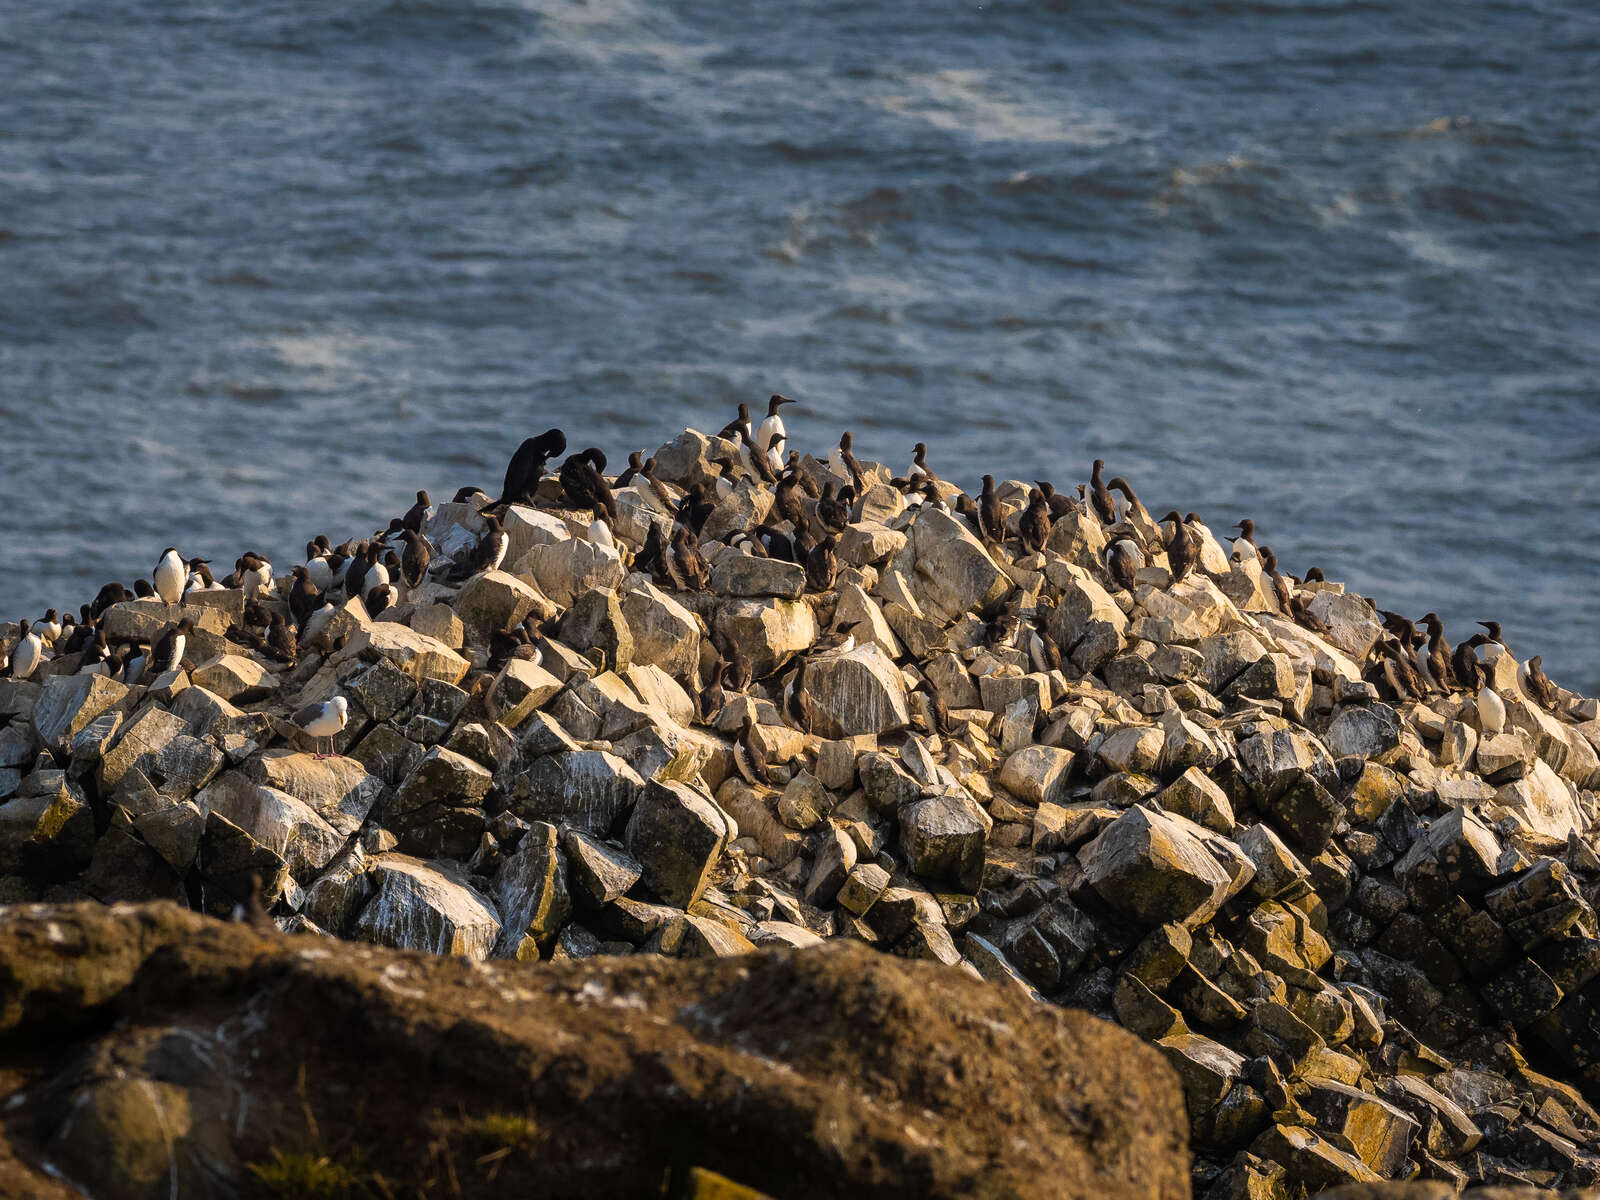
For the environmental photo, think about the story that you want to tell. Is it a small bird in a big world? Or an intimidating predator that commands attention and respect? Is the environment it lives in particularly harsh or beautiful? What do you want to show, and what do you want to leave out? When I’m composing an environmental photo I tend to think of composing a good landscape first, and waiting for a bird to come into frame.
The excellent thing about the 300mm PRO lens is that whether you are trying for the tight portrait or the wide environmental photo, you can get great results. The angle of view is narrow, but the compression of the telephoto zoom makes a very compelling story view.
I hope I’ve helped inspire you to get out there and start creating!
1/200s | F11 | ISO 200
1/2000s | F4 | ISO 200

Instagram: @ngwildernessphotography
Natalie is a Colorado-based environmental photographer, with interests in landscape and adventure photography and particularly in promoting diversity and representation in the outdoors. When she’s not outside having adventures and taking photographs, she’s a full time registered nurse and the mom of four boys. (No, she doesn’t wear a cape.)