Good food photography is like a good meal – the more you plan, the better the outcome. Don’t wait to start photographing the food until your hungry guests sit down to eat. Keep your camera and a couple of simple accessories within easy reach in the kitchen and document the fruits of your labor as you go. Here are a few tips to produce great shots that you’ll want to share.
KEEP IT SIMPLE & PAY ATTENTION TO THE LIGHT
You’ll be doing a lot of prepping and cooking in the kitchen; if you have a bank of windows nearby you have all the light you’ll need. First, turn off that flash. The harsh, cold light from your on-camera flash can make even the most beautiful dish look flat and unappetizing. Soft, diffused daylight from a large window is the perfect light source. If possible, set up a small table in front of a window and avoid direct sunlight. You’re after indirect, diffused daylight that will spill across your creations to add depth and texture to your photos. If you must use flash, use a remote controlled flash or flash extension cord to get your flash off-camera and bounce it off a nearby wall or ceiling. Bounce flash softens your photos and can mimic window light.
Use a reflector to bounce some of that window light back into the shadows to tame contrast. An 18" x 24" piece of white foamcore or mat board makes the perfect reflector. Position it close to your dish opposite the window and watch your image come to life.
CAMERA SETTINGS
Today’s cameras perform wonderfully in lower light levels. Don’t hesitate to shoot at ISO 400, 800 or even 1600. Alternately, some Olympus cameras have different exposure modes to take the guesswork out of the settings. Check your manual – if you have a Cuisine or Candlelight Scene Mode, you’re in luck. If you’re shooting with natural light, you’ll need to use a wide aperture, but this is a perfect way to add drama to the image. Try shooting wide open and concentrate on selective focus, letting the rest of the image drift out of focus.
LENS CHOICES
Great food photography is the domain of longer focal-length lenses. Think 25-45mm for the Micro Four Thirds format. Generally, it’s best to avoid wide-angle lenses. They tend to distort the subject when you move in close and impart an unnatural perspective.
SHOOT PHOTOS WHILE YOU WORK
Sometimes the most interesting photos happen almost by accident, even in the kitchen. Pay attention to the shapes, forms, colors and textures of your ingredients. Keep your camera close at hand and don’t hesitate to make a quick series of photos if you notice an interesting composition at play. If you have dark countertops, you’re in luck. Many food photos can be made directly on the sleek surfaces in contemporary kitchens.
GET CLOSE
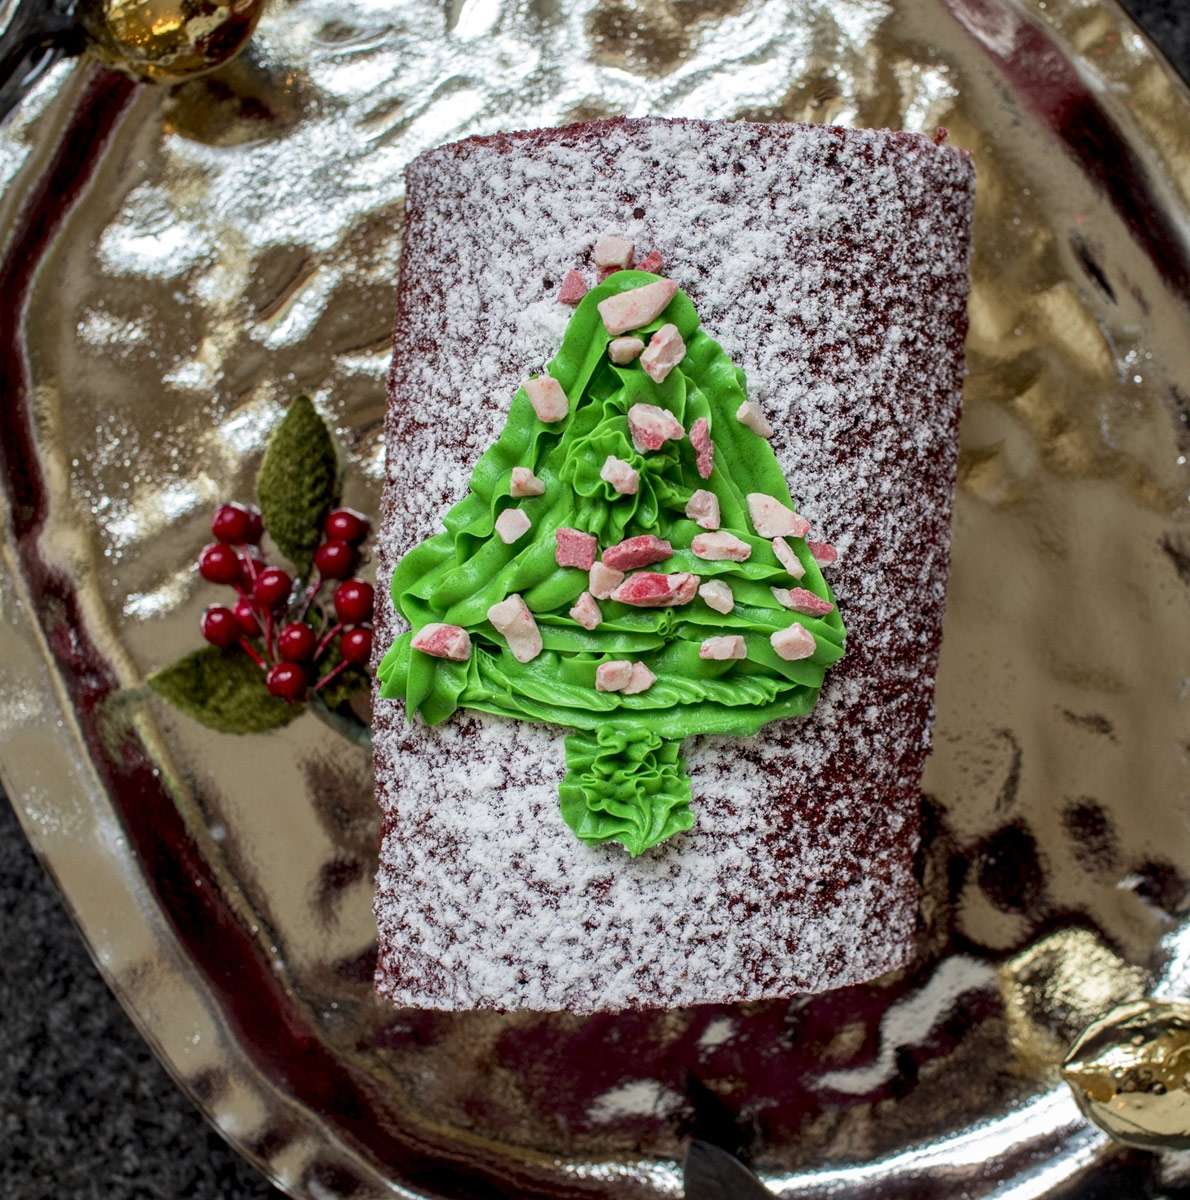
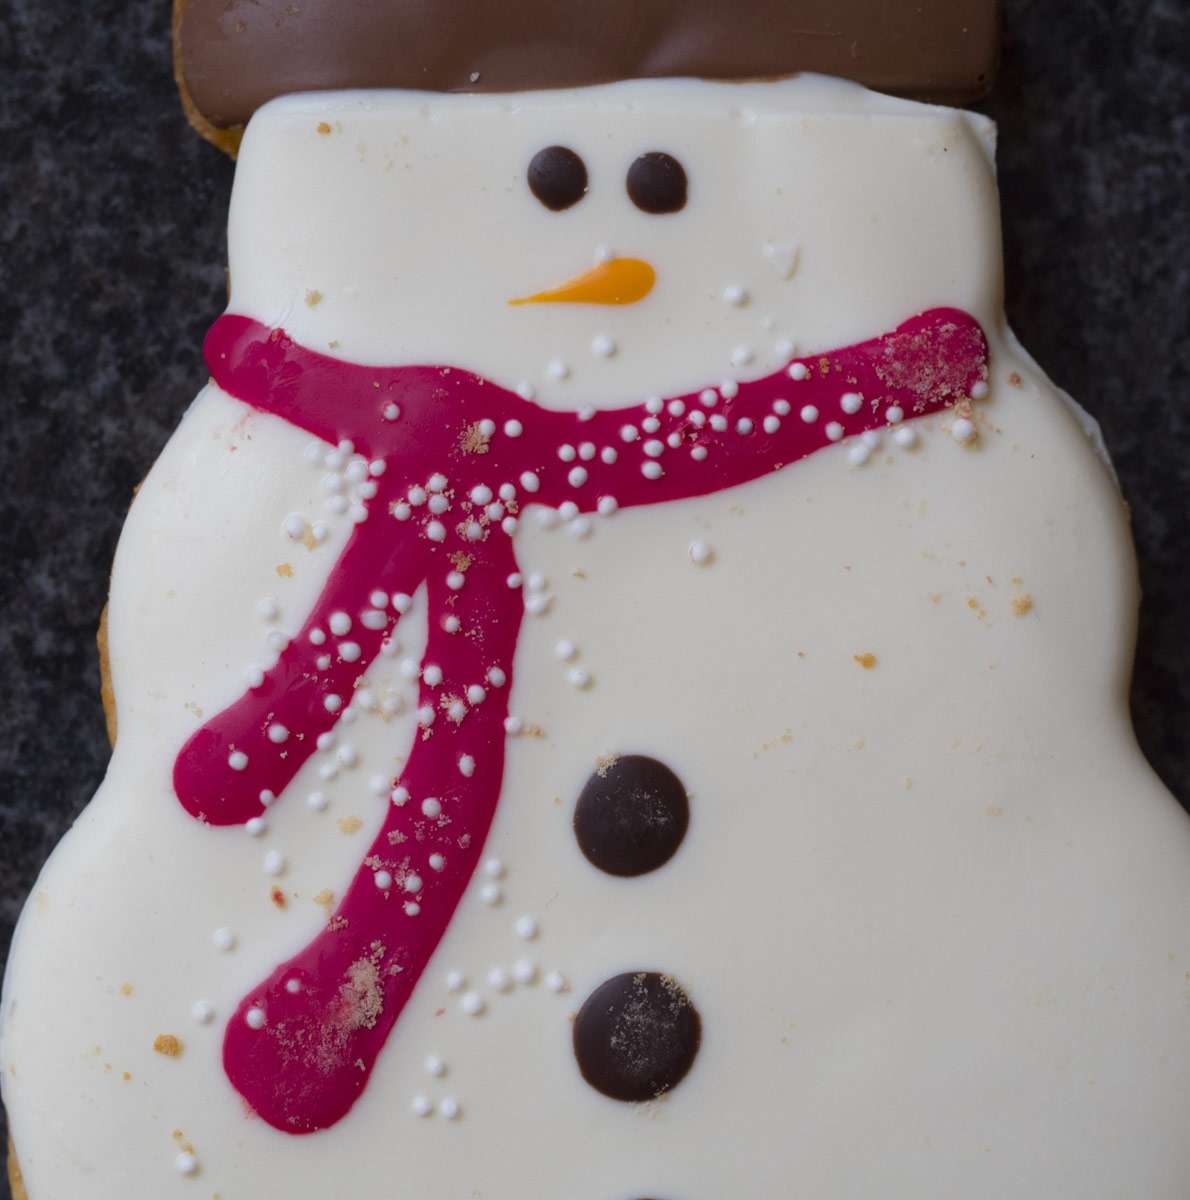
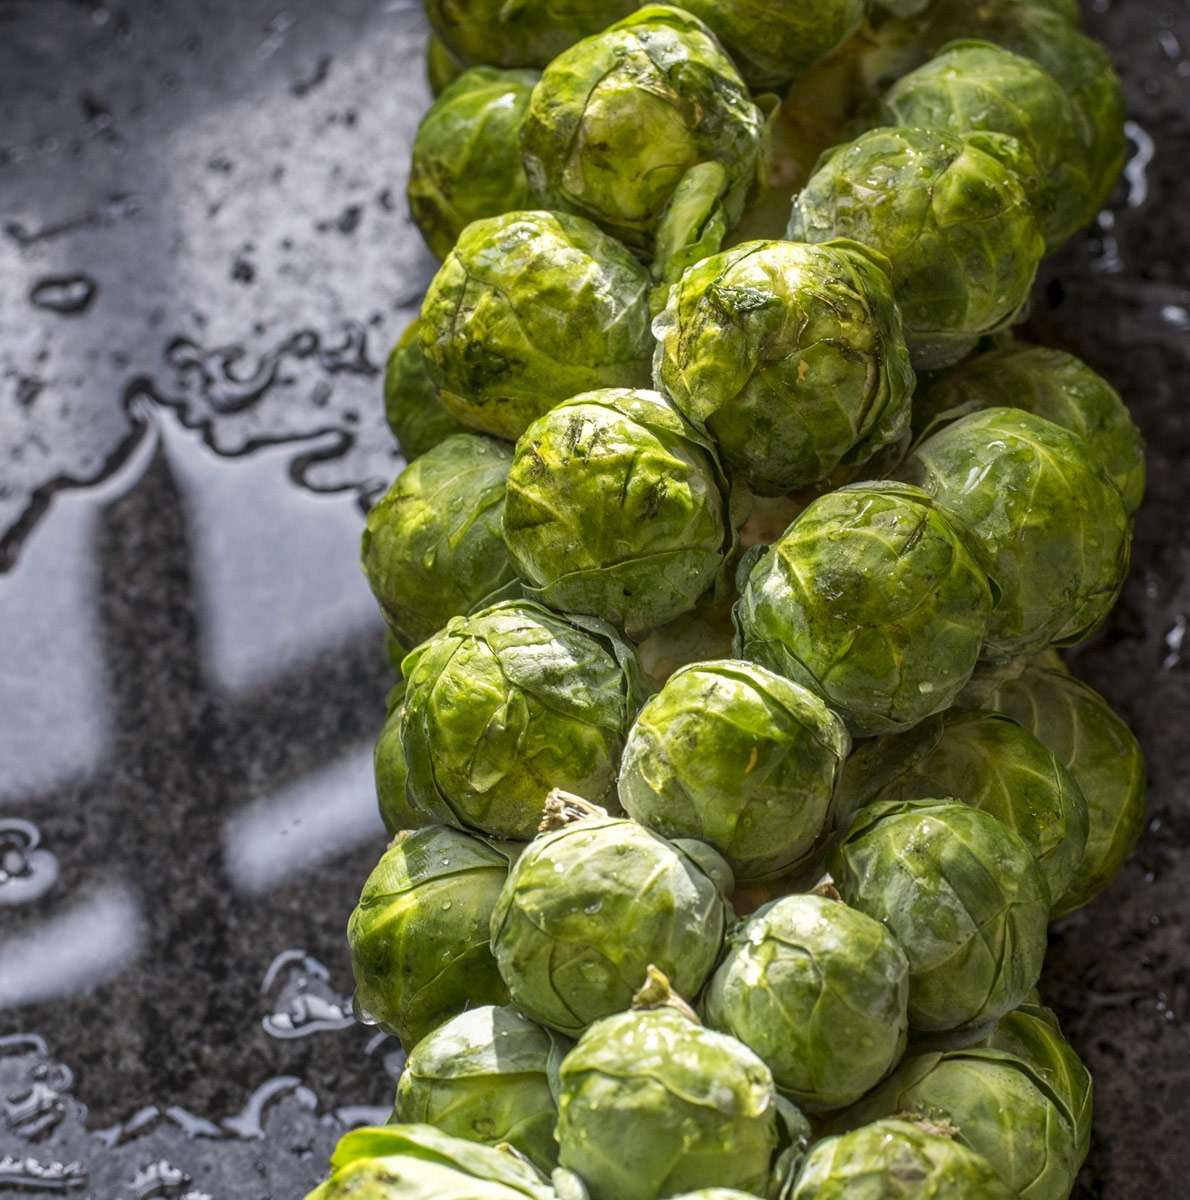
It’s great to shoot your whole creation, but for impact, don’t overlook macro shots. A dedicated macro lens like the M.Zuiko 60mm F2.8 MACRO is ideal to use for these images. Look for shapes and patterns as you prepare the dishes – such as the wonderful globes of Brussels sprouts on the stalk or freshly parboiled and bright green, just before roasting. Pastries and cookies are particularly great subjects for close-ups.
USE PROPS
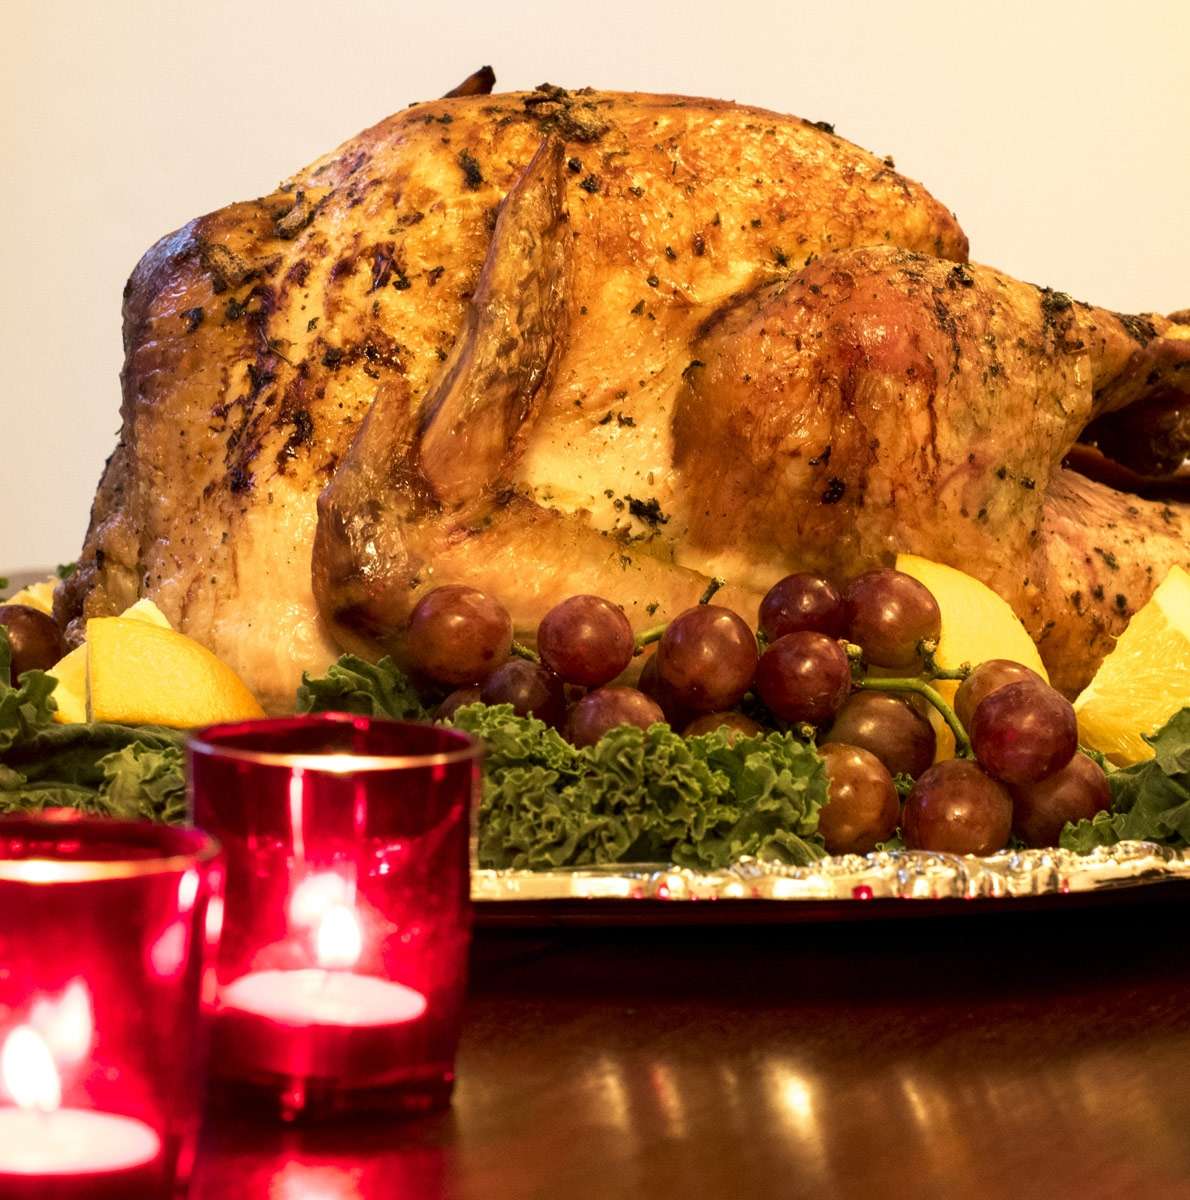
Garnishes, tableware and background props can add a finishing touch to a simple food arrangement. A lovely addition is the warmth added by small lit candles. Try these as foreground elements that go softly out of focus and direct the eye toward the finished dish.
MORE APPETIZING TIPS FROM THE OLYMPUS TEAM
- Try composing your table layout as a vertical frame using the near/far approach. The turkey, ham or roast should be about in the center of the frame. Put something colorful and interesting in the lower part of the frame—no mashed potatoes or rolls—vegetables, salad, or cranberry sauce.
- Keep the composition tight and use a short zoom-in. Remember, you don’t have to show an entire dish. People will know it is round or oval even if you cut the bottom third out.
- Avoid clutter, but include accessories that make sense. Always light the candles. If there is a floral centerpiece, position it to the back of the image, where its busyness and color won’t compete with the food. If there is a liquid in the shot, gently blow some air into it through a straw to create a few bubbles on the surface near the rim of the container to make the surface more interesting.
- If there is a glass of wine in the shot, lightly moisten a piece of tissue and stick it to the back of the glass so that you can’t see the edges of the tissue from the front. This will prevent the glass from acting like a lens and pulling in everything in the background, and will make red wines look less black.
- Want more Food Photography tips? Check out our full menu of food related articles.

ABOUT LARRY PRICE
Web: larrycprice.com
Blog: larrycprice.com/blog
Twitter: @LarryCPrice
Instagram: @LarryCPrice
Over his storied career, Larry has worked for some of North America’s largest newspapers, including The Philadelphia Inquirer, The Baltimore Sun, Fort Worth Star-Telegram and The Denver Post. He is currently at work on a longterm project about global pollution with support from the Pulitzer Center on Crisis Reporting in Washington, D.C.