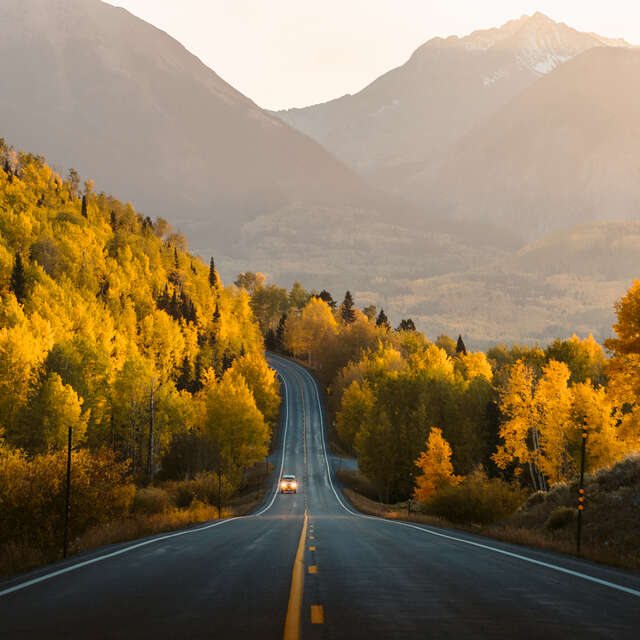
Since many of us will not be traveling for the holidays, we have to find new ways of celebrating and newfound traditions are a great way to kick off the holiday season.
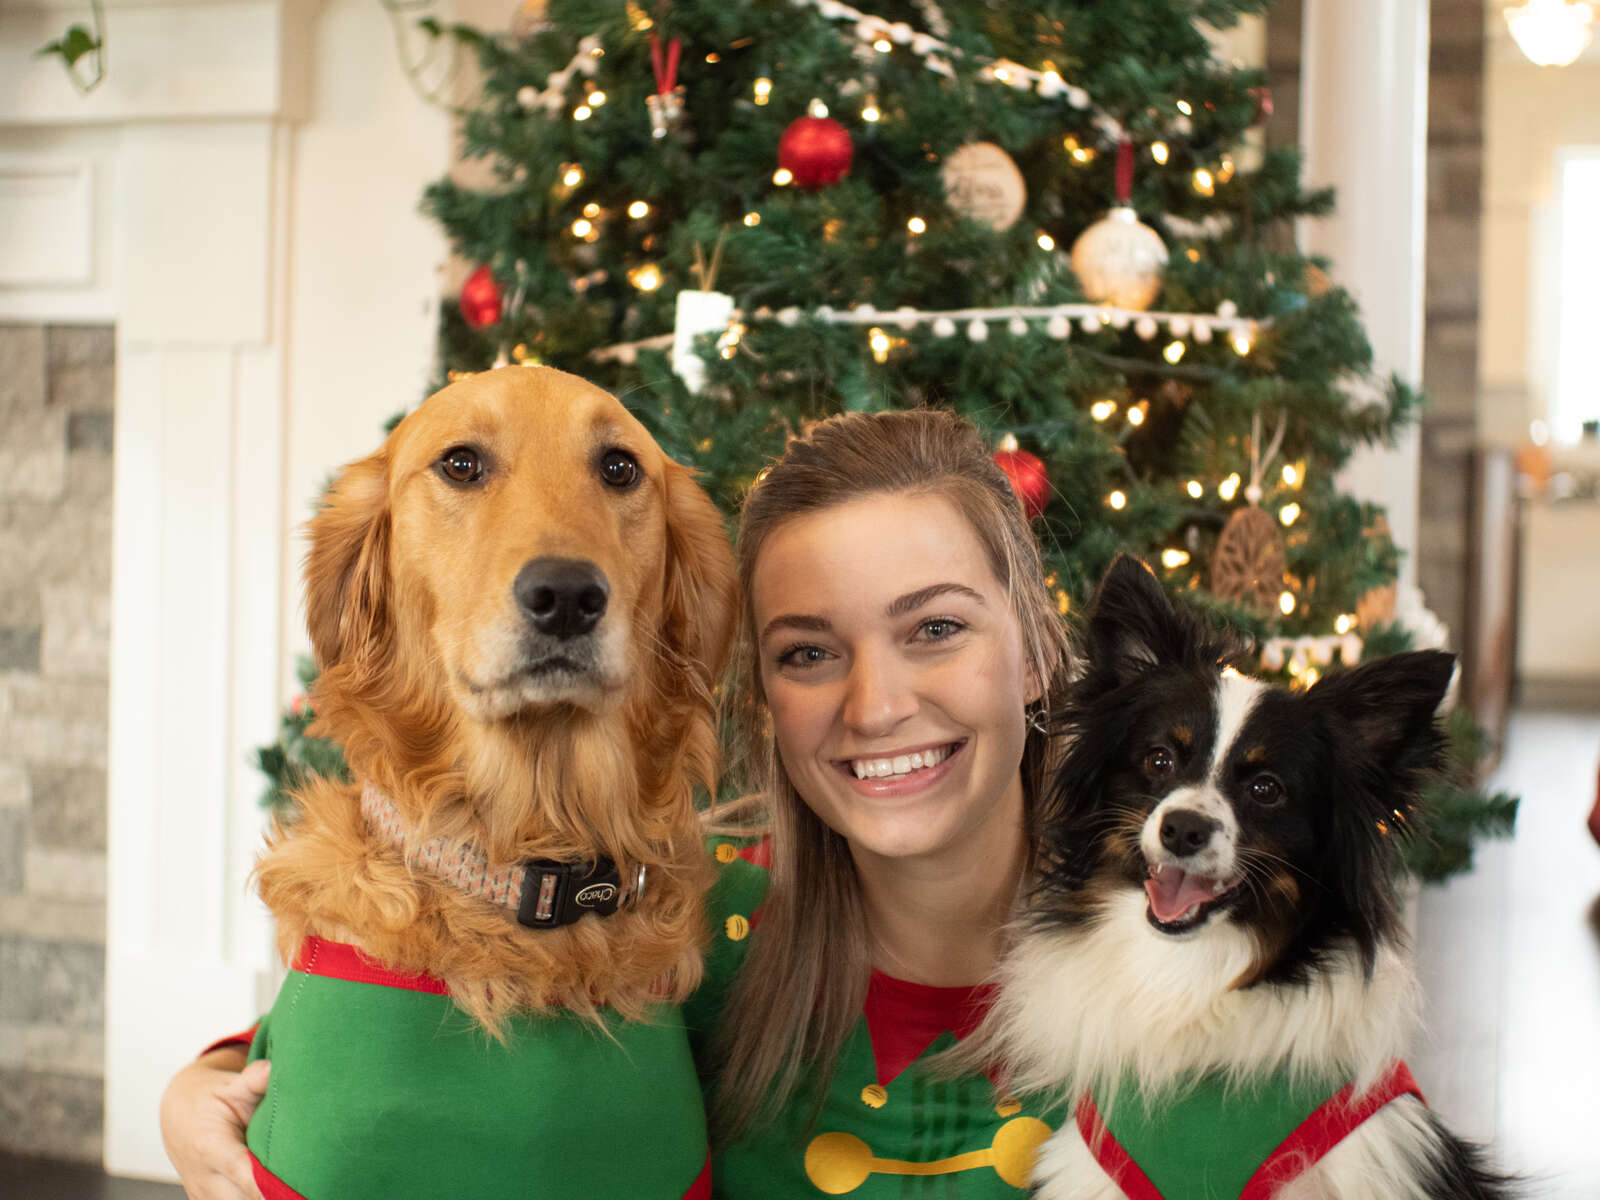
Last year, I started a new tradition of my own – a holiday time lapse! My wife and I decided to do a time lapse of us and our dogs trimming our Christmas tree. Here's how you can create your own holiday time lapse sequence.
This time lapse was shot with my OM-D E-M1 Mark III and M.Zuiko 7-14mm F2.8 PRO lens.
Setting the Scene, Test Your Shots
More often than not, my time lapses are of landscapes. So doing one inside my own home, with less light and a smaller space to work with was quite the learning curve. Normally, I would just need to find the Milky Way or line up my frame with a specific mountain, but, in this case, I have to set up my camera before my subject (the tree) has even entered the scene.
I first moved pieces of furniture out of the way that I knew would be where my tripod is set up. I then focused on the lighting in the living room. I am a huge advocate for using natural light, so I want to avoid needing any sort of flash. Opening all of my blinds is my best bet and doing the time lapse mid-day. Luckily, we did this on a bright and beautiful Thanksgiving day, making it easy to work solely with sunlight entering the room.

Tripods are a must. Once your scene is set, now is the time to set up your tripod and get in some test shots.
Take your time with this. Give yourself at least 2-3 tests shots in movie format so you can review it straight from the camera. The last thing you want is to complete your time lapse only to realize your settings weren’t correct and you have to start all over.
Recommended Settings
First things first: set your basic parameters such as shutter speed, ISO, and aperture. These are the settings that will be used during your time lapse.
Make sure you have your ISO on Auto if you expect the lighting to change while you are shooting your time lapse. Try setting to Manual focus, and pre-focus on where the action will be.
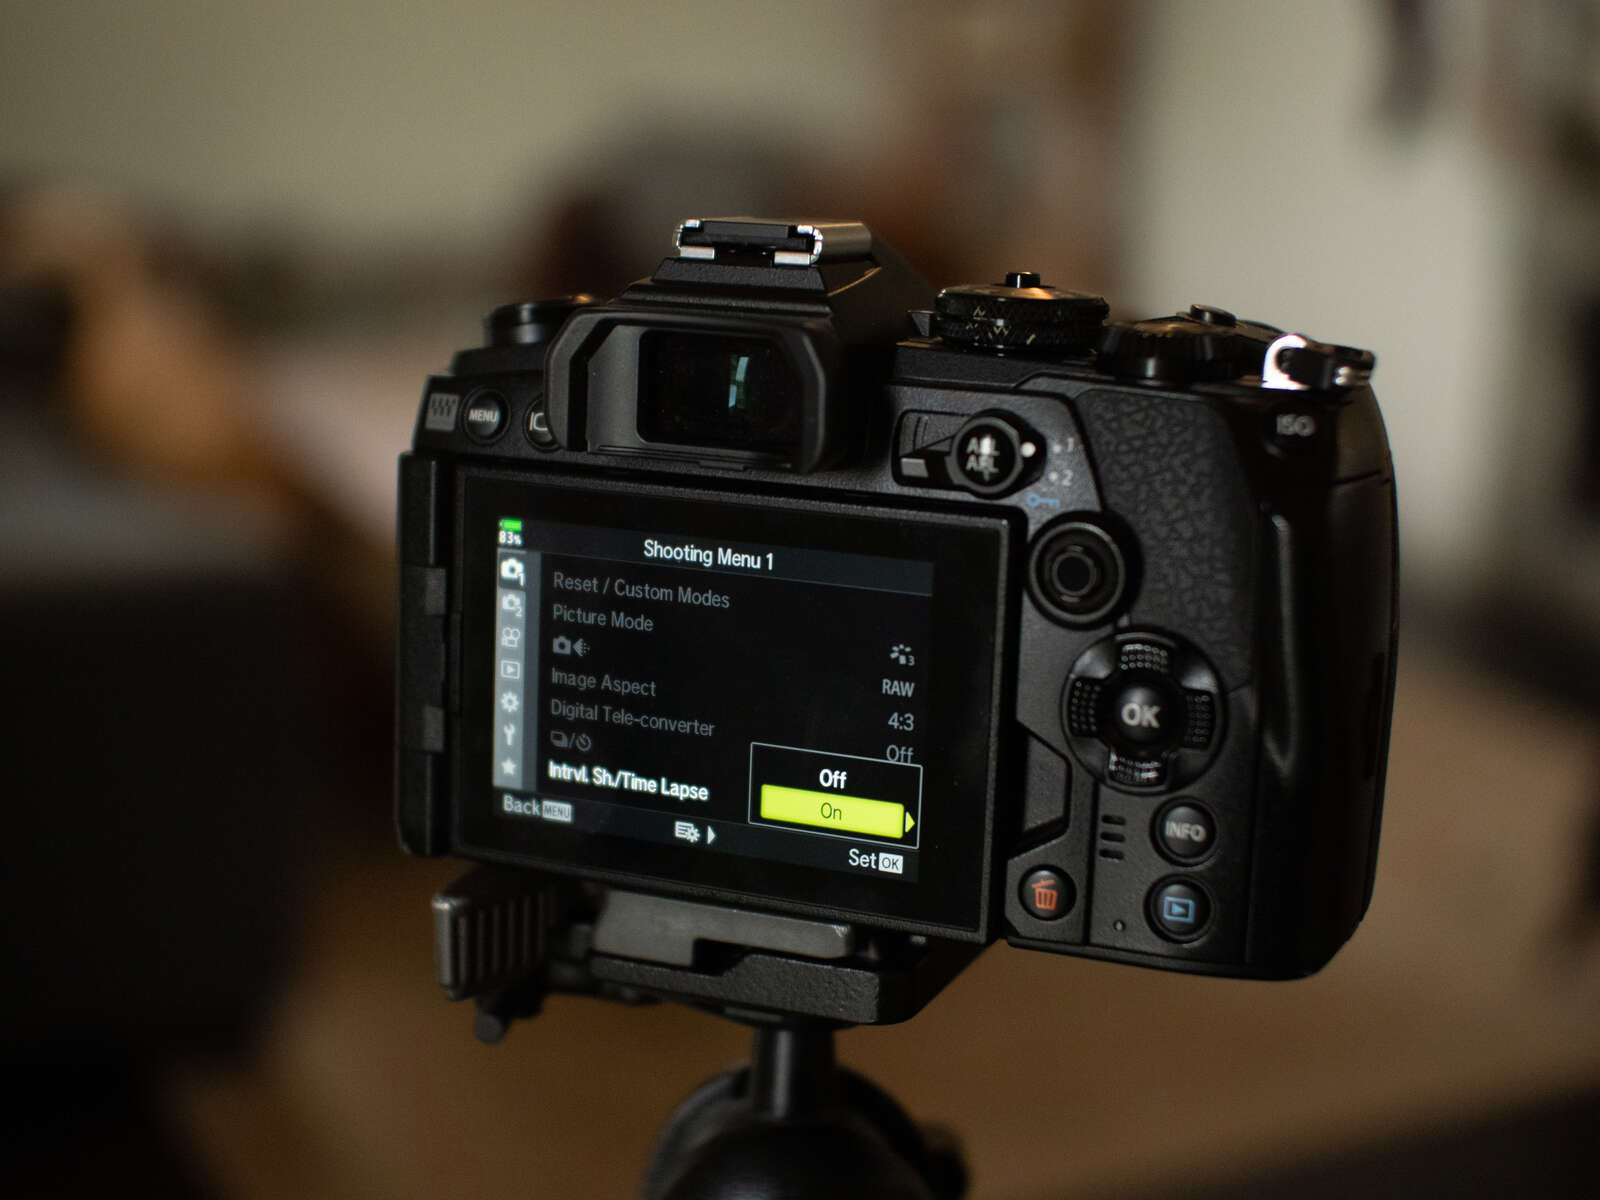

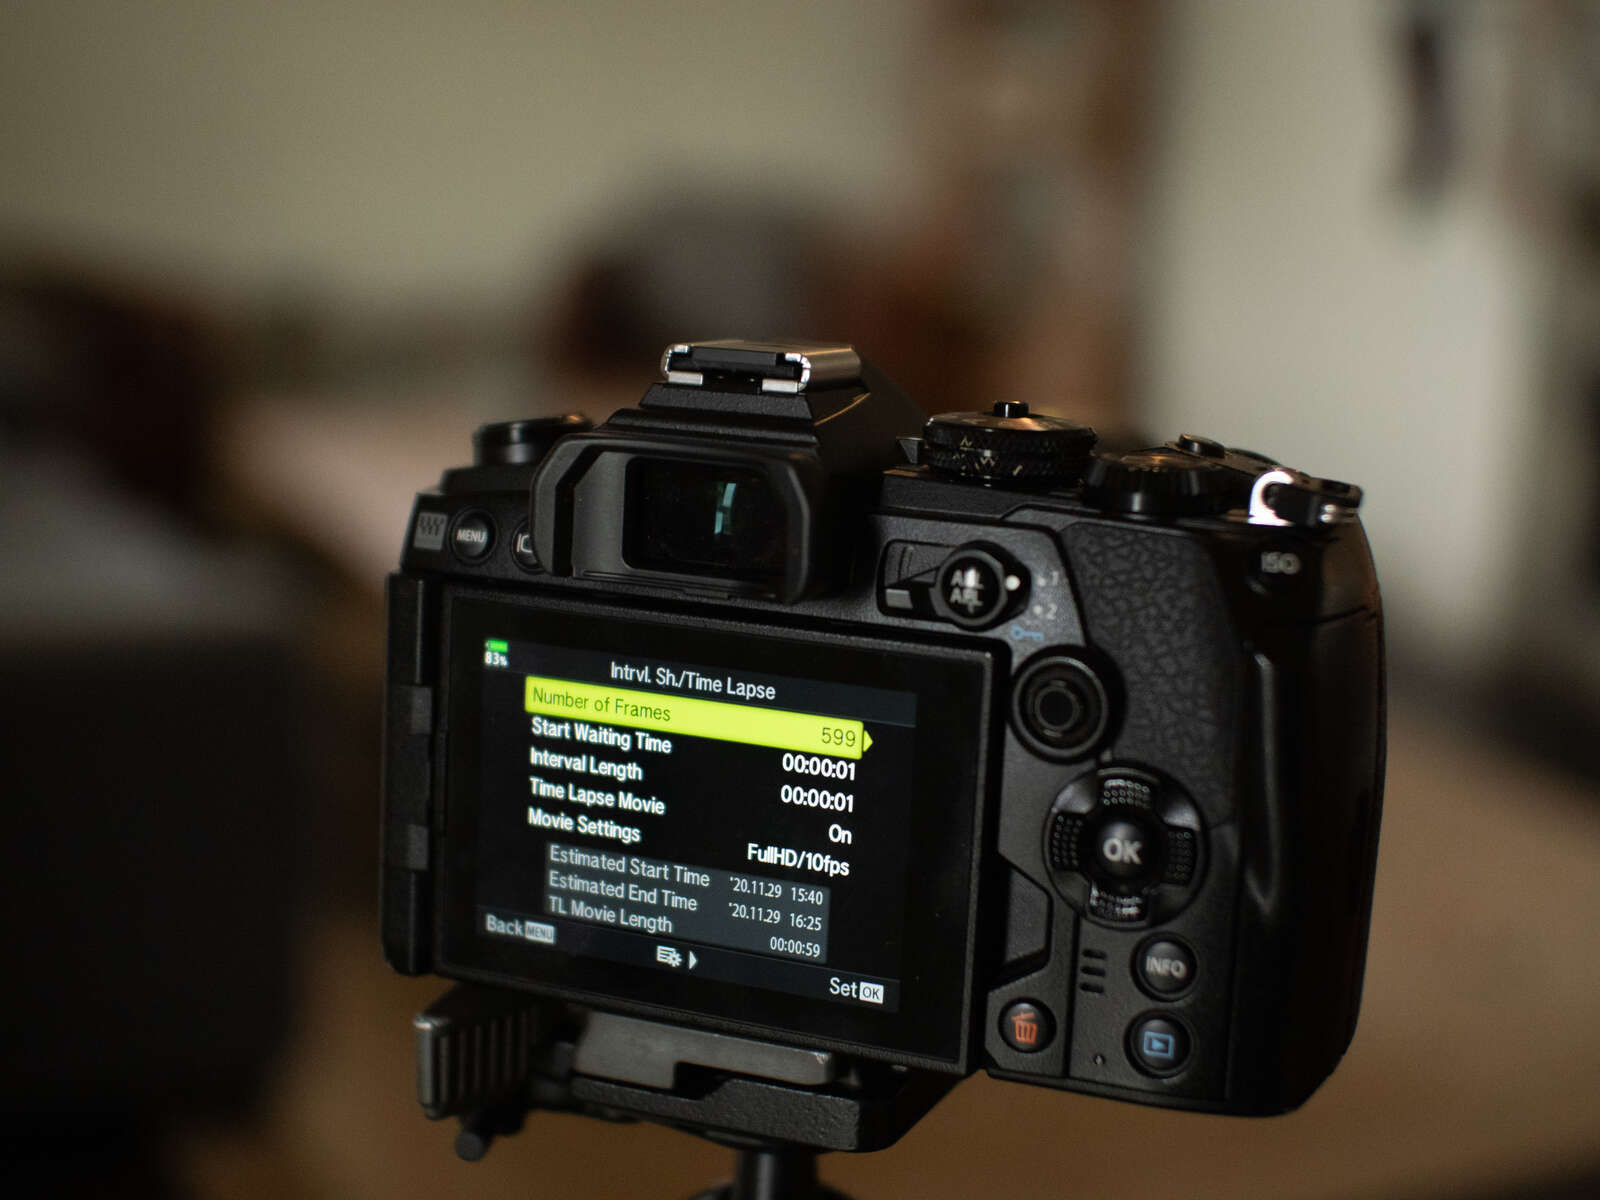
Next, Olympus cameras have a built-in intervalometer that can go up to 999 frames – this will be the total length of your time lapse. You will find this under Shooting Menu 1, under Interval Sh./Time Lapse. For beginners, I recommend starting at 1 second and just working your way up.
You can choose anywhere from 1 second to 24 hour intervals – or how often a new frame will be taken in your time lapse.
For this particular video, I used 1 second intervals and 599 frames. Halfway through I actually ended up using all of my frames and needed to restart another 599 to finish trimming the tree.
If you're looking at creating a time lapse of baking holiday cookies you may want a similar interval length, but if you're capturing something like falling snow you may want longer intervals.
Once you feel comfortable with those settings, you can either shoot the time lapse in as RAW or JPEG images that you will compile manually into your time lapse video through editing software like Olympus Workspace, or automatically in AVI movie format.
I chose to set mine to movie format, as it puts together each frame within the camera and is easily reviewed through the LCD screen and later on will upload to your computer already processed and ready to edit.
Now that you’ve figured out the "how to" of time lapses, try capturing one this holiday season. It could be the start of a new family tradition!
Instagram: @tylerwayneglass
Tyler is a photographer and writer, born and raised in Louisville, Kentucky. His ultimate goal in being a creative is to inspire others through his images, and to care more for the beautiful planet that we inhabit.