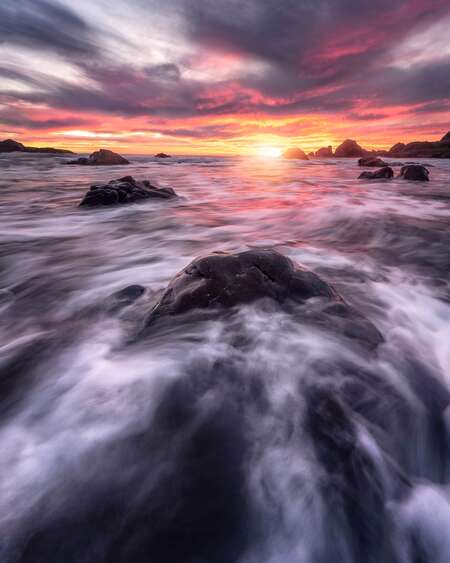
Growing up in a seaside town, I’ve always been inspired by the ocean. Nothing is better than heading to the beach with my camera in hand to watch the sunset. Combine that with the magic of creating long exposure photographs and I am happy – that's all it takes for me.
While long exposure seascape photography can seem complicated, it is simple and exciting once you get the hang of it. I love that every image is unique and with different weather patterns and tides – the same beach will look different every time you visit it. Here are my best tips and tricks to help you fall in love with seascapes yourself!
BEFORE YOU GO
When I'm getting ready to shoot seascapes, this is the gear I pack in my bag:
- Camera: I will usually bring my OM-D E-M1X or E-M1 Mark III.
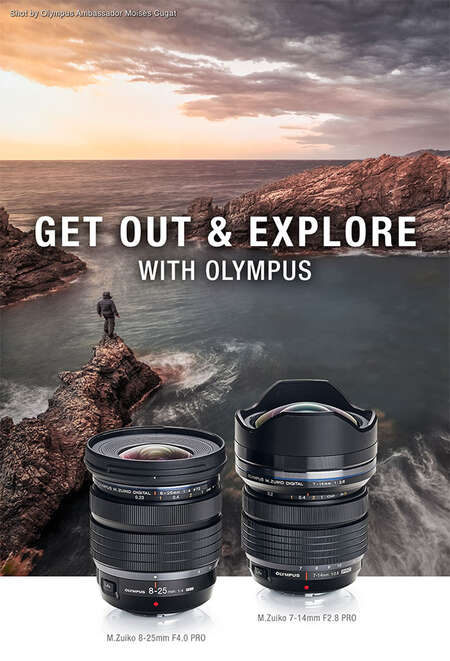
- Lens: My main lens for seascape photos is the M.Zuiko 7-14mm F2.8 PRO.
- ND Filters: The E-M1X and the E-M1 Mark III both have Live ND Mode, if you choose to use that setting you don’t need a set of ND filters. If you're using another camera body, like the E-M5 Mark III, you should be sure to bring ND filters with you.
- Tripod: While the Olympus cameras have incredible in-camera stabilization and you absolutely can take this kind of photo handheld, I prefer using a tripod in this situation.
SAFETY NOTE
Always check the tide before you go, it is important to know the conditions you are heading out into. Also, remember to keep an eye on the ocean. Some beaches are notorious for “sneaker waves” and I’ve seen photographers (and their gear) get taken down by a wave. Your gear might be weatherproof – but who wants to get soaked?
SHOOTING
Finding a Composition
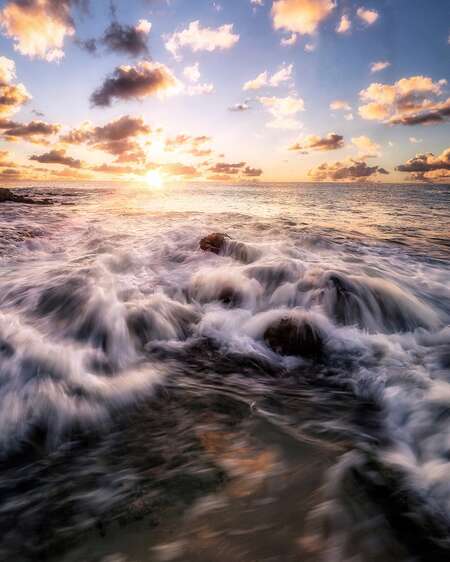
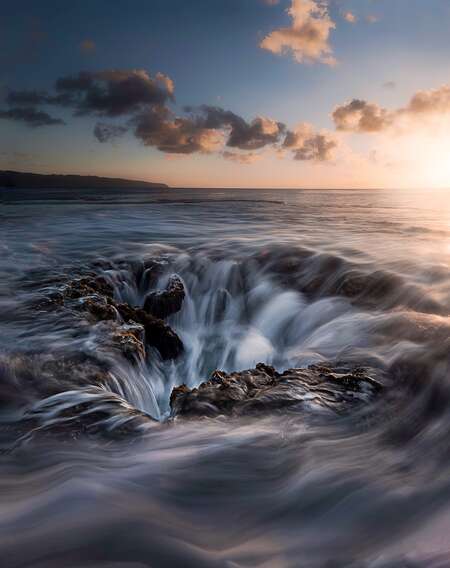
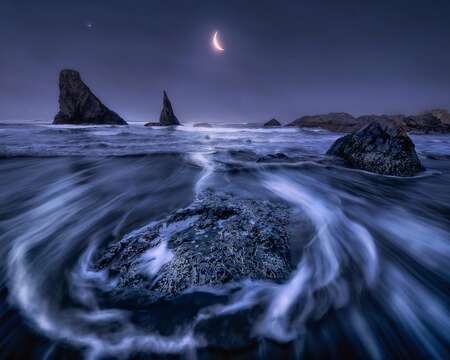
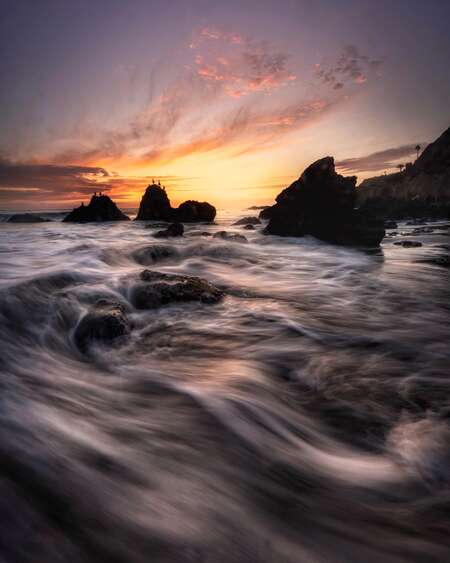
Now to the fun part, find a composition! I look for a shot with an interesting subject. It could be a rock with water swirling around it, a pier, or a big piece of driftwood. I like to have a stable element that has water moving around to create some interesting lines, swirls, and textures in the image. Once you find your composition set your tripod in the sand by forcing down as far as it will go, even with a tripod ALWAYS keep a hand on your gear
Camera Settings
Get your camera in the right mode, for most beginners shutter Priority Mode is a great place to start. If you have an understanding of exposure and can make quick decisions on the fly, I recommend shooting in Manual Mode.
I like to keep my exposure between 1/15 second and 1 second, to maintain some texture in the water. It depends on how fast the water is moving and the final image you are hoping to walk away with.
If you want silky smooth looking water, a 10+ second exposure would work better for you. I always take lots of different shots at all different shutter speeds to see what I like best. Play around with it and decide in post which images capture your eye.
Focusing Your Camera
With filters on it is hard for your camera to find focus. It is better to leave it in Manual Mode, but remember to refocus every time you move or adjust your zoom.
Turn on Sequential Shooting
Depending on you camera model, this can capture between 8 and 60 frames per second. Yes, that leaves you with a lot of images to look through once you transfer from your SD card onto your computer – but you wont miss any action and it also leaves you with many options.
Use Your ND Filters
Once the filters are on you’re ready to shoot! Wait for the wave to pull back to get some interesting lines or catch a wave crashing over the rock/piece of driftwood/whatever your stable element is, that is when the motion is the best to photograph!
Instagram: @alexahope
Alexa Rakow is a landscape and seascape photographer based out of Santa Barbara, California. The mountains and beaches of her hometown have always had a huge impact on her love for exploring nature.
SAVE NOW ON THE GEAR FEATURED IN THIS ARTICLE
Elevate your landscape, seascape and travel photography with these June savings.
- E-M1X: Save $1200
- E-M1 Mark III: Save $300
- M.Zuiko 7-14mm F2.8 PRO: Save $100
- M.Zuiko 8-25mm F4.0 PRO: Save $50
