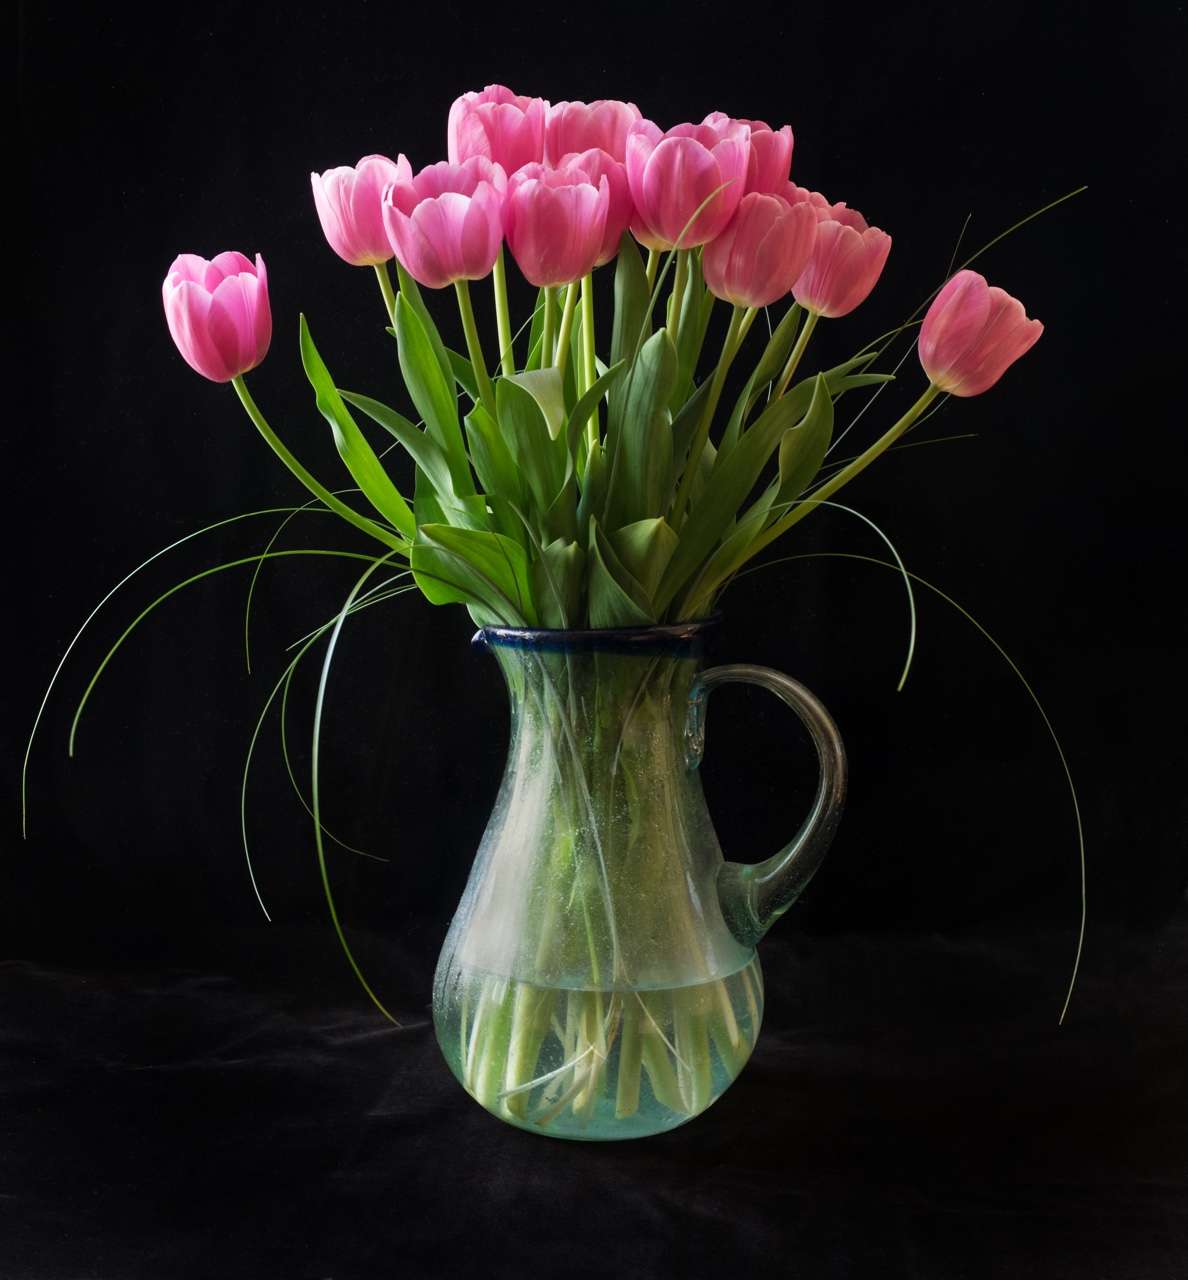
As a nature/landscape photographer the quality of my images is very much dependent on the whim of mother nature and the light she decides to present to my lens. It can be a real disappointment to head to a great location only to have poor quality light spoil the scene. I've grown to accept that and cherish those moments when the light is perfect. There are times however when 'bad' light seems to lead to the best results. This 'black velvet' project is one of those cases.
The key elements are quite simple; a still life subject, muted natural light and a piece of black velvet. Although other fabrics will work, black velvet absorbs almost all light and has little to no sheen. It tends to pick up lint easily so having a lint roller handy will save some post-processing work later. Practically any subject will do but I tend to like using natural subjects from my garden. It's a nice change to be able to have greater control over the elements in your photograph. As far as lighting your subject, it may seem counterintuitive, but I find I achieve the best results under rather dull, early evening, overcast lighting - the type you would normally avoid.

The setup is incredibly simple and the results can be stunning. Here's the basic recipe:
INGREDIENTS
- Black velvet cloth – 2 square yards should be plenty for most images.
- A table to work on.
- Something to drape the cloth over to create a simple backdrop. I used a stool that I placed on the table.
- Your subject – a few flowers, bowl of fruit, or anything else you want to shoot.
- Natural light from a window, but not direct sunlight.
- Tripod – an absolute must.
STEPS
- The table I use for this project is near an east-facing window so I always shoot during the late afternoon or early evening, thereby avoiding harsh light from the sun.
- Pick a subject, but keep it simple. You don't want to clutter your frame. After all we're aiming for simplicity here.
- For flowers use a vase, floral foam or other method of keeping your blooms upright.
- Now comes the composition. Before I attach the camera to the tripod I usually like to 'free hand' it a bit. Try to fill your frame, balance the positive and negative space and determine the best vantage point. With some subjects it's nice to view them from directly overhead so having a tripod with an articulating neck can make this a little easier.
- Attach the camera to the tripod and fine-tune the position.
- Let’s get shooting.
CAMERA SETTINGS
If you had a close look at the settings for the apple blossom photo to the right, you may have noticed a few things. First, even though I was shooting in dim light I used a low ISO. Secondly, I utilized a fairly small aperture (f/16). I was using a relatively long shutter speed (2s), and finally, I brought the exposure value down by two stops. Let's look at those settings in greater detail.
Aperture - Although I will shoot with a variety of lenses, when dealing with a macro lens you need to be aware that they have notoriously shallow depths of field so I will often shoot at f/11 or smaller. I typically shoot in Aperture Priority and with the subdued lighting and small aperture you can expect fairly long exposures. For some shots I've had shutter speeds of 10 seconds or more. I would encourage the use of a cable release or delayed timer. Just don't bump the table!
ISO - Keep noise to a minimum so use a low ISO - 200 is good.
Exposure Compensation (EV) - This is the most important setting. The black background will trick your sensor into wanting to overexpose the shot. You have to tame the beast within by seriously stopping down the aperture. For most of my images I will stop it down by about -2 stops. This should properly expose your subject and helps to reduce the appearance of any small wrinkles in the velvet or any of the slight shine that may appear.
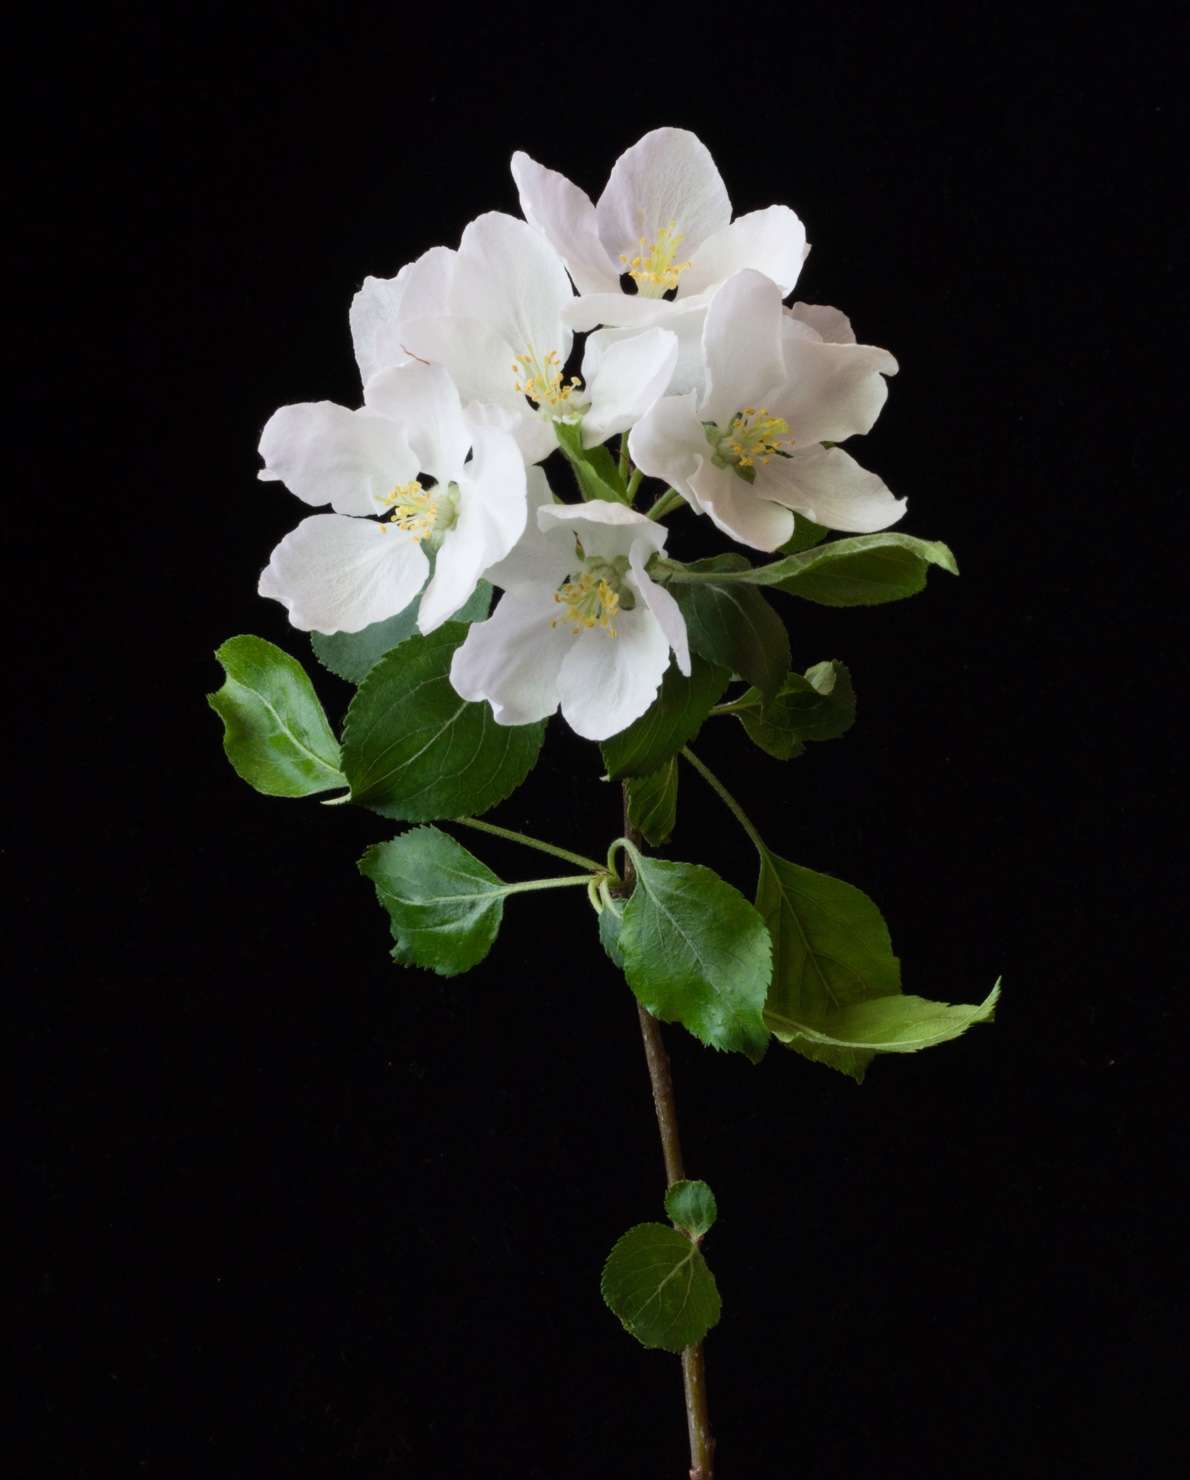
OM-D E-M10, M.Zuiko 60mm F2.8 MACRO. ISO200, f/16, 2s, -2.0EV.
POST-PROCESSING
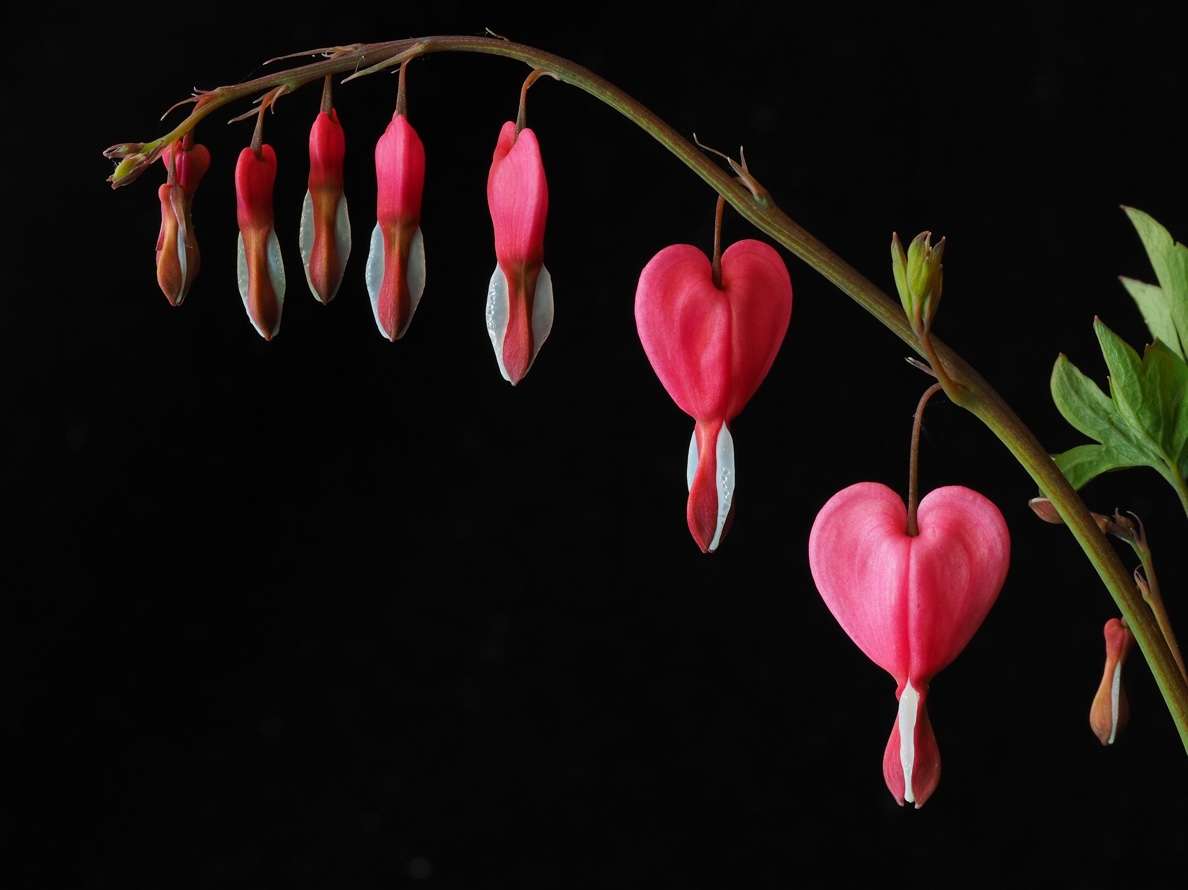
The thing I like the best about this technique is that you can achieve great images straight out of the camera with little to no post-processing. The single light source with create some nice shadows that add dimension to your subject, and the dull light will maintain great colour saturation.
For those shots that need a little bit of work it usually involves the following;I may add a slight curve adjustment in Lightroom or Photoshop in order to improve the contrast.
If you are like me and need a new prescription for your glasses you may have missed a few bits of lint on the velvet. Use the Healing Brush or Cloning tool to make these small spots disappear.
ABOUT PETER
Web: creativeislandphoto.com
Blog: creativeislandphoto.com/blog
Twitter: @creativeisland4
Peter has been a dedicated Olympus shooter for nearly 40 years, and has found a way to combine his passion for photography with his love of teaching to develop photography workshops with a focus on landscape, wildlife and astrophotography. Peter’s work has been published in a number of magazines including Canadian Geographic, Shutterbug and Outdoor Photographer. He maintains his own blog with an emphasis on tutorials that assist others in bringing their photography up to the next level.