Fashion and beauty portraits are fun to shoot and allow you to explore your creative instincts with very few rules to cramp your style. While the end result can seem elaborate and expensive to create it doesn’t have to be. Here are my tips for creating with simple lighting and household props that won’t break the bank and will leave you with more money for some awesome Olympus gear!
People often ask me: what is a fashion portrait? Simply put, a fashion portrait is the combining of a traditional portrait and the creativity and flair of the fashion world where rules rarely exist.
Portraits usually serve a purpose. It may be a formal portrait to be printed, framed and hung on a wall. A portrait could be a headshot for modeling or acting. Corporate or business portraits generally appear on a company website or Linkedin profile or even in print in a brochure or annual report. It may be a photo to be used as a social media profile or even for a dating app. All of these types of portraits have rules - certain guidelines that you need to follow if the portrait is to be considered successful.
In the fashion world, photographers are allowed more freedom and can break many of the traditional rules of composition, lighting and exposure. Editorial fashion photographs tend to be more about a mood or concept or idea than they are a person or even a specific piece of clothing.
Fashion portraits allow us to take a little from both worlds and be as creative as we want to be and are able to be.
Planning
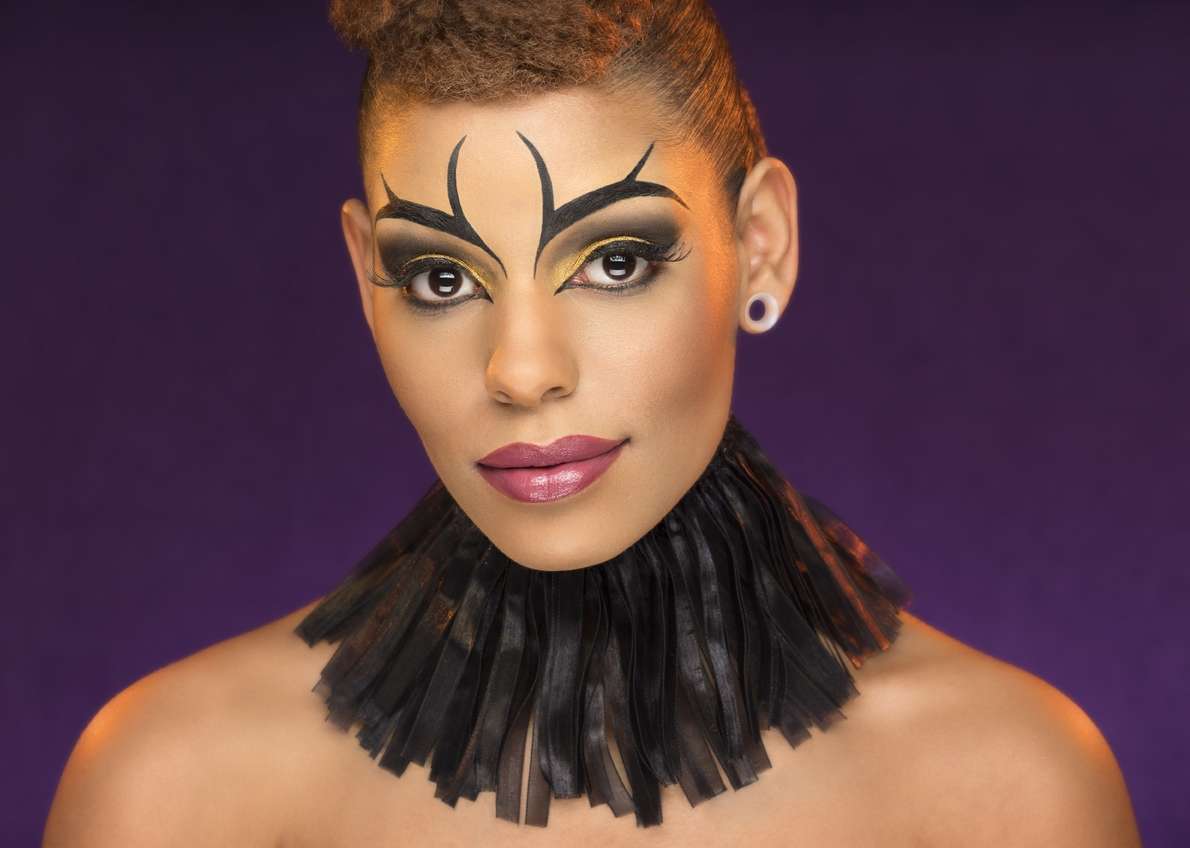
While it is fun to live in the moment and create when motivated, a little planning can go a long way when shooting fashion portraits. I generally have my subjects wear simple clothing. Solid colors - no prints, patterns or florals. I don’t want the clothing to distract from my subject. Frequently I just have my subjects wear a tube top so that I have bare shoulders to work with and then I will use various pieces of material that I purchase on clearance at the fabric store to create wraps and neck pieces. Regardless of what I add to the shot in terms of makeup, hairstyle, lighting or props - I want the subject to be the center of attention.
I like to have a concept in mind before I begin my shoot. That includes how I will dress my subject, what kind of hair and makeup we will be doing, what kind of lighting I will use and what camera angle I am thinking of. This allows me to get started with the confidence of knowing I have a good idea to work with instead of hoping that I am inspired to create something good.
Work With a Makeup Artist
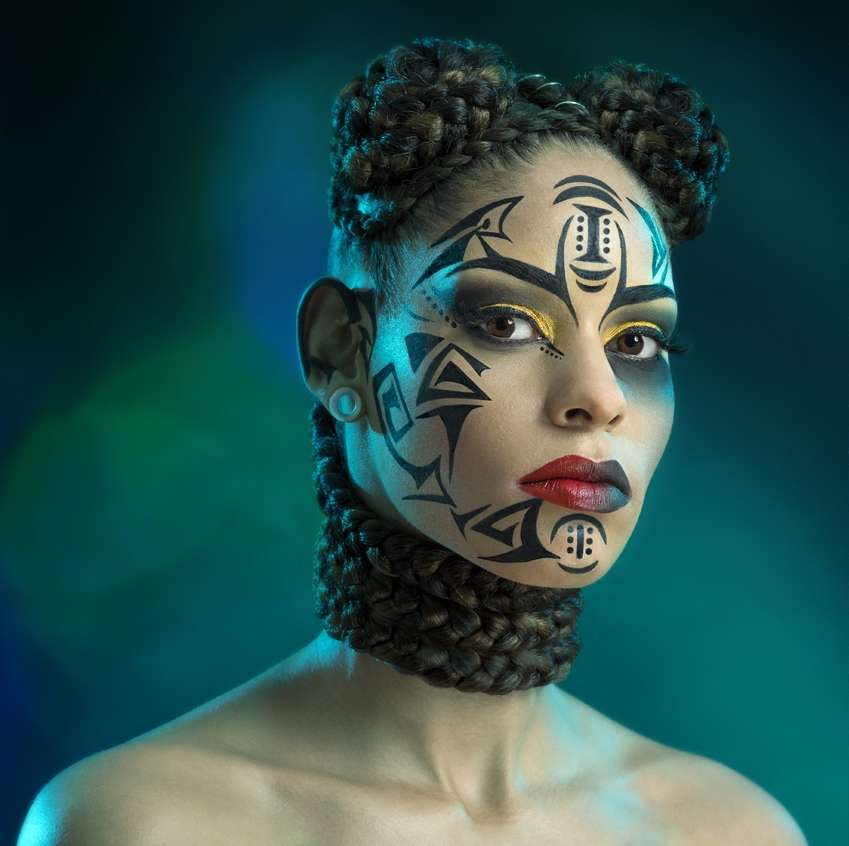
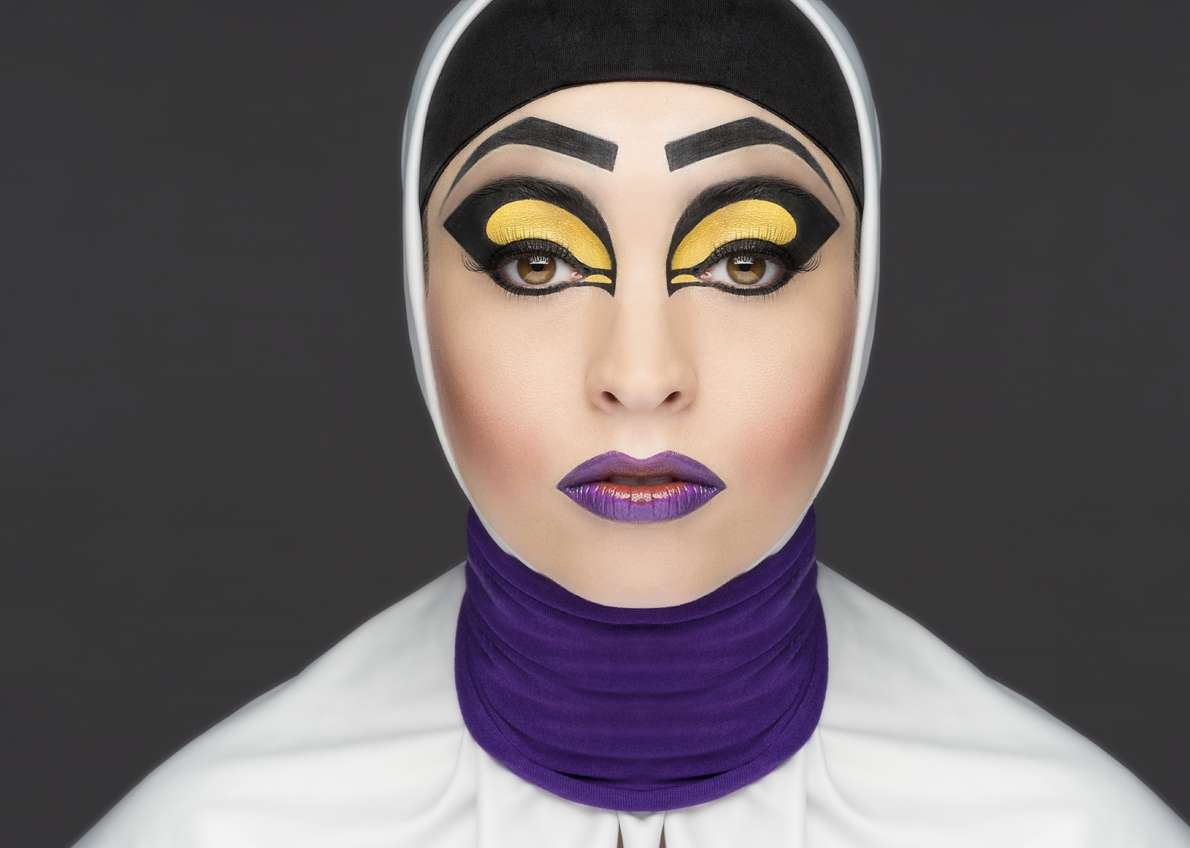
A good makeup artist will bring additional creativity to the process. The best photographs that you see in advertisements and magazines are collaborations of several people. A great makeup artist will work as a second set of eyes on the set when you are shooting. Because like you, they invest their heart and soul into their work and will want to be sure that everything looks great. Plus they come in handy if you need an extra set of hands to hold a reflector. Working with a good makeup artist and / or hair stylist will also save you lots of time in retouching in post-production.
Lighting - Keep It Super Simple
Lighting doesn’t have to difficult and you don’t need tons of light to shoot great images, but you DO need to practice. I would encourage you to start with only one or two lights and practice with them and work with them until you feel very confident that you have them mastered, before you add more. Starting out with too much lighting gear can overwhelm you and make the learning curve much harder.
Here are shots to compare a photo shot with one flash versus one shot with two flash units.
I like to use simple modifiers. Frequently my go to modifier is a simple shoot through umbrella or a basic medium sized softbox. There is no need to spend a ton of money on fancy modifiers if you take the time to learn about the Inverse Square Law of light.
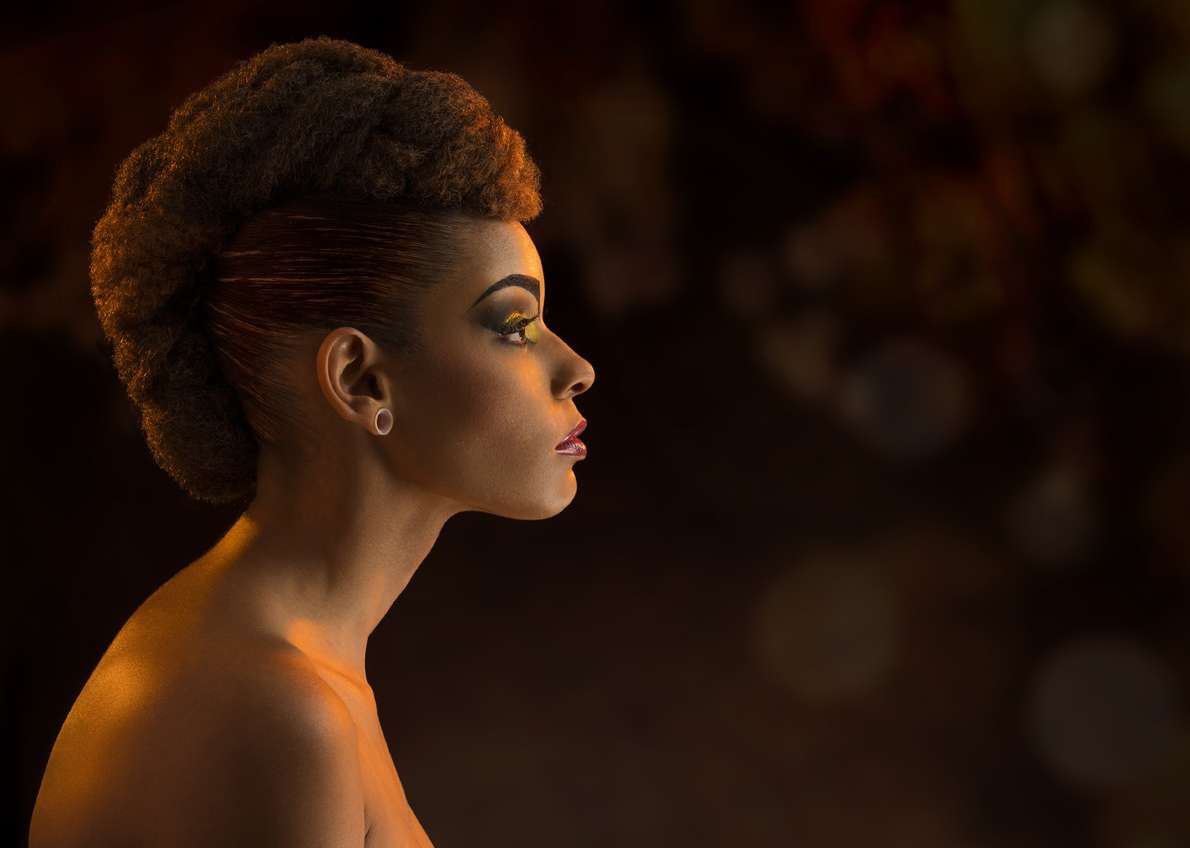
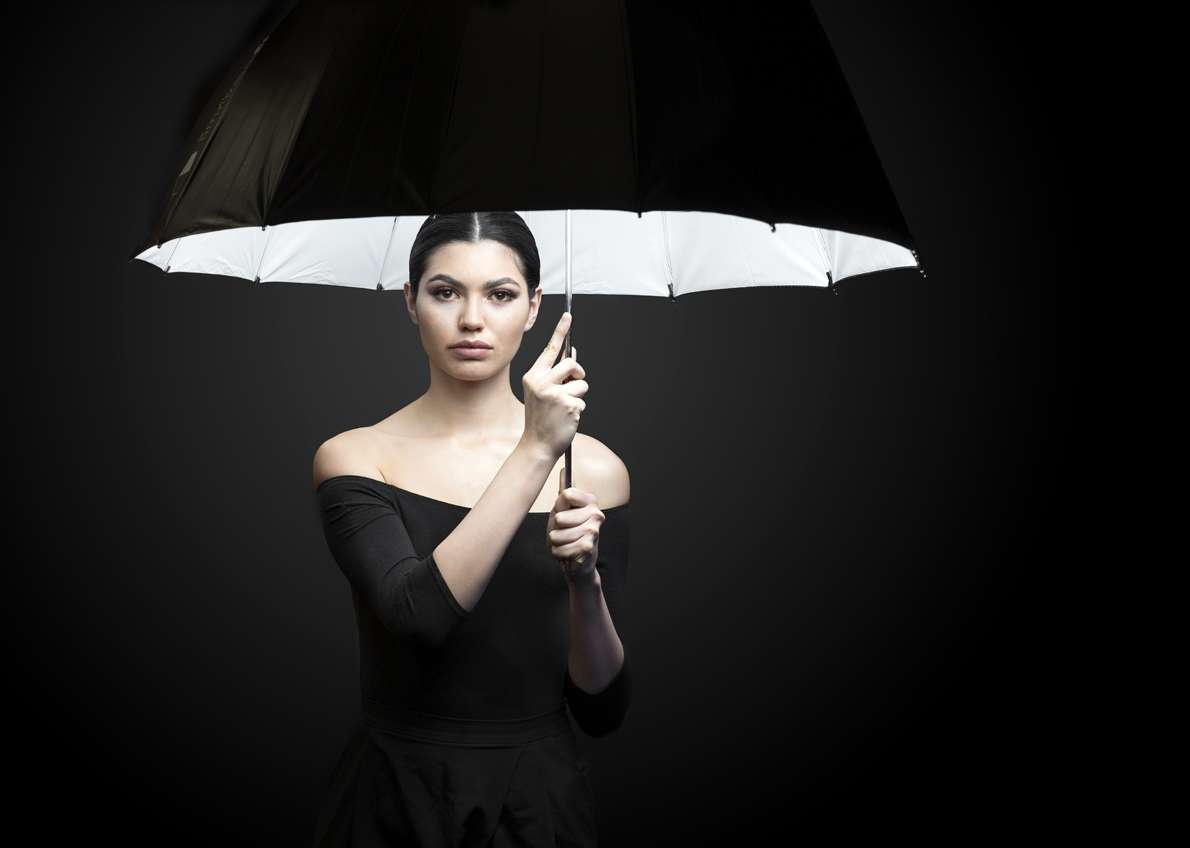
Just for fun, here is a shot where I have places a small speedlight flash in the top of the umbrella. I had the model hold the umbrella so that most of it is in front of her and I have gorgeous light that falls off very rapidly for a dramatic effect.
Posing and Camera Angles
I will generally have my subject looking towards my main or key light. This helps to reduce unwanted shadows and if I place the light close to my subject it creates a rapid light all-off that helps to show shape and depth on my subjects’ face.
My camera angle will be determined by the mood I am trying to set. Simple choices have big consequences. If I shoot looking down on my subject it minimizes them and puts them in a submissive position. Looking up at my subject creates drama and places the subject in a position power and looking straight at them helps to create a connection especially if my focus is on my subjects’ eyes.
PRO TIP: Worry less about the actual pose and concentrate more on the expressions and body language of your subject. The best pose in the world will simply look awkward if the emotion is wrong and the body language is stiff.
Pick the Right Lens
Generally, portraits are shot with short to medium length telephoto lenses. My go-to lens is the M.Zuiko ED 45mm F1.2 PRO lens. It is hands down my most favorite portrait lens of all time. Incredibly fast and sharp and for those times that you want to shoot wide open, the feathered bokeh from this lens is simply beautiful.
The legendary M.Zuiko 75mm F1.8 lens is another excellent choice if you are not pressed for space. The longer focal length does require a little more working space but provides incredible sharpness and a fast f/1.8 maximum aperture.
Depth of Field is Your Friend
When I shoot portraits in studio or on location I am going to aim for an aperture between f/5.6 or f/8 so that I have ample depth of field to keep both eyes in focus if my subject turns their head. However, one of the most important creative tools that the physics behind photography gives us is depth of field and the ability to use it the opposite way to get creamy, soft, feathered backgrounds.
Simple Props
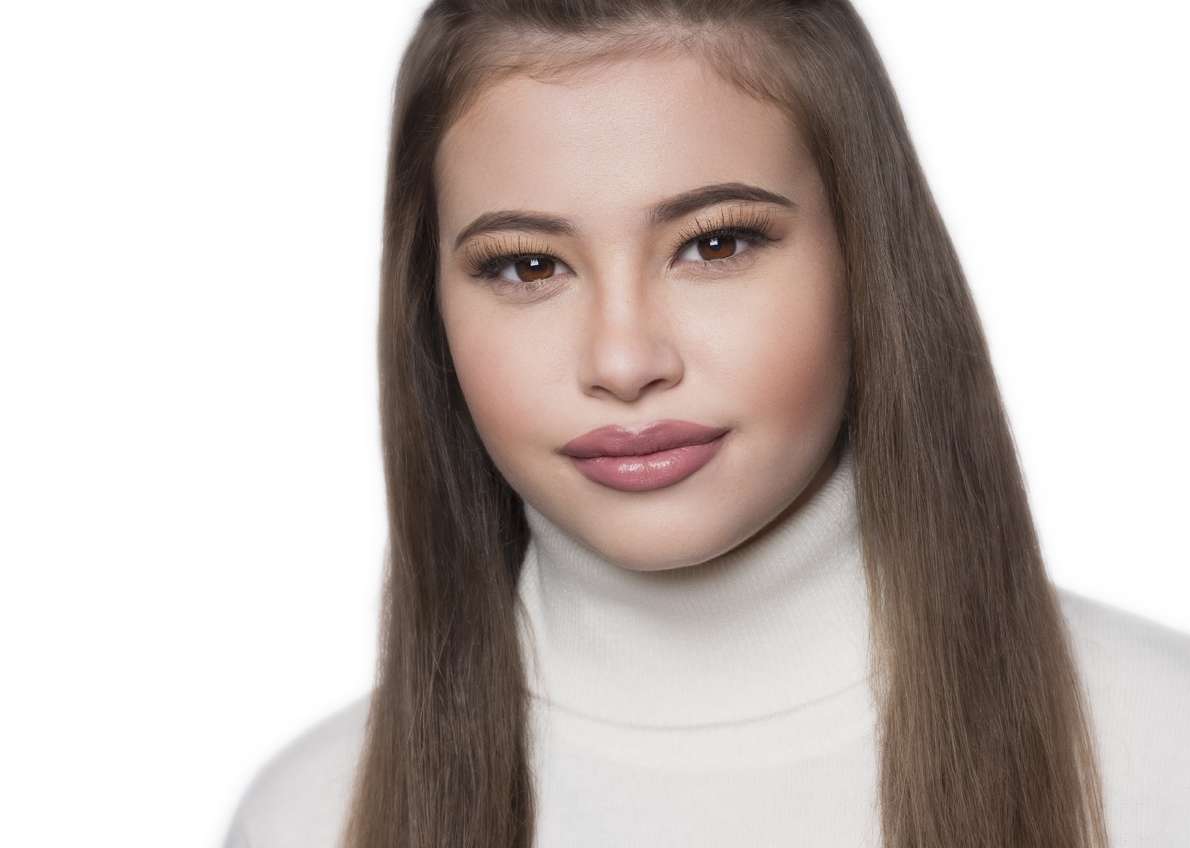
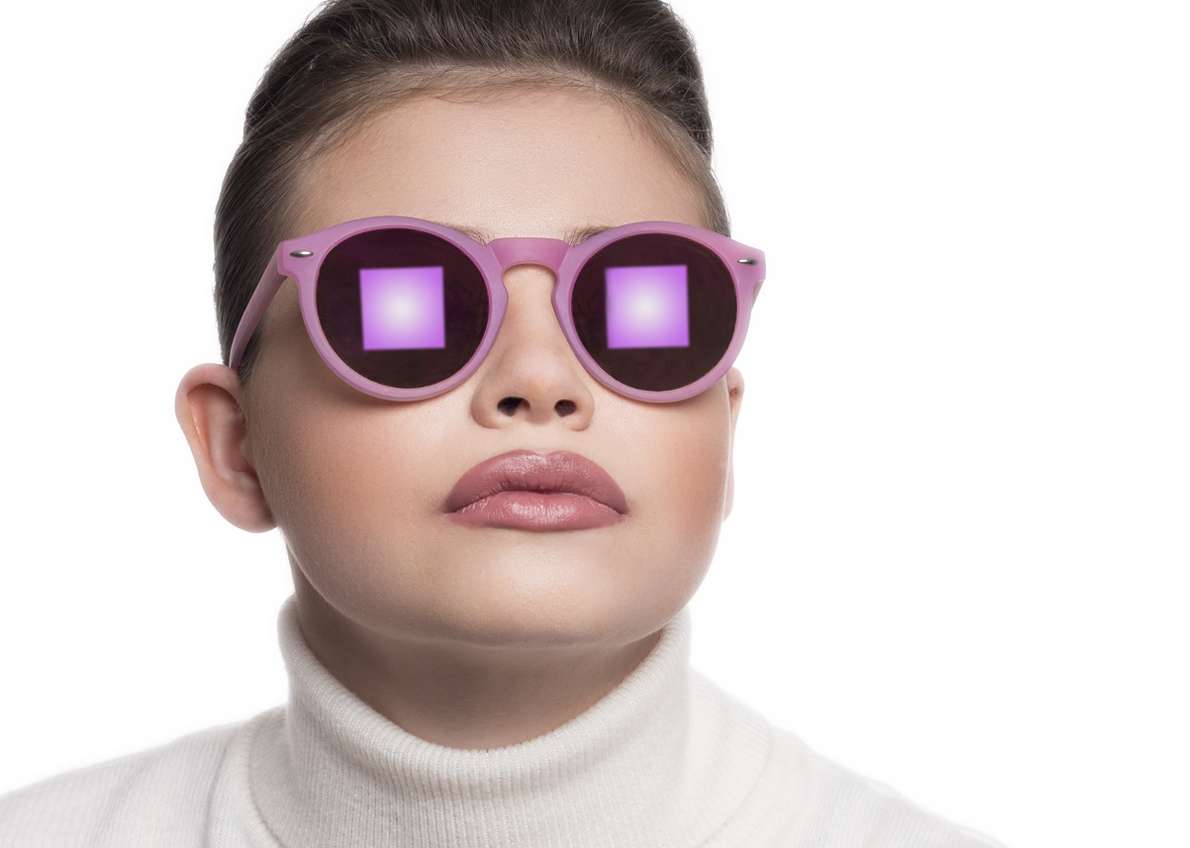
A simple pair of sunglasses can turn a nice portrait of a pretty young girl into a simple fashion portrait. You can see here that I have centered the reflection of a 24” softbox in the models’ sunglasses.

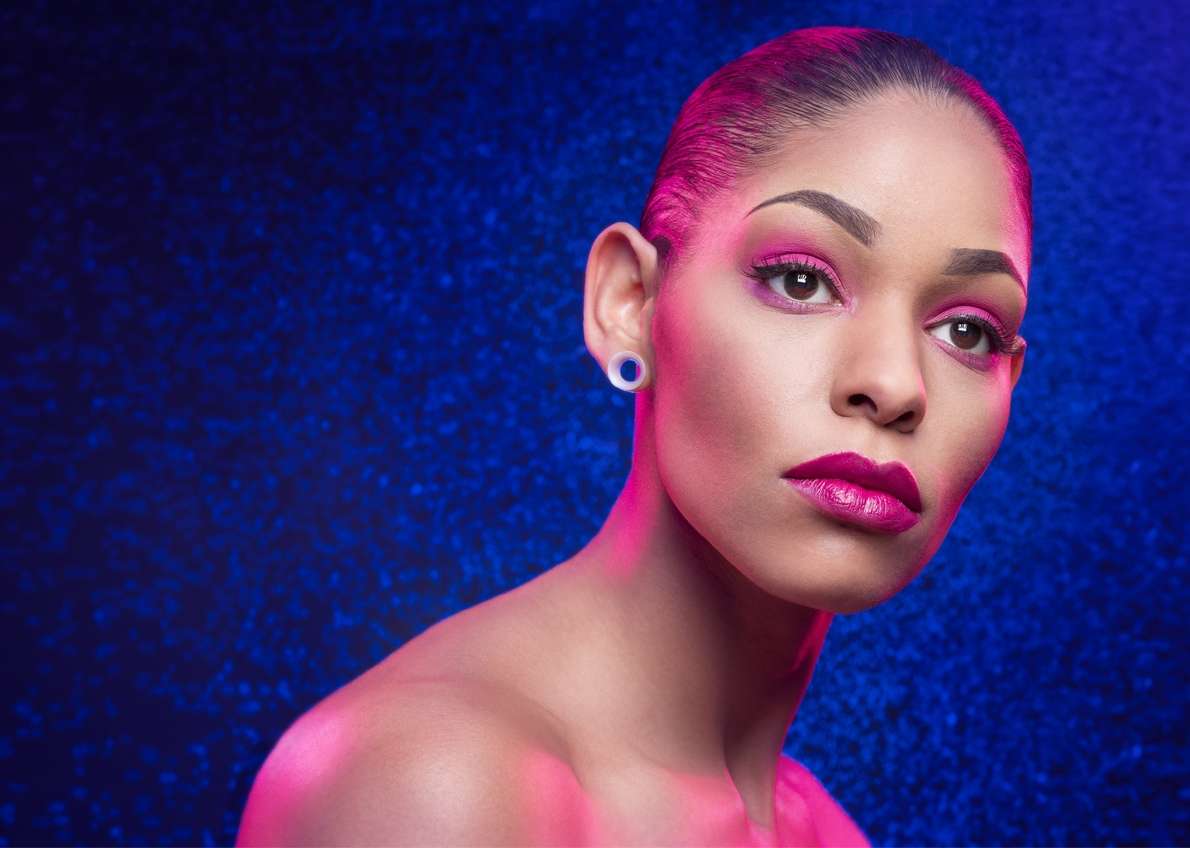
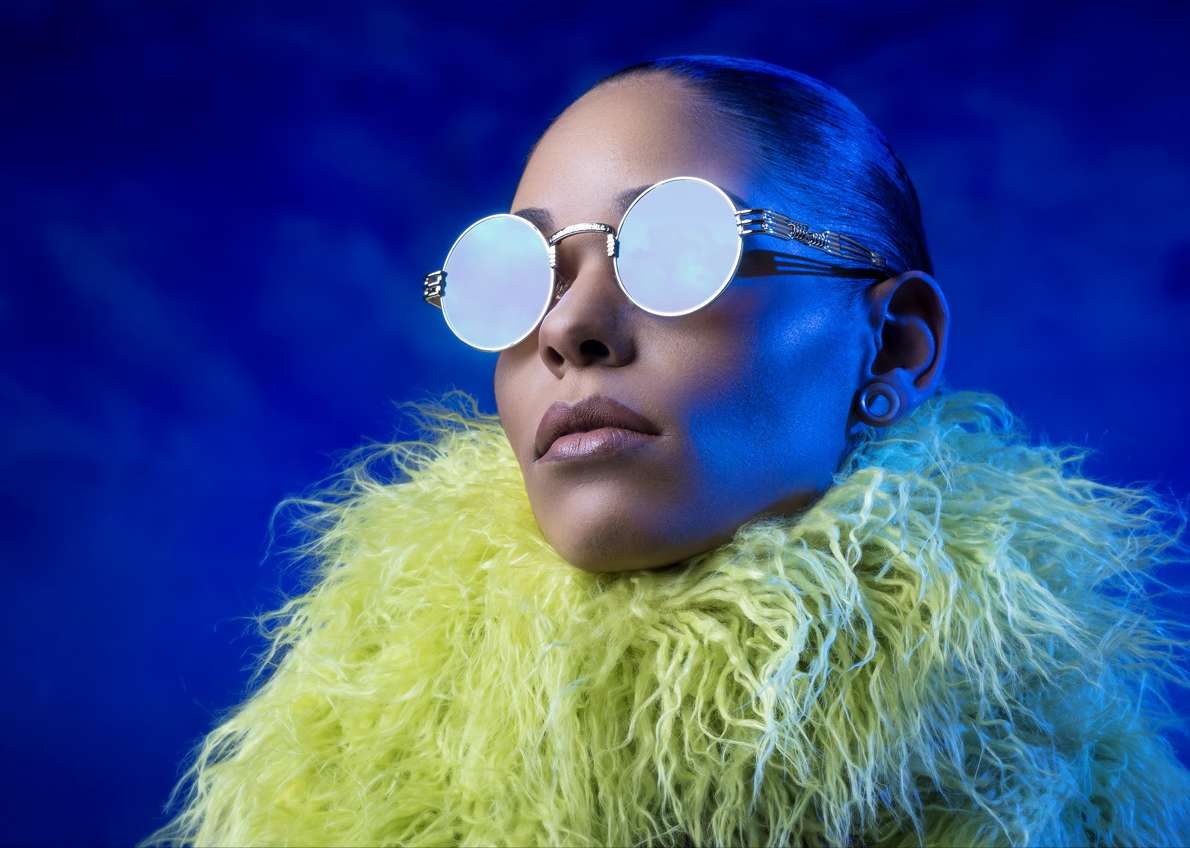
In this shot I switched to a black background and used a blue gel to create the glow of blue light. I added sunglasses and a fuzzy scarf to get this version of a fashion portrait.
The possibilities are practically endless. You are only limited by your own imagination.
Work Your Shot
NEVER assume you have the best possible shot after taking one or two or even just a few frames. I make it a rule to explore my ideas and try different camera angles, different facial expressions, modifications to the lighting, different colored gels, different compositions and different props until I am confident that I have completely exhausted all the possibilities for the shot that I am working on. That means that I am probably going to shoot anywhere from 30 to 300 frames to get that one image!
Have FUN!
Having FUN is how the great stuff happens. Forget the rules and let yourself be as creative as you can be. Remember, your BEST SHOT is your NEXT shot!
ABOUT JOE EDELMAN
Web: https://www.joeedelman.com/
YouTube: YouTube
Instagram: @joeedelman
Joe is an award-winning photographer and educator based in Allentown, PA. Joe is well known for his very popular YouTube channel that aims to teach photographers the “How’s” and "Why's" behind making great photographs.
LEARN MORE ABOUT JOE