I know, I know, you don’t like reading owner’s manuals. I get it, truly, I do! Want to hear something crazy, I like reading them! Why? Because a tool is only as useful in as much as you understand what it is and isn’t capable of doing! In this regard, the Olympus and OM SYSTEM manuals are a godsend!
They let us know what special features are available; how to change settings; how to customize your buttons and dials; and what limitations you might encounter when selecting certain features. It is the original source of how to use your OM-D E-M1X and E-M1 Mark III camera bodies. However, since you might not have read them multiple times like yours truly, let me share with you my top ten menu secrets you might not have learned yet. In the items below, any menu title or feature will be italicized to help you ascertain items as they appear in camera.
Note: You can download your manual at any time by visiting our support page.
Menu Secret #1
The “OK” Button & Setting Menu Items
There are several menu items that in order to be sure you have fully selected that feature, you must press the OK button all the way back to the original menu where that item is found. For example, let’s say you want to use Focus Bracketing on a macro image of a grasshopper. First, you go into Shooting Menu 2 and select Bracketing. Once you highlight On and move further into the menu you come to the Bracketing menu. Here you will see AE BKT, WB BKT, and on until Focus BKT at the bottom. You go into the Focus BKT menu and set the various options for your image.
Thinking you have set all your options, it might be easy enough to assume at this point you can just half-press the shutter button and proceed with your focus bracketed image. This isn’t true. If you simply half-press the shutter button to exit the Bracketing menu, you will find that focus bracketing is not turned on. This is because to set everything, you must select the OK button until you return to the Shooting Menu 2. Now you are ready to capture that focus bracketed image! The reverse remains true when attempting to turn some menu items off.
Menu Secret #2
Live Neutral Density Filter Simulation
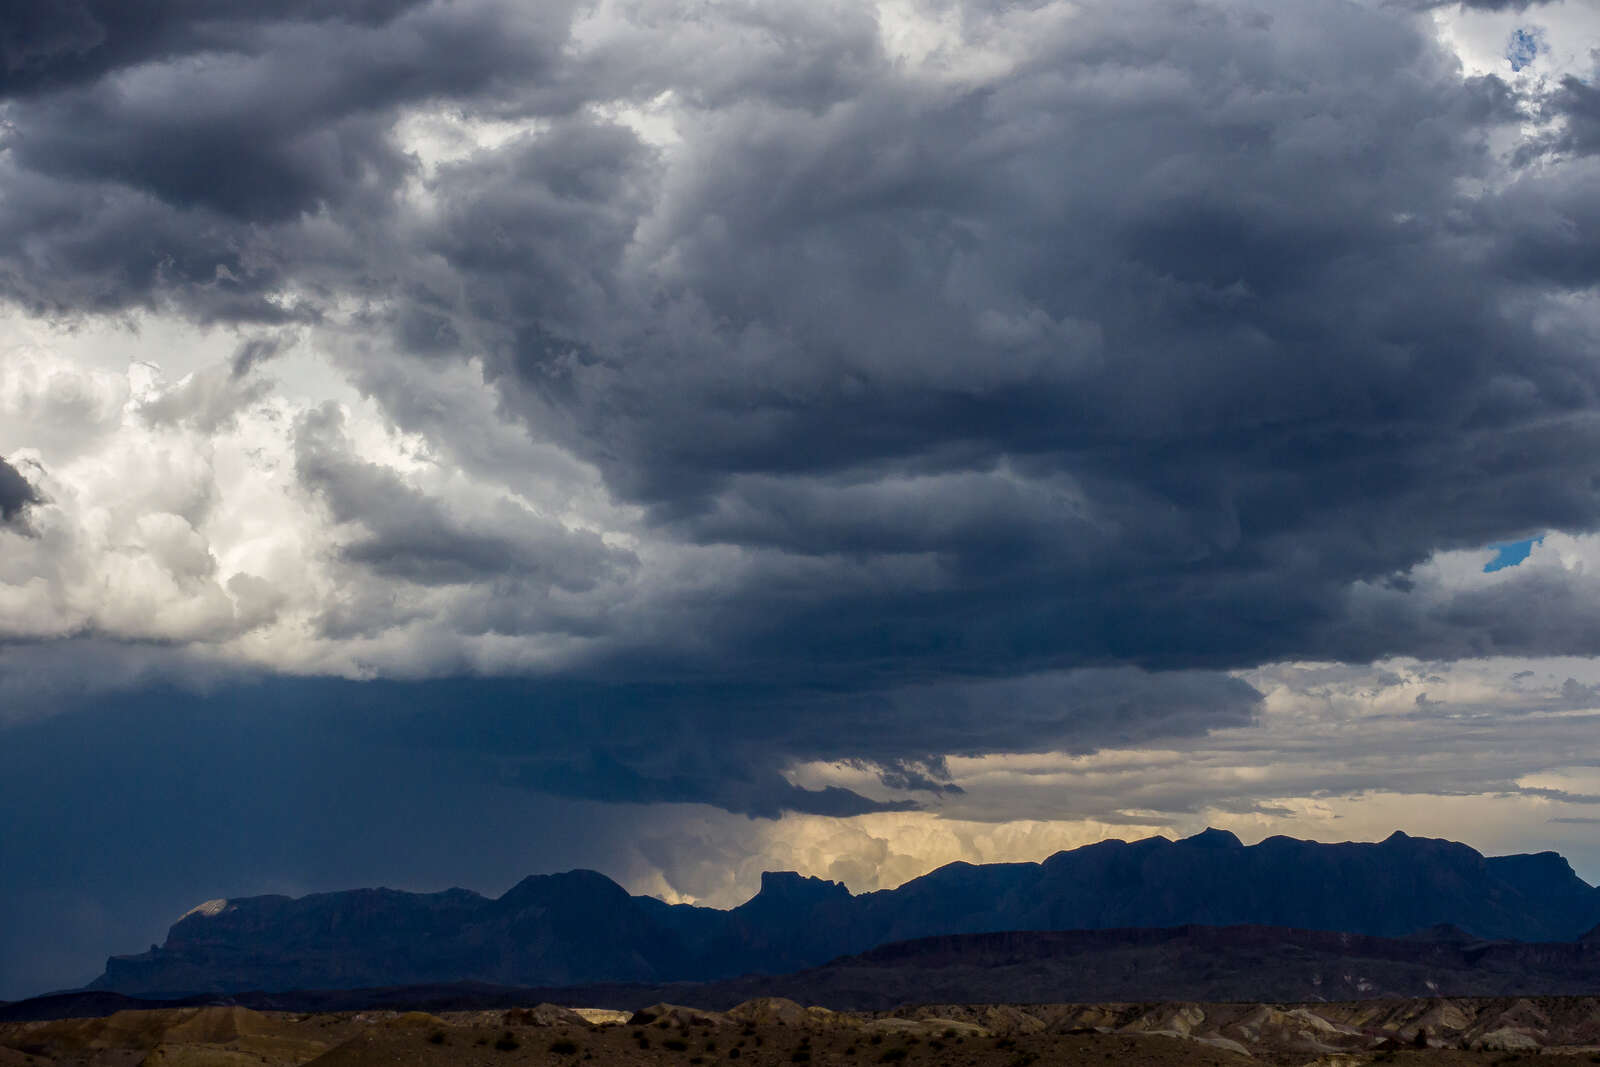
I often use the Live Neutral Density Filter for shooting waterfalls, capturing lightning (when not using Live Composite Mode), or any other situation that warrants reducing the amount of light for a slower shutter speed. However, you may have had an unusual experience if you ever attempted to recompose an image while using this feature and that is because you have LV Simulation turned on. When this is turned on, it simulates the effect the Live ND filter will have on the scene, but it can be disconcerting when trying to recompose. Simply turn this feature off under the Live ND Shooting menu and you can recompose without the “blur” effect.
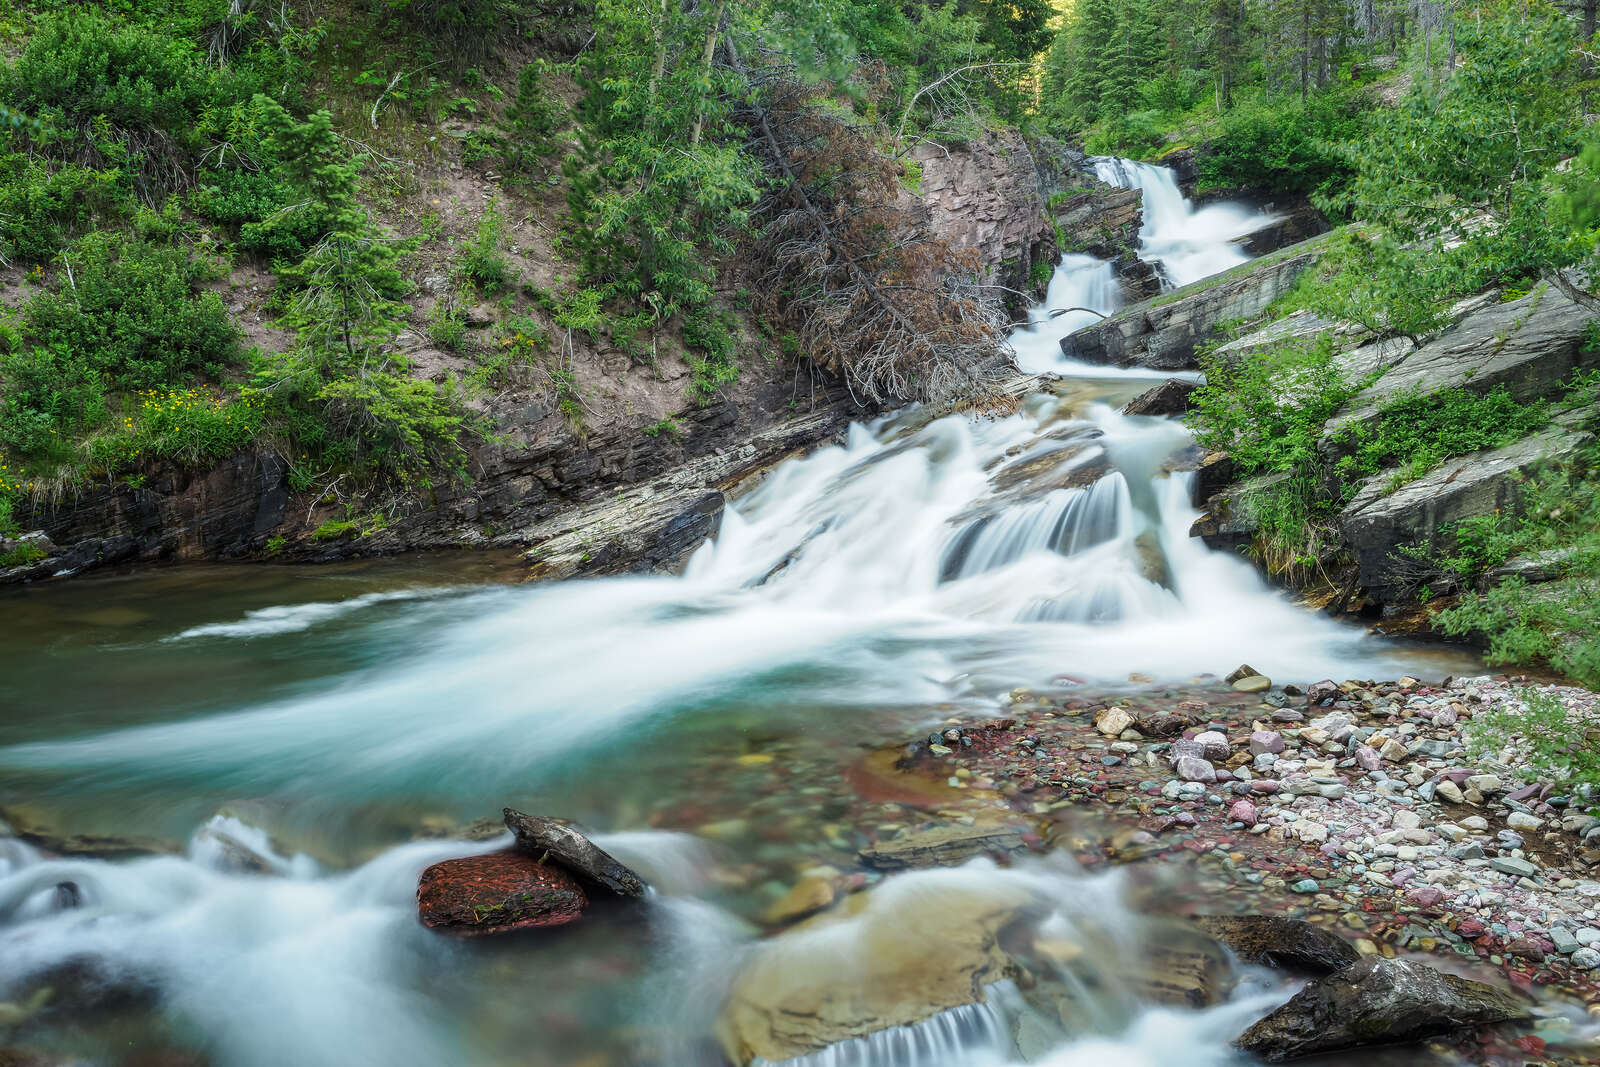
OM-D E-M1X | M.Zuiko 12-40mm F2.8 PRO @ 17mm
Tripod Mounted
1/2s | F14 | ISO 200
Menu Secret #3
Mode Guide
If you want some help with specific menu items throughout your camera’s menu, you can turn on the Mode Guide which will then display brief descriptions of each menu item. This can be quite helpful to those new to the OM-D camera system or new to photography in general. If, after a while, you have become familiar with your camera’s menu system, then you can turn off these descriptions. To turn on the tips from the Mode Guide, simply hit the "info" button on the back of your camera when you are in the menu, this will toggle the feature on and off.
Menu Secret #4
Low ISO Processing
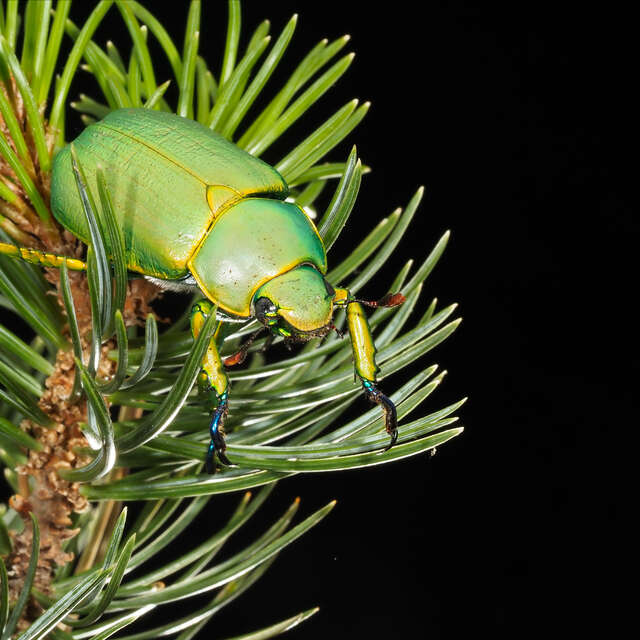
On Custom Menu E1. Exp/ISO/BULB you will find a feature called Low ISO Processing with two options called Detail Priority and Drive Priority. A quick explanation is that when shooting at low ISO’s, if we set this option to Detail Priority, the camera will prioritize image resolution and reducing noise, and in Drive Priority it will focus on frame rate (the number of images per second). So, for my camera bodies and/or custom modes that are set for landscape and macro photography, I choose Detail Priority since frame rate is generally not critical. For wildlife photography, I choose Drive Priority since frame rate is more critical and I am not always shooting at a low ISO.
OM-D E-M1 Mark III | M.Zuiko 12-40mm F2.8 PRO @38mm
Handheld
1/500s | F16 | ISO 400
Menu Secret #5
Rotating Portrait-Orientation Pictures for Playback
Have you ever taken a portrait-oriented picture but when you went to review it on the back of the camera, it wasn’t oriented properly for viewing but was oriented sideways? There is a quick and simple menu item that will fix this issue. Under the Playback menu at the very top of the menu list is a symbol of a rectangle with a two-way arrow curving around the corner. Turn this menu item on and from now on portrait-oriented images will be displayed in the proper orientation.

OM-D E-M1X | M.Zuiko 300mm F4.0 PRO + MC-14
Handheld
1/250s | F7.1 | ISO 800
Menu Secret #6
Half Way Release with IS
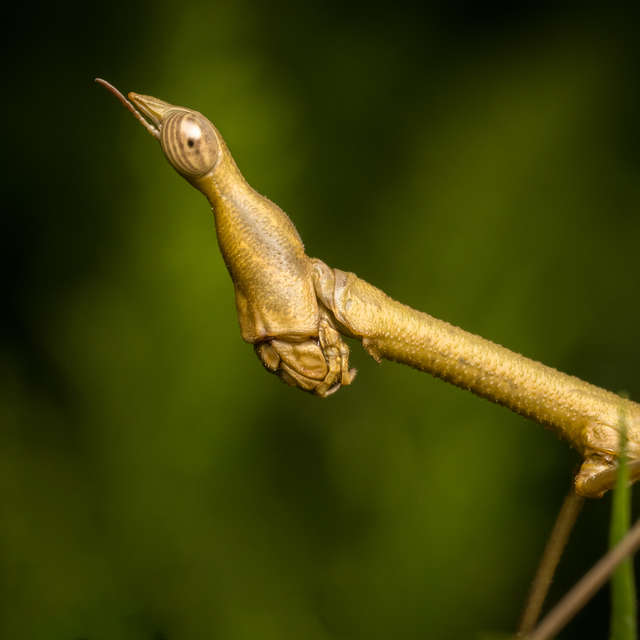
Let’s be honest, this menu item isn’t exactly the easiest to understand from the title alone. The great news is this feature is actually easily understood and is very important for those using image stabilization (IS), particularly on long lenses. Have you ever been hiking or carrying your camera gear and accidentally bumped or turned off the IS slider on the side of your M.Zuiko 300mm F4.0 IS PRO or the M.Zuiko 150-400mm F4.5 PRO IS? Well, I sure have. And there is nothing more frustrating when you grab your gear to photograph a bird or animal only to realize IS wasn’t turned on. This feature, when turned on, will simulate the effect of the IS and is a quick clue that your IS is off because you will see how much you are actually moving around without this feature!

OM-D E-M1X | M.Zuiko 300mm F4.0 IS PRO + MC-14
Handheld
1/160s | F5.6 | ISO 800
Menu Secret #7
Lens Reset
This is a very small, little known menu item but it can have a major impact on your photography if you are relying on a set focus over and over again. I learned this the hard way when when I had the E-M1 Mark III setup with my high speed flash system with a flight box to capture insects in flight. This requires very precise focusing as you have to correlate focusing with a narrow laser beam. I got everything setup correctly, set focus, and then turned off the camera as I went out to capture subjects. I then put a subject in the flight box and turned on the system. It captured many images all of which were out of focus. After some research, I discovered that the lens reset menu item was turned on which means that when you shut the camera off, the lens would automatically be reset to infinity. So, if you are ever needing to shut the camera off but require focus to remain exactly where set, you will want to be sure to turn off Lens Reset.

OM-D E-M1 Mark II | M.Zuiko Digital 12-40mm F2.8 PRO @ 12mm
Cognysis Camera Trap System, Ground Pod Mounted, 3 Flashes
1/250s | F13 | ISO 800
Menu Secret #8
Lens Focus Range/AF Limiter
One of my favorite menu items for bird photography from blinds or fixed points when I know the birds will be at an established location is the AF Limiter feature. You will find this feature at the top of menu A3. AF/MF. This is a very powerful feature that establishes a distance range at which the camera/lens will focus and only within this range. This can drastically improve the speed of autofocus acquisition and reducing the “hunting” effect when birds are in front of busy backgrounds. An example is when I am photographing hummingbirds in my backyard setup and my blinds are always set at the same distance from the feeders/flowers. If the birds are feeding at 12’ from my camera, I set the AF Limiter range from 11’ to 13’ feet and this means the camera will not try to focus outside of this range. Autofocus is then acquired very quickly. You can have 3 different distance ranges for quick selection within the AF Limiter menu.
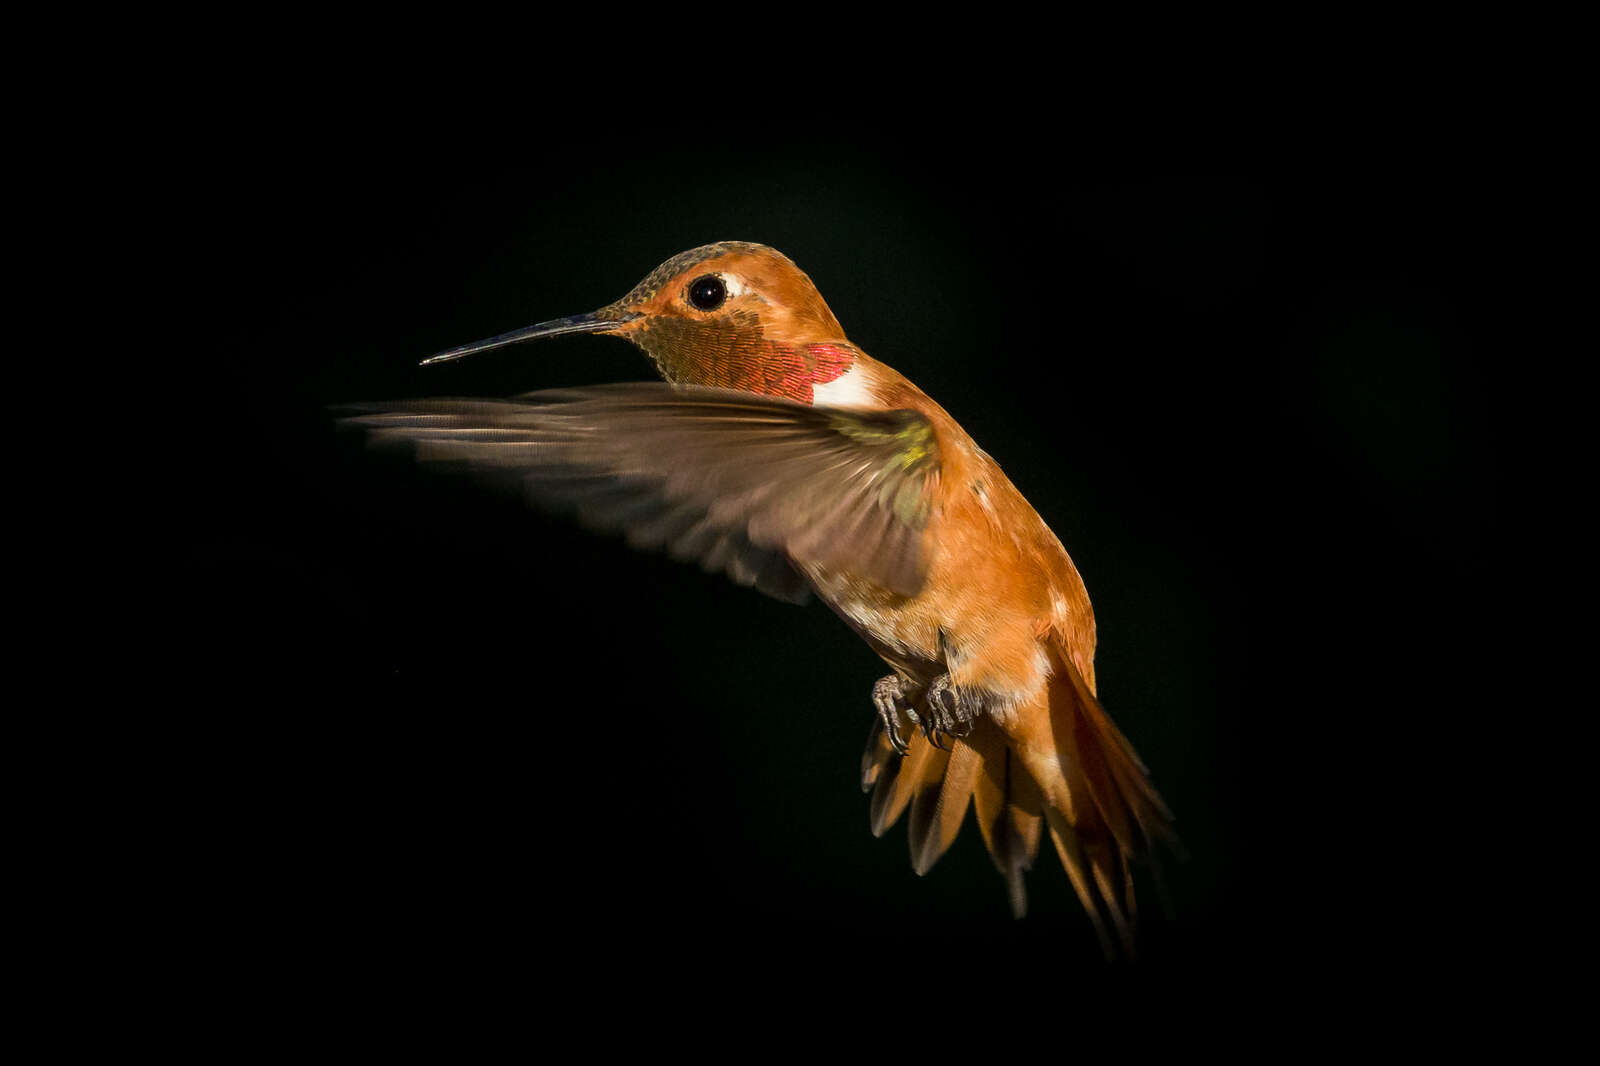
OM-D E-M1X | M.Zuiko 300mm F4.0 IS PRO
Handheld
1/1250s | F9.0 | ISO 1600
Menu Secret #9
Viewfinder Display Rate/Frame Rate
On the D2. Disp/Beep Symbol/PC menu, you will see the Frame Rate menu. This is a relatively simple but important feature particularly for bird and wildlife photography. There are two settings Normal and High. Since these two OM-D camera bodies both use electronic viewfinders there is a refresh rate for these screens and when set to High the refresh rate is faster making it much easier to tracking rapidly moving subjects. This setting isn’t as important for landscape photography as we aren’t worried about tracking moving subjects. Personally, I keep this menu item on High for wildlife and macro and Normal for landscape photography.
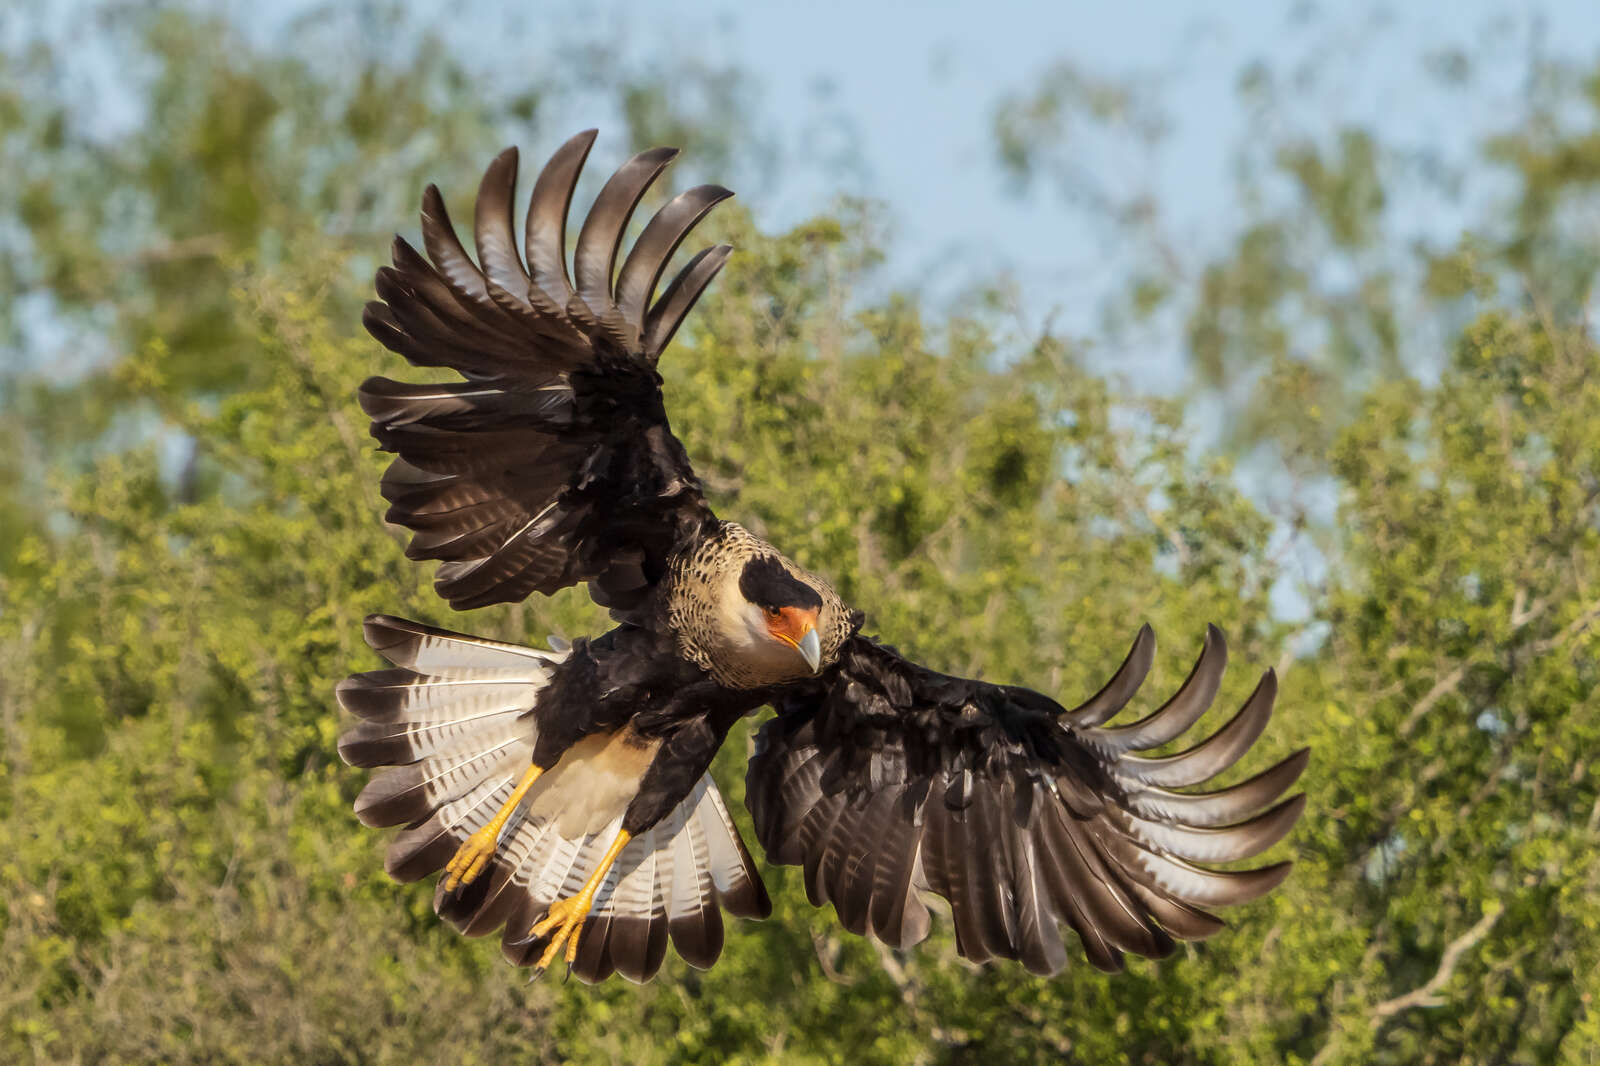
OM-D E-M1X + M.Zuiko 40-150mm F2.8 PRO @110mm + MC-20
Handheld
1/2500s | F7.1 | ISO 800
Menu Secret #10
Photo Review/Rec View
Have you ever been taking a series of images of a bird in flight or an animal running and you paused briefly on the shutter button to wait for the bird to bank or the animal to switch directions or jump? As soon as you pause taking images, the last image you took is suddenly displayed in the viewfinder and you are no longer able to track the moving subject through the viewfinder? To turn off the Rec View function, you must go to the Setup Menu, scroll down to Rec View and set to off. You may now photograph moving subjects and take a pause without instantly having a photo displayed for review. To review any images, just push the image playback button the back of the camera body.
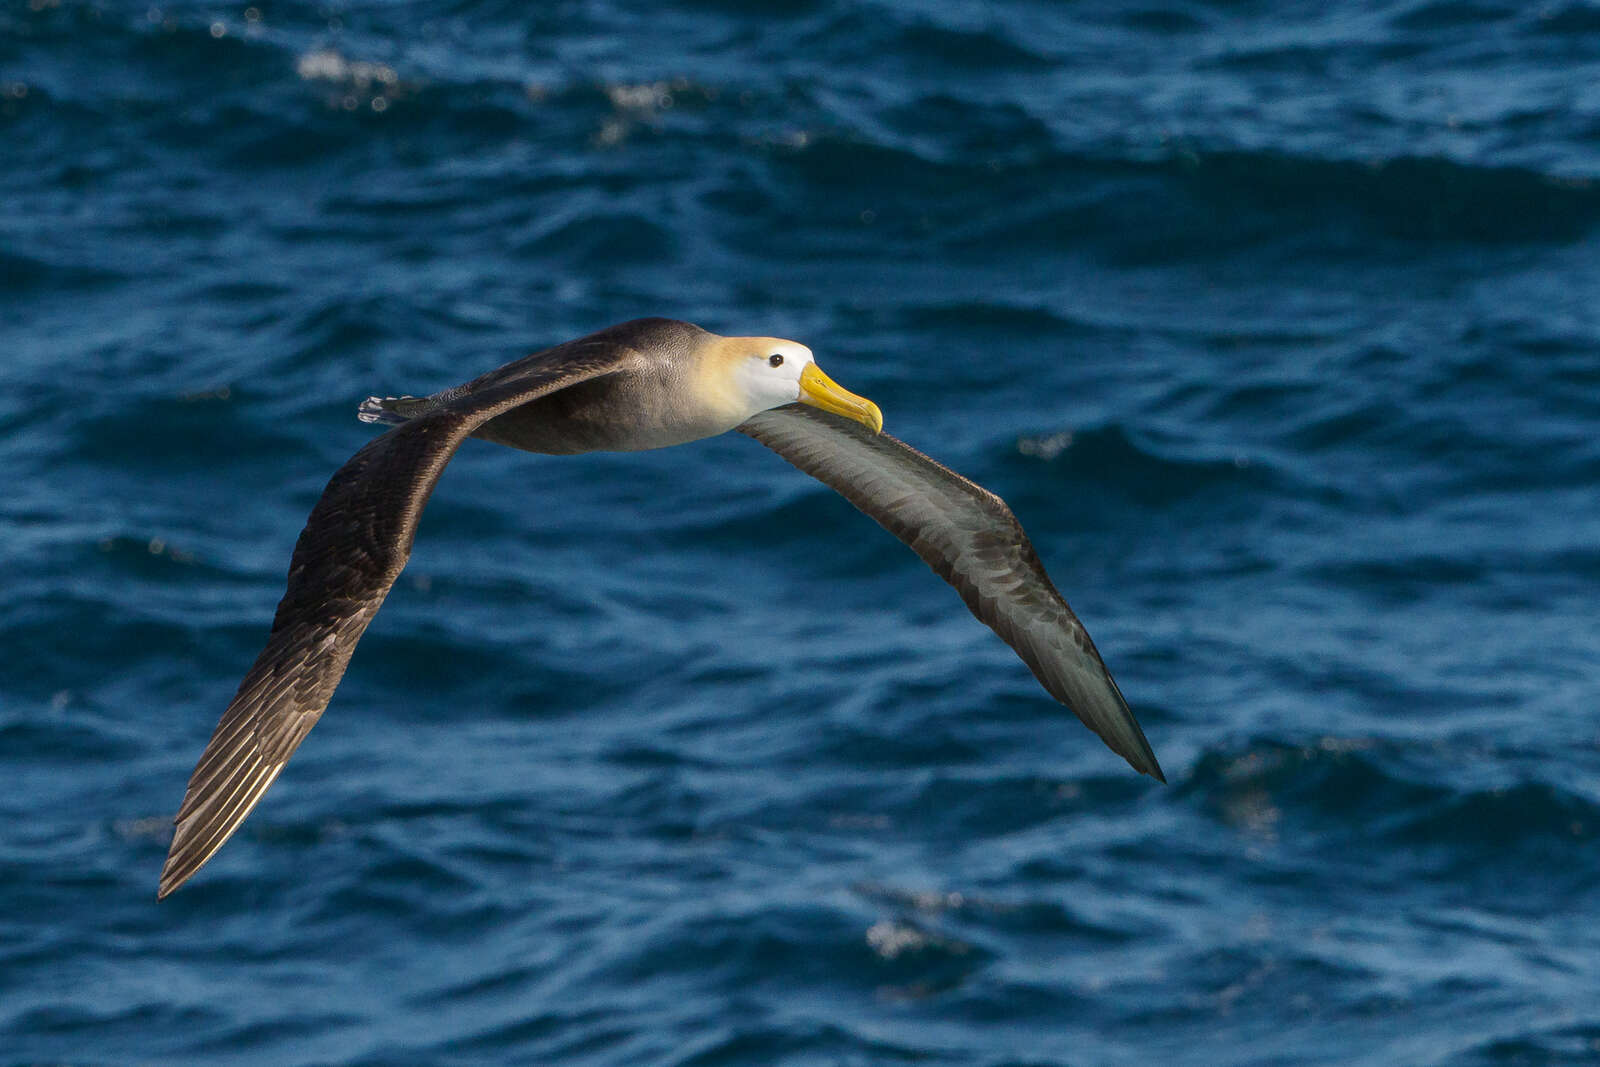
OM-D E-M1X | M.Zuiko 40-150mm F2.8 PRO @150mm + MC-20
Handheld
1/2000s | F9.0 | ISO 800

Instagram: @bigbendbirdingphototours
Lee is a professional photographer and owner/guide of Big Bend Birding & Photo Tours and also leads photography workshops for Wildside Nature Tours. He lives in the Davis Mountains of west Texas where the night sky and wildlife keep him busy!