Snowboarding is my favorite way to get outside and into nature in the winter. To me, there are few better feelings in this life than gliding through fresh powder while listening to the delighted laughter of your best friends as the snow covered trees tower over you. I wanted to capture the magic of a day out on the hill, so with both my OM-D E-M1 Mark II and E-M5 Mark III in my pack, my friends and I set out into the mountains.
SETTING THE SCENE
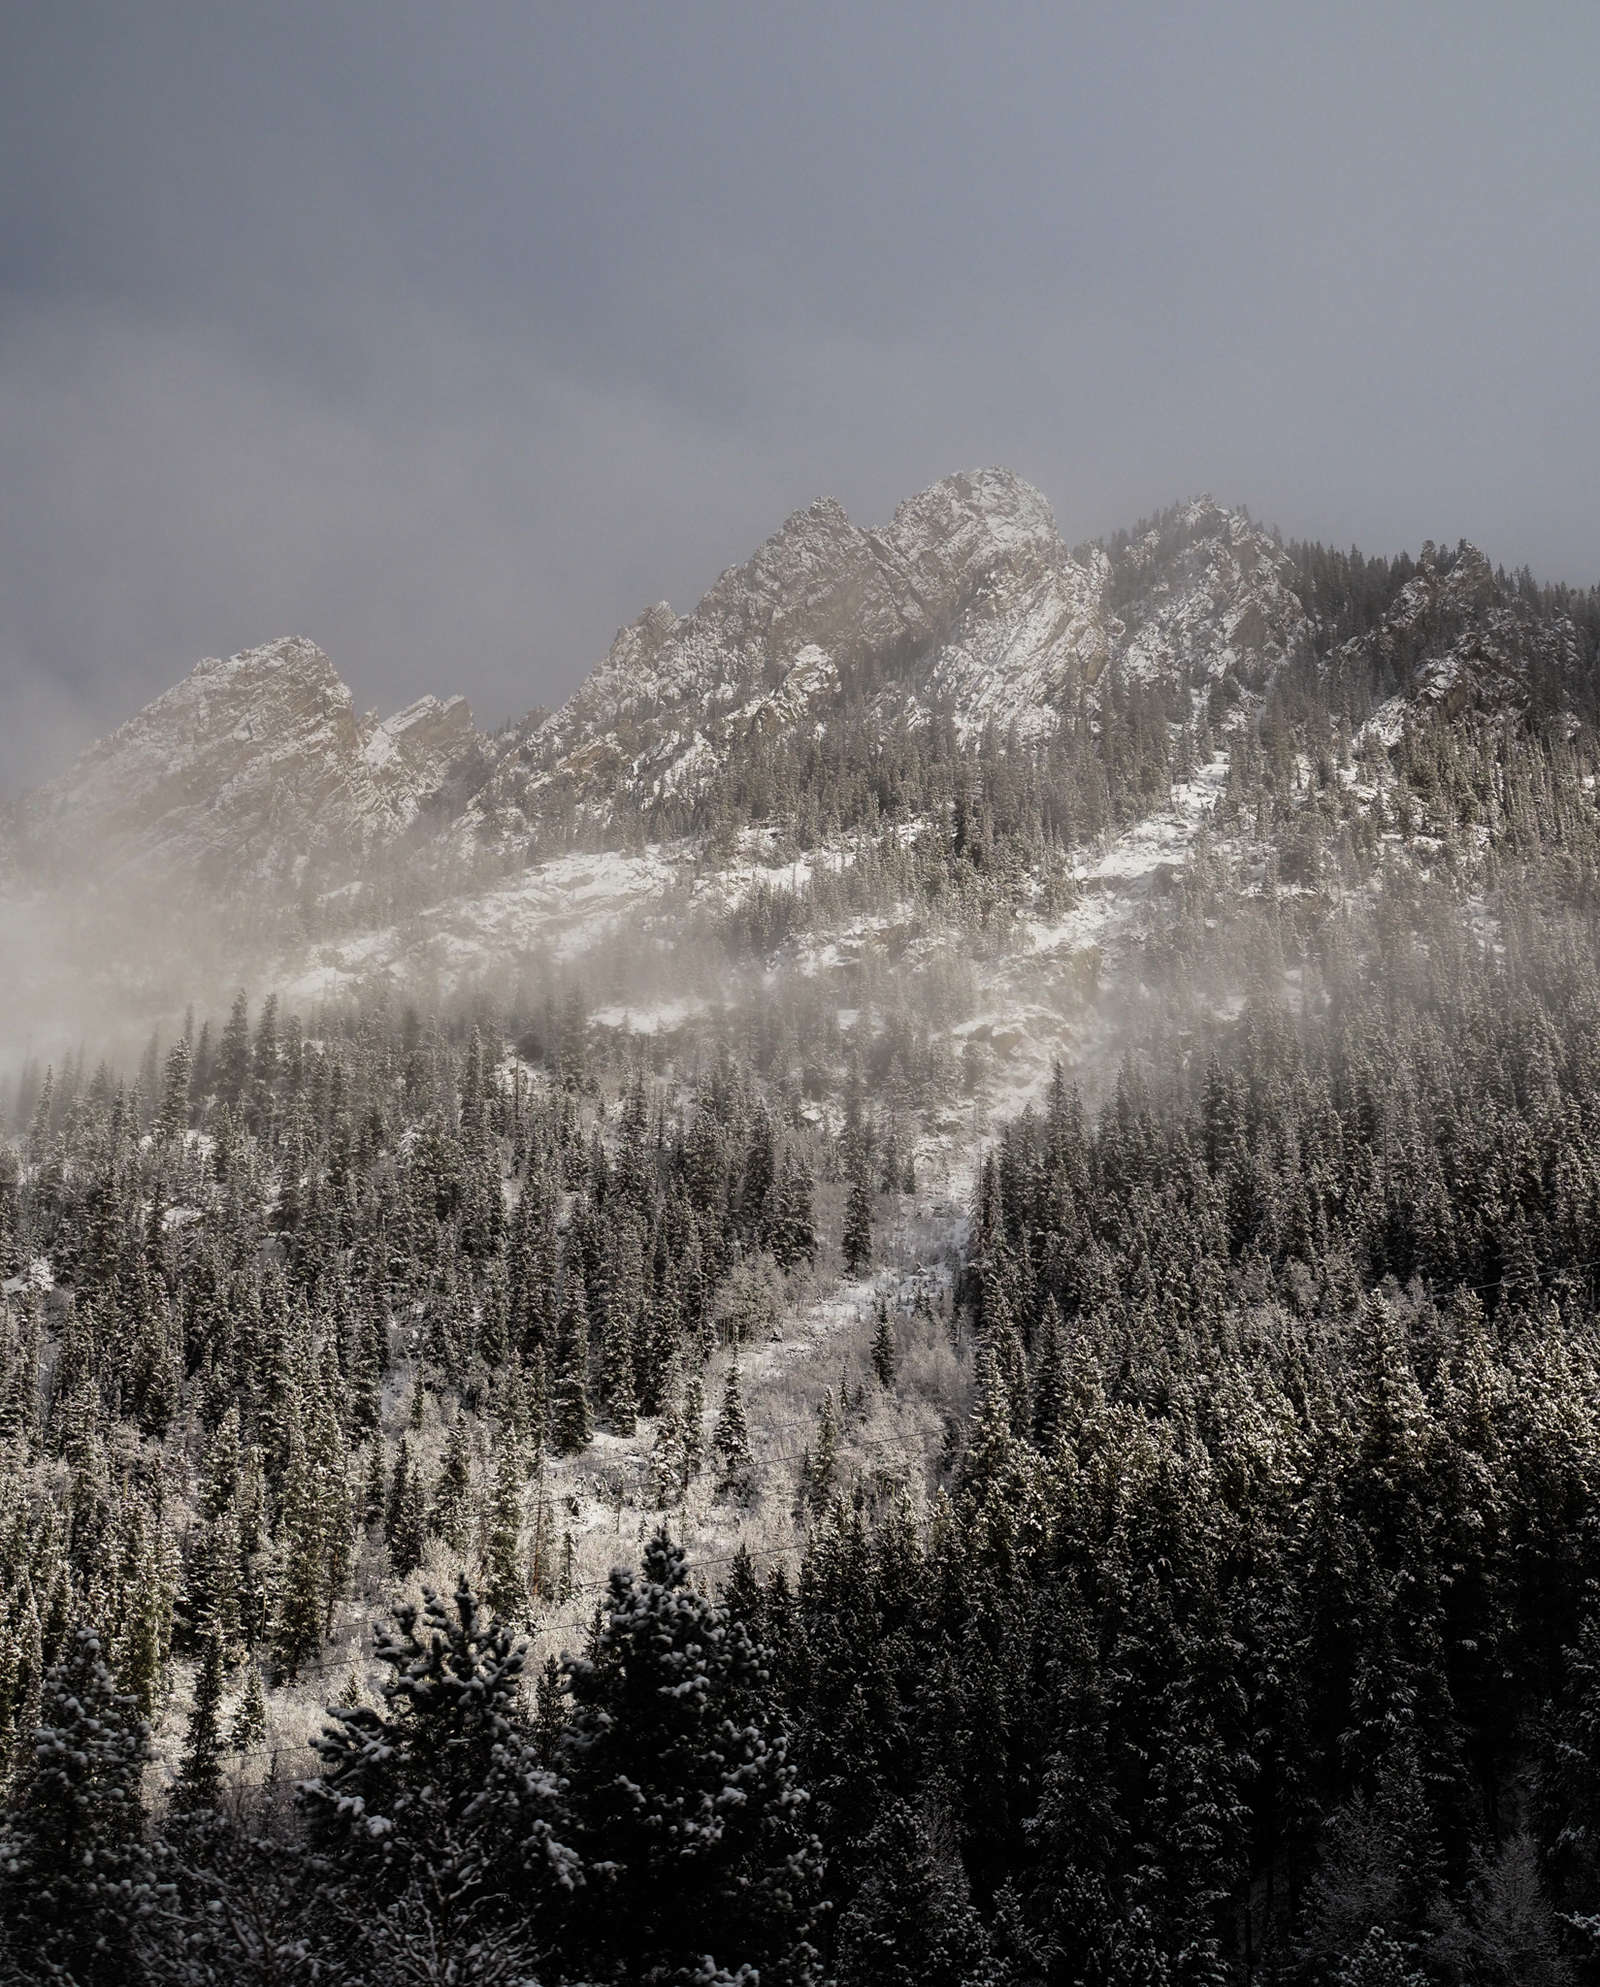
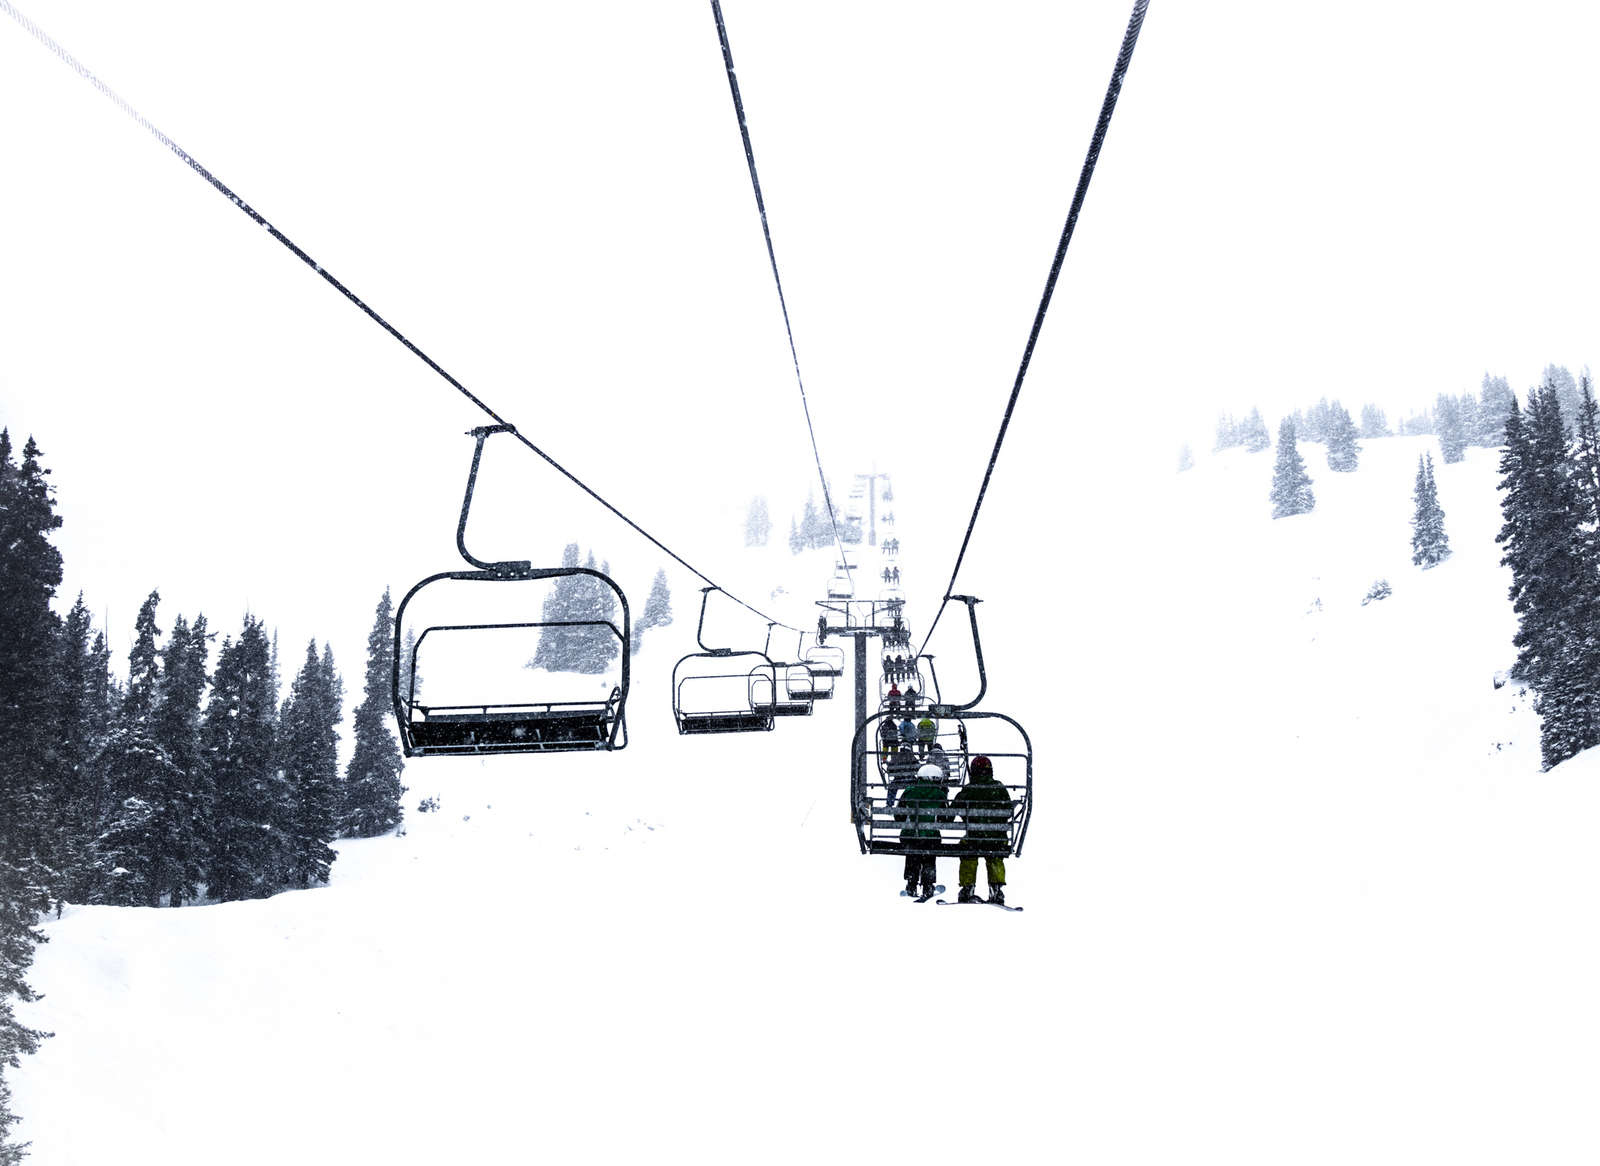
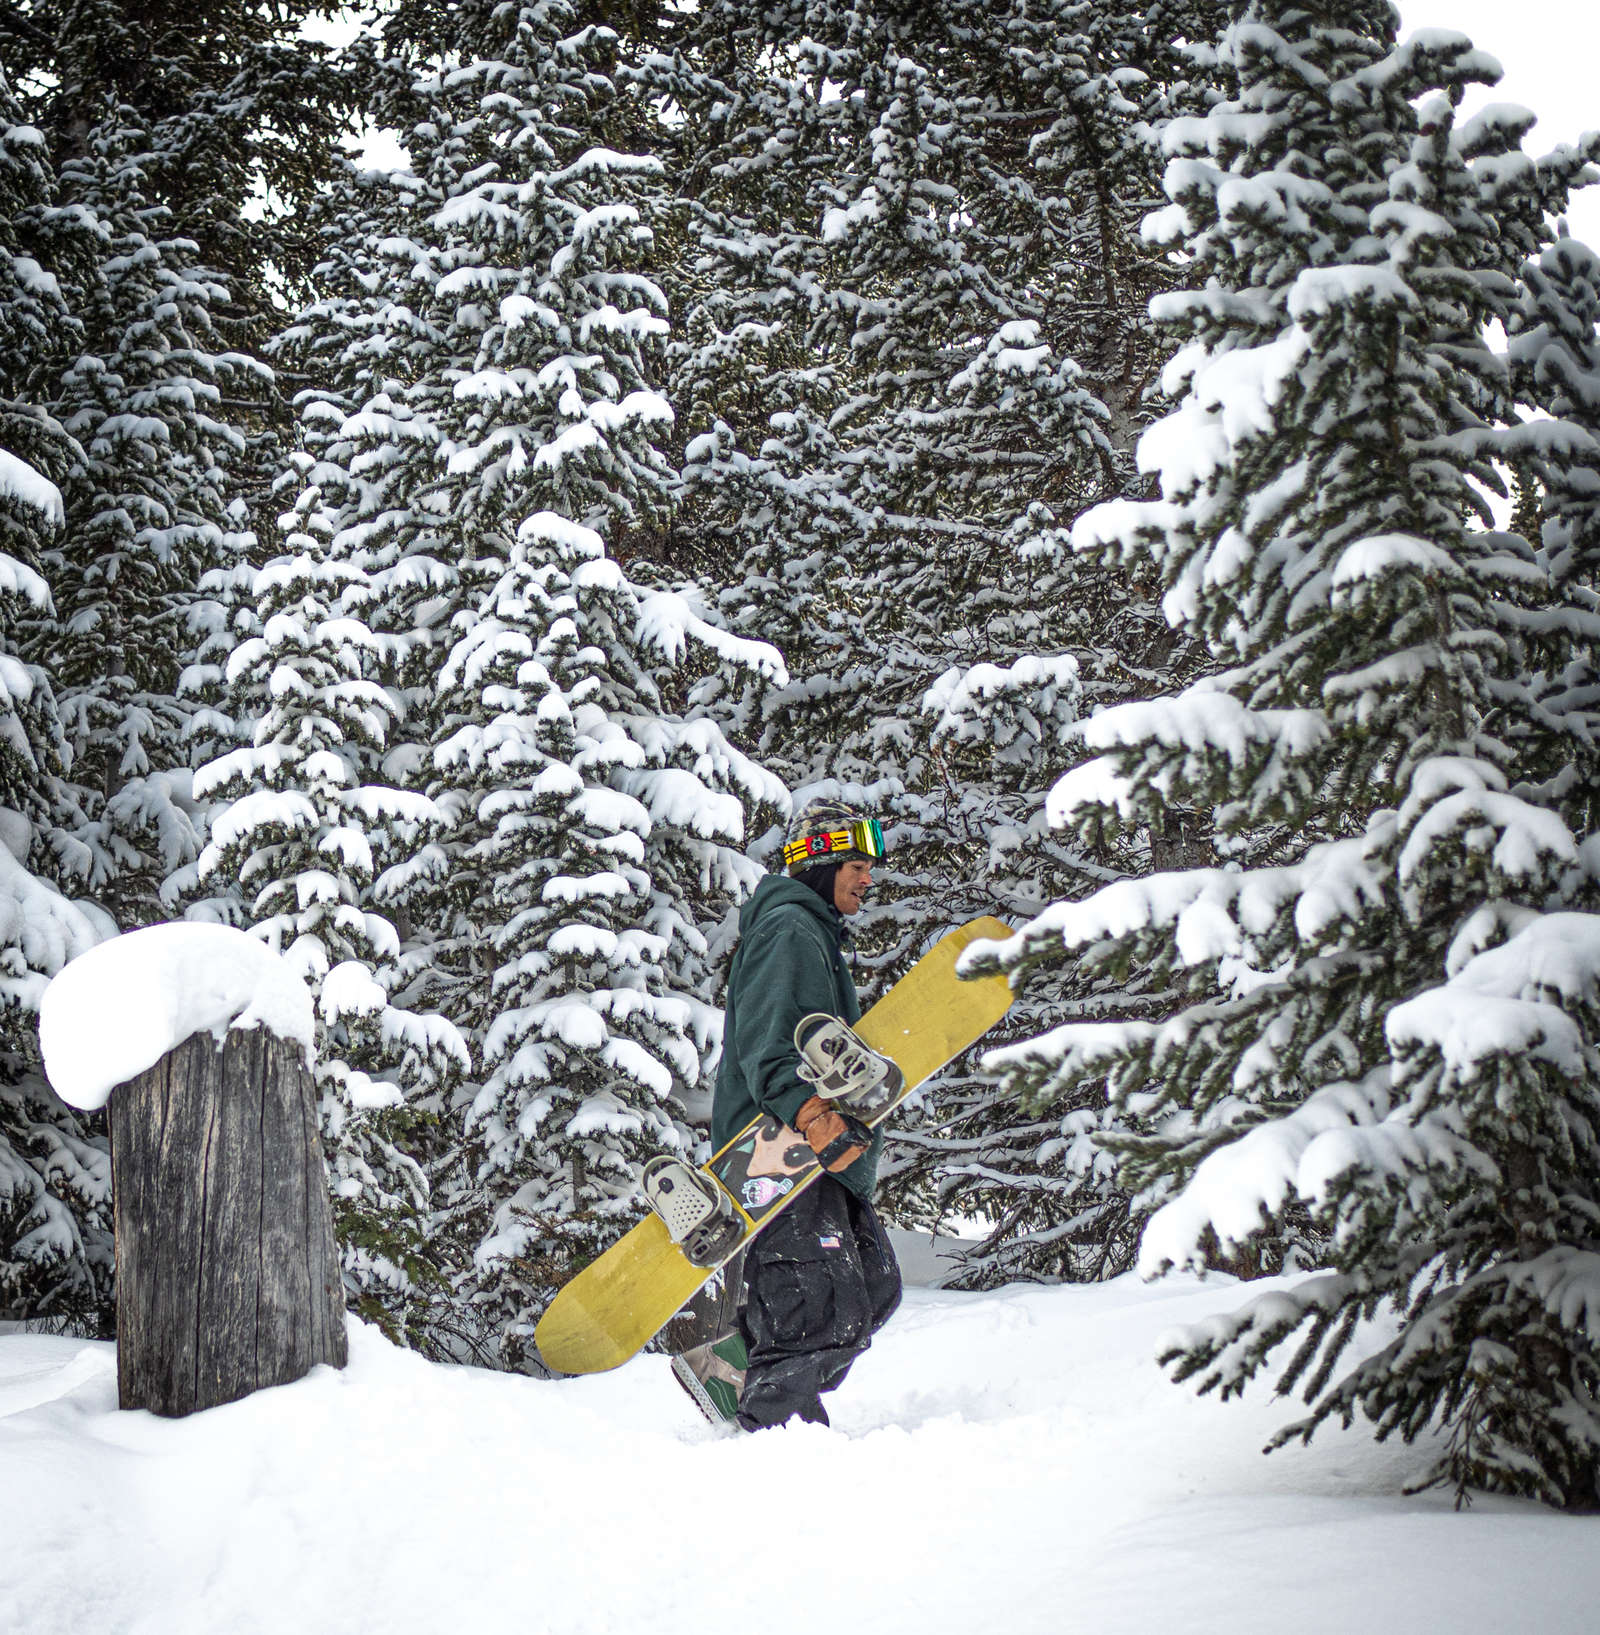
When we got to the mountain it was definitely cold, and definitely snowy. This became a challenge later in the day when it was time for some action shots. But when we arrived, the soft lighting and fresh snow made for some pretty pleasant photography conditions. Embrace the winter lighting, and take some time to stop and get portrait shots of your friends before you drop in. If you’re out snowboarding alone, prop your camera on a bench and turn on selfie assist mode. That's how I got the shot of myself in the bottom right corner below.
1/640s | F5.6 | ISO 200
1/600s | F2 | ISO 640
GEAR UP
You’ve got your goggles, your boots, your helmet, your gloves, and your boots. Now it's time to pick the camera gear you’re bringing along with you too. On this day out, it was so cold and snowy that I didn’t want to worry about changing lenses, so I brought two camera bodies. The first was my OM-D E-M1 Mark II paired with my M.Zuiko 40-150mm F2.8 PRO lens for action shots. The second was my OM-D E-M5 Mark III paired with my M.Zuiko 25mm F1.8 lens for portraits and landscape shots. When you’re choosing your gear, there’s a few important things to consider:
- It’s got to be weatherproof. Think about it, you’re dressed in weatherproof gear from head to toe. Your gear needs to be in the same condition. When possible, make sure you choose your weathersealed body and lenses. While my 25mm lens is not weathersealed, I have shot with it in similar weather and loved the small size factor paired with my E-M5 Mark III. Also, make sure your camera body is fully weather sealed by putting the hot shoe cover back on if you had previously removed it. Taking your camera out without the hot shoe cover on is like sending your camera out into the snow without a hat. Take time to double check before you go.
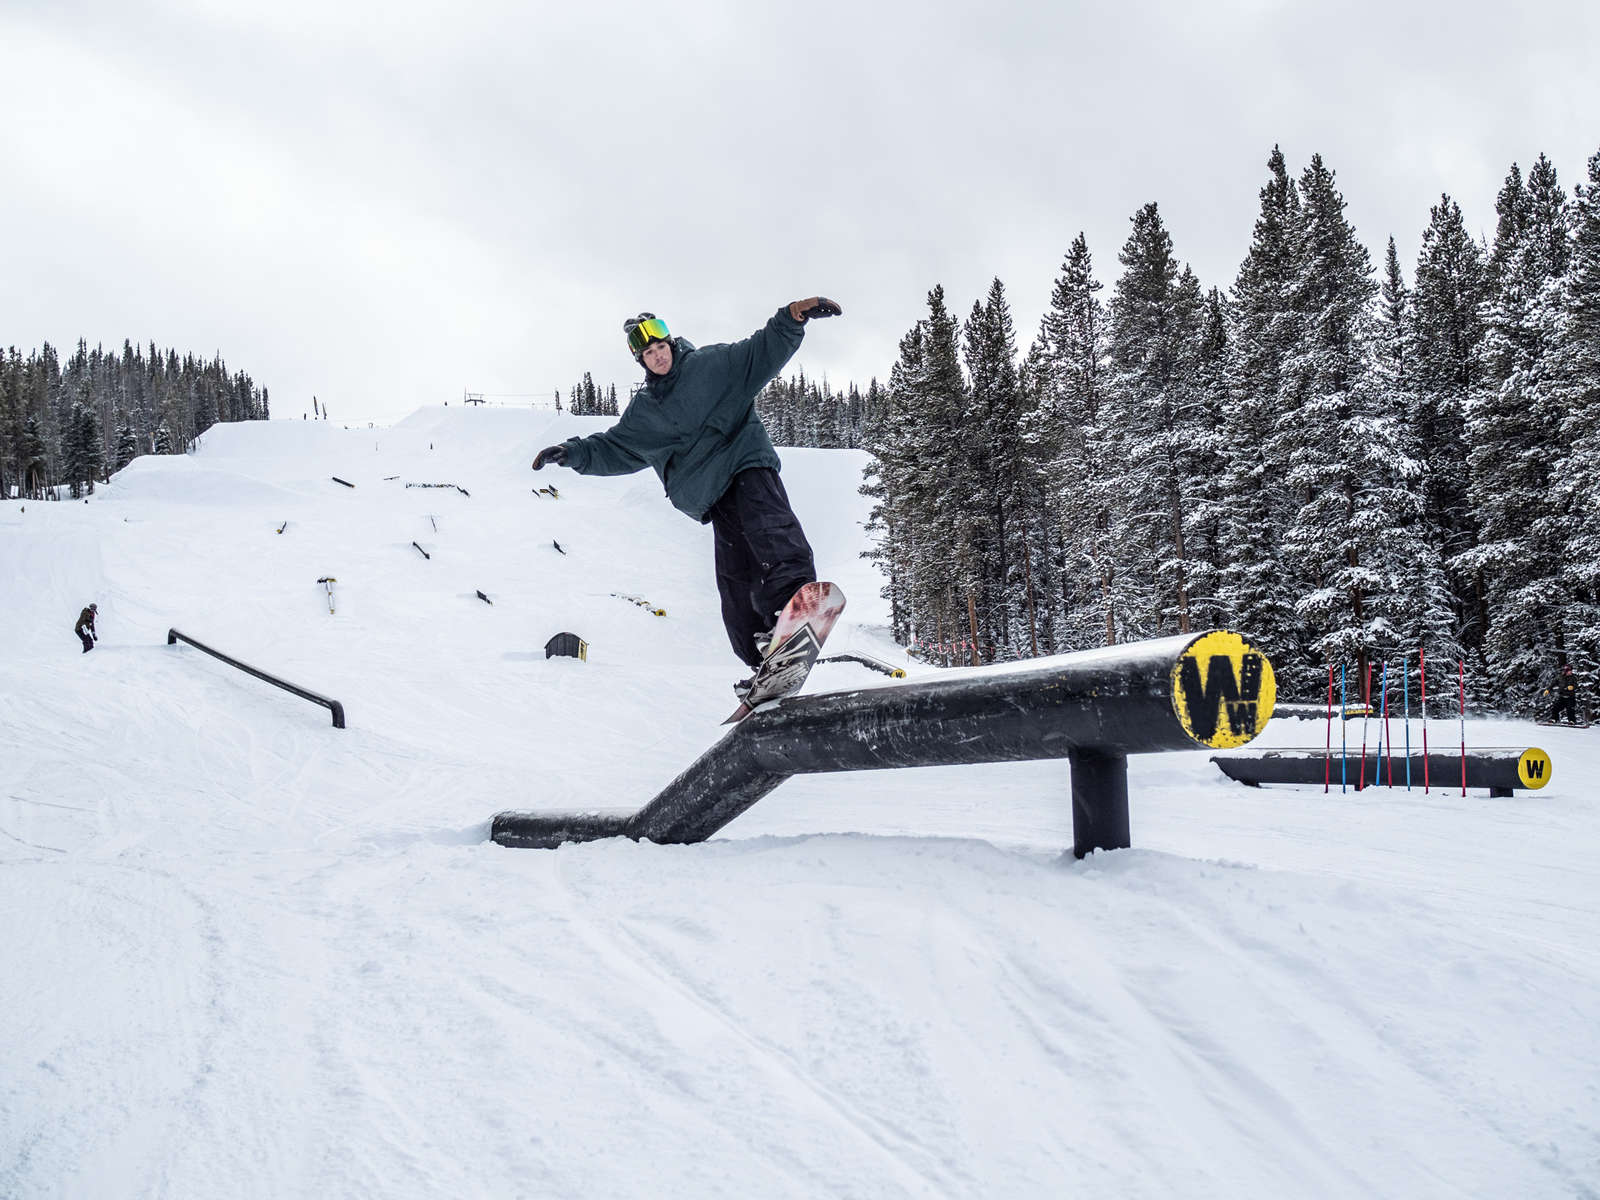
- Think about what you’ll be shooting. Big air? Take a long lens so you can photograph the guy in the sky while you stand down below. Portraits and landscape? Something wider and shorter, depending on what style you’re going for.
- Extra memory cards are a must. You don’t want to miss a moment. Pack an extra memory card if you’ll be going after action shots. I love the dual card slot in my E-M1 Mark II because it enables me to automatically switch to my second card when the first one fills.
1/1250s | F5 | ISO 200
1/1600s | F4.5 | ISO 200
GET SET
You’re dressed up, geared up, and warmed up. Now make sure your settings are dialed in so you’re ready to get the shot.
- I shoot in both RAW and JPEG when I’m on the hill. This way I can quickly import the JPEG shots onto my cell phone using the Olympus Image Share App and immediately send my friends the photos of them trying that new trick they’ve been working on.
-
If I’m using a camera that's got a dual card slot, I opt for Standard Save Settings so that my photos start saving to Card 2 when Card 1 has filled up.
-
Autofocus is key. Unless you’re a wizard at focusing manually, don’t be afraid to give up that control and let your camera dial in the focus for you so you can think about composing the shot.
- You’re going to want to shoot in one of the Sequential modes to capture the action from start to finish.
1/600s | F2 | ISO 320
1/1600s | F2 | ISO 200
1/1600s | F3.5 | ISO 200
AND GO
It's time to drop in. Don’t get too caught up in the fun though, remember what it takes to get the shot.
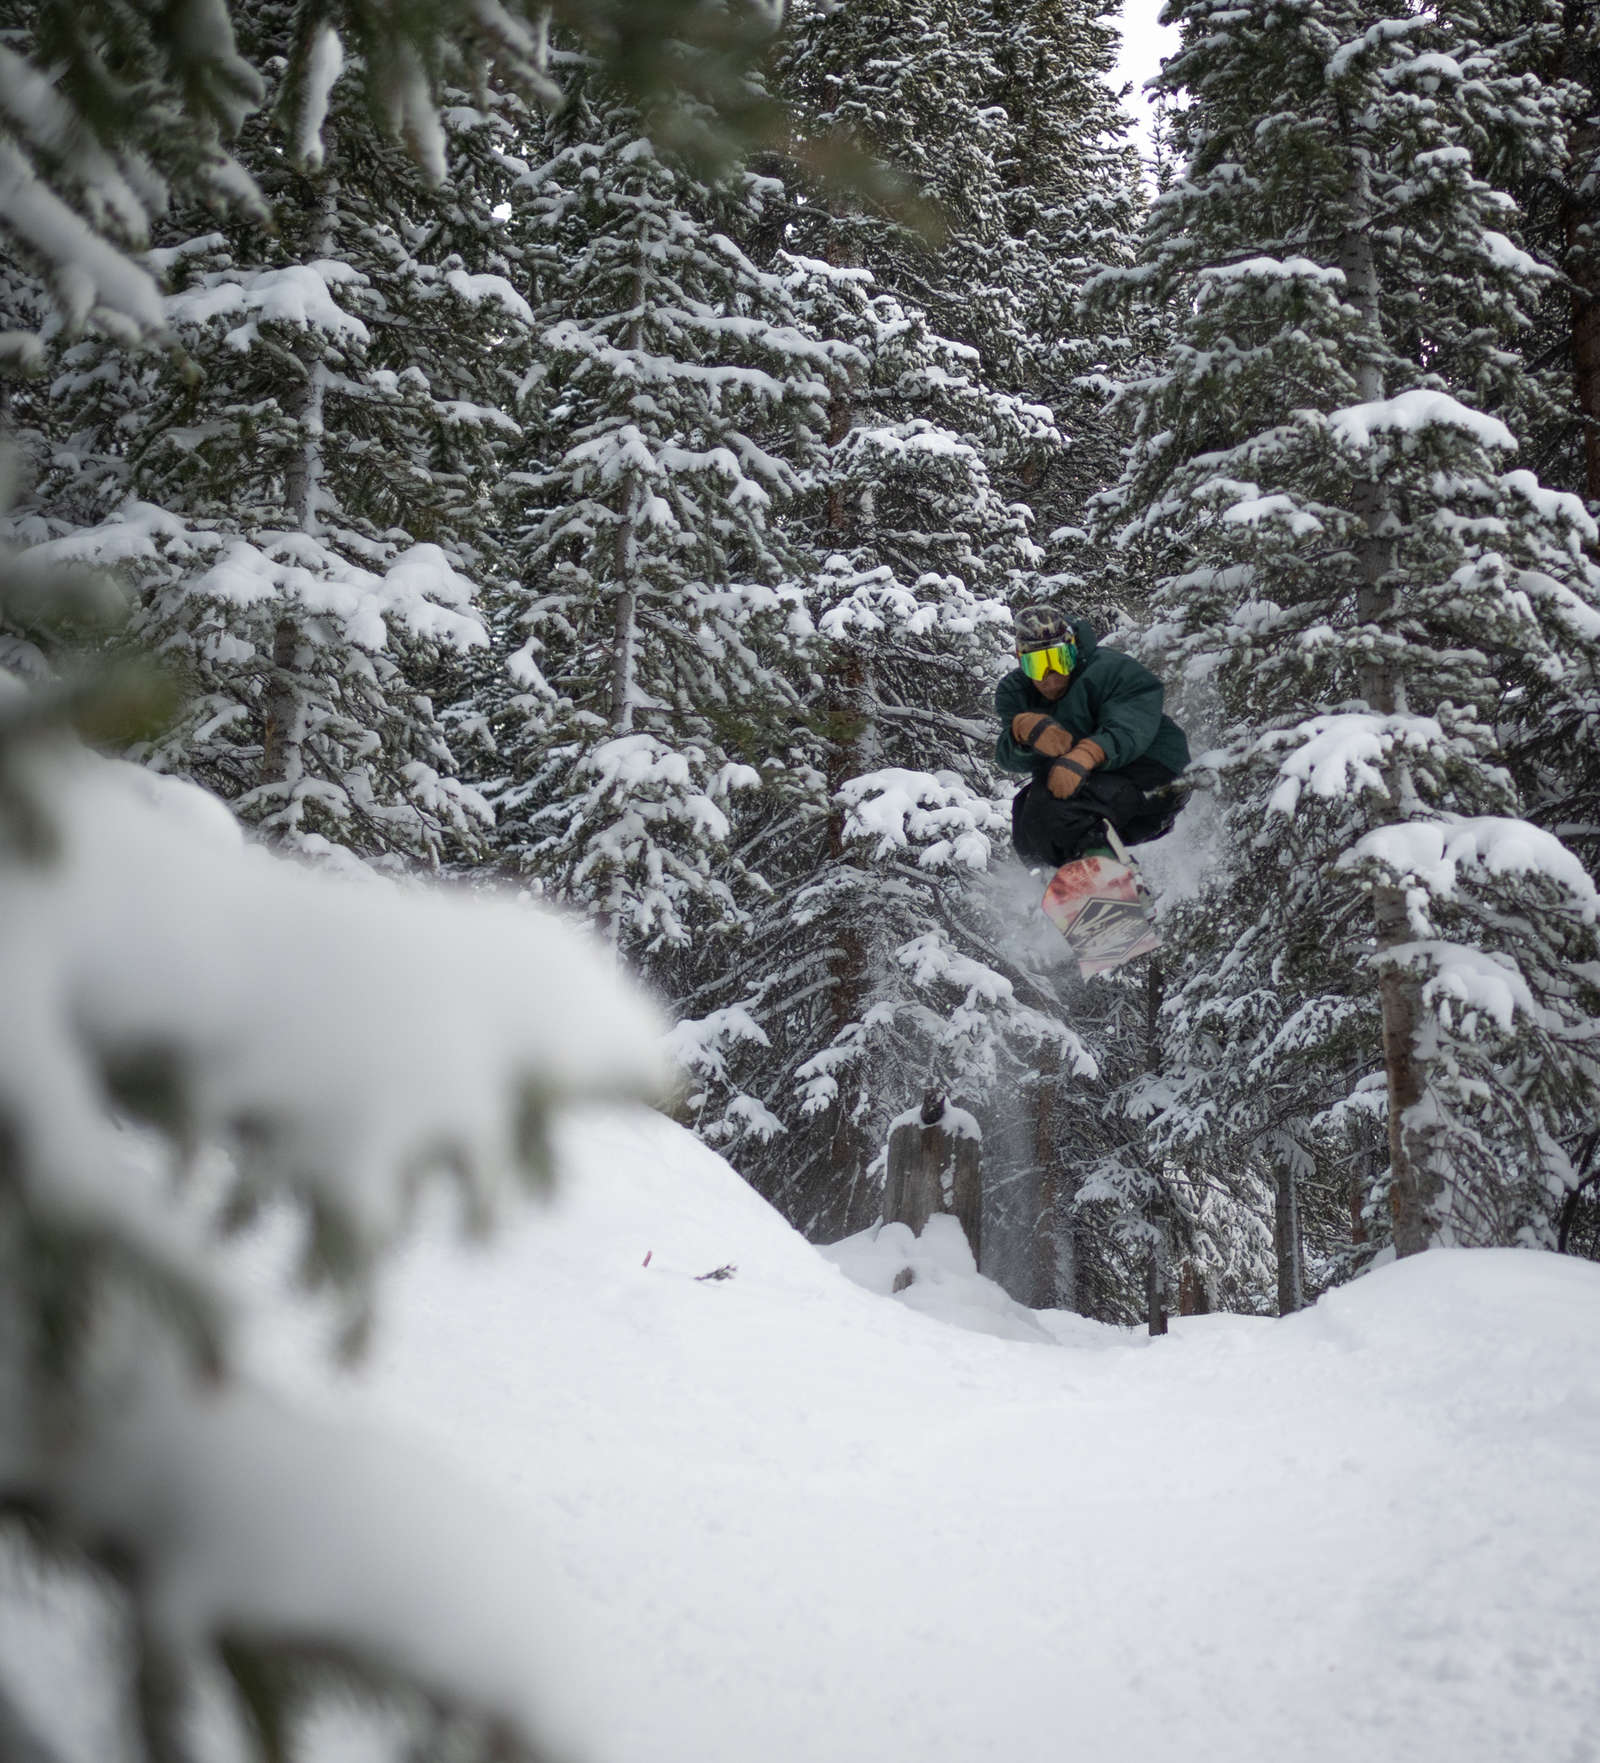
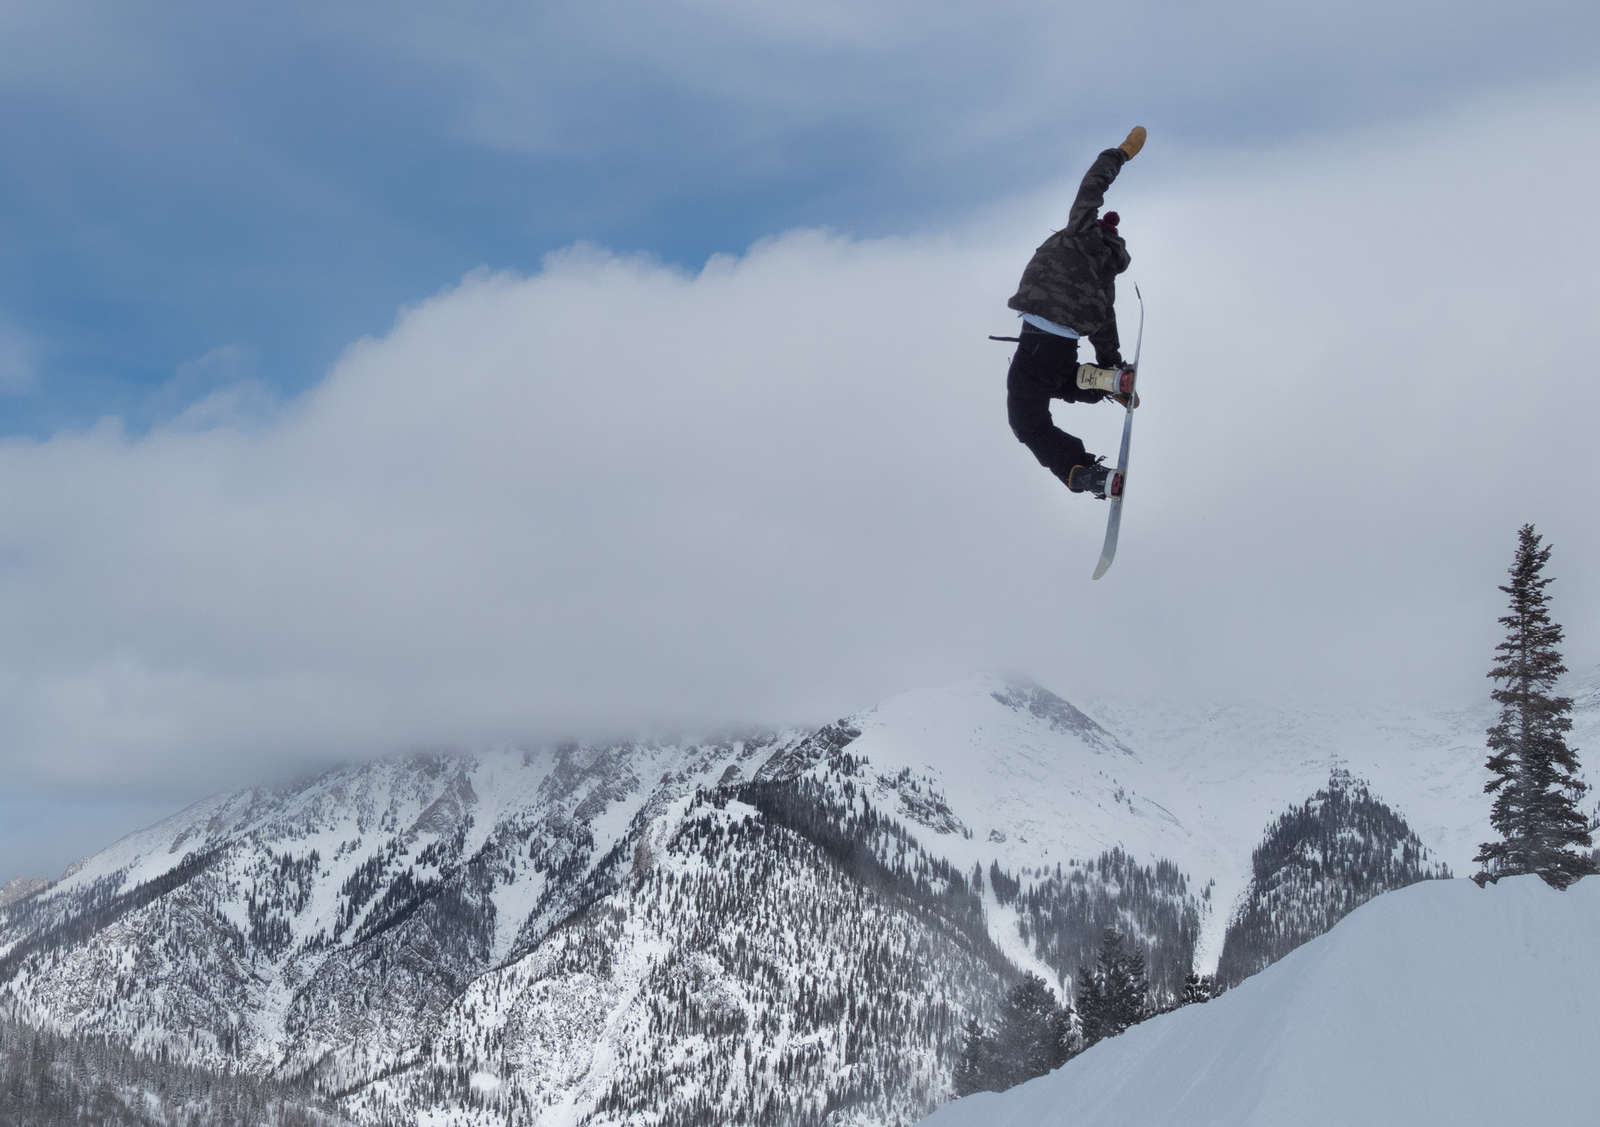
Contrast matters. Think about the background and the color of the rider’s gear. If your subject is wearing earthy tones like my friends were, try to frame them against sky or snow as opposed to trees so that they pop out in contrast to the background.
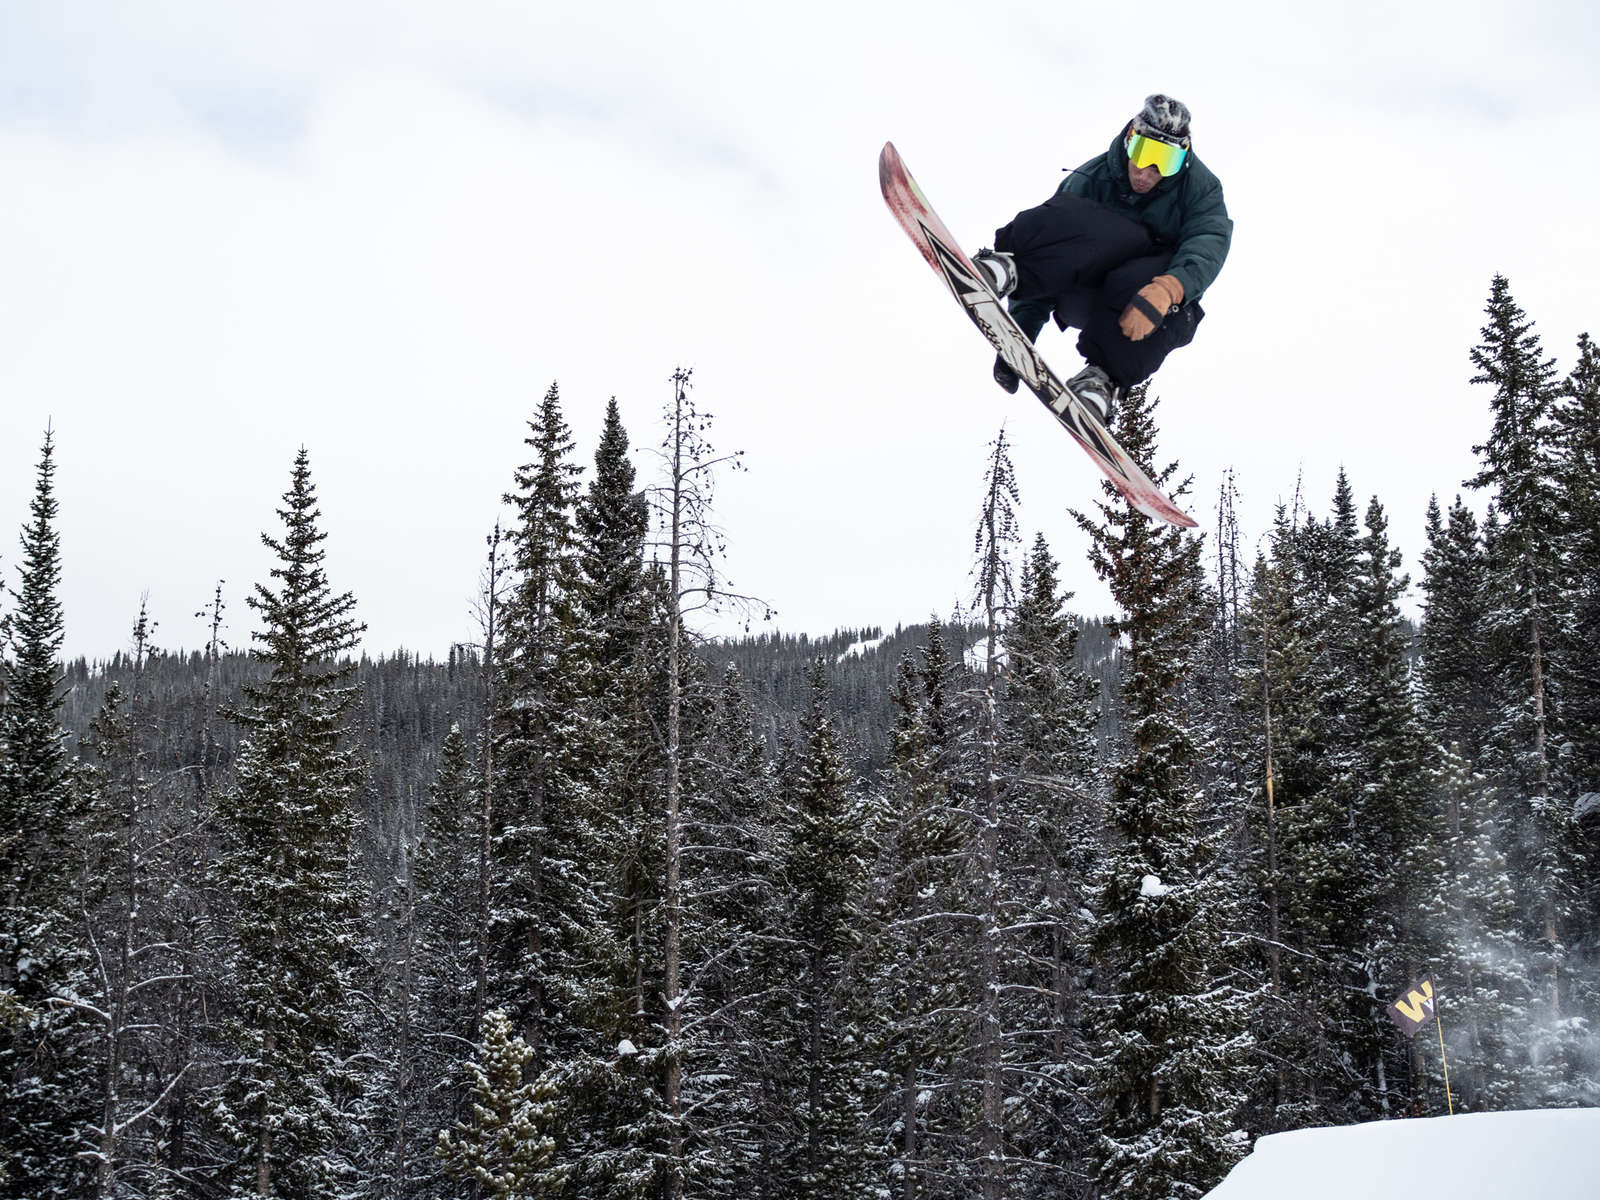
Go big, and show big. On this day, my friends were doing all the hard work by getting as much air as they could for my shots. The least I could do was think about the best place to stand to really show how high up they were. Position yourself downhill so that you’re shooting up at the guy in the sky. This helps exaggerate their height and adds some intensity to the shot.
As always, composition is key. Framing and composition are just as important as ever when shooting snowboarding. The landscape can often be stark and flat white, which can make for a boring photo if you don’t compose it right. Think about where the rider will be when they enter the frame, and plan accordingly.
1/1600s | F7.1 | ISO 200
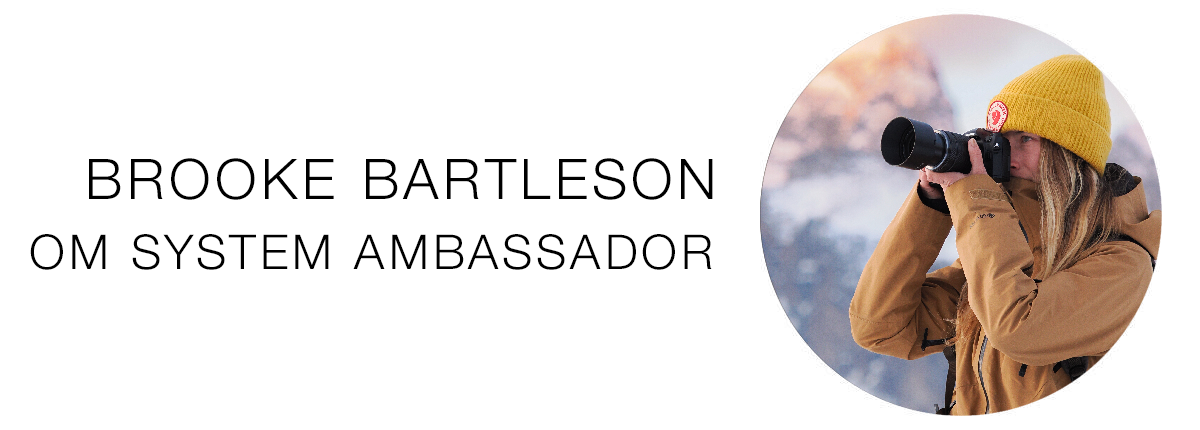
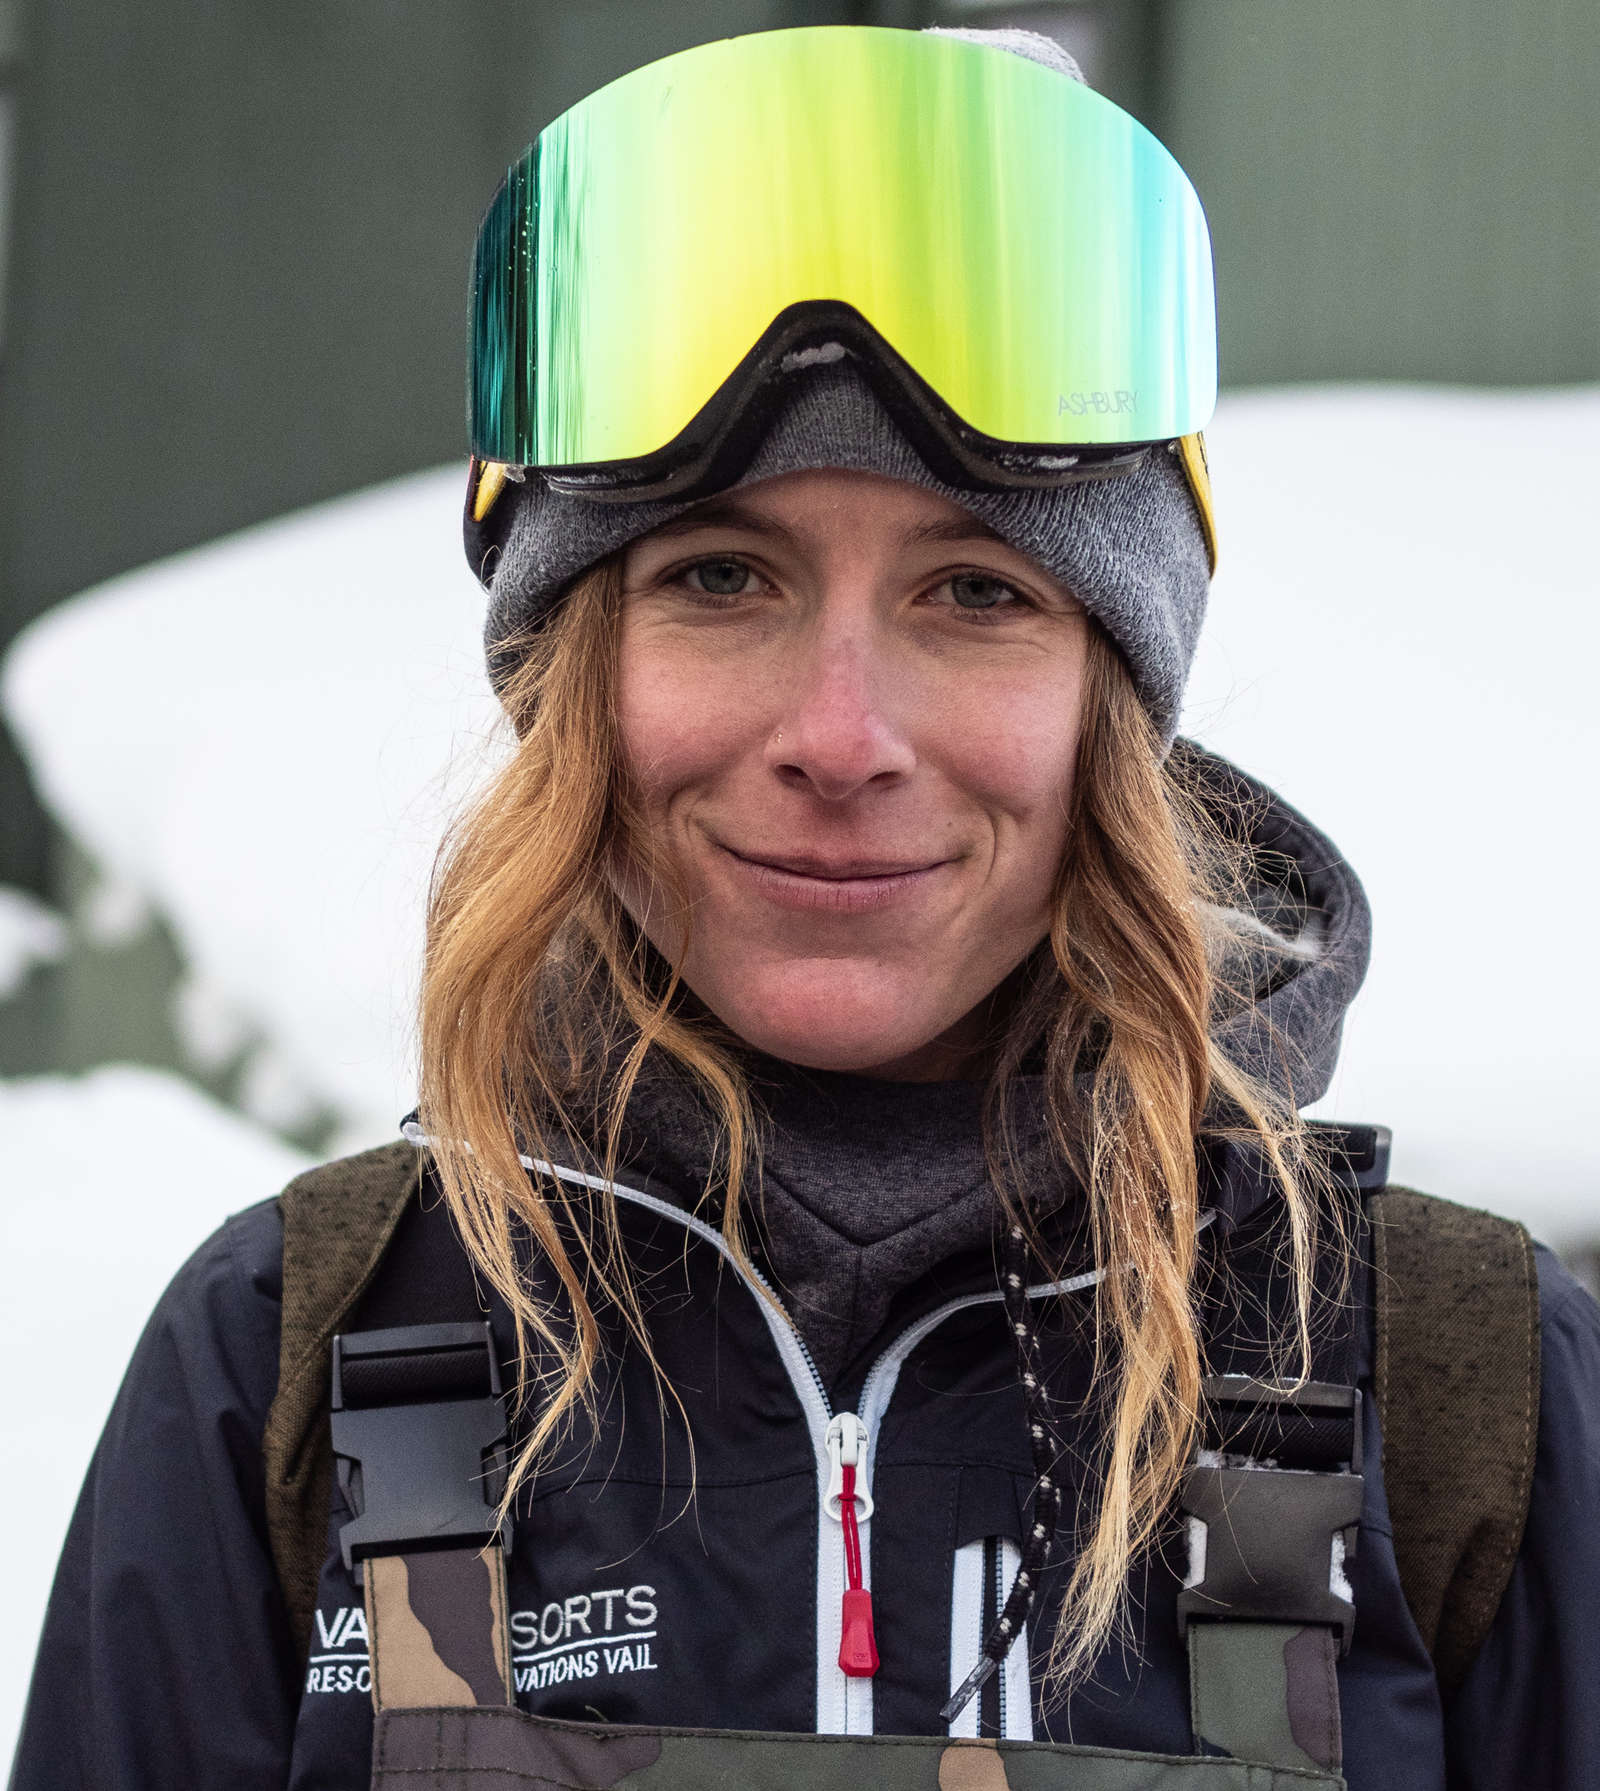
Instagram: @brookelittlebear
Brooke is a wildlife photographer based out of Silverthorne, Colorado. She has always been a lover of animals, and when she first began shooting she was naturally hooked on photographing wildlife right from the start. Her ultimate goal is to photograph all the core species of megafauna found in North America. When Brooke is not actively photographing, tracking, or scouting for wildlife, you can find her snowboarding at the Colorado ski resort where she works.