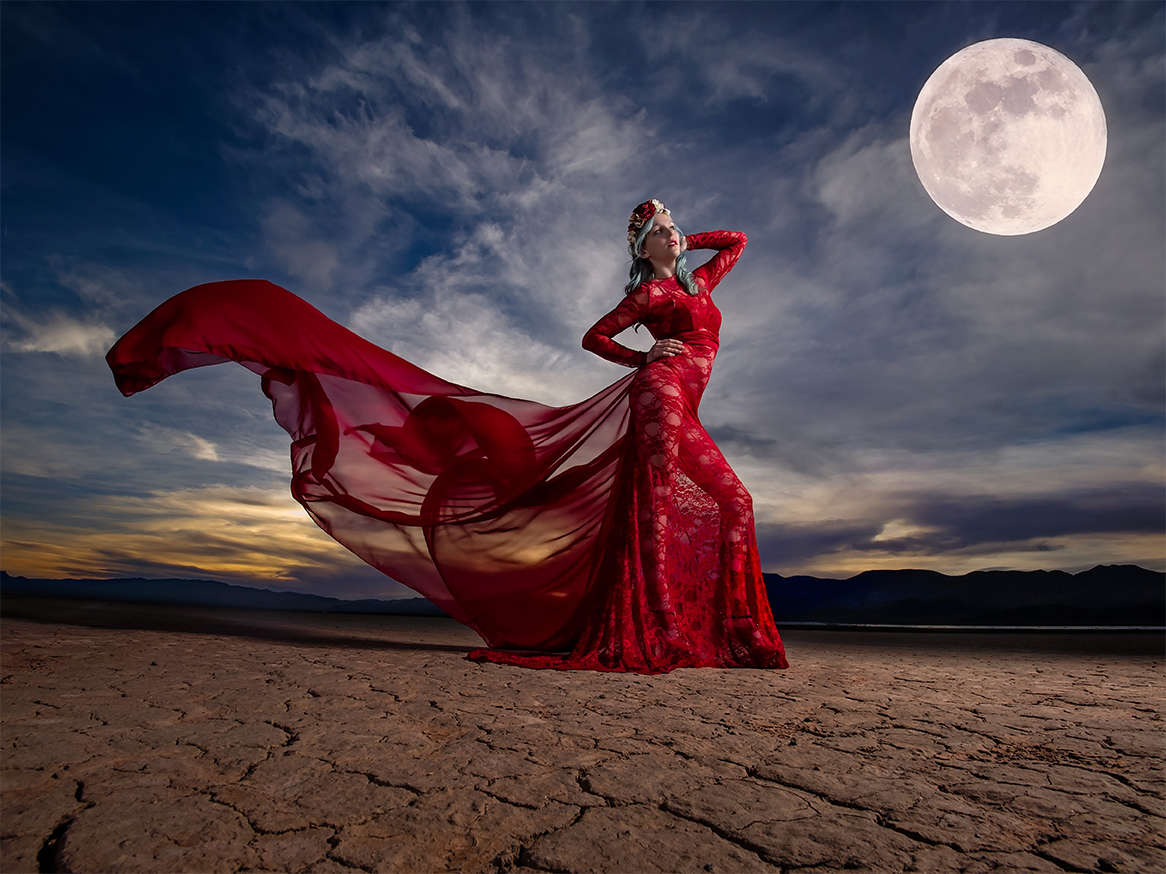
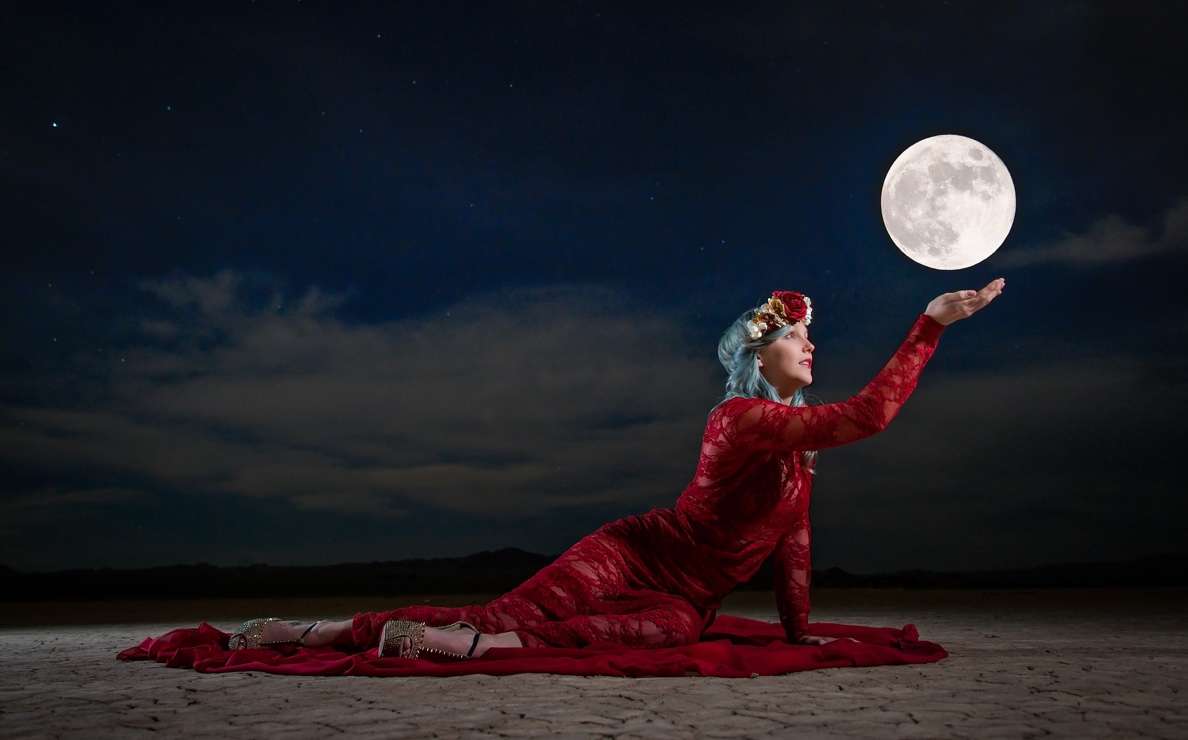
Multiple exposures allow you to create a photo out of elements that would not – or did not – naturally occur together. While in Las Vegas for the annual Wedding & Portrait Photography Expo, I was able to use a Super Moon, desert location, and fantastic model to create a stunning double exposure portrait.
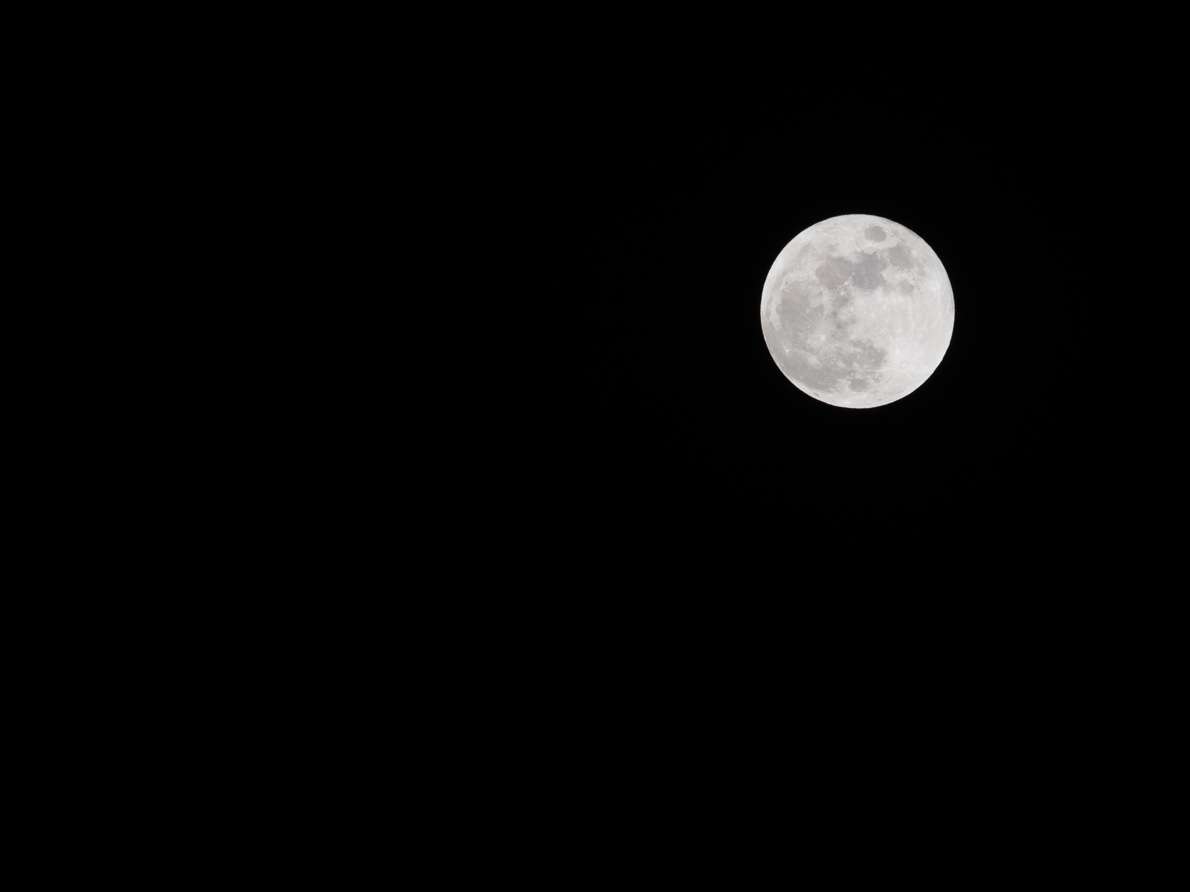
For this example, we would take the RAW image of the moon against the darkest, clearest sky possible making sure to not over-expose. Here we used the Super Moon shot with the OM-D EM-1 Mark II and the M.Zuiko 40-150mm f2.8 PRO for a smaller moon, and the M.Zuiko 300mm f4.0 IS PRO for a larger moon.
ISO 200 gives your cleanest image and we set our aperture to f/7.1 with a shutter speed of 1/400th of a sec, although you’ll need to adjust your shutter speed based on the brightness of the moon on any given night. A tripod is highly suggested for this shot.
Once you have taken the image of your moon, go to your Menu on your OM-D or PEN camera, and:
- Choose Camera 2,
- then Multiple Exposure,
- then Number of Frames,
- choose 2f,
- then OK.
- Scroll down to Auto Gain and turn it on, click OK.
- Scroll down to Overlay, turn overlay on and then choose your moon image that you’d like to use.
- Use the “Menu” button to go back to the shooting screen.
The LCD will show the original image that you choose from the overlay option. Set your moon where it best fits in your new image, whether over a cityscape, landscape or - in this case a portrait - and be amazed! All of the work is done directly in camera.
POSITIONING THE MOON
If you shoot the moon first and use it as an overlay for your second shot, it needs to be in the same position in the sky as you want it for your new photo. So if you shoot the moon in a central position, you cannot overlay it and expect to have it in the top corner in the double exposure image. Shoot the moon in a variety of positions and sizes, and keep them on your SD card. This way, you will have the moon in the position you need whenever the shot calls for it.
MISSING THE MOON?
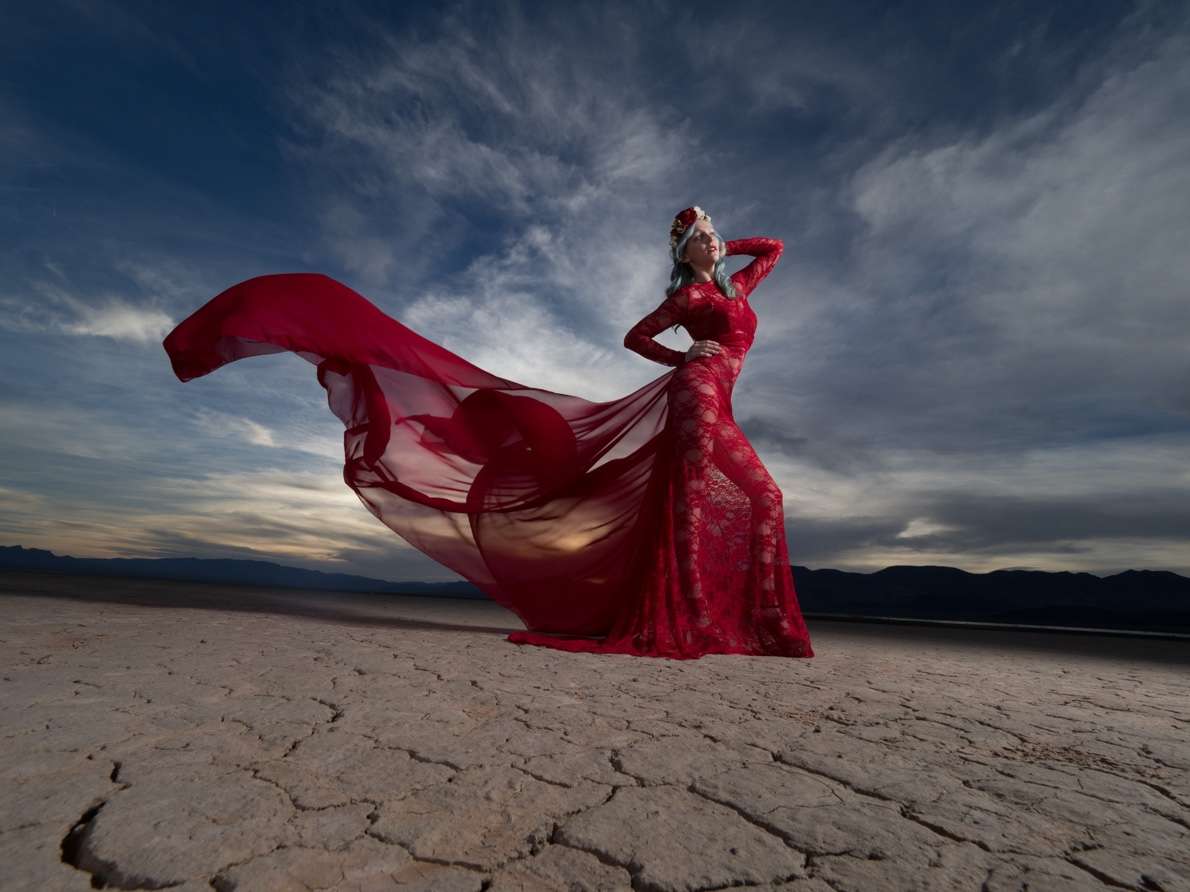
If you have the perfect portrait shot but no moon in the sky, don’t worry! You can take this tip and reverse it whenever the situation calls for it. Shoot your model/subject first, and use that as an overlay when you shoot the moon later. In fact, that’s how the photos for this tip were made! This also gives you more flexibility for where your moon is placed in the frame
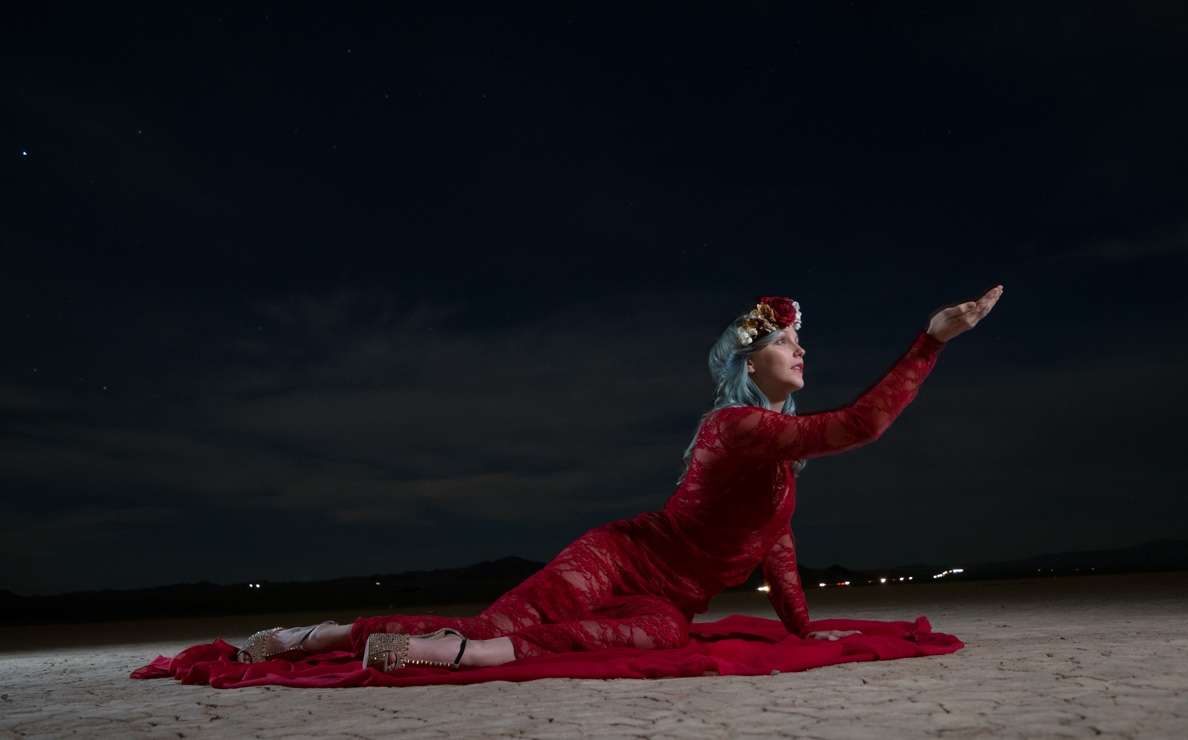
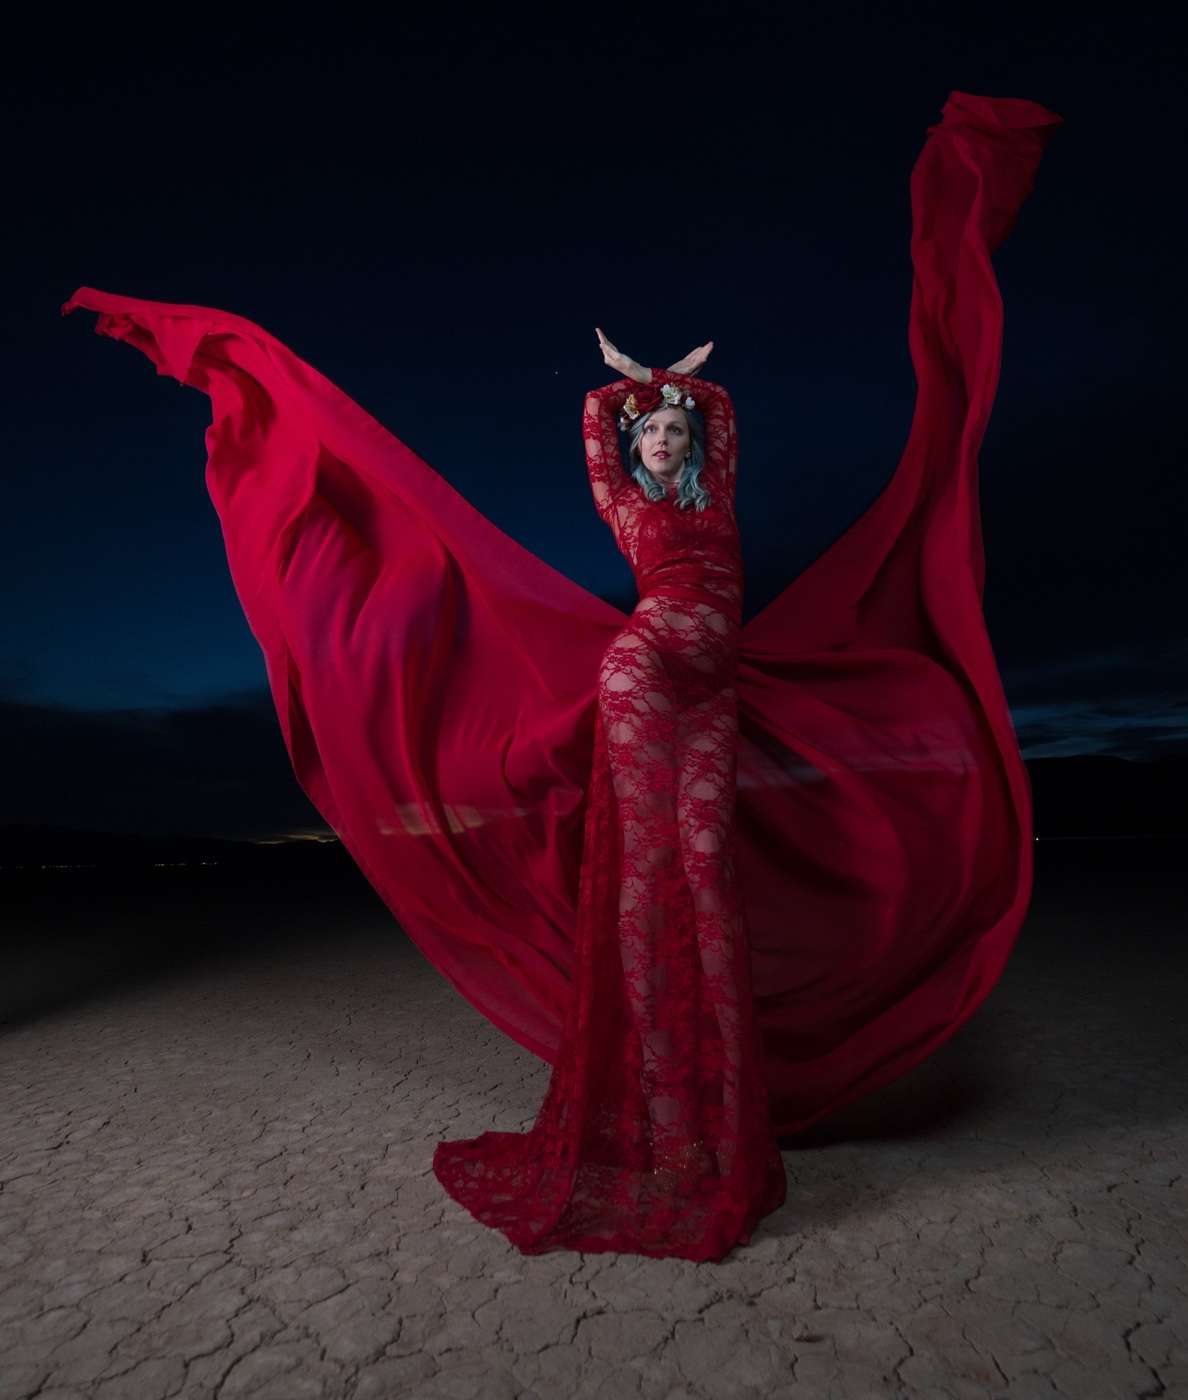
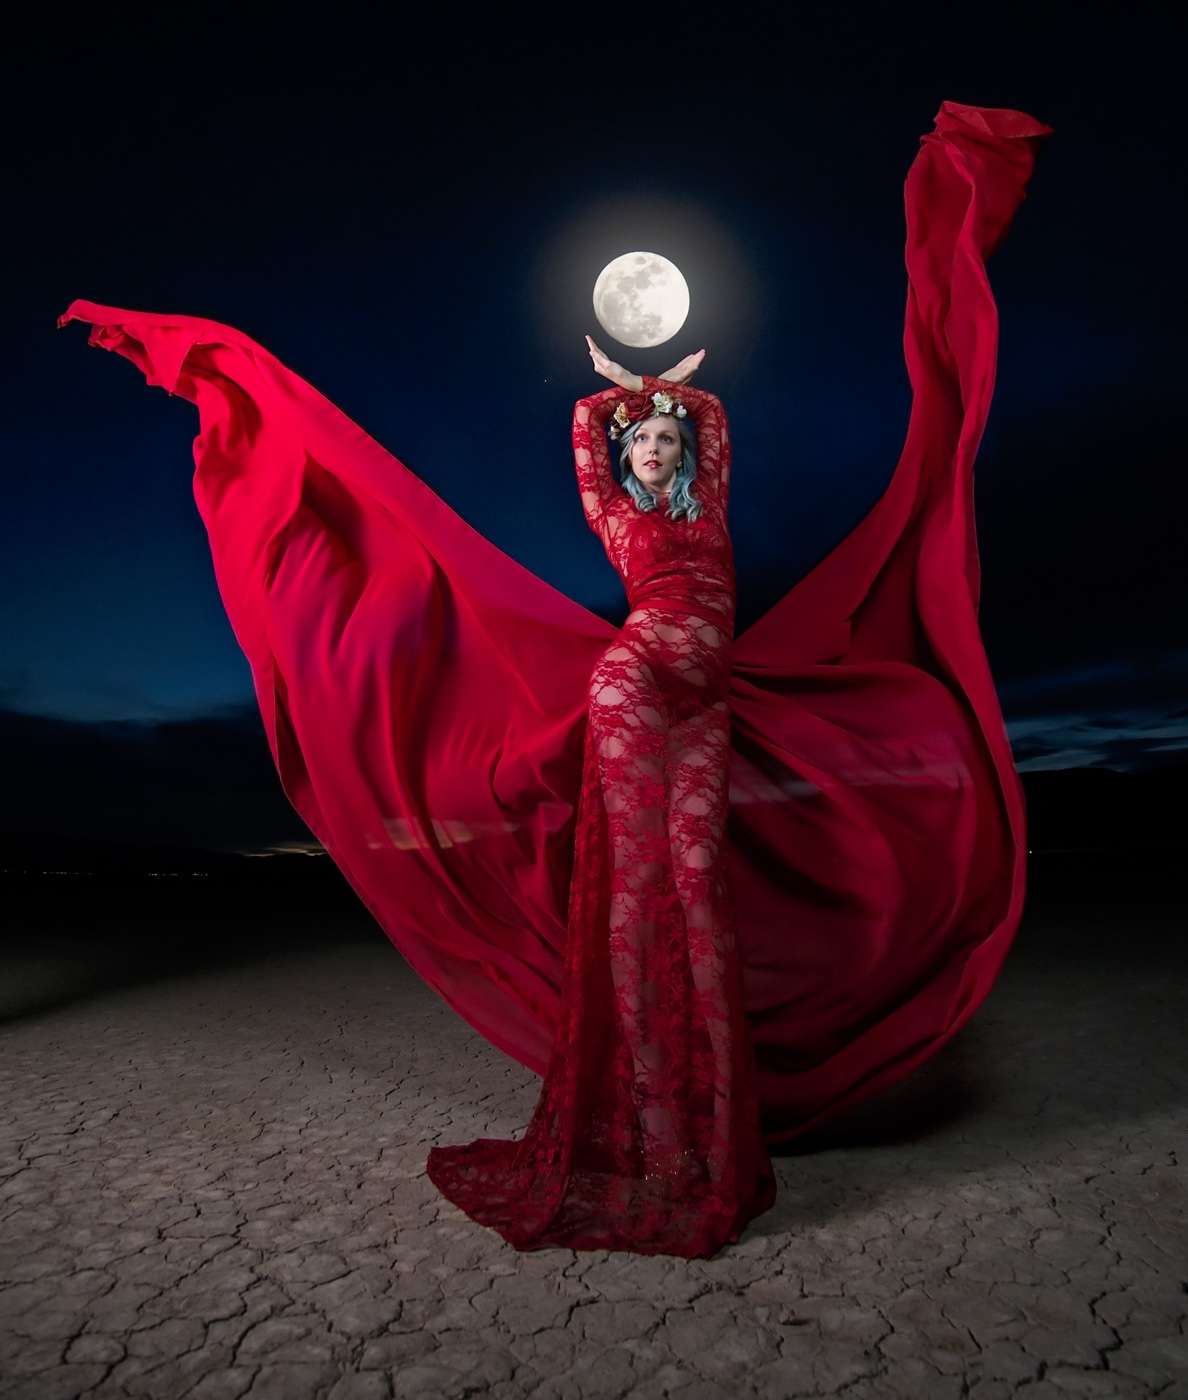
Here are two more examples of this technique from my Las Vegas photo shoot:
ABOUT TRACIE MAGLOSKY
Web: traciejeanphoto.com
Blog: traciejeanphoto.com/blog
Facebook: facebook.com/traciejeanphoto/
Olympus Visionary Tracie Maglosky is an award-winning wedding and portrait photographer living in the greater Cincinnati, Ohio area.