After being on lockdown and following all the guidelines, there is nothing more freeing than hitting the road again. That sense of freedom and excitement that takes over as you start planning a trip and researching new places to explore, carefully packing your camera bag as you dream of your next capture. All those feelings rocketing to new heights after months spent in isolation. I also felt it was time to put all the Olympus talks I watched and articles I read into practice in new settings, and see what challenges would come my way.
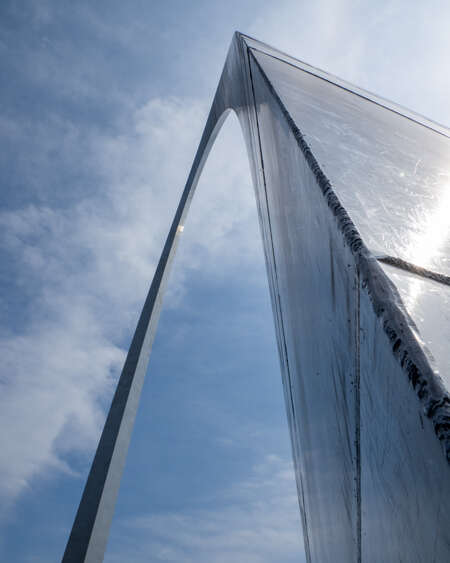
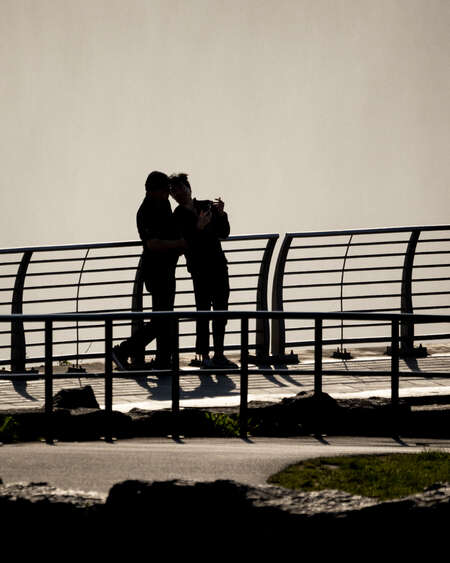
With that purpose in mind, on June 1st, I left for a three-week road trip to seven US National Parks: Niagara Falls, Rocky Mountain, Grand Tetons, Yellowstone, Glacier, Theodore Roosevelt, and a quick stop by The Gateway Arch in Saint Louis.
The Power at your Fingertips
In my previous article, I wrote that traveling light is a non-negotiable part of my trip and that I carry only a few lenses which is why it’s essential to use all the tools that my camera has to offer. Those in-camera Olympus features help me overcome obstacles during a trip and create the story I want to tell.
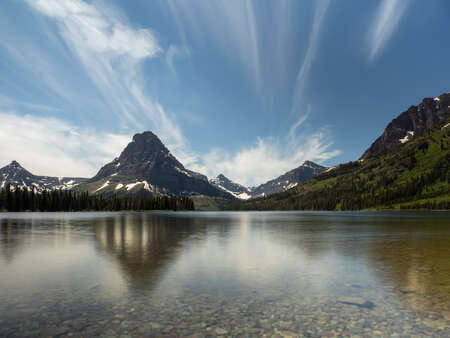
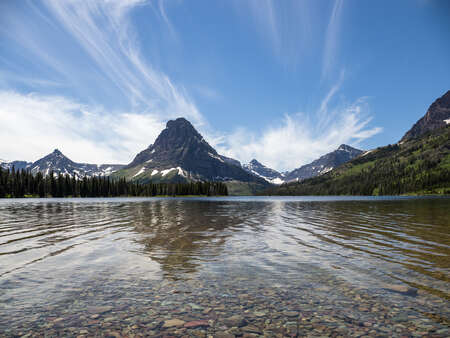
One example that comes to mind is a windy glacier lake. Before leaving, I had hoped to photograph the majestic mountains of Glacier National Park and catch their reflection in one of the lakes. The problem is that the weather refused to cooperate. The wind was blowing, bringing on rain, and I thought my chances of seizing the beautiful and peaceful reflection of this landscape would not happen. Then I remembered Live Composite photos from Olympus educators Lisa and Tom Cuchara, and an article by Frank Smith on daytime Live Composite. I thought such a tool might work in this situation, so I set up my EM1 Mark III and the 12-100mm on my travel tripod, placed my ND filter as it was high noon, and started Live Composite. My goal was to capture smooth water and a stronger reflection.
You can see the difference between the two photos below, with and without Live Composite.
Keep an Open Mind
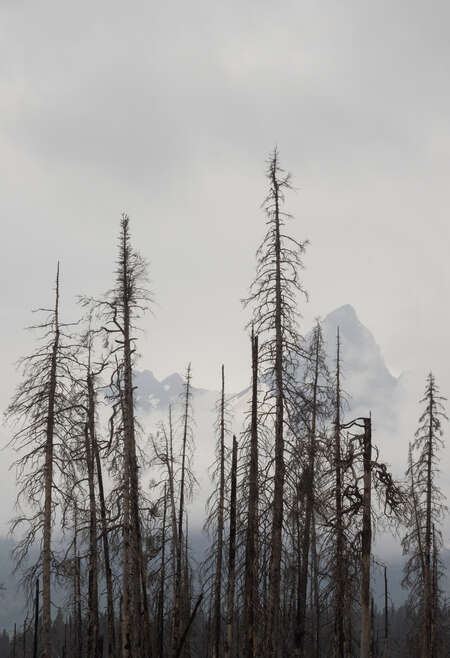
The wind at Glacier National Park was definitely a challenge but far from being the only weather-related issue we had there. First of all, getting a ticket to the famous Going to the Sun Road proved to be impossible. In an effort to limit the number of visitors, Glacier is one of a handful of National Parks that require a reservation to cross this popular 50-mile road that is registered as a National Historic Place, a National Historic Landmark, and a Historic Civil Engineering Landmark. Fortunately, we knew that after 5 pm, we could access the road without a ticket. Unfortunately, driving over the Sun Road Pass is only possible during mid-summer and we quickly figured out we were too early when a snowplow passed us a few miles from signs telling us to turn around. With the snow falling at higher altitudes, low clouds were starting to blanket the landscape making it difficult to see the towering mountains we had come to admire. The silver lining was that this landscape made for moody photos. In the spitting rain, I jumped out of the car to capture slivers of the mountains. Thanks to the weathersealed E-M1 Mark III and the M.Zuiko 12-100mm F4.0 IS PRO, I was able to concentrate on finding the right angle instead of worrying about my gear getting wet. All the shots I took were handheld, so I did not have to worry about setting up a tripod, when I knew my camera could handle the job on its own.
Stabilization for Better Mobility
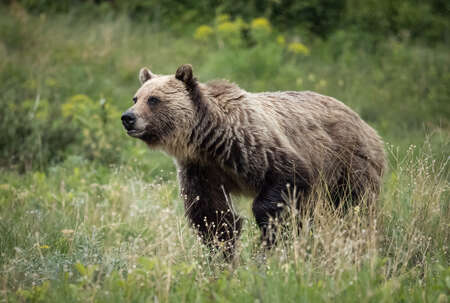
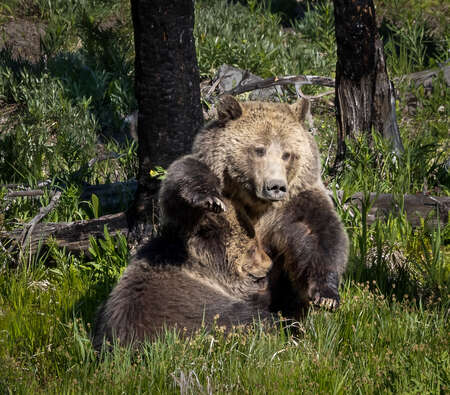
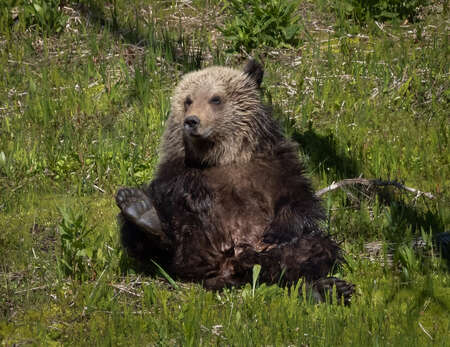
When I envisioned the animals I wanted to photograph on this trip, I had a few in mind - wolves and grizzlies being on top of my list as we do not have them in New England. Sadly, whenever I was able to observe the wolves, they were always too far away for a good photo. On the other hand, the grizzlies gave us quite the show. All my encounters were on the side of the road next to a park ranger (safety first) watching one of the well-known grizzlies in the area, which meant I was not the only photographer on site.
Again, thanks to the image stabilization of my E-M1X, I could be more mobile than the other photographers, all of whom had tripods. To me, this was a big advantage as I could get myself in a better shooting position or get out of the path of a bear faster if needed. Observing these enormous animals roam around, foraging for grubs, or watching a sow feed her cub in front of us was one of those unforgettable moments I’m grateful to have captured.
Bird AF
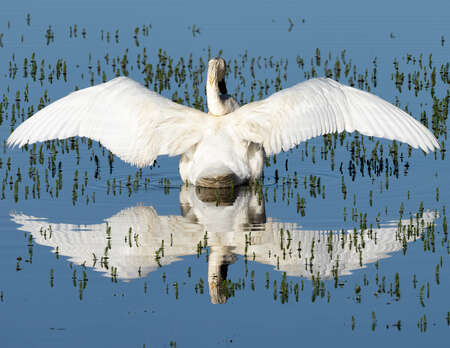
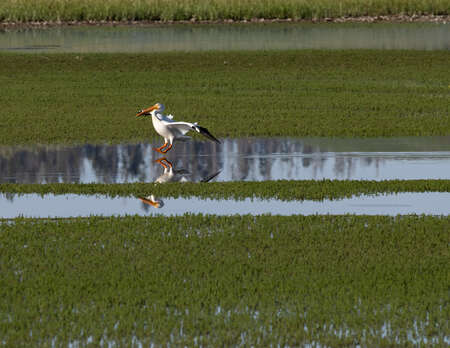
Bird AF is one of my favorite features of the E-M1X, which has become my go-to wildlife camera. As a matter of fact, I often have it on, especially in an environment I am not familiar with like Yellowstone National Park. It proved to be extremely useful one early morning as I was photographing a Trumpeter Swam as the fog was lifting. Just then, I caught another bird out of the corner of my eye as it was about to land in the distance. Because I was already in Bird AF, I only needed to raise my camera, get the bird in focus, and start capturing images. To my surprise, I realized it was a pelican landing in the water. I used the M.Zuiko 100-400mm F5.0-6.3 IS for both the swan, which was very close, and the pelican which was way further away. However, thanks to cropping and the reach of my 100-400mm, I still managed to get a good image.
Slow Down
This cross-country adventure was not just a photo trip but a vacation as well, so slowing down and appreciating being out in new places was important. When I am on vacation, I shoot from morning to night, not just during golden hours. That is why finding good stories or trying to use the harsh light to one’s advantage is what I focus on.
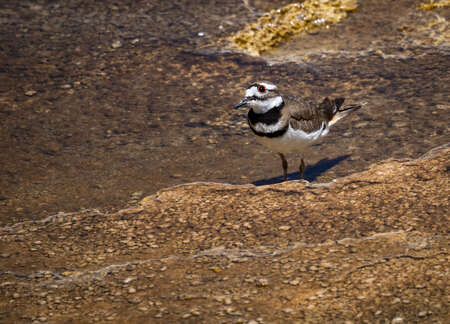
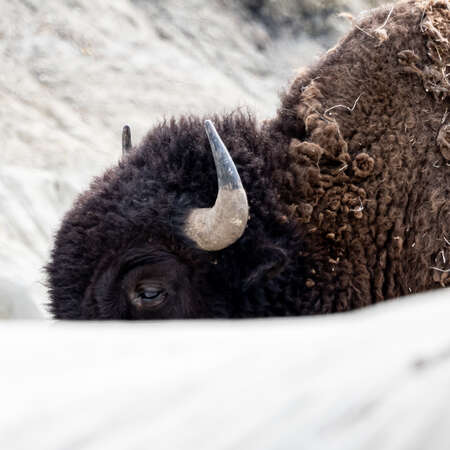
For example, I ended up in Mammoth Hot Springs in Yellowstone National Park at noon on a beautiful sunny afternoon – nice for a vacation day, but not great for shooting. I knew my landscape photos were not going to be what I wanted in such light so I started looking for interesting elements to focus on and spotted a killdeer in one of the terraces. Cursed with the same harsh light when visiting Theodore Roosevelt National Park, I looked for a shaded area or softer background like the one where this enormous bison was roaming on what looked like lunar soil.
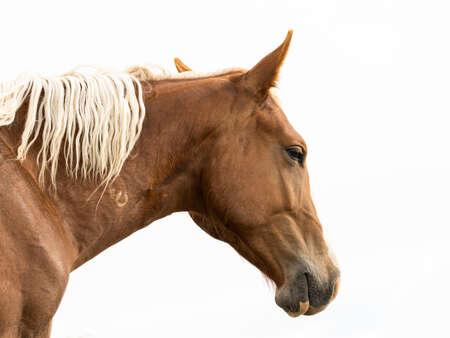
OM-D E-M1X | M.Zuiko 100-400mm F5.0-6.3 IS
1/250s | F9.0 | ISO 400
Shoot Out your Car Window
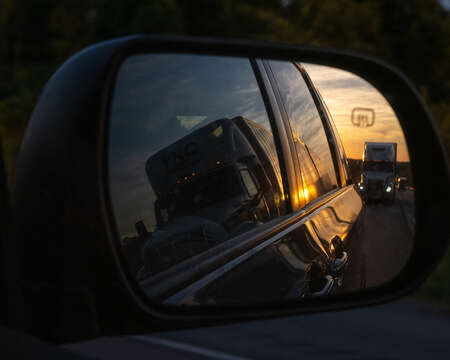
When you can’t stop quickly because you’re driving over 70 miles an hour on a highway through Kansas, then there is only one solution - crank up your shutter speed and shoot from the passenger seat or, if you want to show movement, decrease your shutter speed or even play with Live ND Mode to increase the movement.
Road trips often mean long hours on the road but it doesn’t mean you can’t practice your photography skills from the passenger seat. Trying to capture the feeling of a place in a fraction of a second is a great exercise.
These are a couple of my favorites from the passenger seat series.
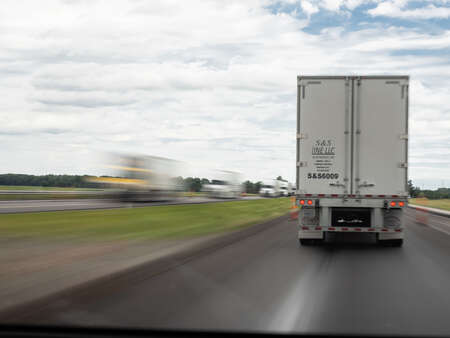
OM-D E-M1 Mark III | M.Zuiko 12-100mm F4.0 IS PRO
0.5s | F13 | ISO 200
Take Every Opportunity
Traveling light doesn’t mean depriving yourself of options, at least not with our OM-D cameras packed with features. Just take every opportunity you have, find your angles, and tell the story you want to tell.
Click away and create your story with the tools in your hands. I look forward to seeing them!
Instagram: @emilietalpin
Emilie Talpin is a French teacher and photographer based in New Hampshire who is passionate about macro, wildlife, night sky and videography. When not in front of her classroom, she loves traveling, exploring the outdoors, and chasing her next photo.
