For many wildlife photographers, a photographic expedition to an exotic game park might be the trip of a lifetime. But while you plan your ultimate safari, rest assured you don’t have to travel to the Serengeti to capture amazing images of animals in their native habitat. Great wildlife photography is as close as your local zoo and great photographs are yours for the taking if you follow a few basic tips.
GEARING UP
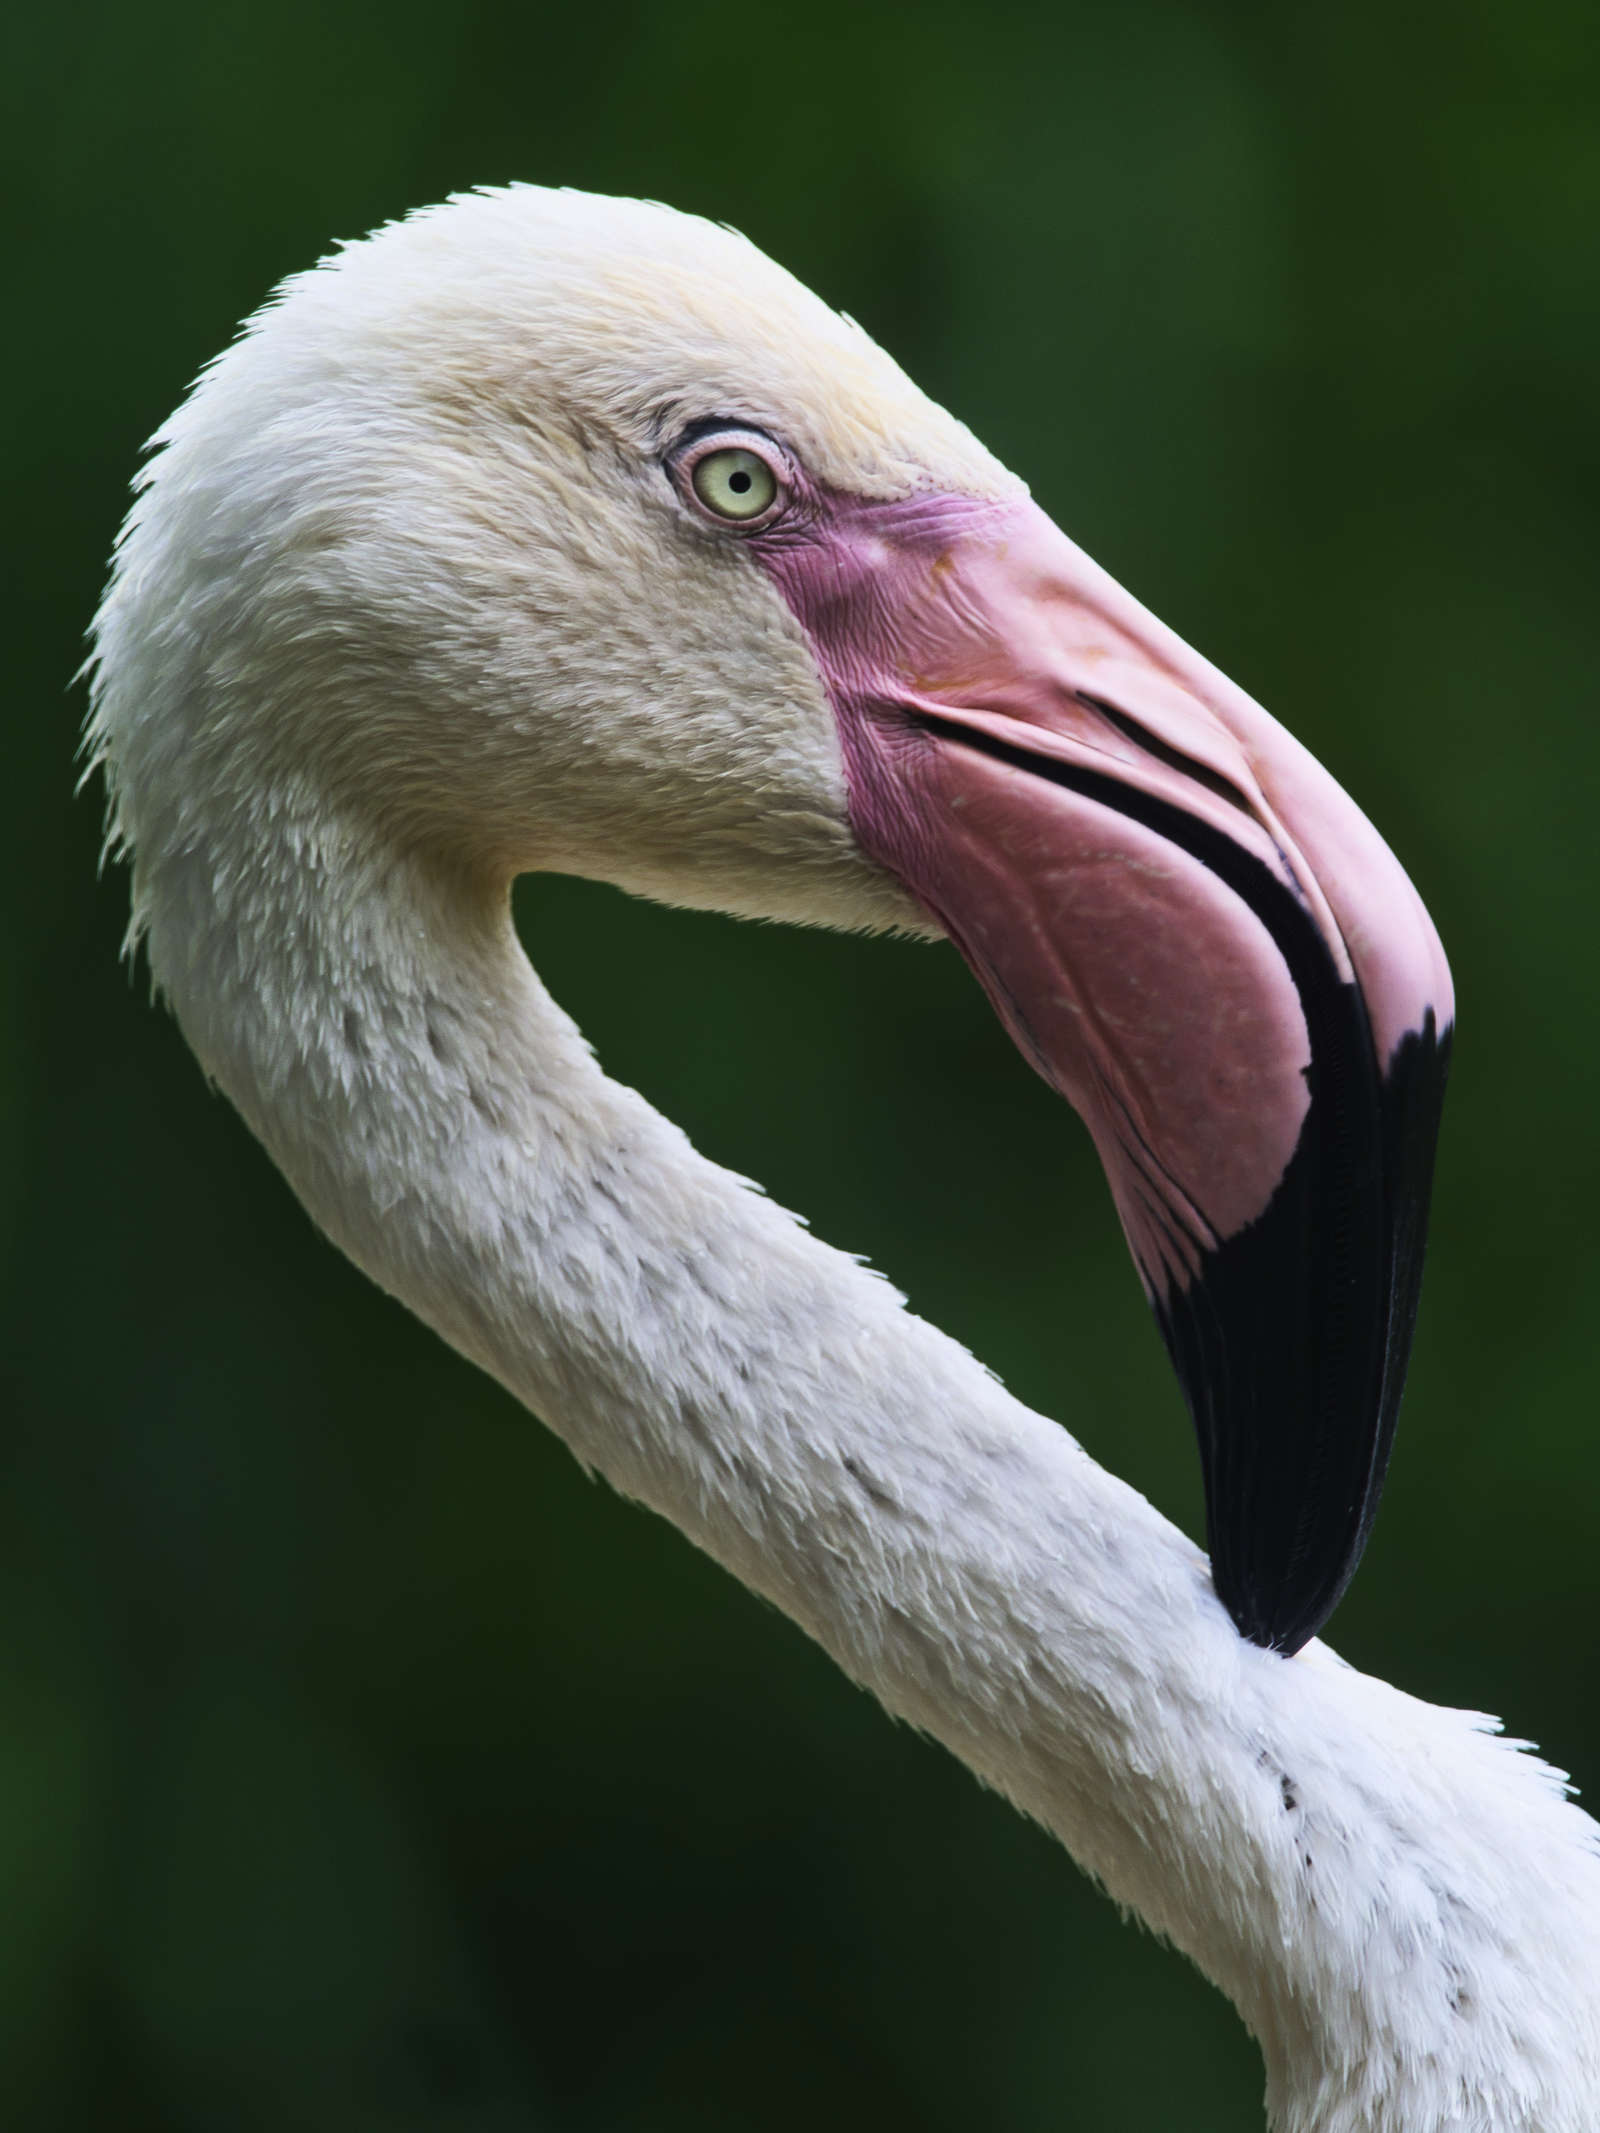
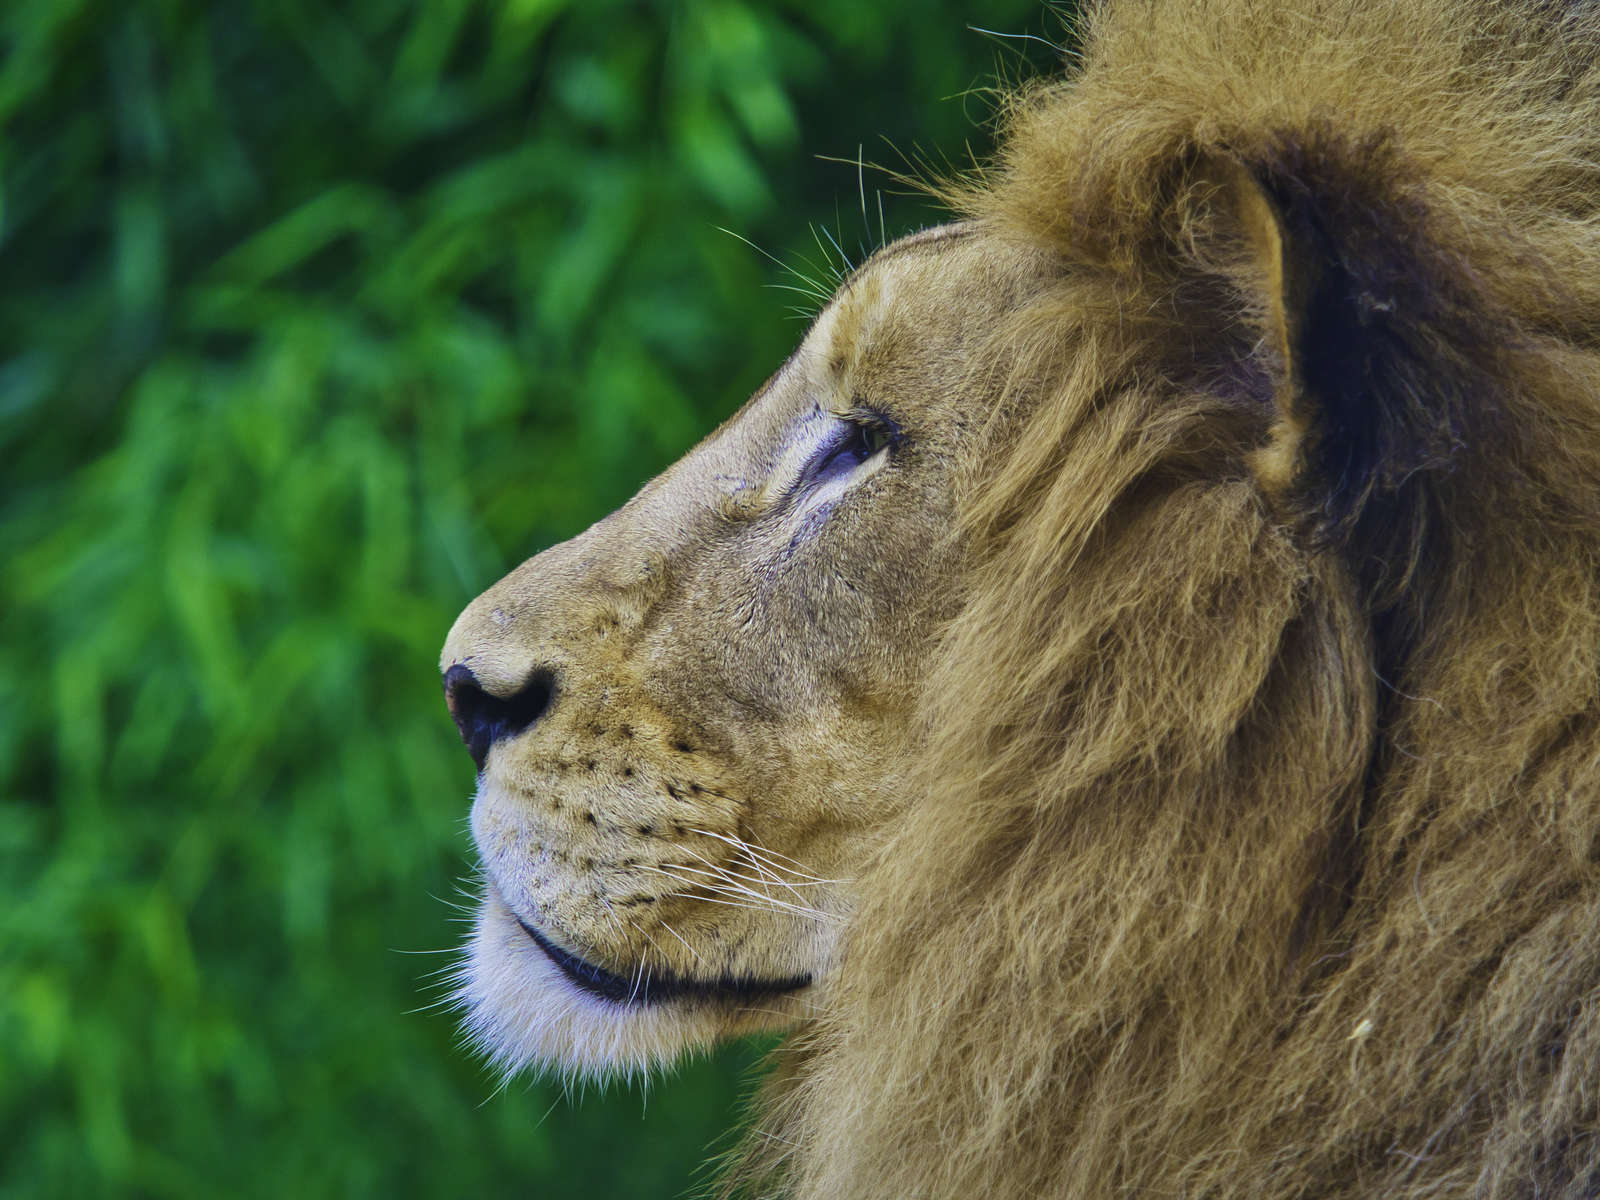
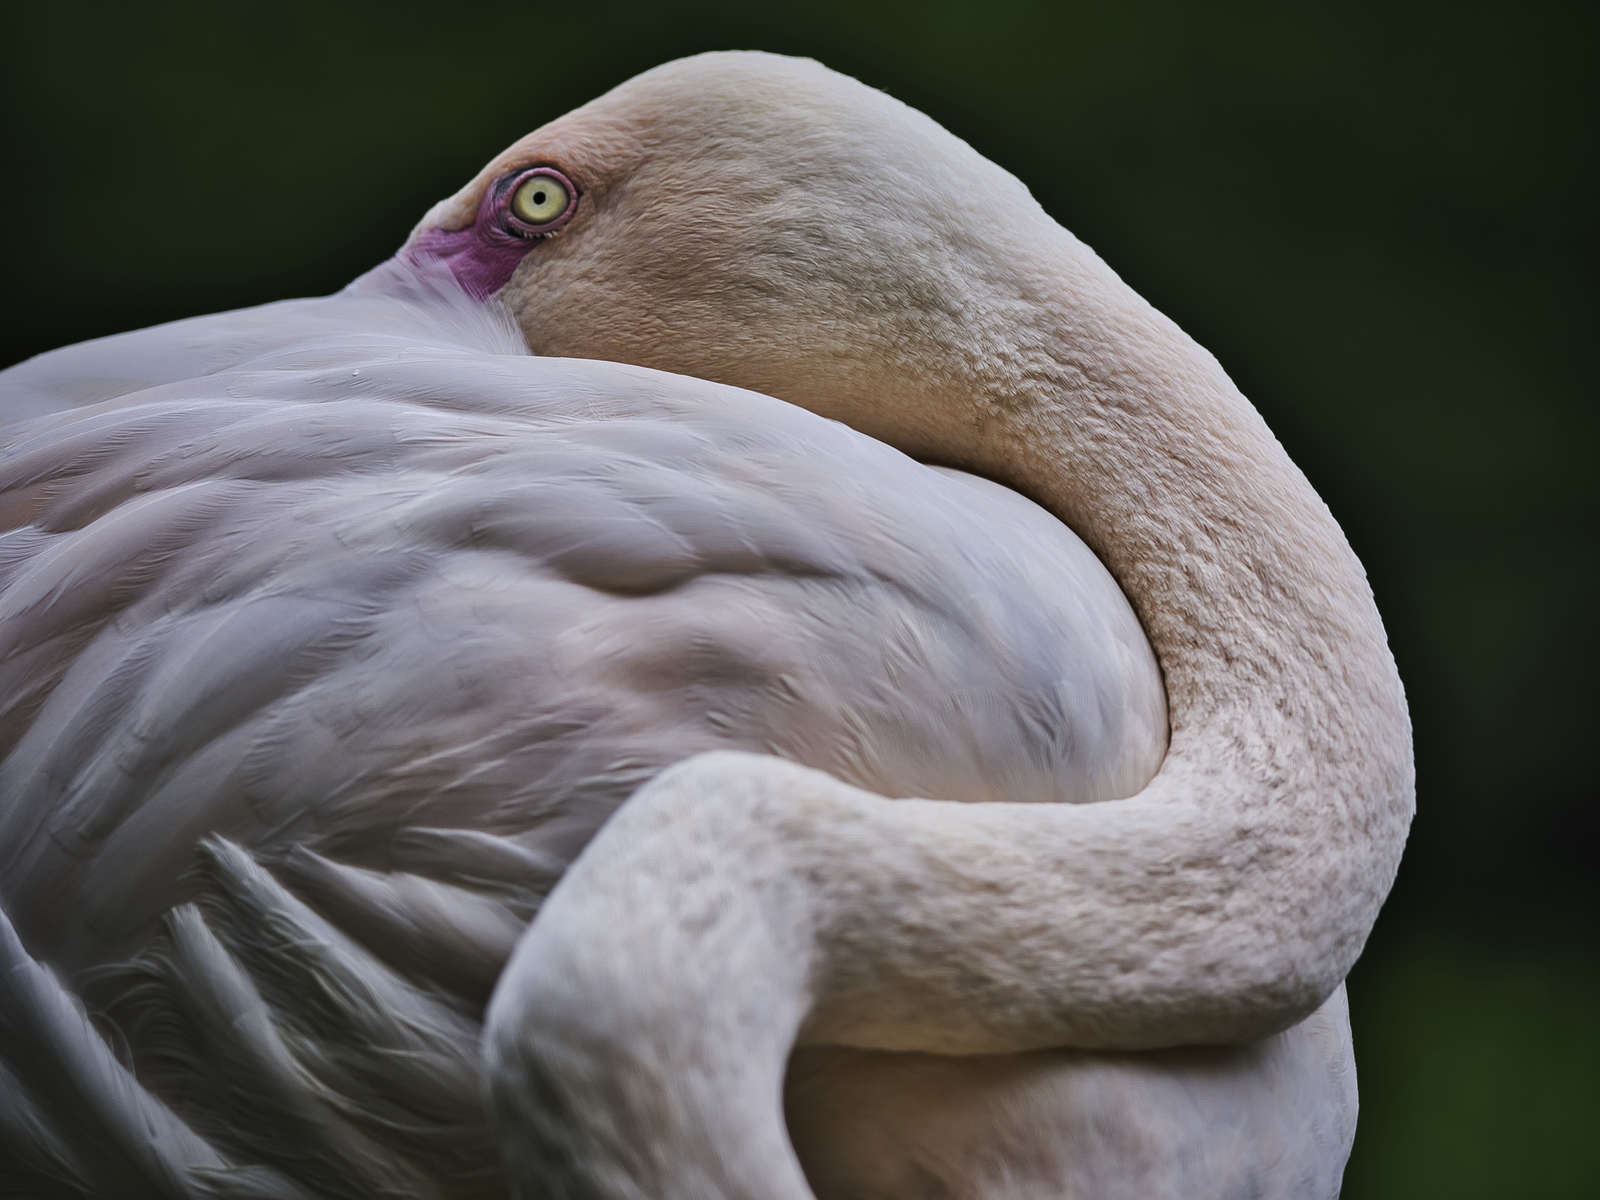
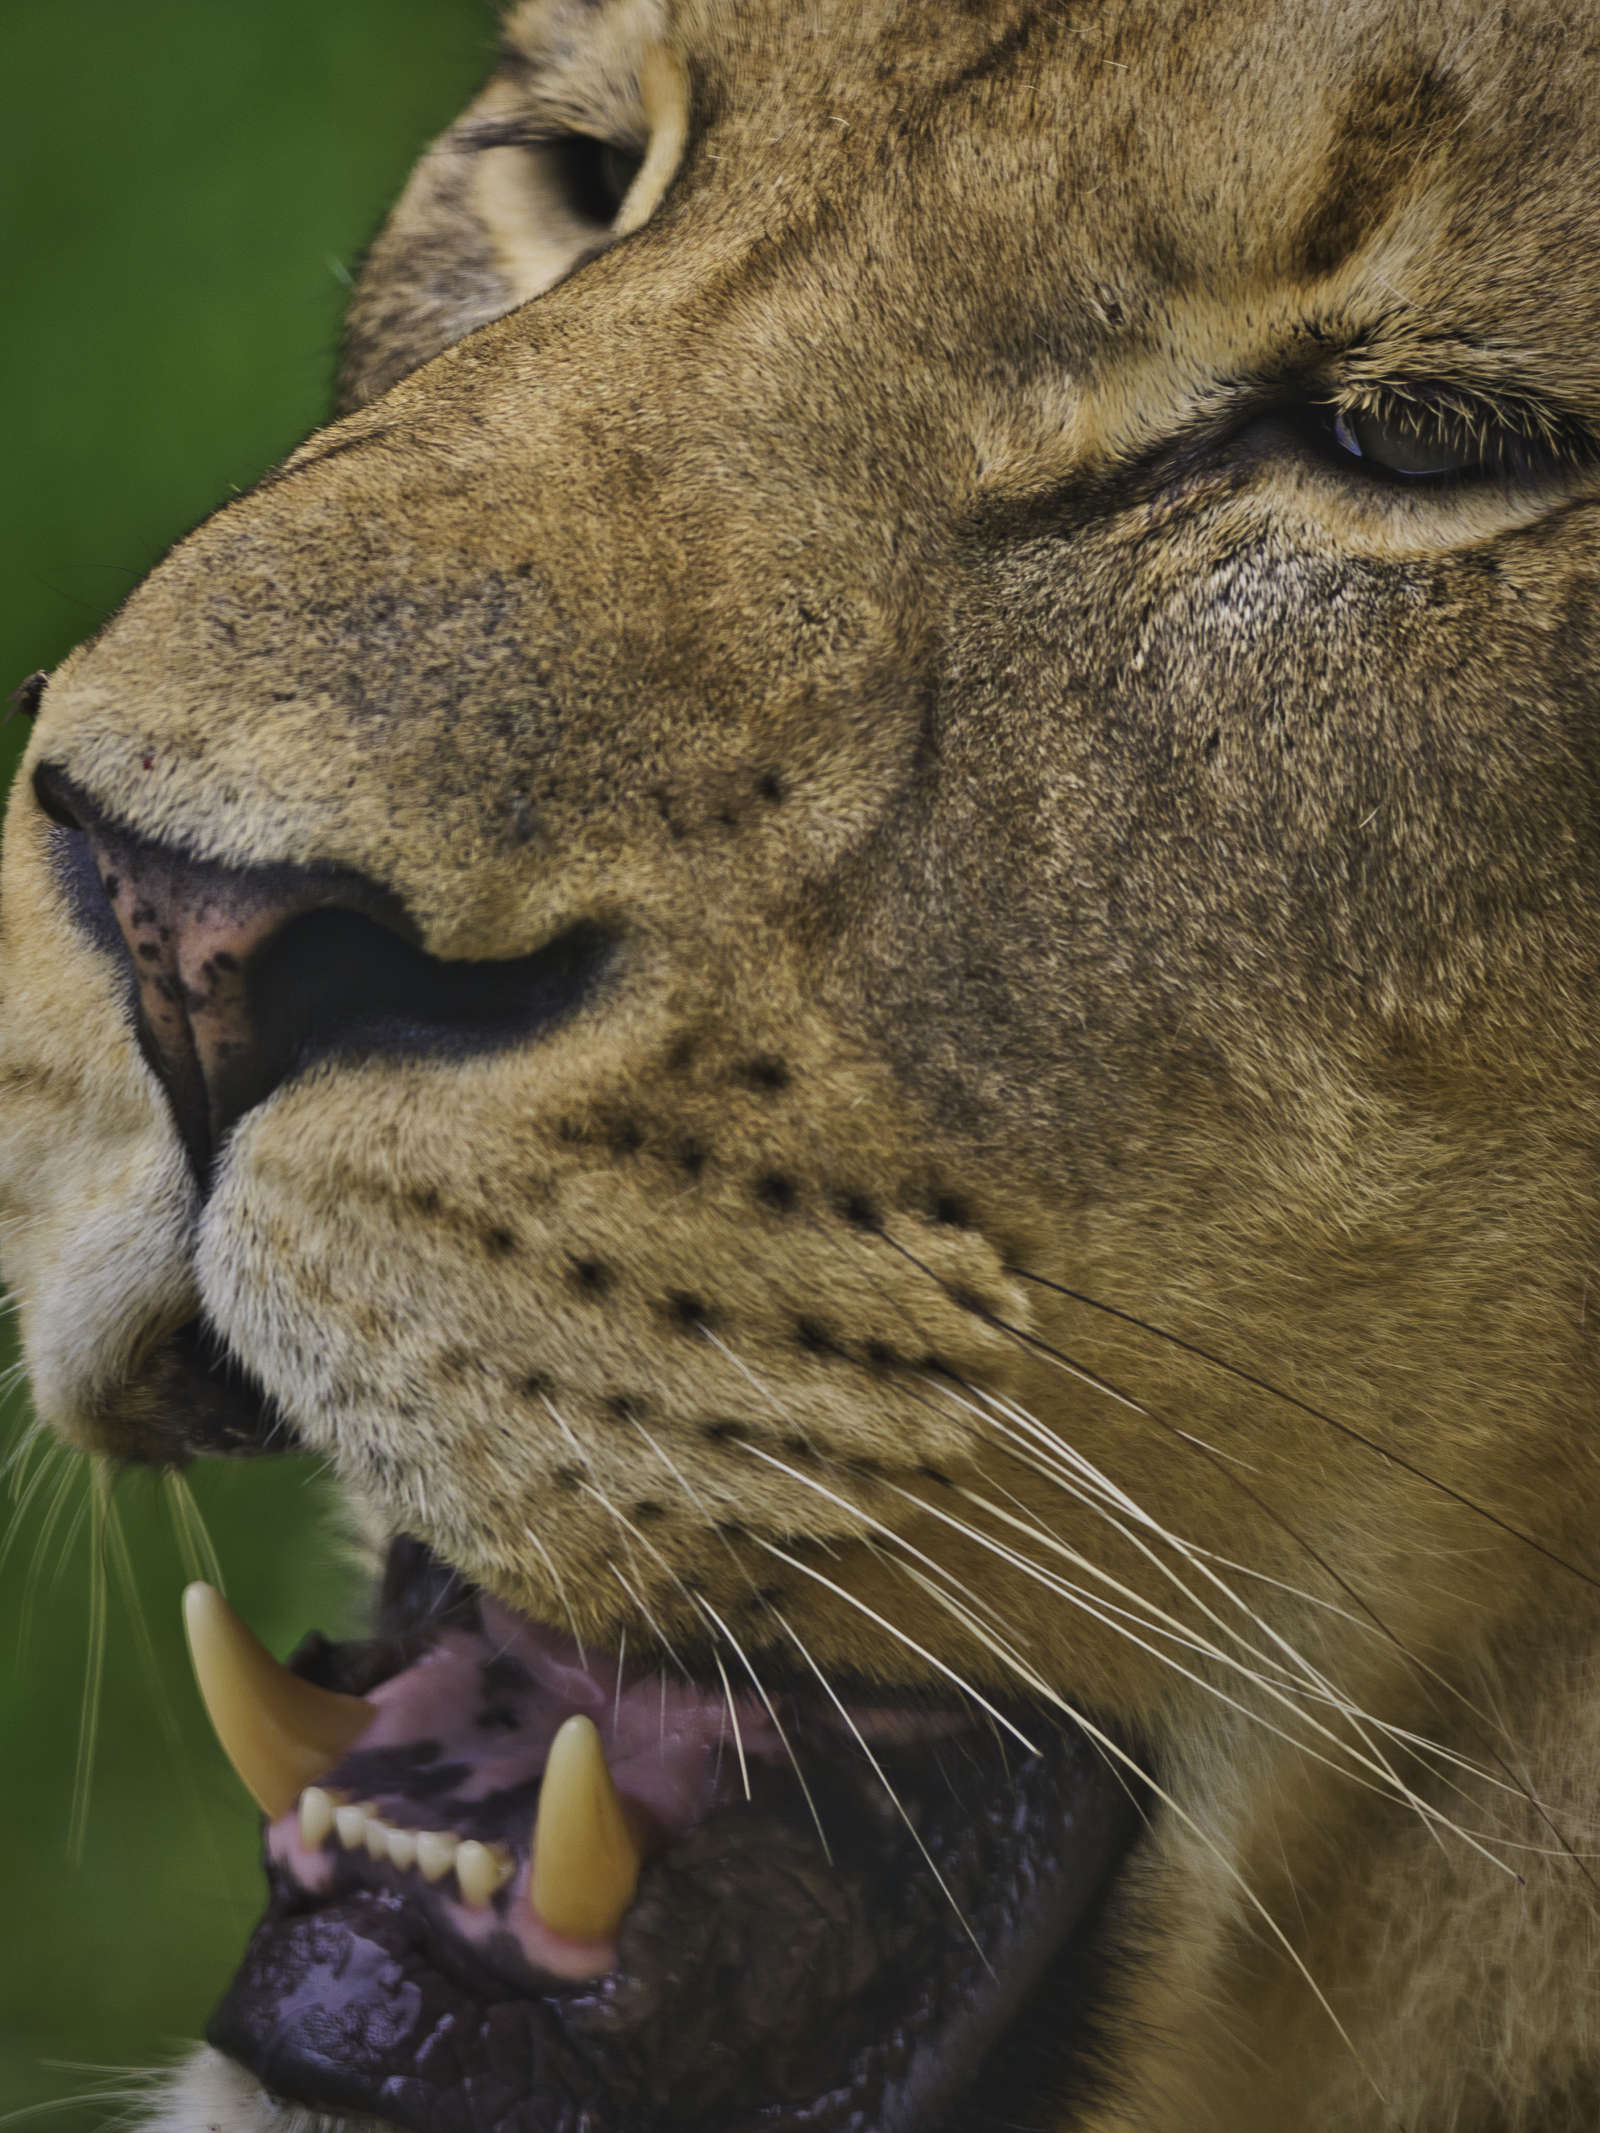
While most modern zoos do a remarkable job of replicating the natural wilderness habit for their animals, you will often be faced with distracting backgrounds that include fencing, electrical wires and “unnatural” enclosure details. To reduce distractions, use the longest focal length lens you have and shoot at wide apertures to minimize depth of field. I usually pack my M.Zuiko Digital ED 300mm F4.0 IS PRO telephoto lens on zoo excursions and use it wide open at f4. The background dissolves into a beautiful out-of-focus bokeh that adds drama and impact to your animal portraits. A fast zoom such as the M.Zuiko Digital ED 40-150mm F2.8 PRO is another excellent choice.
Though wide-angle lenses are useful for broad views, I rarely use one at the zoo. The larger animals are generally too far away for the wide angle. On the other hand, a macro lens can be handy for closeups of tiny animals, reptiles, fish, etc. When composing your shot, try to get close, fill your frame and place natural elements in the background. Look for angles that avoid metal objects––these tend to reflect light and add distracting highlights to your backgrounds. Your images will be more successful if you simplify your backgrounds.
USE A PHOTO BACKPACK
Embrace zoo photography as an adventure hike and plan accordingly. A backpack will distribute weight better than an off-balance shoulder bag. If you can fit your gear, a waist pack, which concentrates weight on the hip muscles, is an even better option and is more comfortable in hot weather. You’re much better off limiting your gear to a body and a couple of long lenses if you expect to walk more than a mile or so. If I need extra reach, I’ll throw in a 1.4x teleconverter. There are no right or wrong gear choices. Only you can determine the kind of images you’re after. Just be careful not to overload yourself.
BE PATIENT
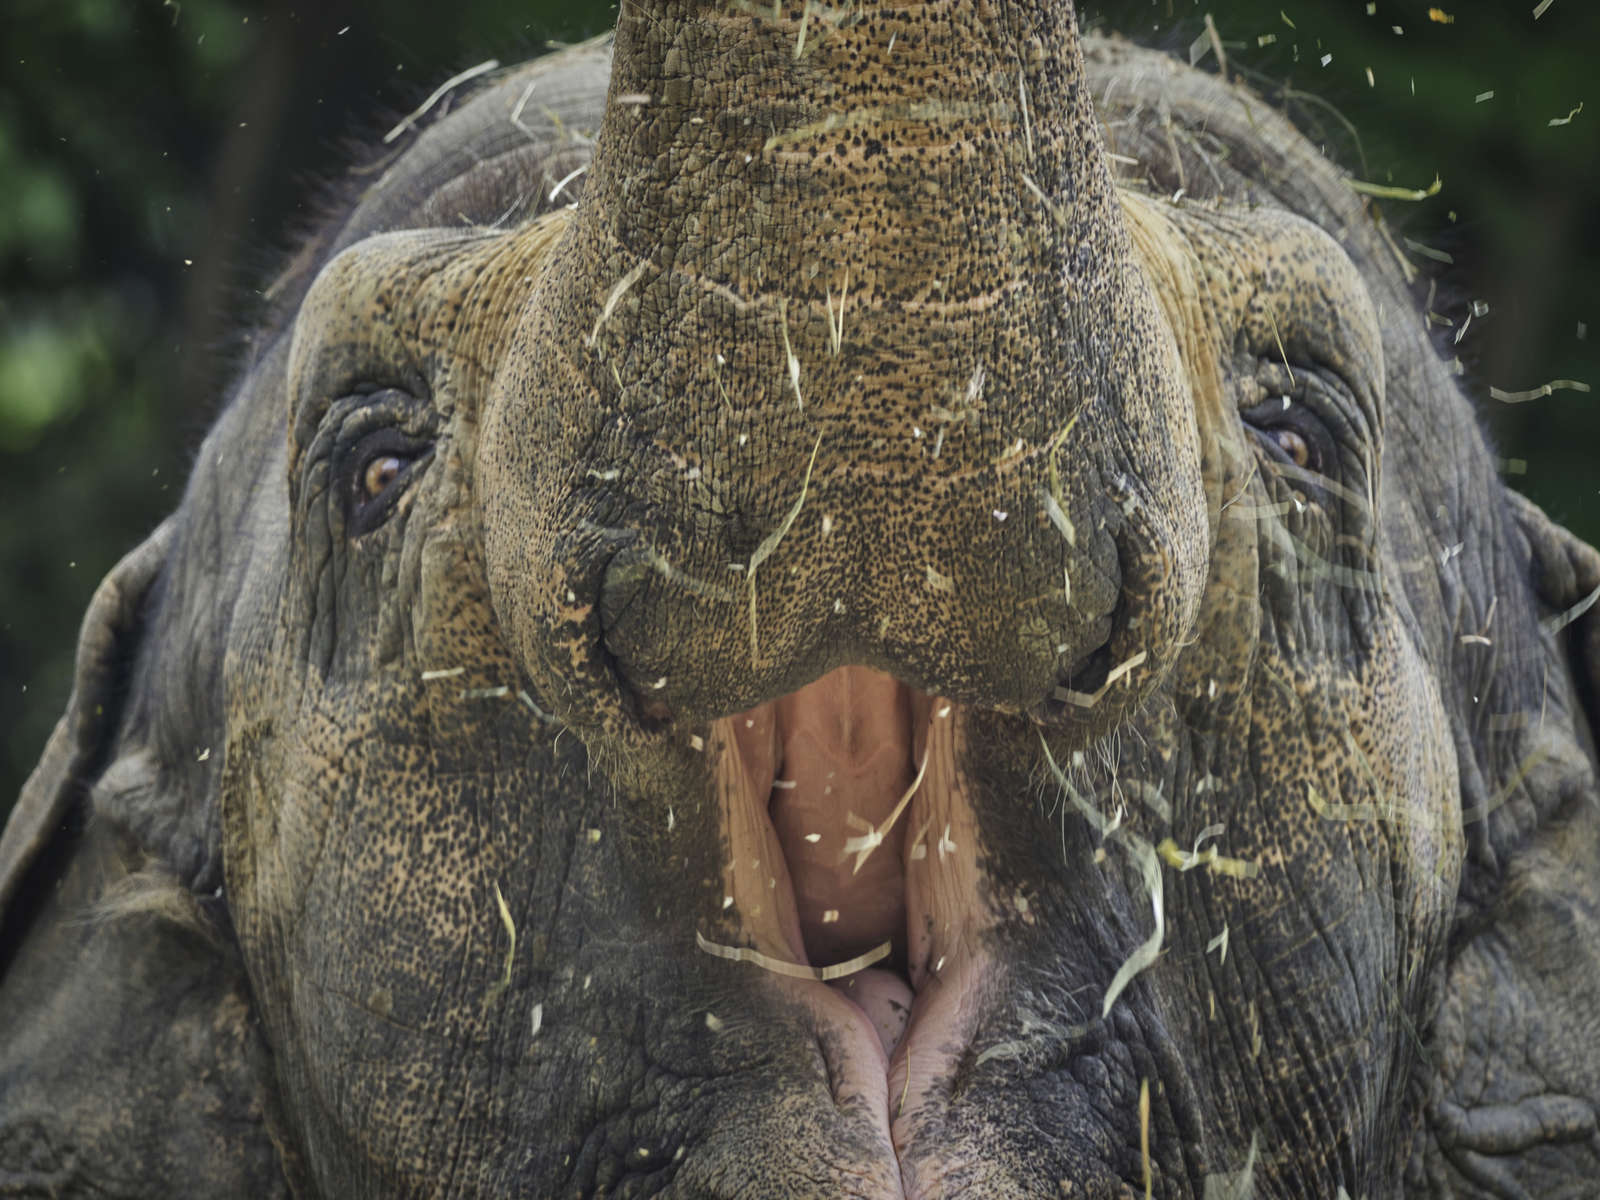
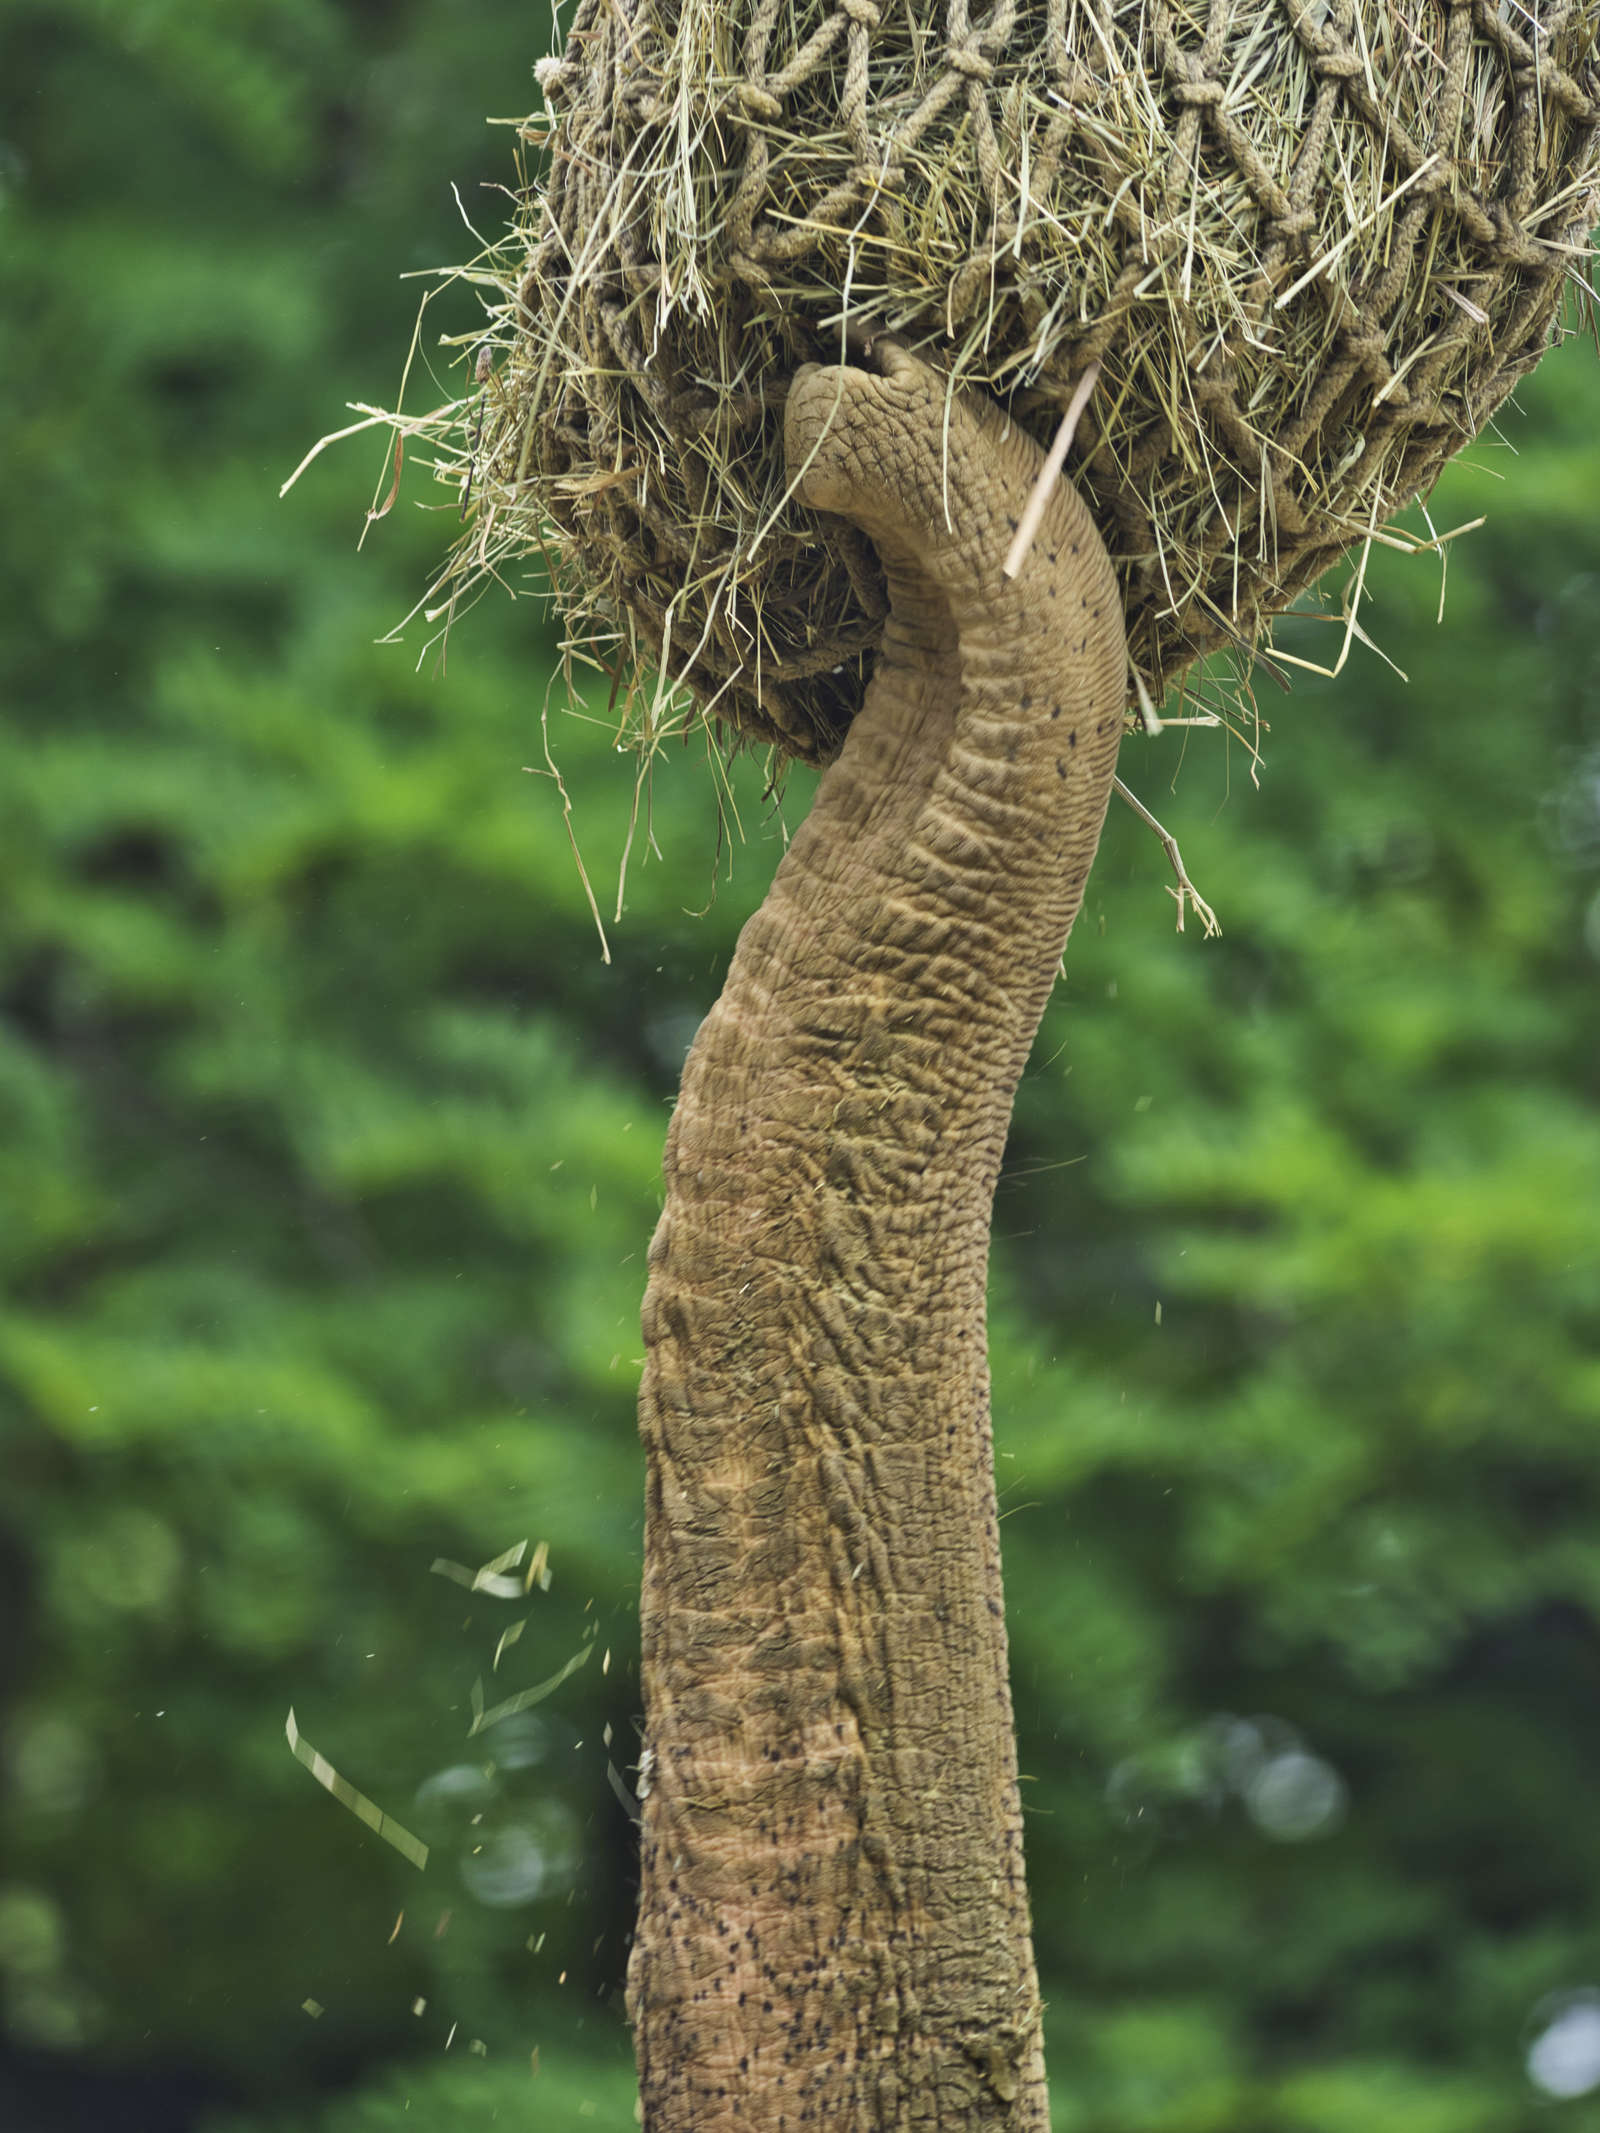
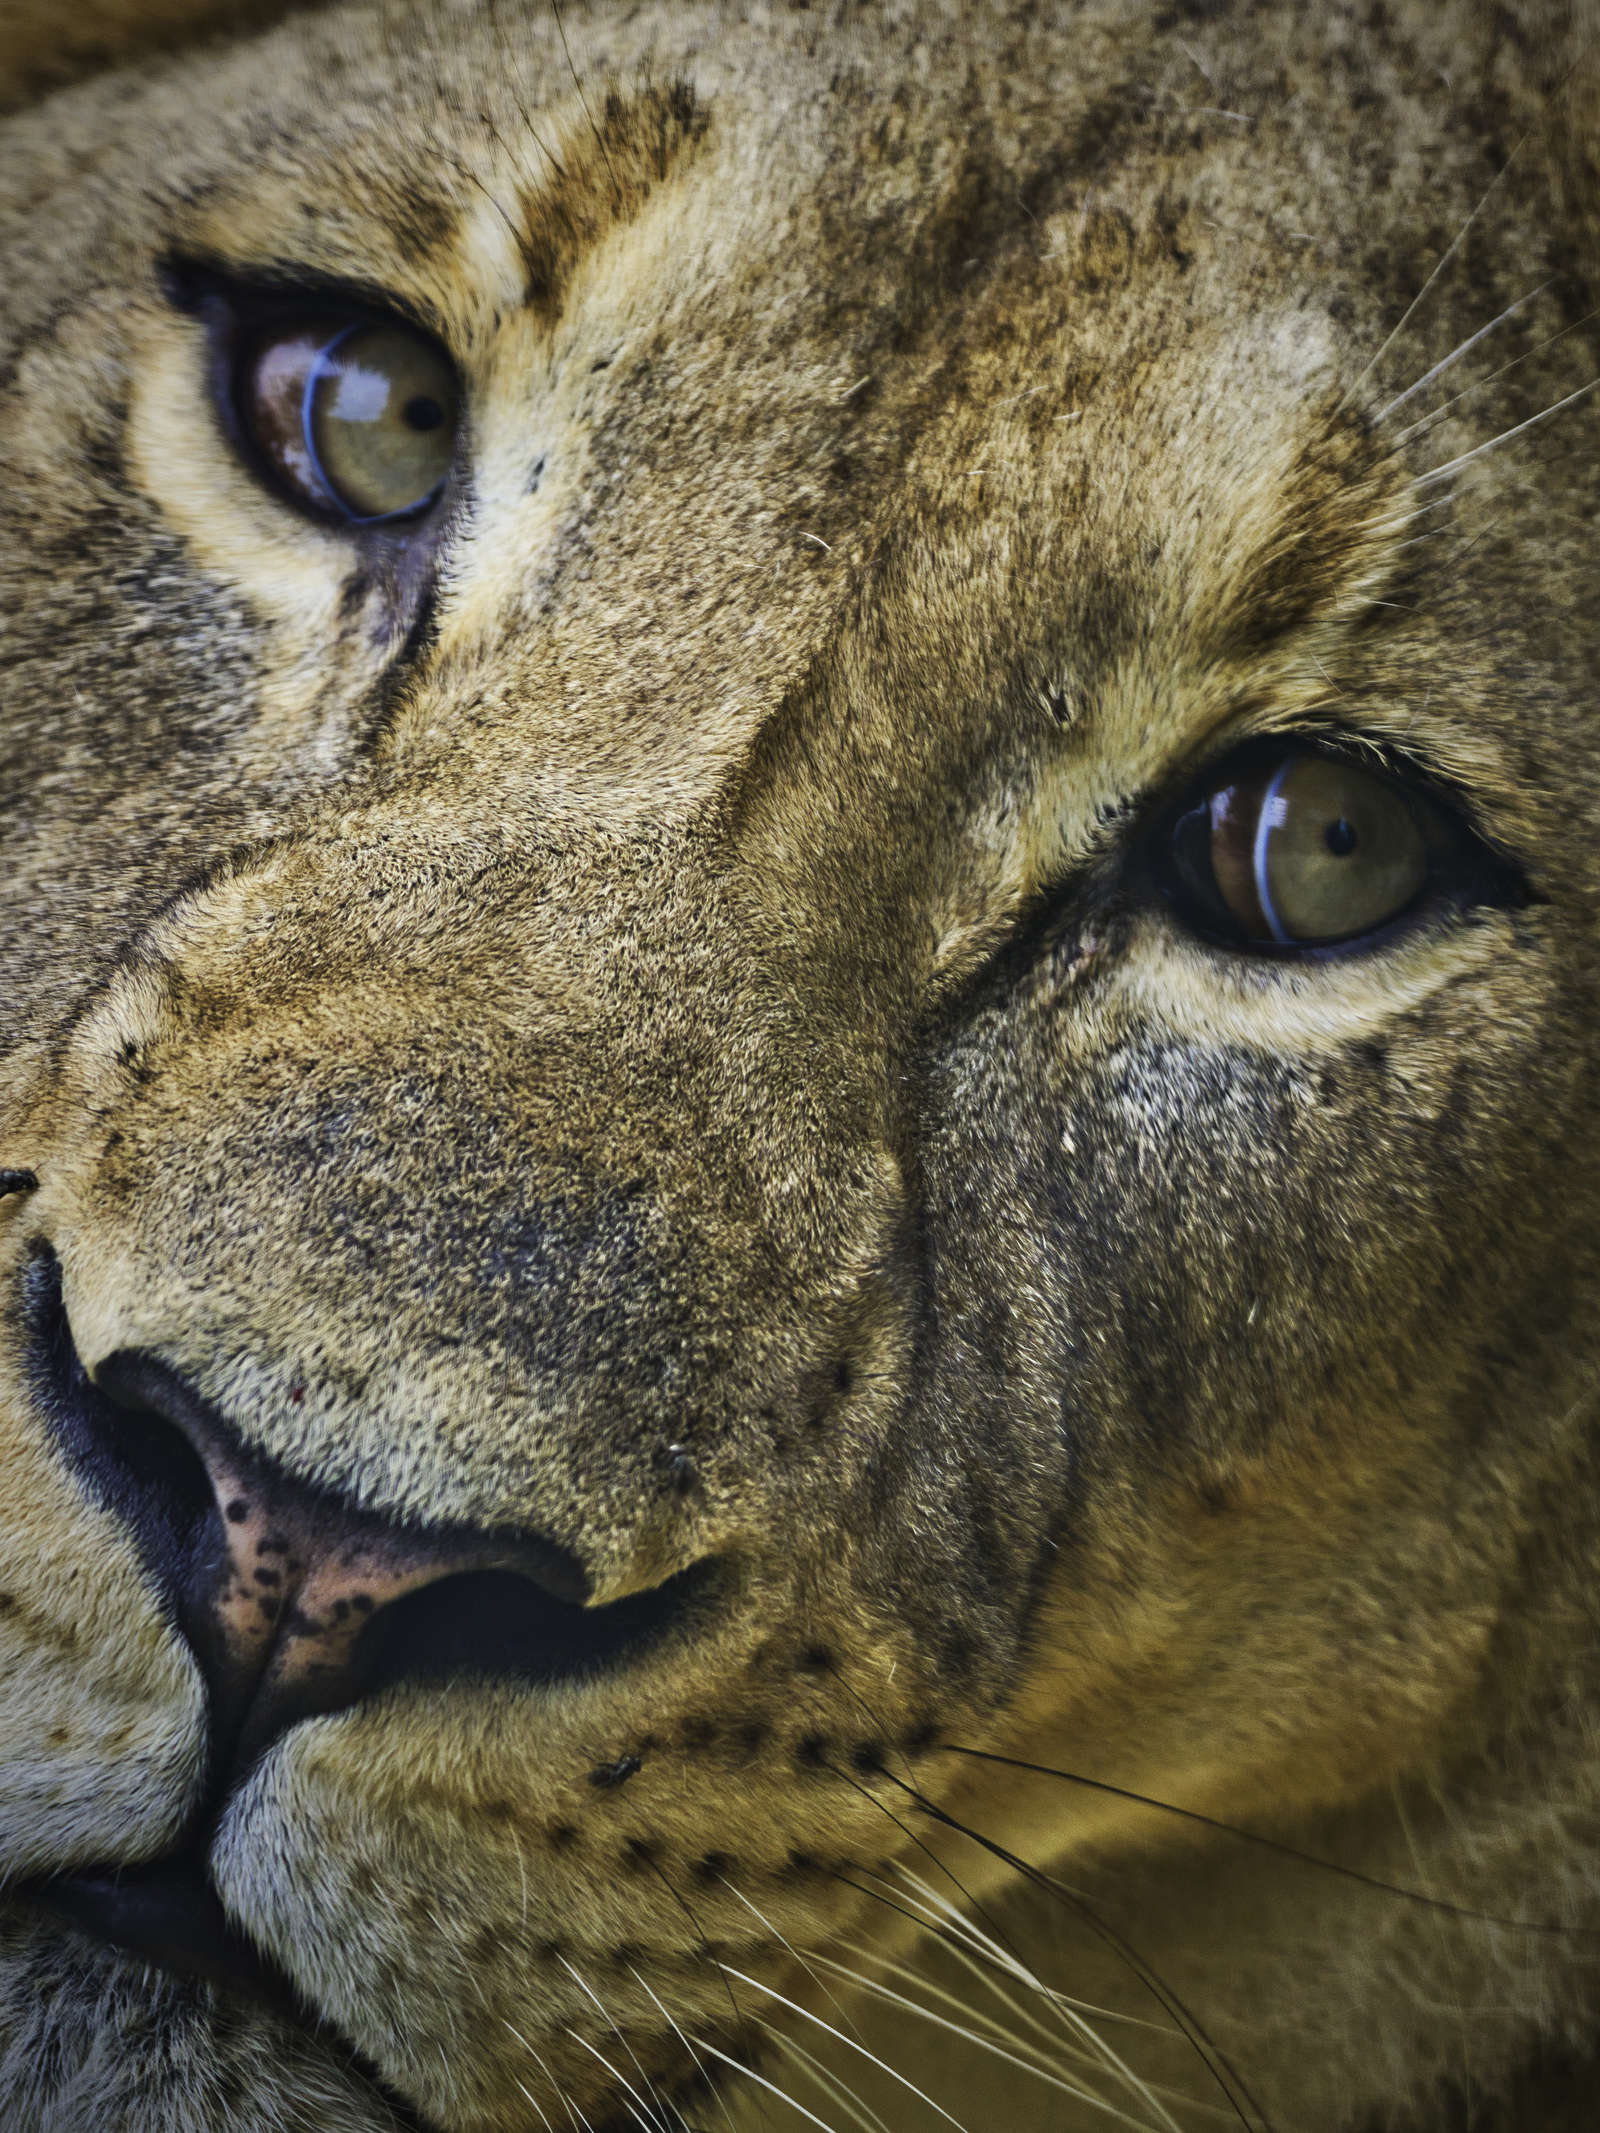
Animals, by their nature, try to conserve energy. This means they spend vast amounts of time doing as little as possible. Good for them, but not so much for a photographer. Be prepared to wait it out. If you see a great composition, watch the animals for nuances of movement and expression that adds interest to your images. The more you study your subject, the more you’ll understand their nature. Just like their human counterparts, animals have expressions that can make or break a photo. Pay close attention and wait for your subject to look you in the eye.
DON’T FORGET THE FLASH
Much of the time, you’ll likely be working outside, but some subjects live and thrive in indoor enclosures or aviaries. These habitats look amazing but are sometimes dim. You can use your flash unit with a long lens to add clarity and saturation to photos taken in darker conditions. Just be sure to set your flash output to a little less than the metered conditions to avoid harsh contrast. I usually adjust my Olympus FL-900R flash to one stop less than the overall exposure. This gives a natural look and add sparkle to the subject’s eyes.
PLAN AHEAD
The best light will be in the early morning or late evening – when, fortunately, the animals are often most active. Check your zoo’s website for hours. If you’re lucky, you can plan to be on locations at the morning feeding times. Some zoos have evening programs that provide great opportunities for beautiful golden light. Take advantage of the online zoo maps to plan your trek. Pick out several areas of interest for each visit and concentrate your efforts.
BE RESPECTFUL TO THE ANIMALS
Remember, at the zoo, you’re a visitor in the animal kingdom. Don’t yell at the inhabitants or bang on glass barriers or fences. Remember point three–be patient and the photos will happen.
CONSIDER A MEMBERSHIP
You’ll save on entrance fees and support your local zoo. And the fun you’ll have taking animal shots while you save up for a real safari is more than worth the cost.

ABOUT LARRY PRICE
Web: larrycprice.com
Blog: larrycprice.com/blog
Twitter: @LarryCPrice
Instagram: @LarryCPrice
Over his storied career, Larry has worked for some of North America’s largest newspapers, including The Philadelphia Inquirer, The Baltimore Sun, Fort Worth Star-Telegram and The Denver Post. He is currently at work on a longterm project about global pollution with support from the Pulitzer Center on Crisis Reporting in Washington, D.C.