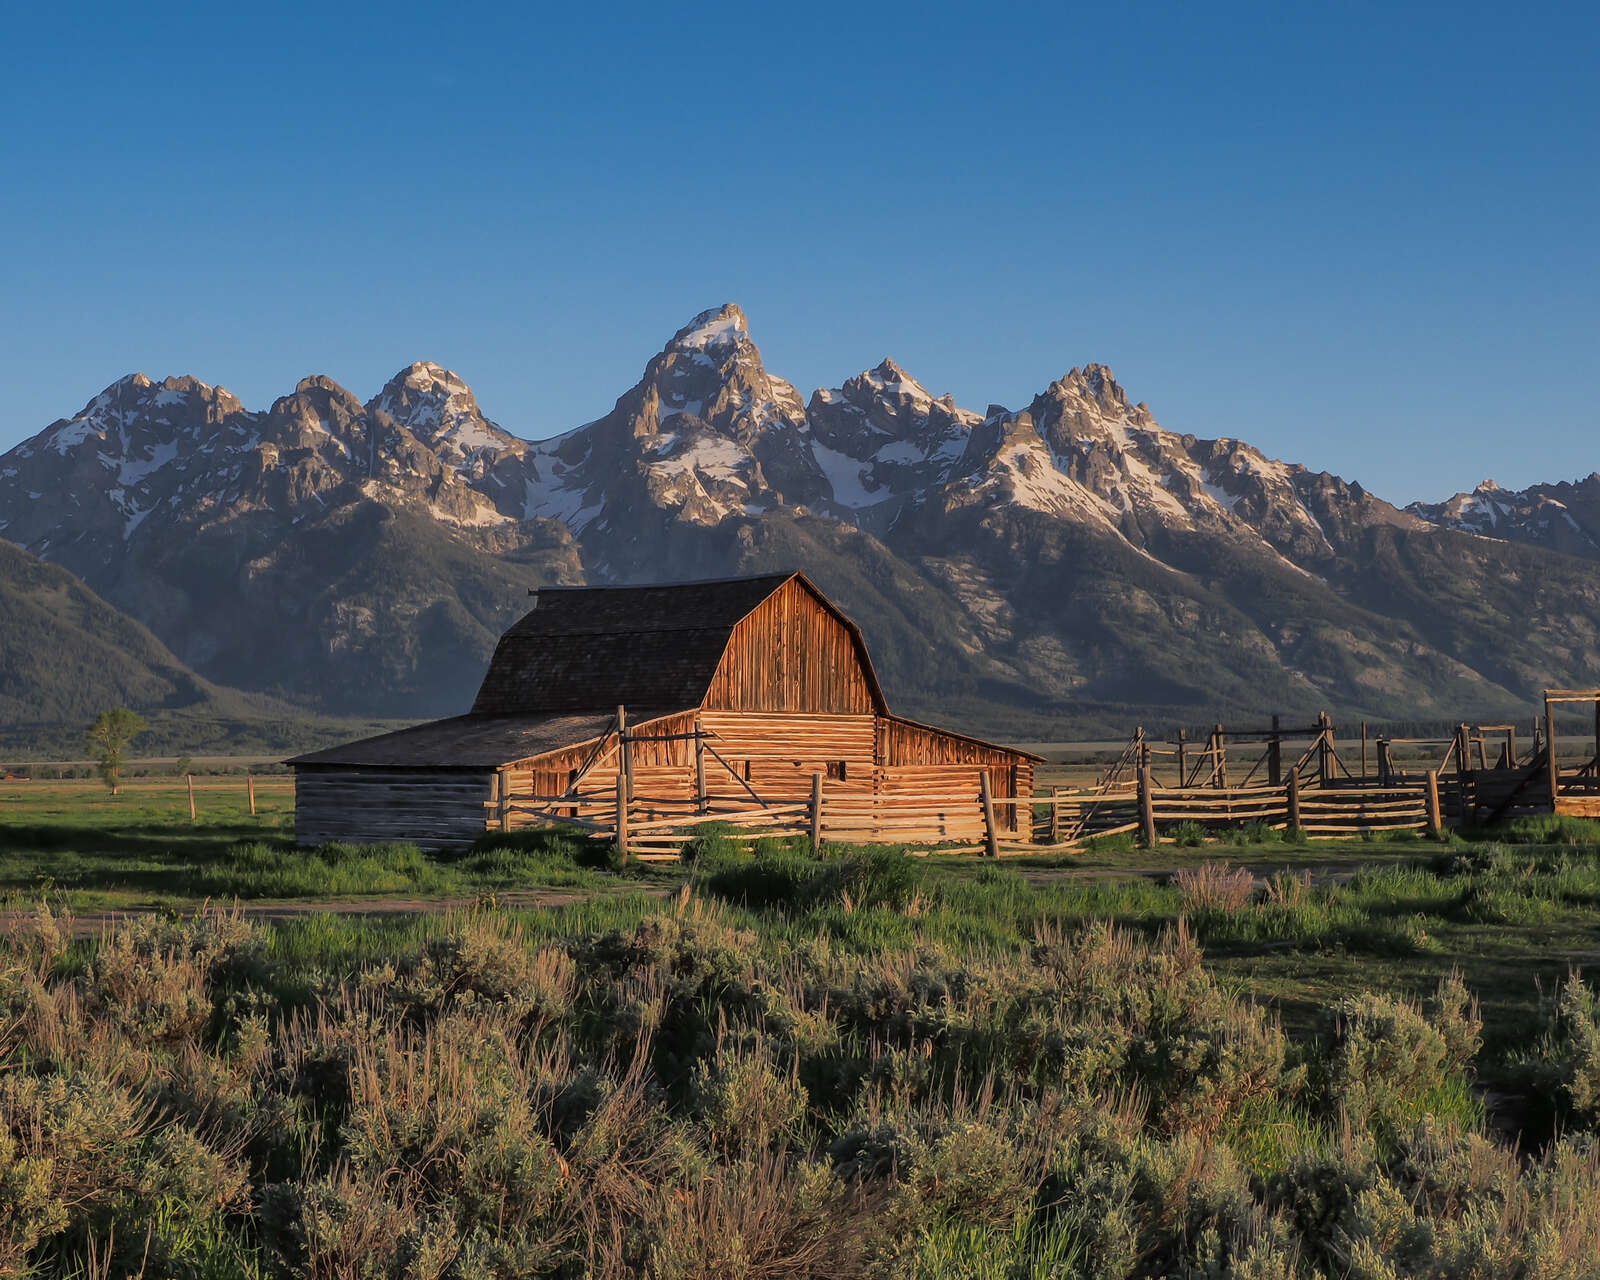
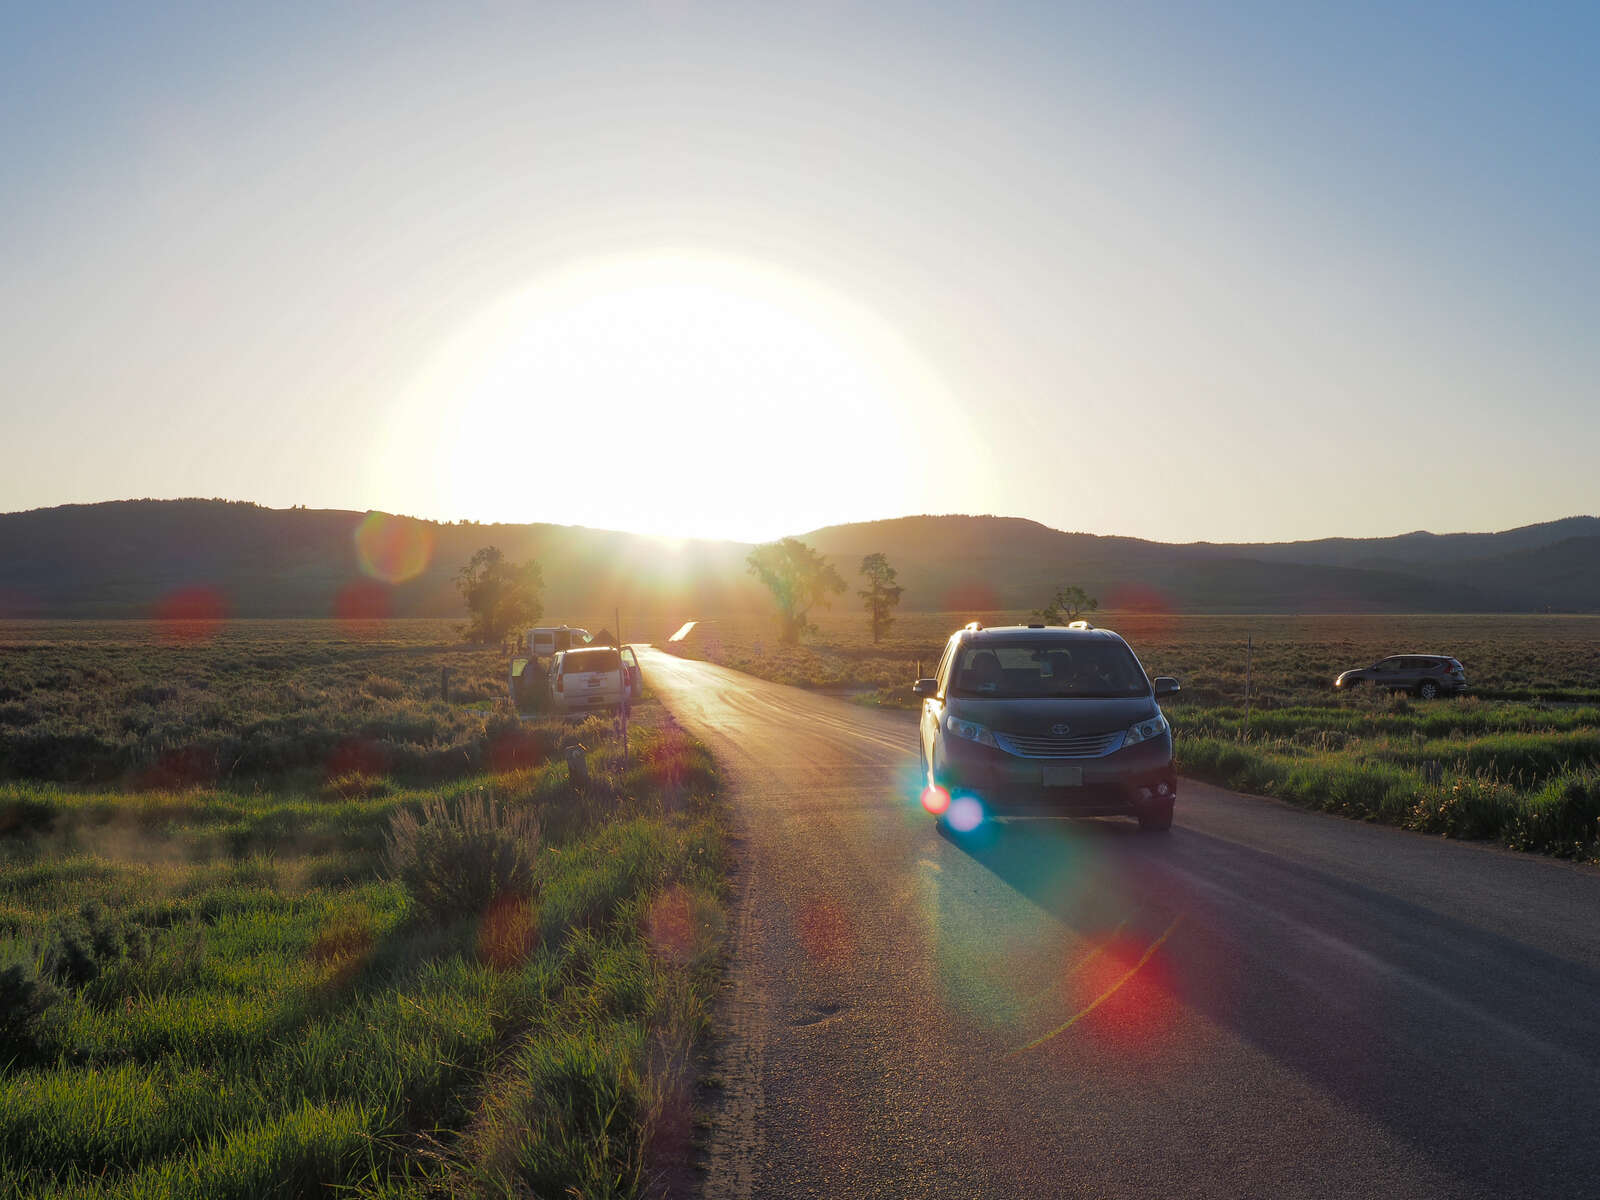
As Americans get vaccinated and Covid restrictions ease across much of the country, it has become more feasible to venture further from home. With that in mind, my partner and I packed our bags and on June 1st pointed our converted mini-van toward the vast Midwestern plains and towering Rocky Mountains for a three-week road trip that included six National Parks. Despite the record number of Americans visiting the Parks this year, continued restrictions on international travel has reduced the likelihood of being submerged in a wave of tour buses or taken out by a selfie stick. This change was notable and made a significant difference in our experience. It’s definitely busy out there, but if you choose your spots carefully, it’s still a great year to pick up the camera and enjoy the peace and beauty of our natural treasures.
Before you go though, here are a few ways to get organized for an even more enjoyable experience.
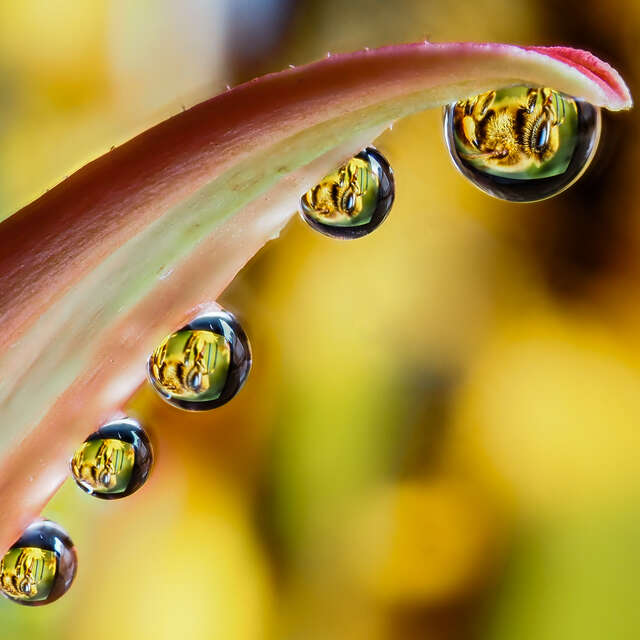
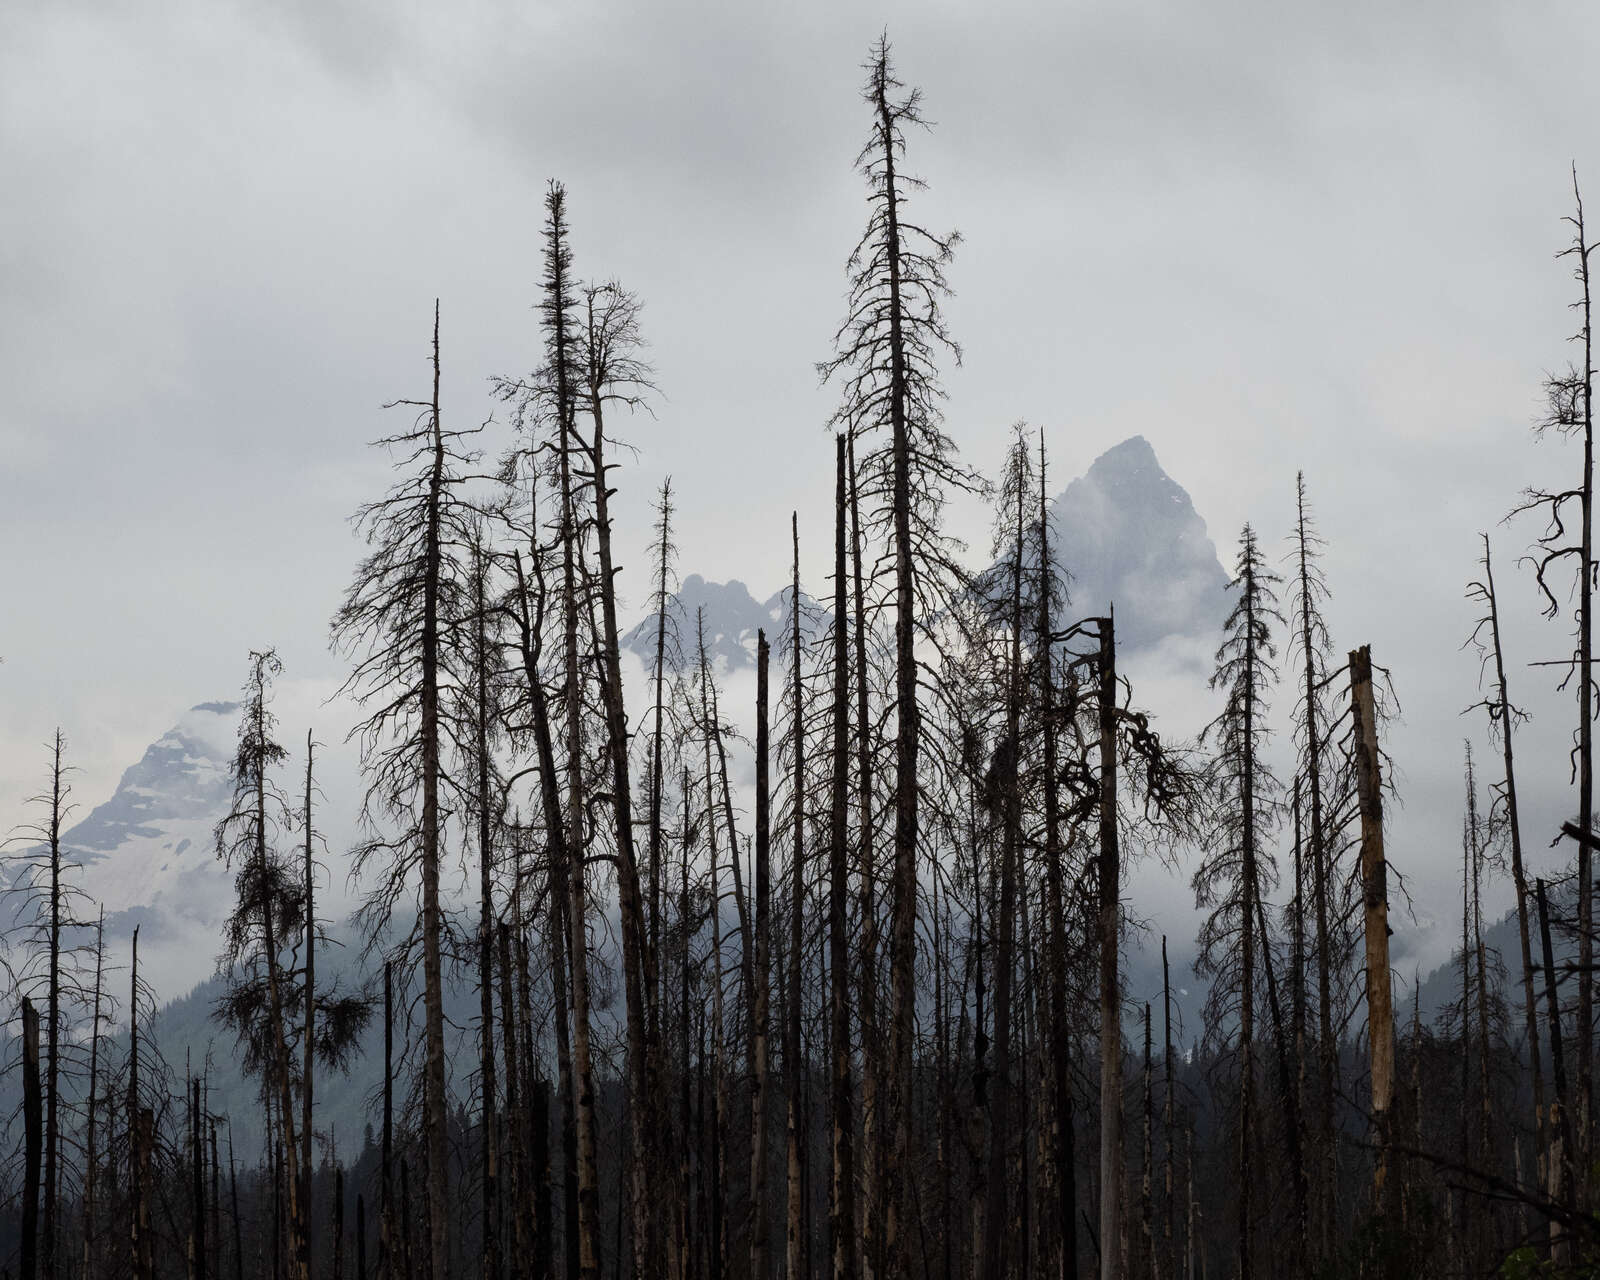
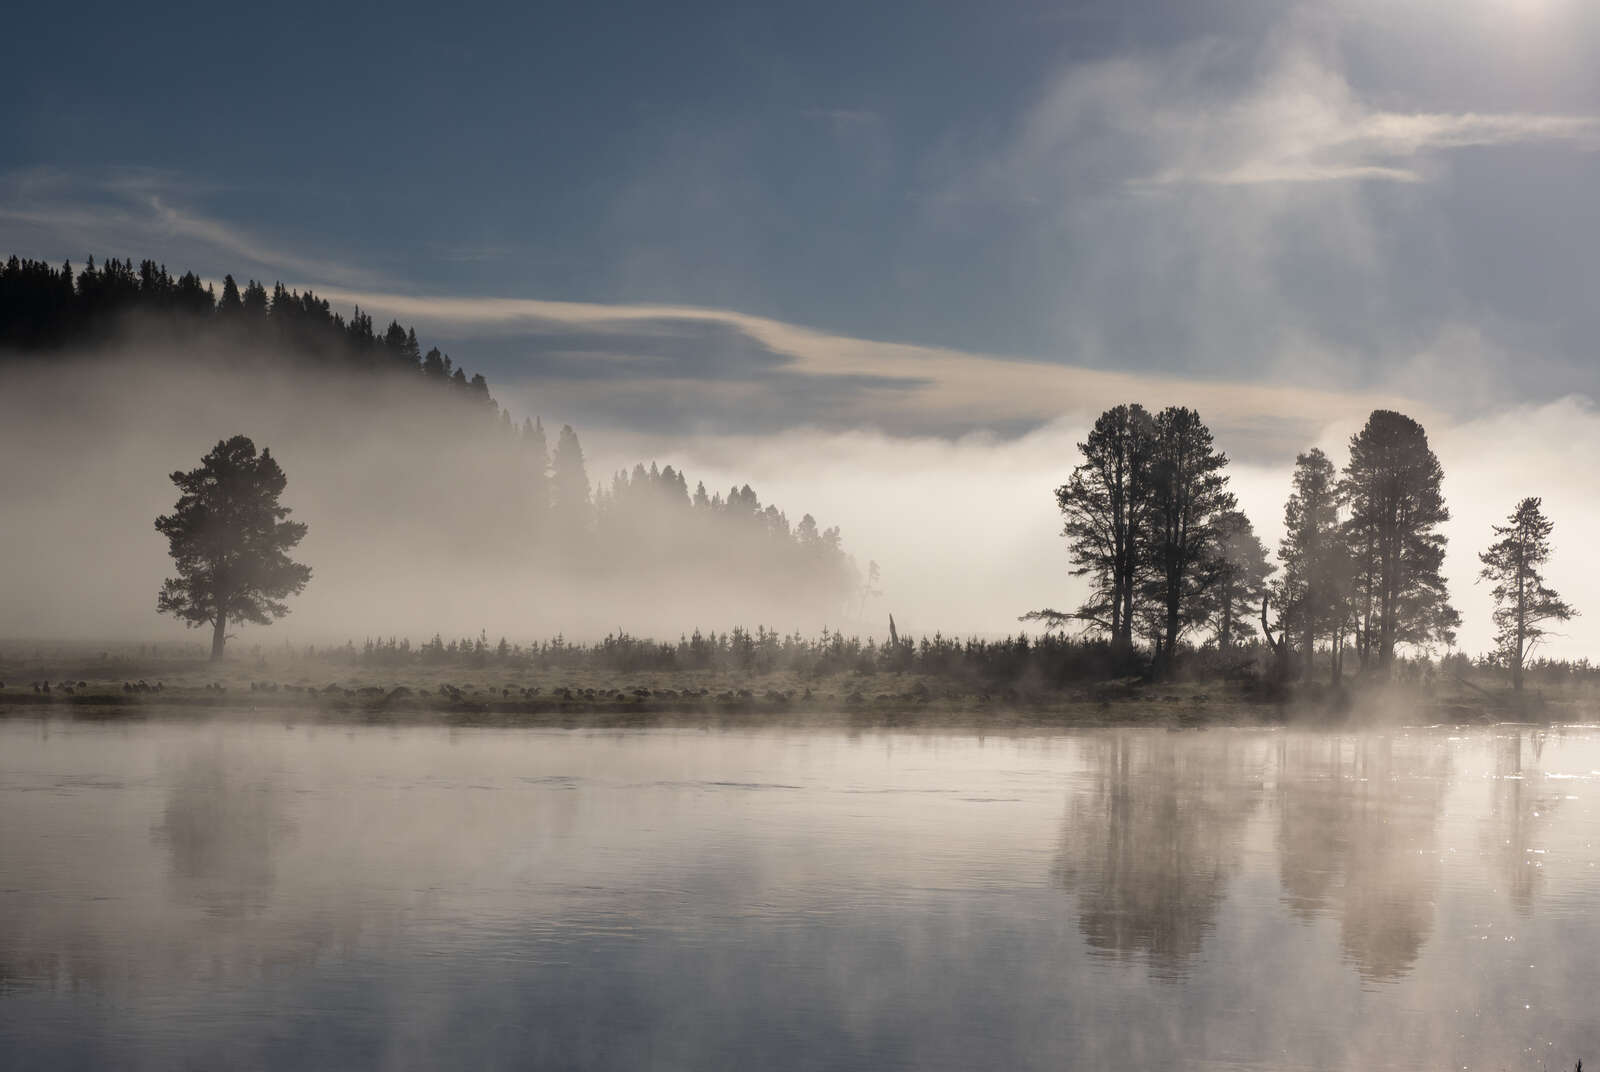
OM-D E-M1 Mark III | M.Zuiko 12-100mm F4.0 IS PRO
1/30s | F14 | ISO 200
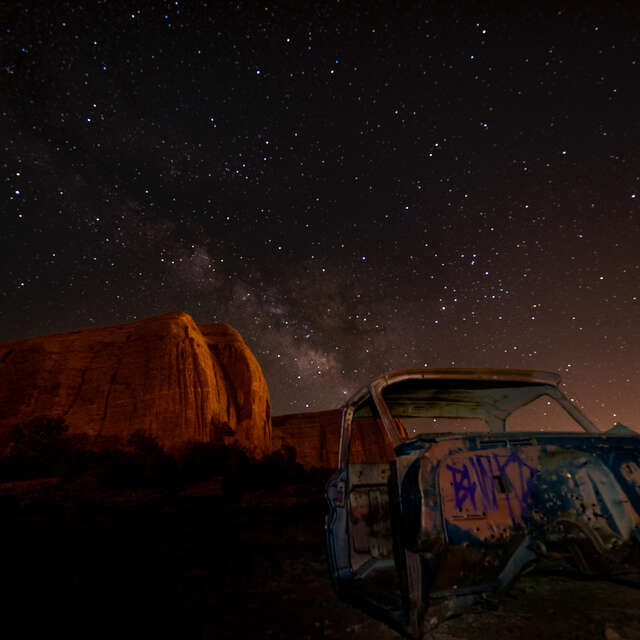
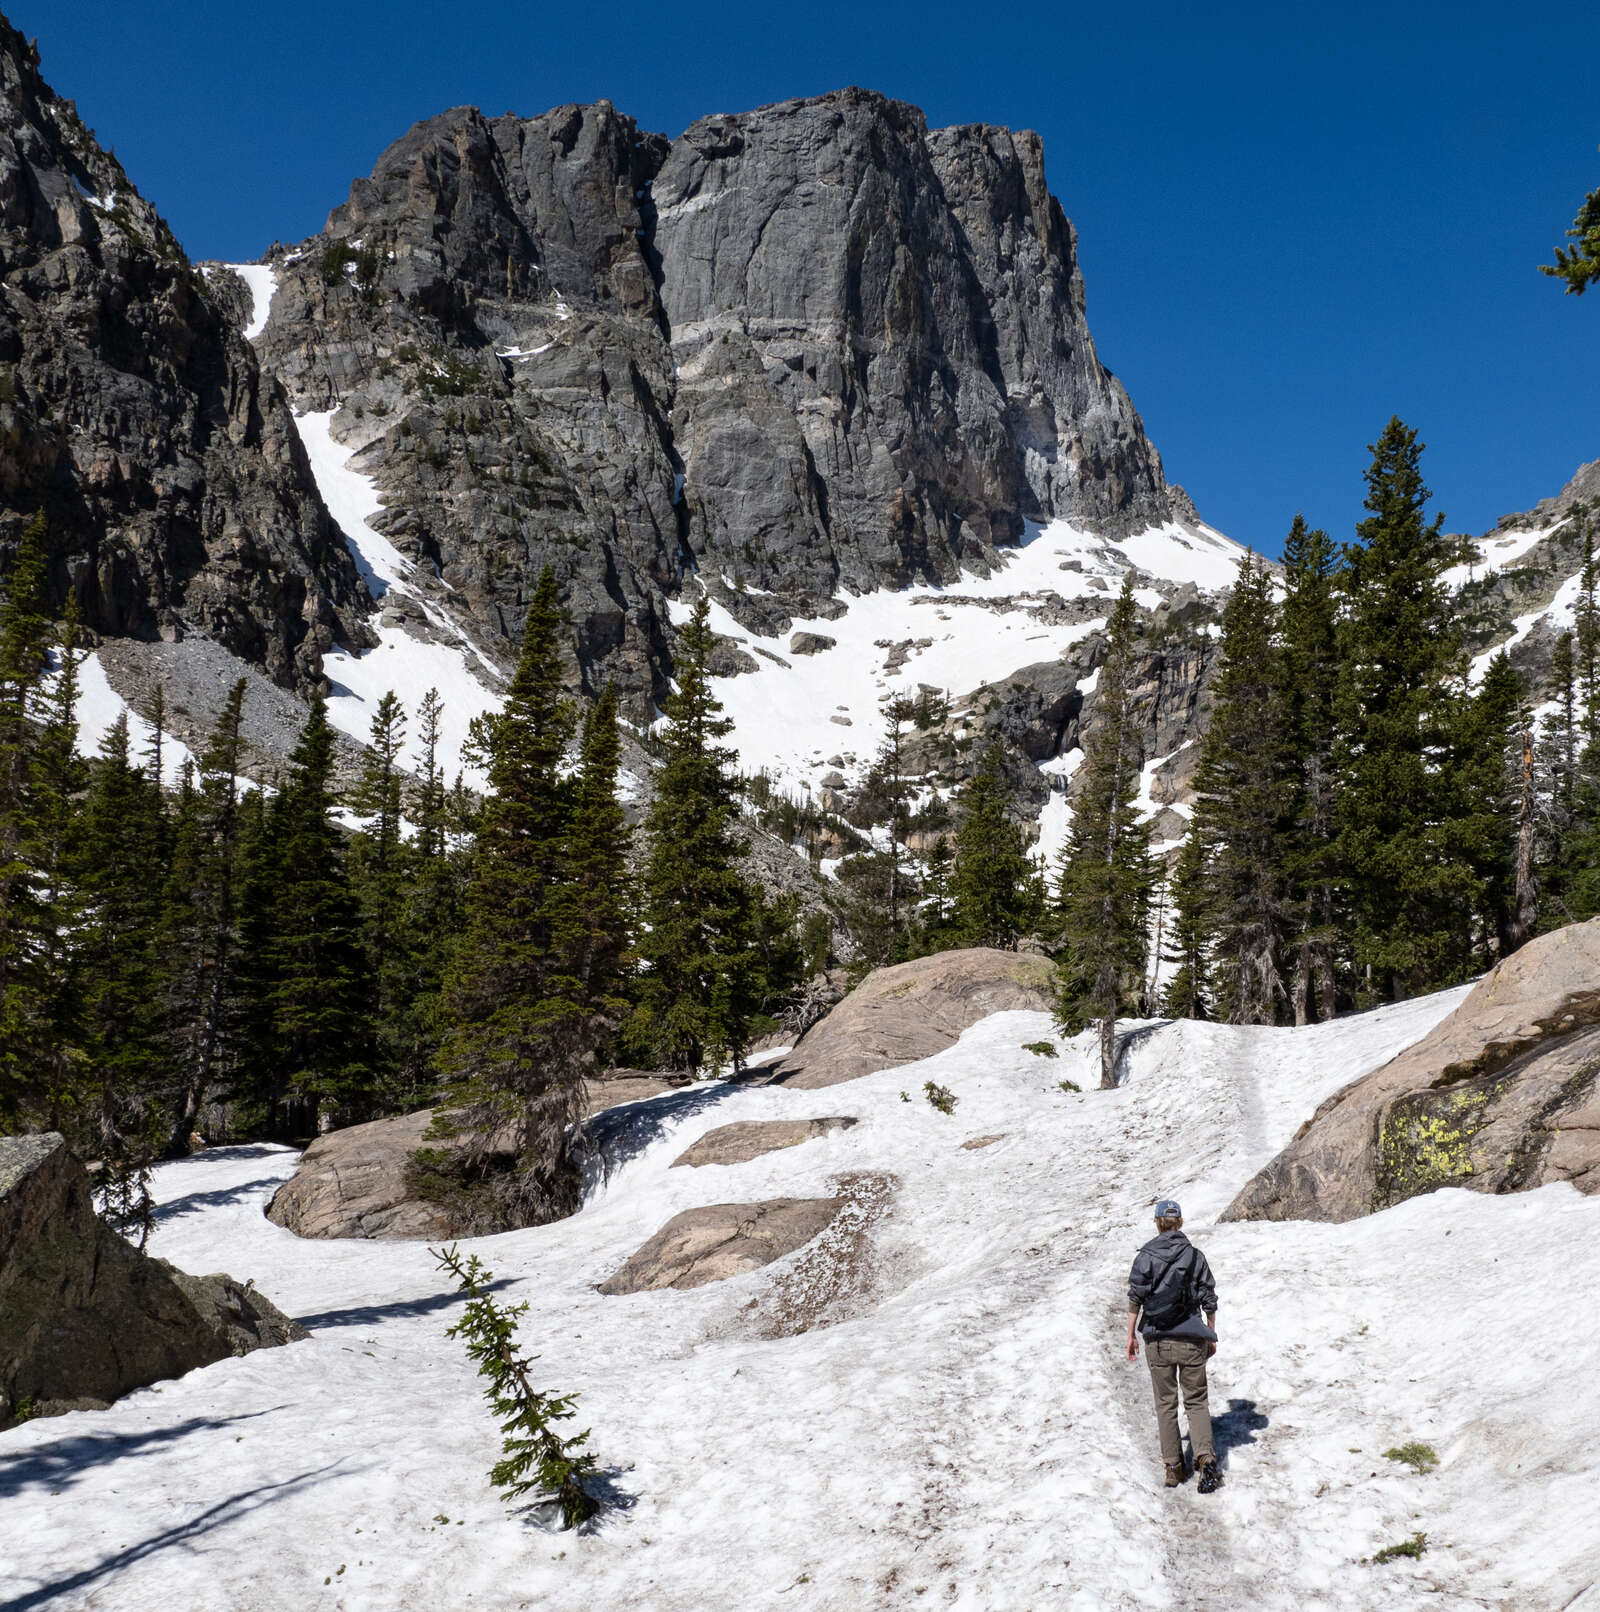
OM-D E-M1 Mark III | M.Zuiko 12-100mm F4.0 IS PRO
1/400s | F9 | ISO 800
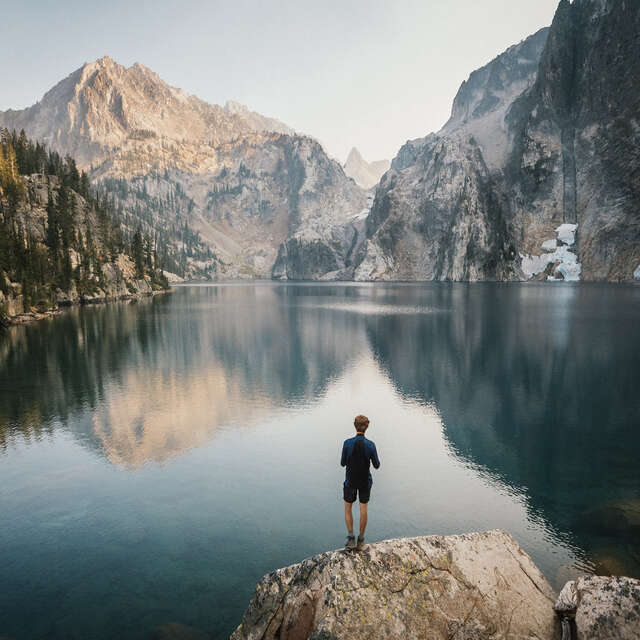
OM-D E-M1 Mark III | M.Zuiko 12-100mm F4.0 IS PRO
1/250s | F13 | ISO 200
Write a Check List of Gear to Pack
Packing smart is an essential component for any successful trip. When preparing, I love to jot down essentials on a check list as it helps me worry less that I might leave something behind. I once met a photographer in the middle of Costa Rica who realized she had left her charger at home and had to drive hours to buy a new one. That is why I take the time a week before my trip to start a list. When I am in the field, all I want to focus on is the story and how to compose the image, not wonder whether I packed my charger as I watch my battery-warning light turn red.
Here is the checklist from my latest trip:
- 2 camera bodies: OM-D E-M1 Mark III and E-M1X
- 4 lenses: M.Zuiko 12-100mm F4.0 IS PRO, 100-400mm F5.0-6.3 IS, 60mm F2.8 Macro, and 25mm F1.8
- MC-20 teleconverter
- 6 batteries
- 6 SD Cards
- Charging cable and transfer cable
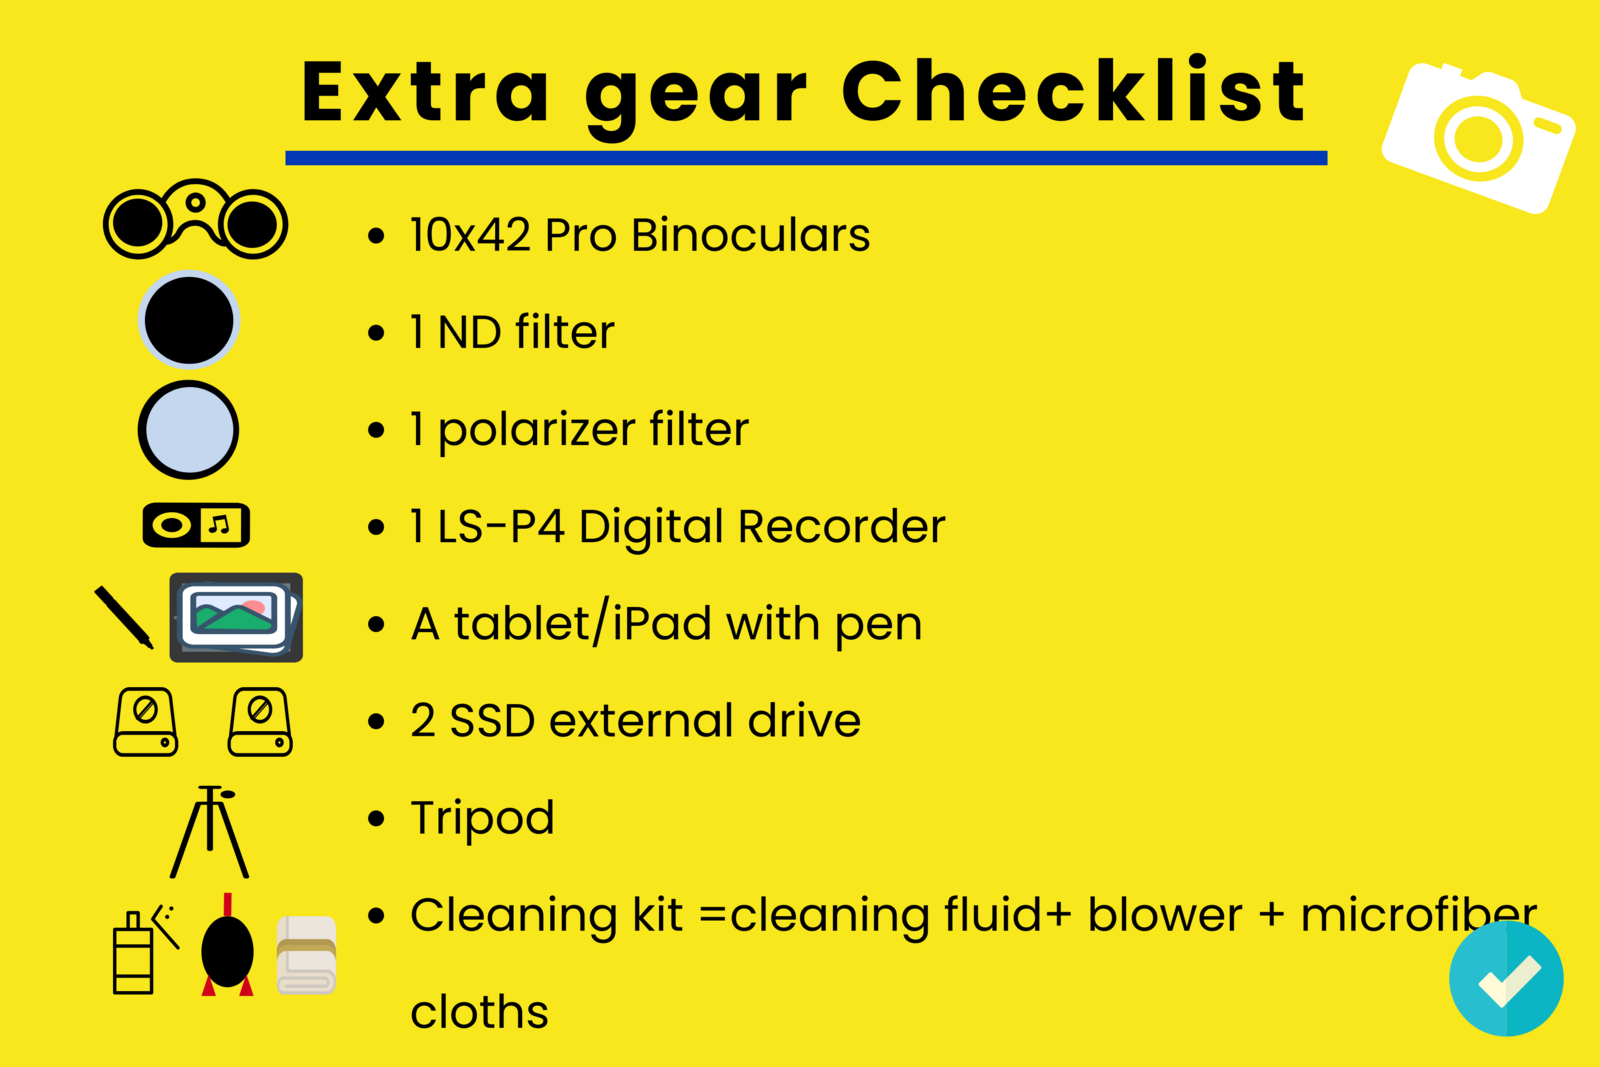
Extra Gear
On this list is the second category of gear I will carry with me. They are not on my first list because I might only use them a handful of times and could probably manage without depending on the length and goal of the trip. Because I had planned on traveling to places like Yellowstone, Glacier, Grand Tetons and the Rockies, my focus was on capturing wildlife and landscape. For wildlife, binoculars were a must for spotting animals and the LS-P4 Digital Recorder allowed me to record field notes and sounds like the prairie dogs at Theodore Roosevelt National Park (a lesser-known park that should not be missed). The filters and tripod were also packed with landscape and night photography in mind. And because I was going to be gone for three weeks, a cleaning kit was definitely a must as well as an external drive to back up my photos and videos and a tablet to edit on the go.
Packing Light
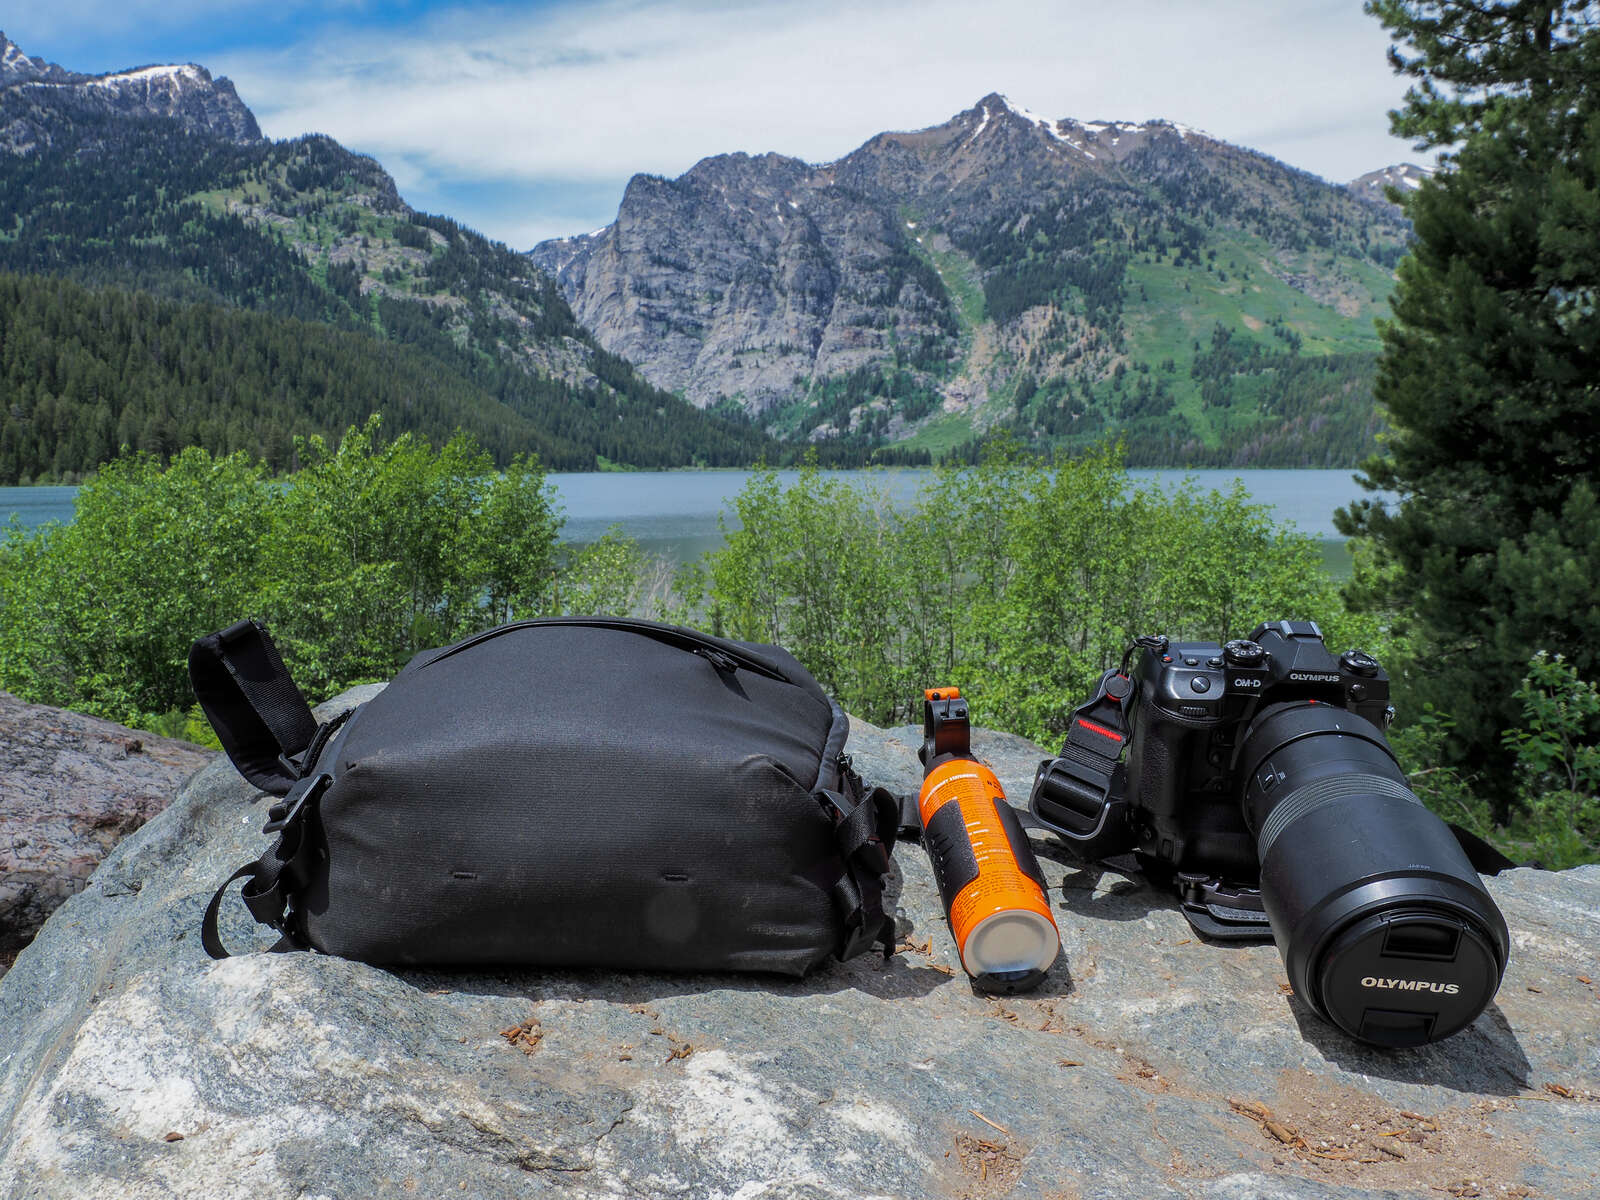
Packing light is always my number one priority, as I want to feel comfortable and break free from heavy camera equipment that will slow me down and eventually end up spoiling a highly anticipated adventure. Olympus gear is already light by design and although I could have packed more lenses, I really wanted to concentrate on working with fewer. With the 12-100mm and 100-400mm, most of my needs were covered from landscape to portrait and wildlife. I added the 60mm for macro and the 25mm in case the conditions were right for night photography. On longer hikes, I carry a back pack for food, water, and my E-M1X and 100-400. But on smaller hikes, all I take is a 6-Liter waist bag as I really like the flexibility of having my gear a few inches from my hands, without having to dig into a back pack.
Stay Organized, Have a Routine
Another thing of importance, especially when you have two people traveling in a car, is to stay organized and have a routine at night. To that aim, all my gear is stored in a 6-Liter bag and backpack at night. When I finish my day, I upload the photos and videos to my tablet and back them up on my external SSD drive. It is always wise to back up photos/videos in two separate places when you travel.
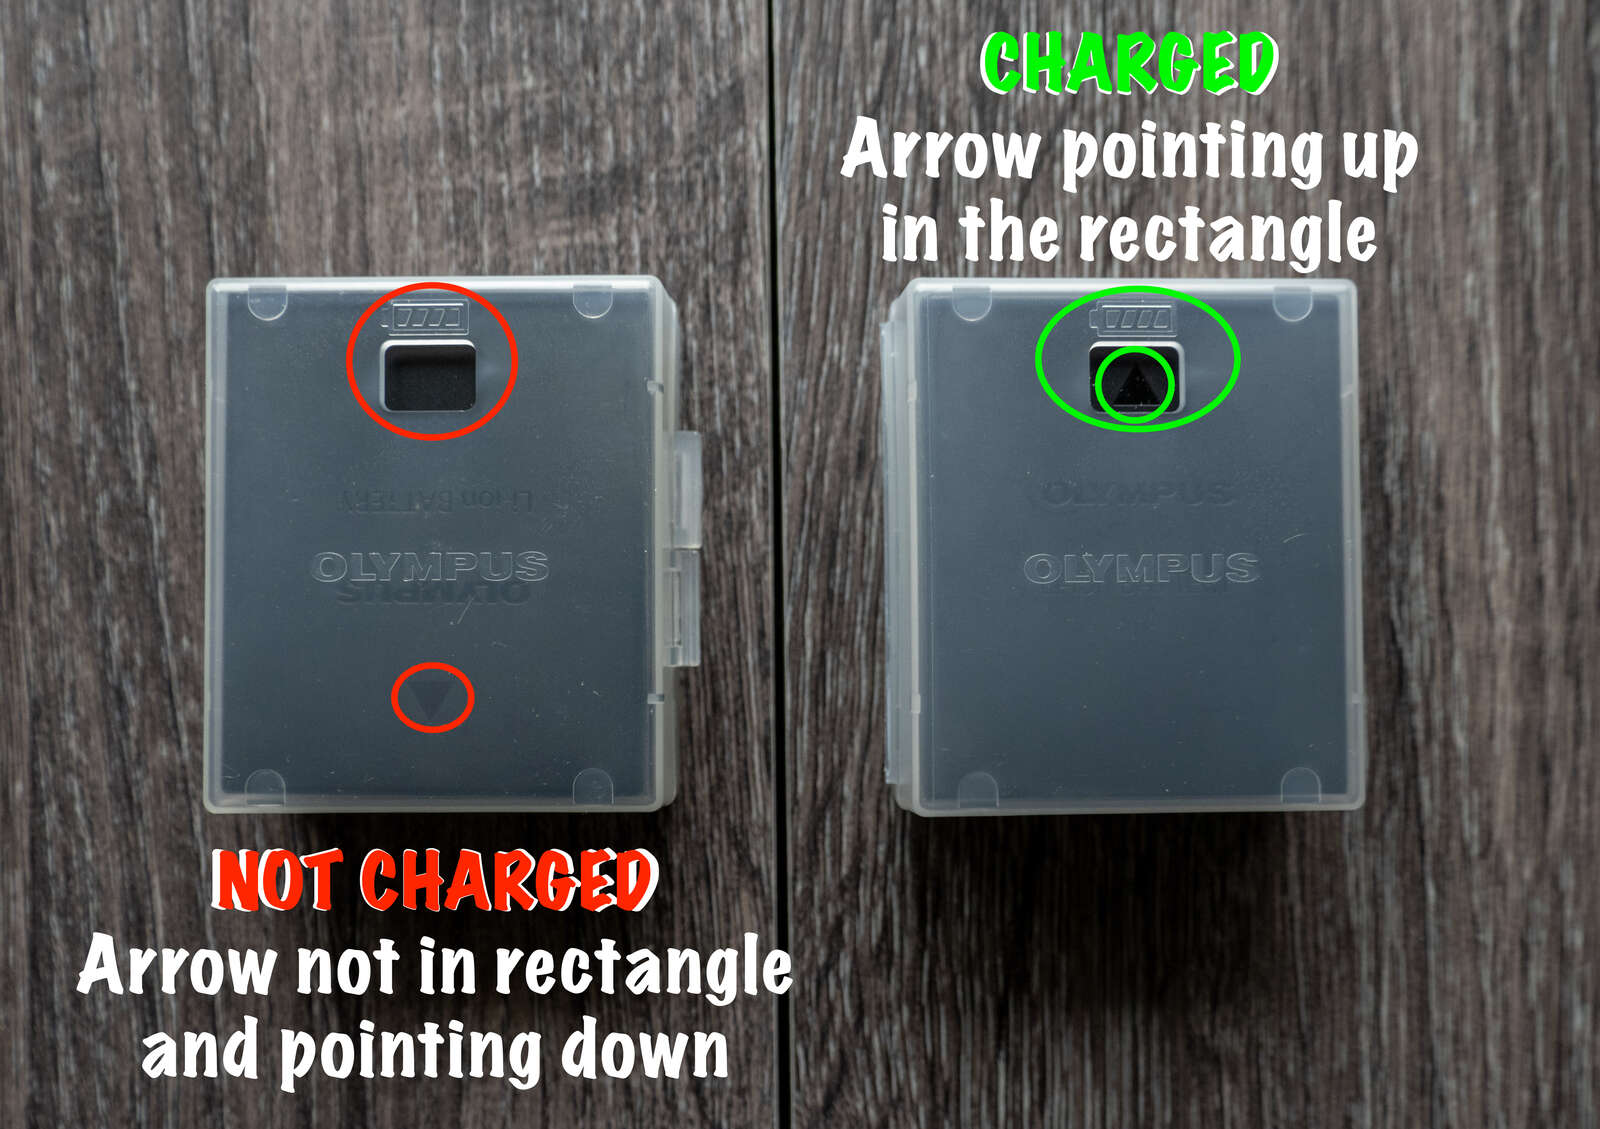
After that, I charge the battery on a power bank and make sure I put fresh batteries into the cameras. I love that Olympus stores their batteries in containers with a small rectangular opening that allows me to see which batteries are charged by the upward-pointed arrow (see photo below).
Then the last step I take is to clean my lenses and format my SD cards, so I am ready to go the next day. You should also remember to test your set up before leaving. The worst is being on the road and realizing your editing strategy does not work or you have the wrong cable.
Do Your Research Before Going
Even though our road trip was not set in stone, as we prefer to see where the road will take us, I had an idea of a loop and a few National Parks I wanted to visit. I had done my research on the animals I could encounter at the time and started to envision what type of images or behaviors I would like to photograph.
Envision is the key word here, as you can never predict wildlife or weather, but you can certainly maximize your chances by doing research ahead of time. For example, May and June are great times to visit National Parks as chances are high that you’ll encounter baby grizzlies, bison, and wolves feeding in the meadows. However, if you want to photograph an elk or moose with a full rack, then fall is better and the animals will be more photogenic as they fill out for winter and parade their beautiful coats.
Before my departure, I often use social media to research what photographers are observing and do a basic internet search on local birds I might not be aware of. The goal is to familiarize myself with the animals and their environment in hopes of capturing them better.
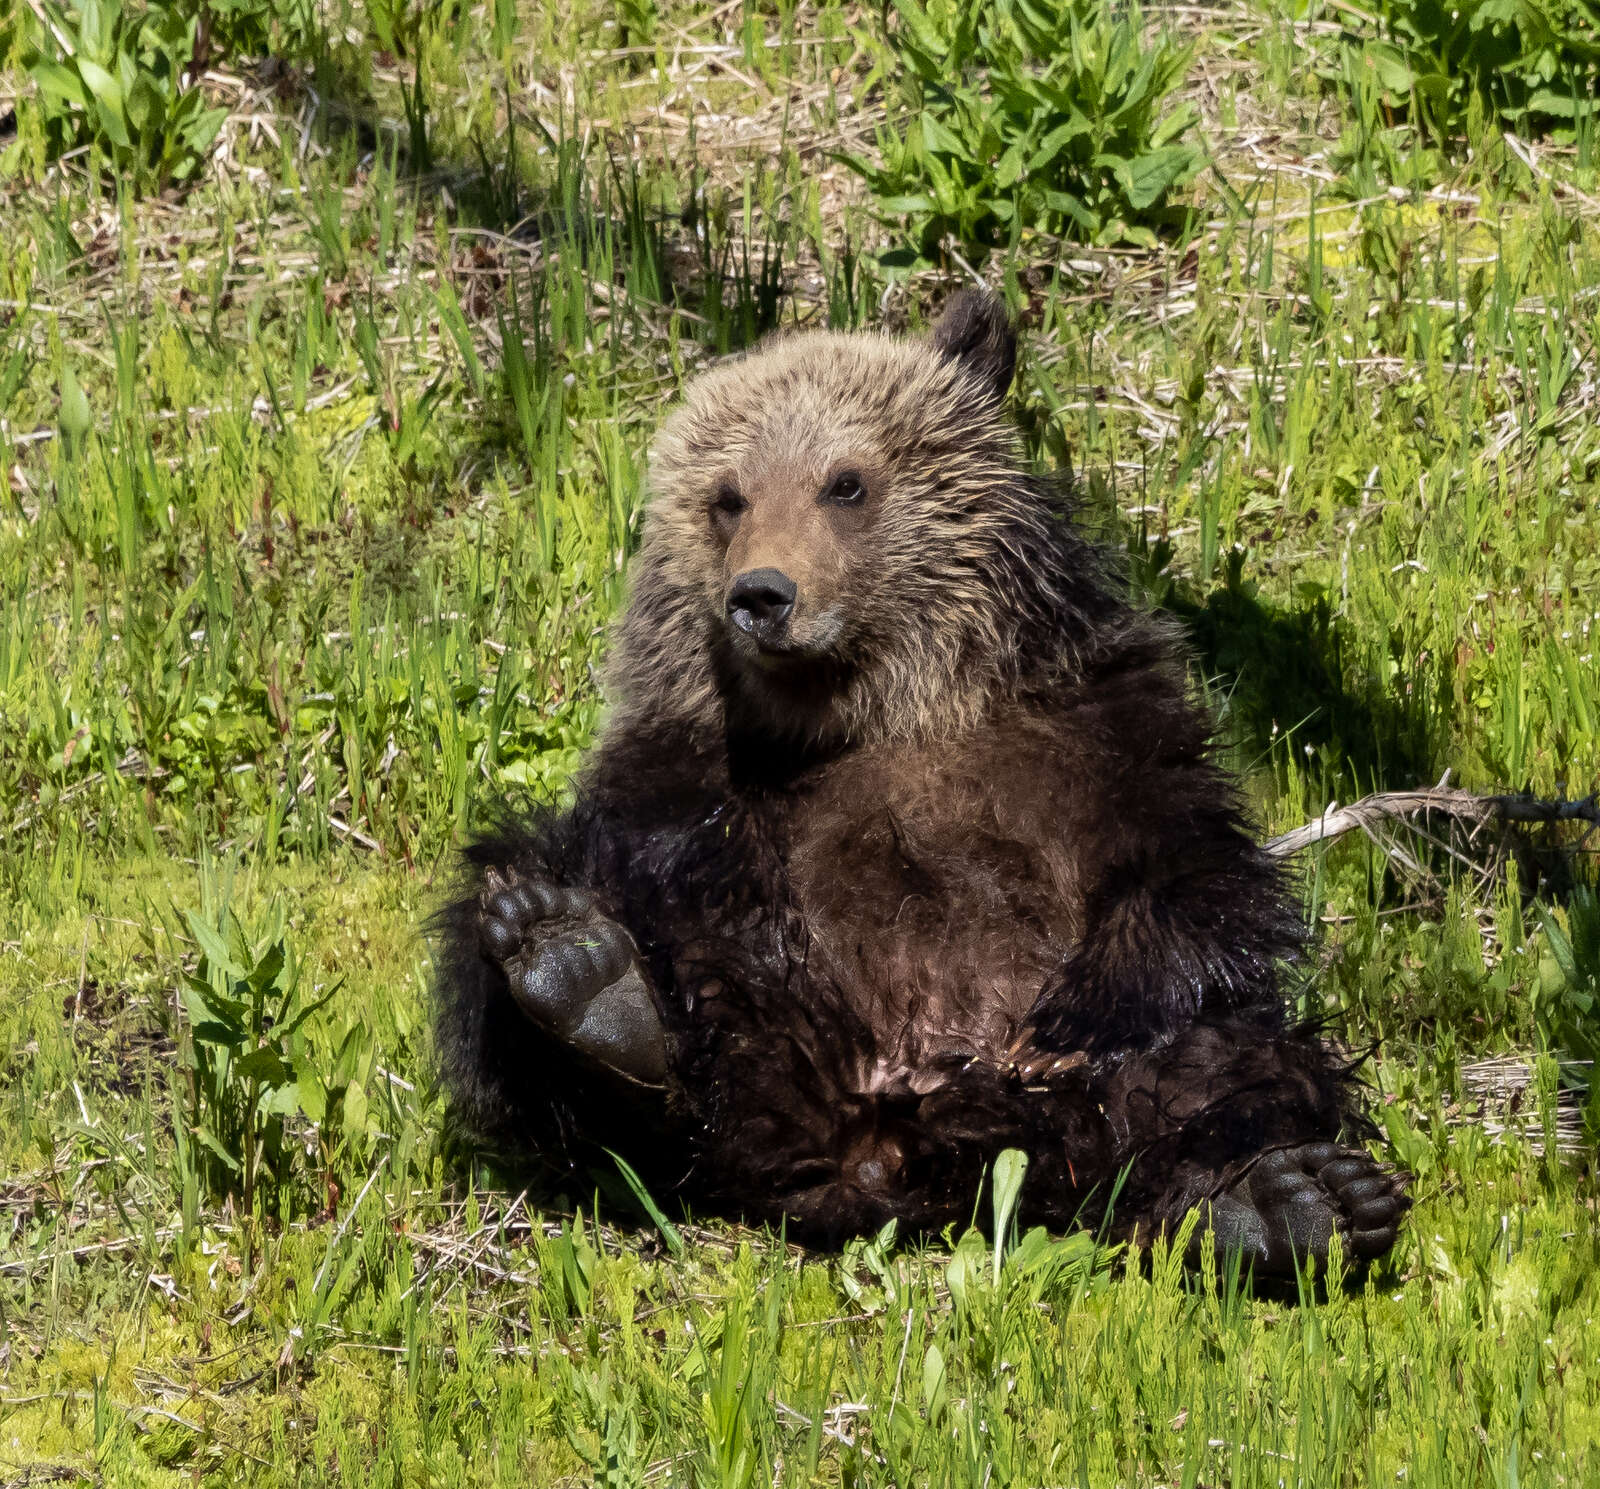
E-M1X | M.Zuiko 100-400mm F4.0 IS PRO
1/2000s | F7.1 | ISO 800
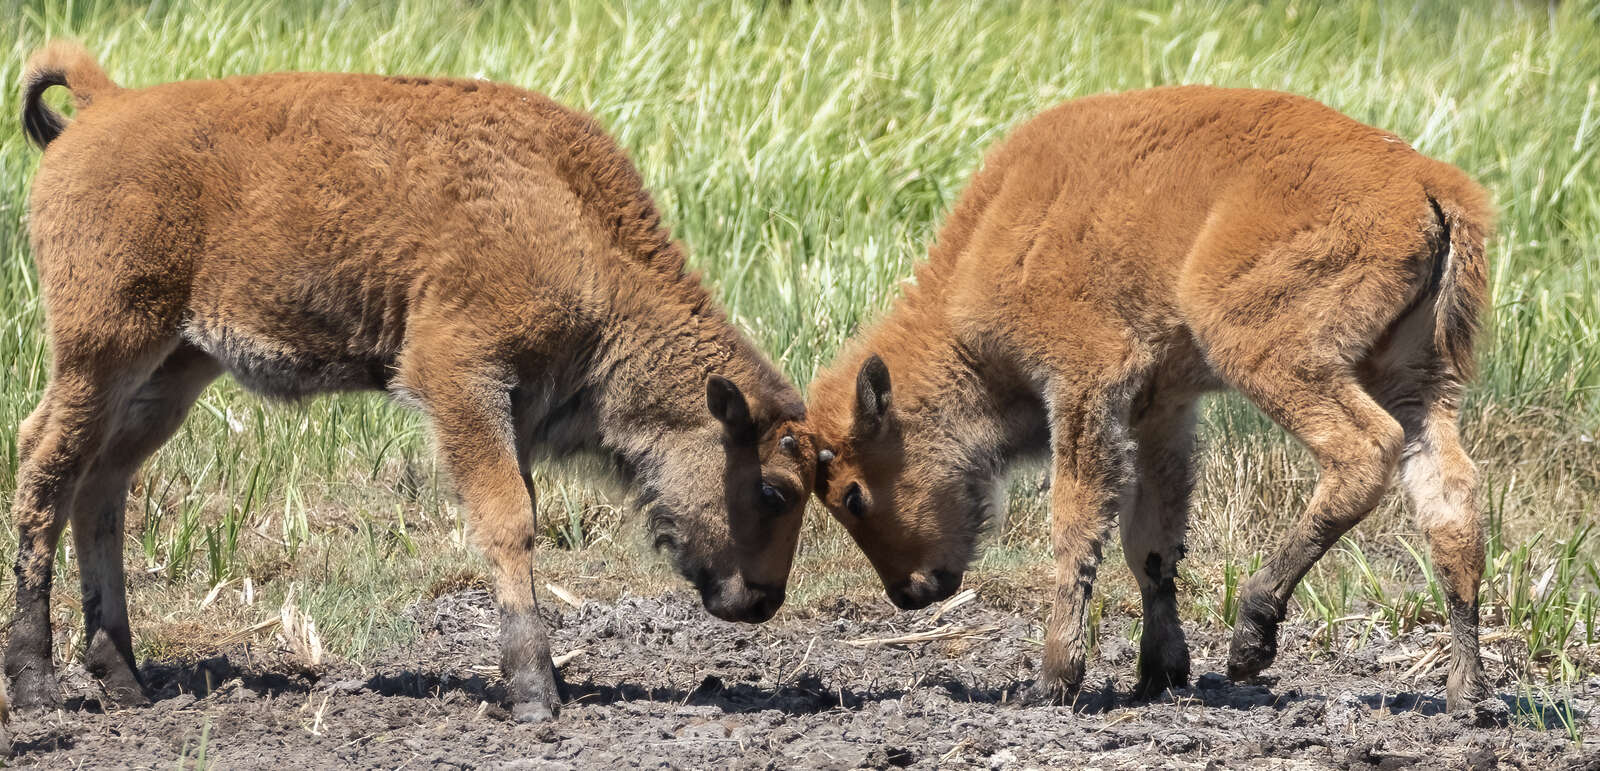
E-M1X | M.Zuiko 100-400mm F4.0 IS PRO
1/1600s | F6.1 | ISO 800
Last Words
And last but not least, if you have the budget, think of hiring a local photography guide when exploring new places. A good guide will know the right time of day to photograph places and might show you the least traveled roads. If you look at the bios of Olympus pros, you will find that many of them offer workshops and tours. And it is definitely a plus when your guide speaks the same Micro-Four-Thirds language as you.
Stay tuned for my follow-up article, where I will take you on my journey into some of our most visited and well-known national parks. I can’t wait to show you what I captured with the 100-400mm and 12-100mm. And if some of you are going on your own journey, don’t hesitate to reach out with questions or tag me so I can see your captures.
Until then, click away!
OM-D E-M1 Mark III | M.Zuiko 12-100mm F4.0 IS PRO
1/5000s | F8.0 | ISO 200
Instagram: @emilietalpin
Emilie Talpin is a French teacher and photographer based in New Hampshire who is passionate about macro, wildlife, night sky and videography. When not in front of her classroom, she loves traveling, exploring the outdoors, and chasing her next photo.