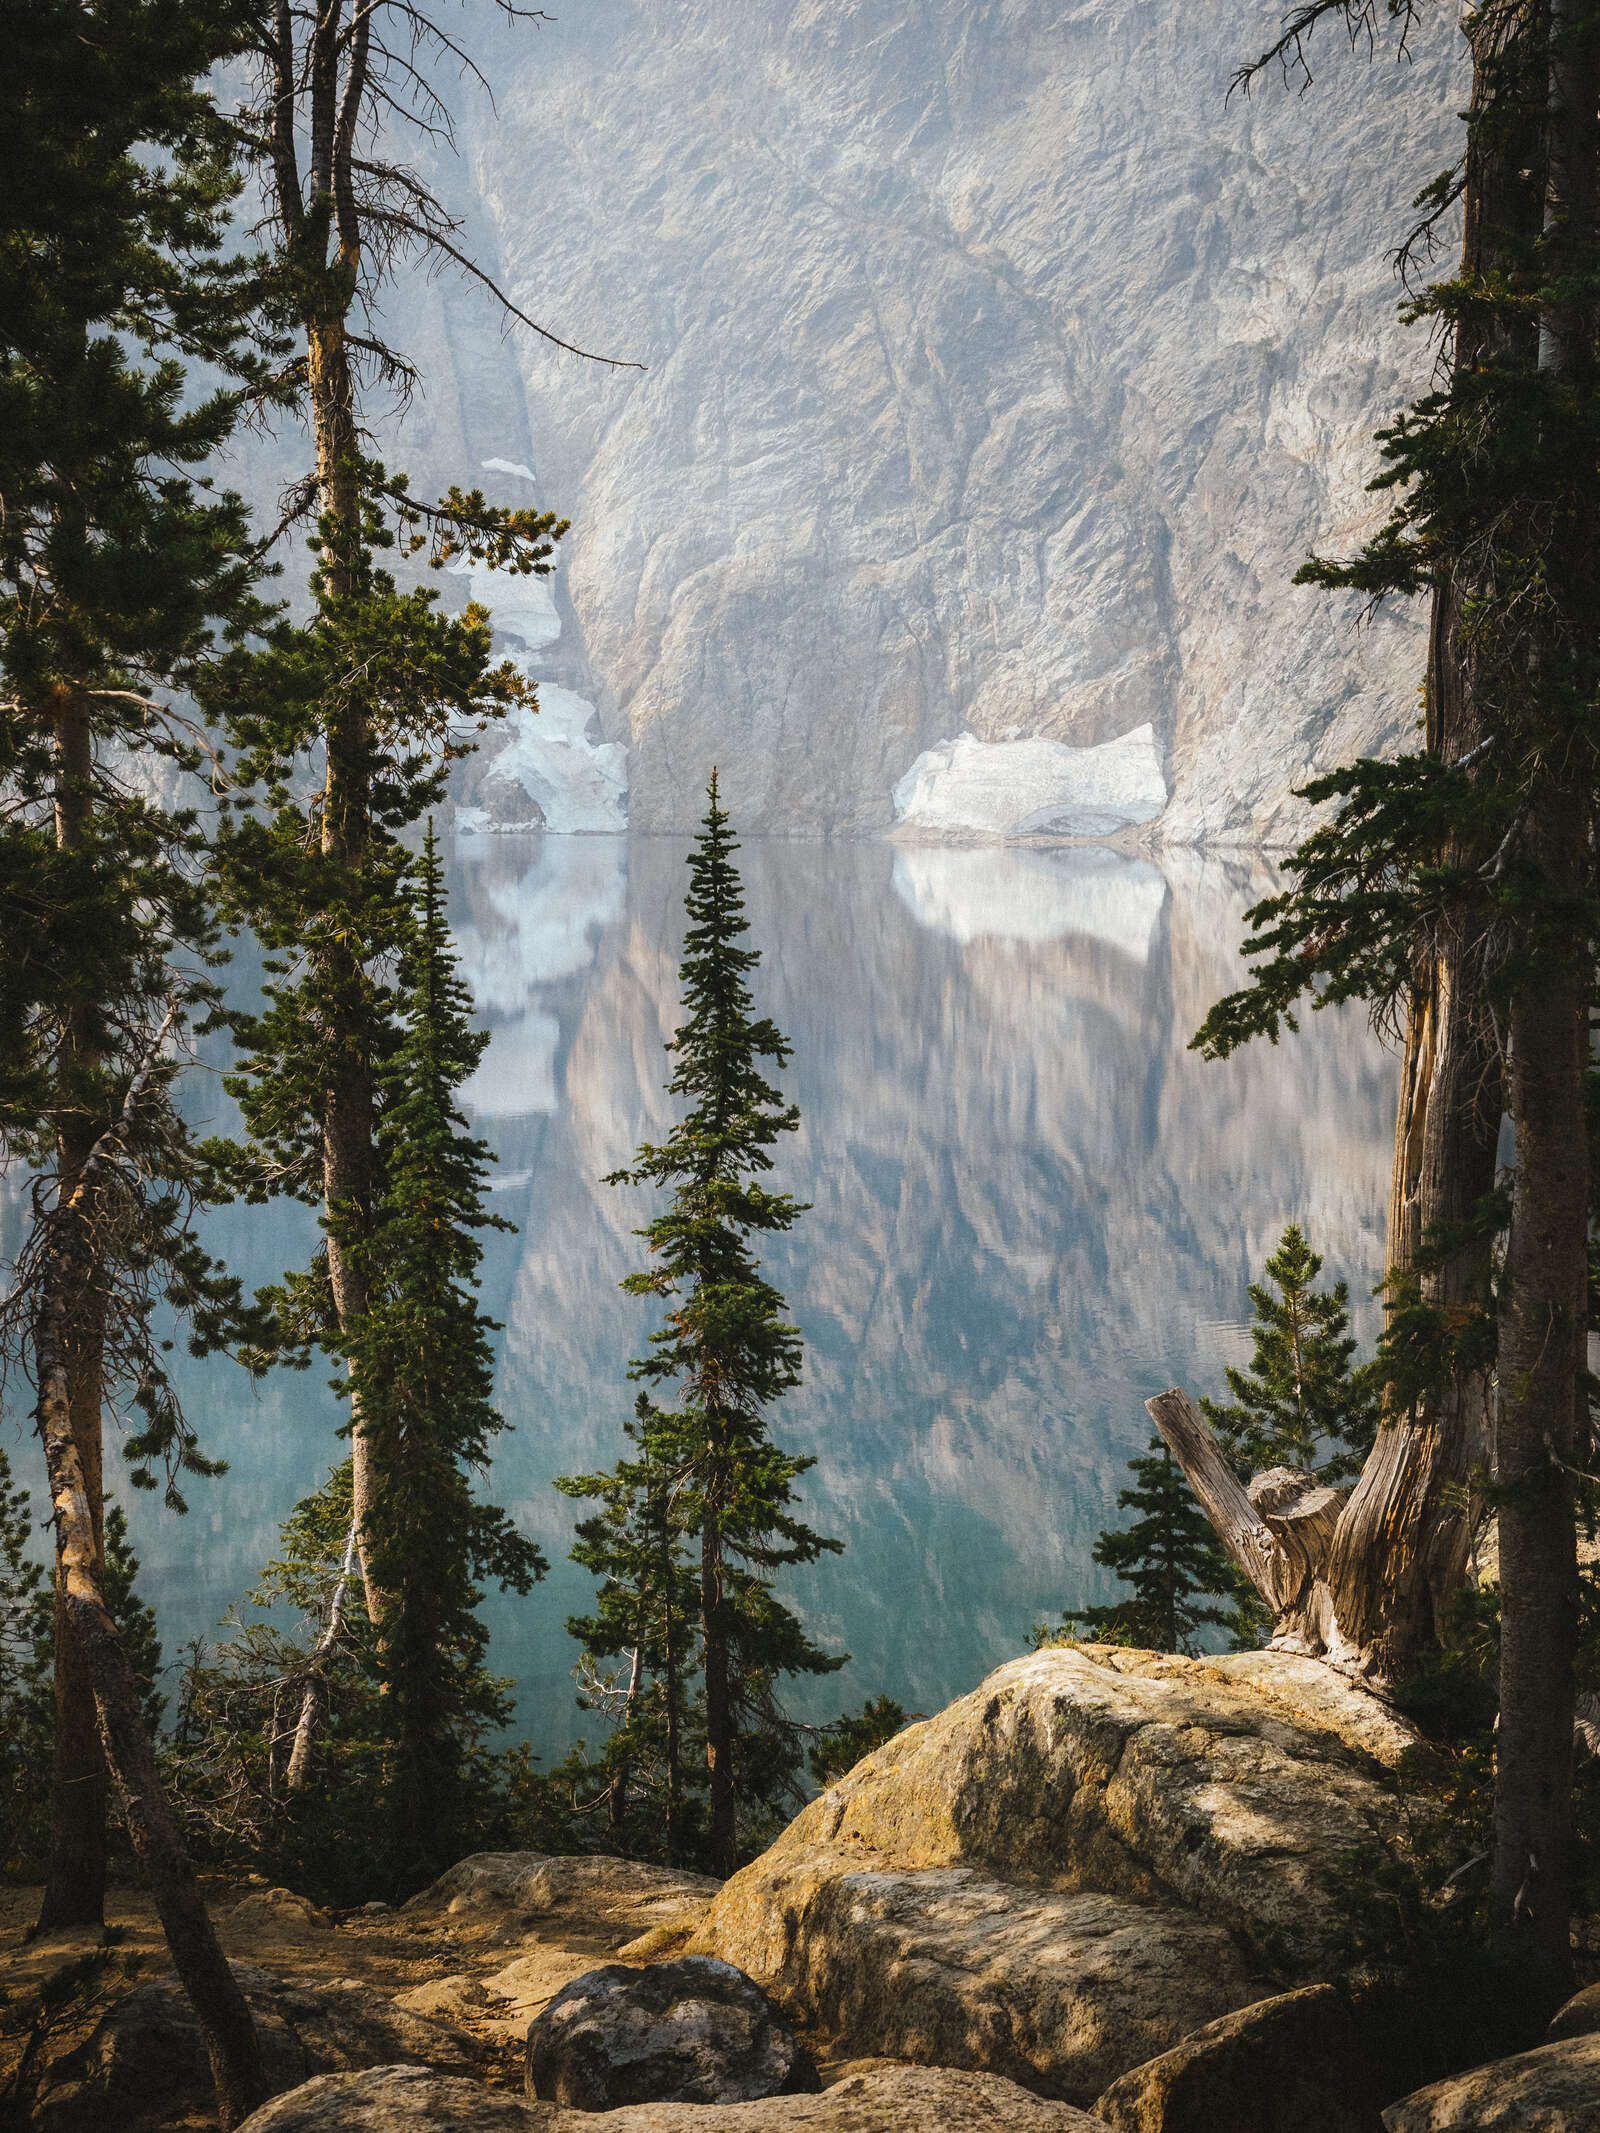
There’s something incredibly special about being able to pack a bag, head outside, and try to survive off of the things you carry with you. It’s an amazing way to disconnect and an even better way to experience new places…and while you’re doing so, you’ll probably want to bring a camera with so you can remember everything that happens, right?
Hopefully this article will help you do just that. If you’re interested in backpacking, new to it, have been doing it for years, or are just genuinely curious about how I pack my bag to optimize space for outdoor gear and photo equipment, well then, this is the place for you!
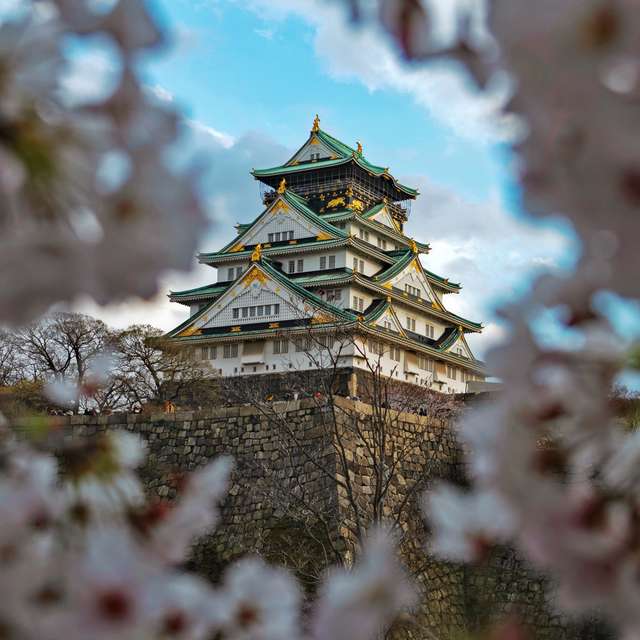
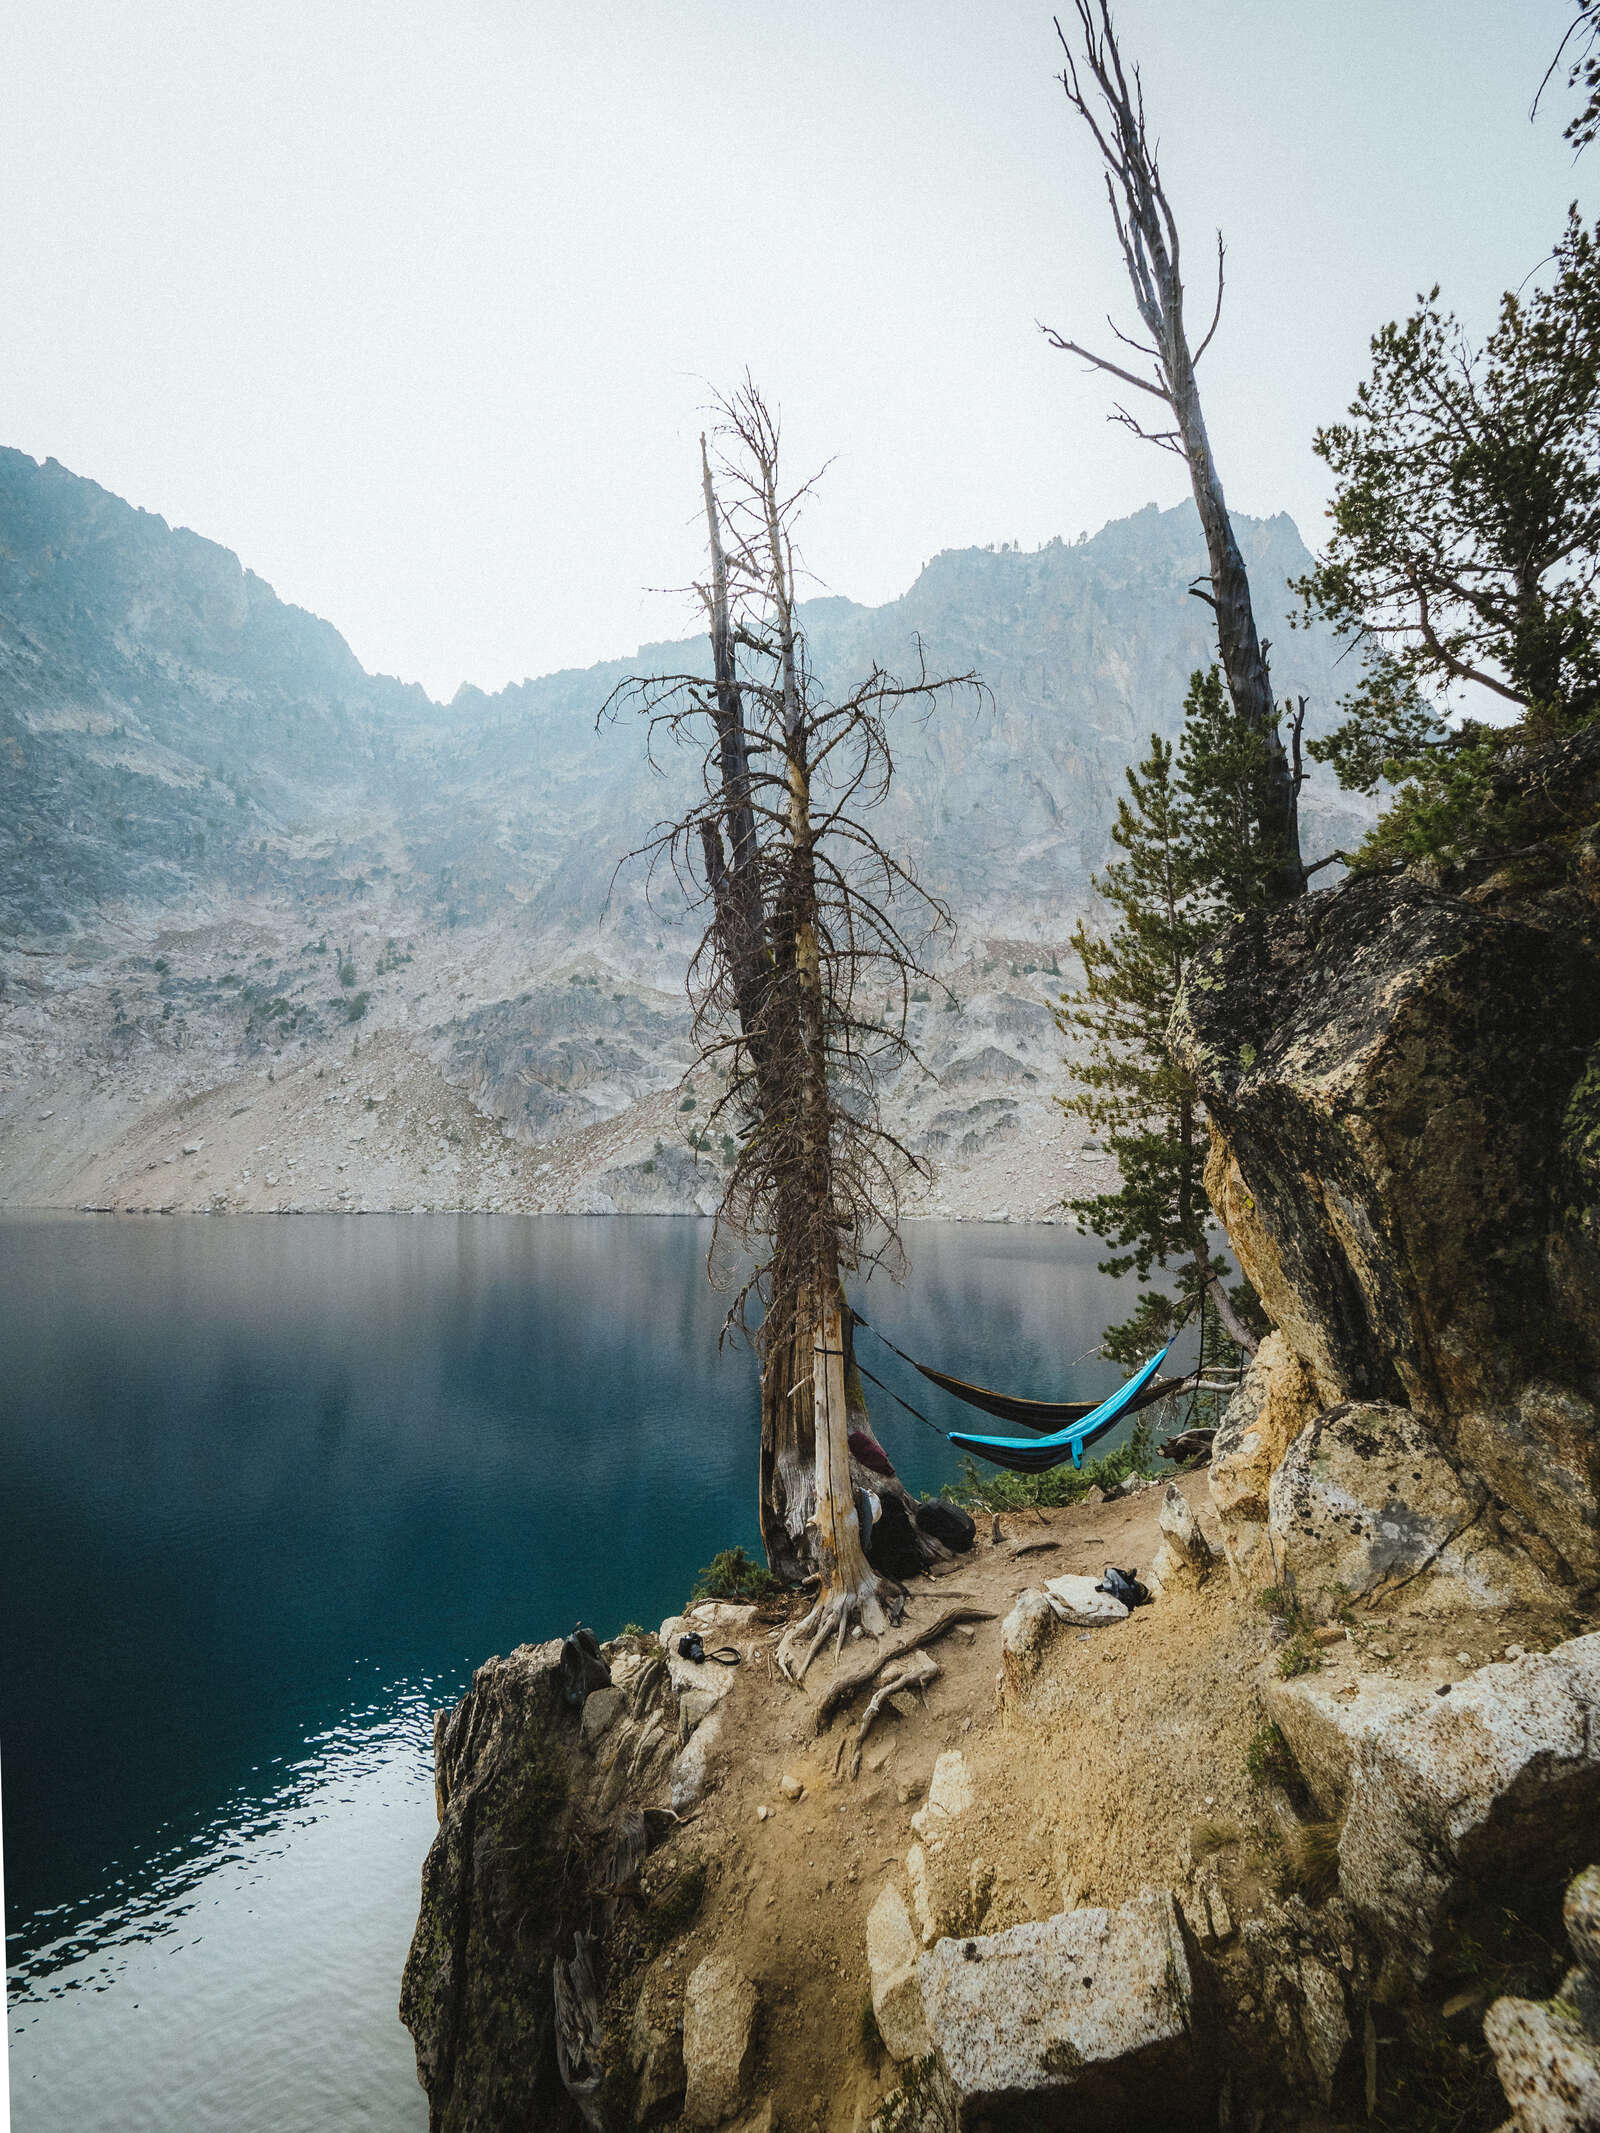
9mm | 1/500s | F5.6 | ISO 400
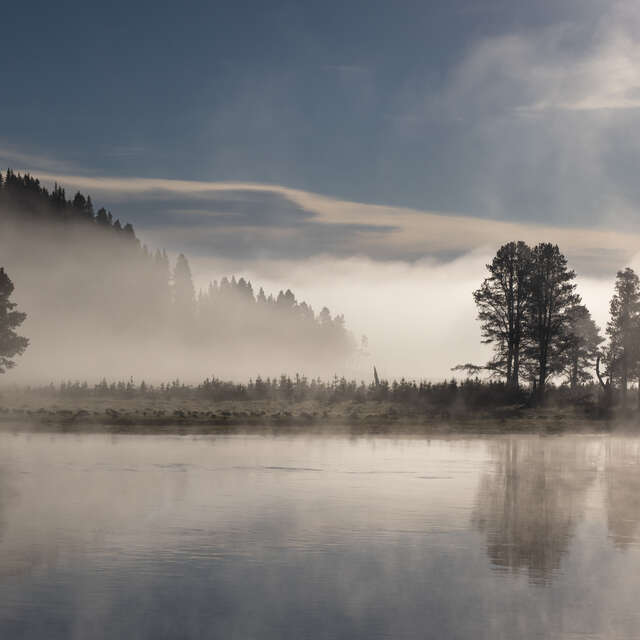
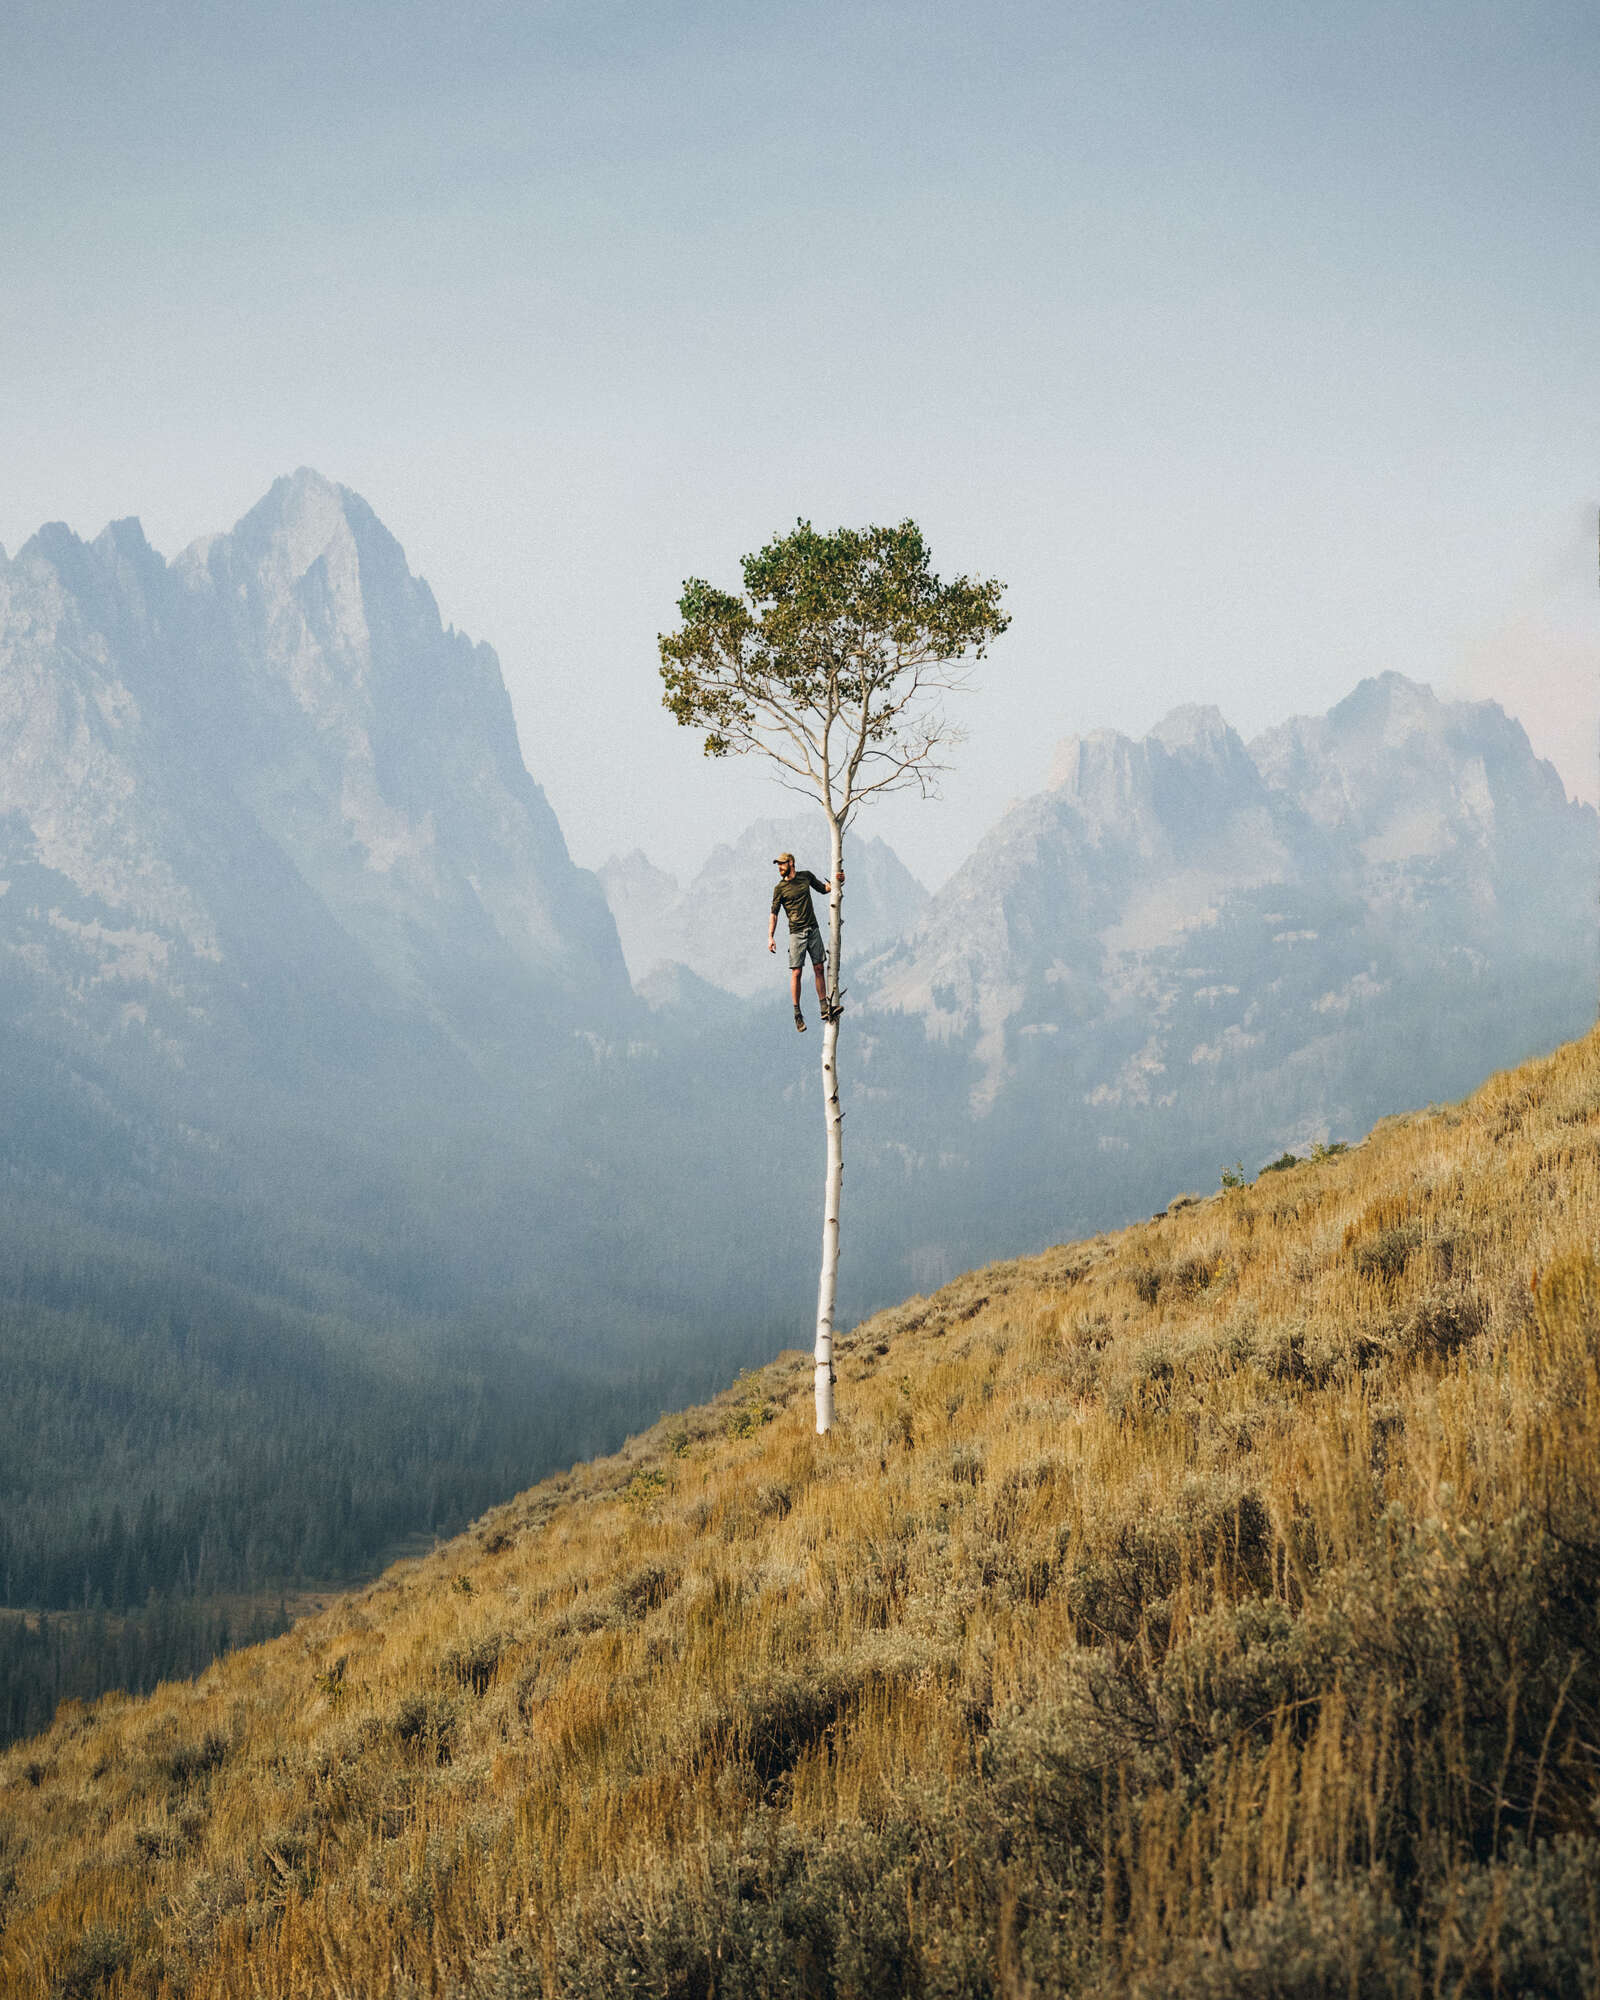
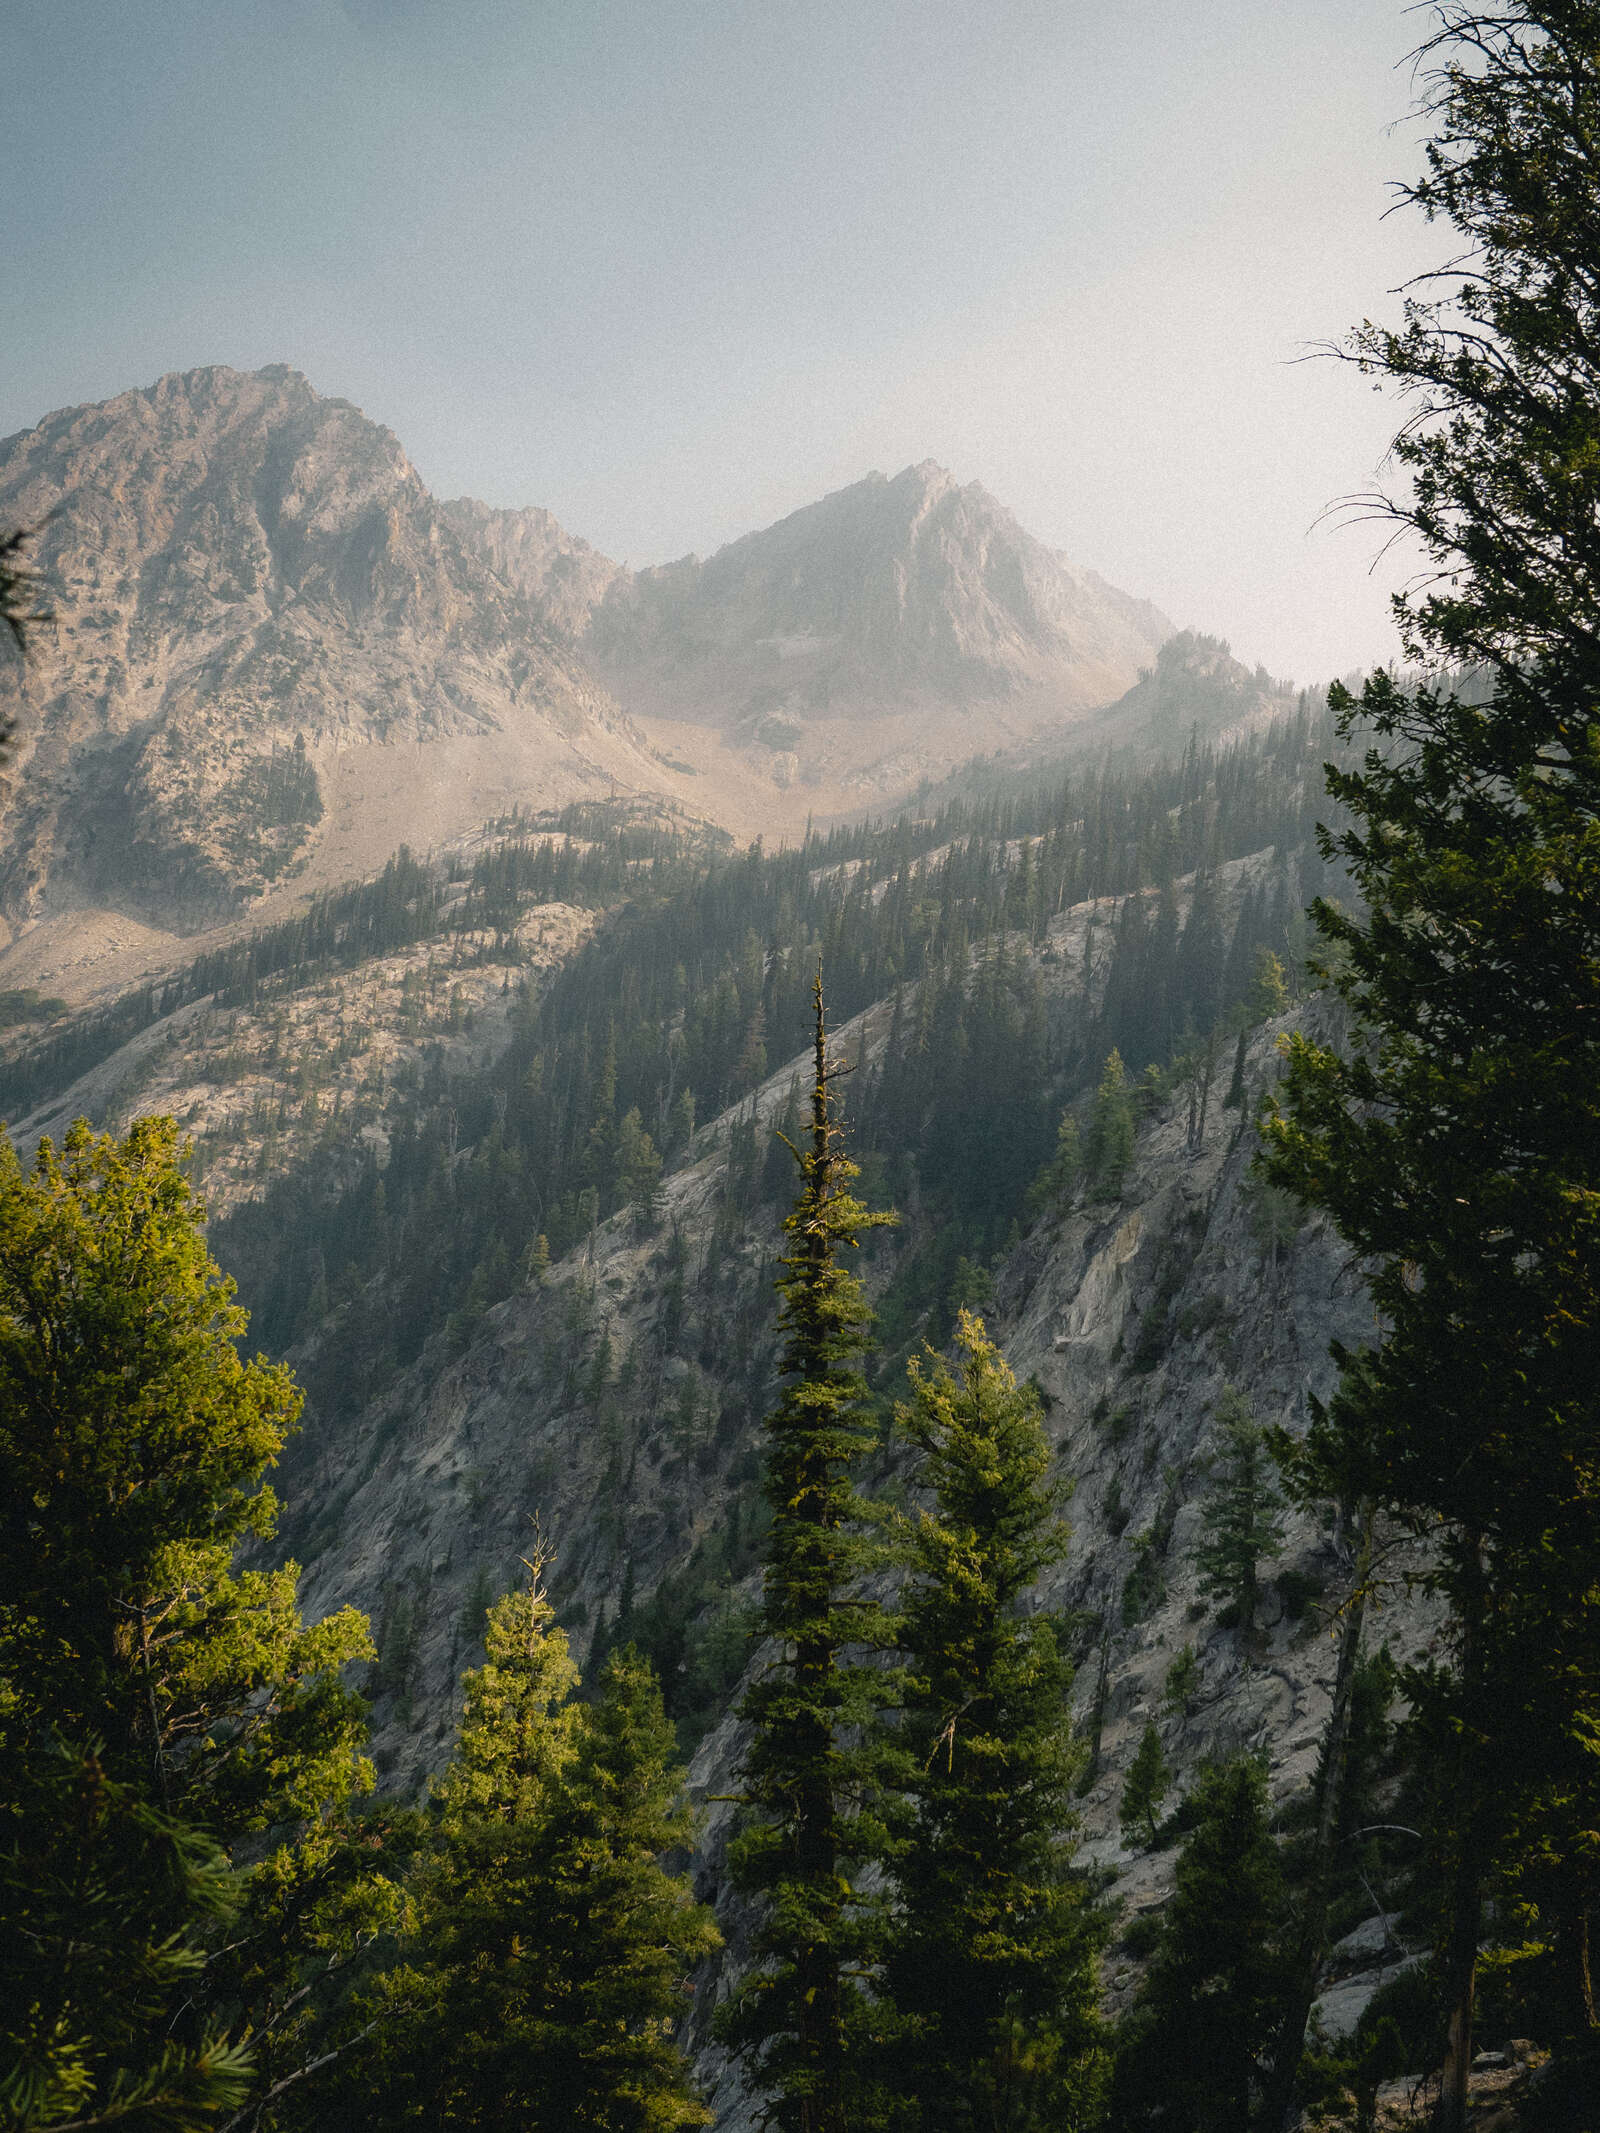
7mm | 1/500s | F4.5 | ISO 500
What To Pack?
The biggest struggle when it comes to backpacking is having limited space…especially if you’re solo backpacking (which is not something I really recommend). To start out, here’s a list of the necessities that I make sure to always bring with me:
Outdoor Backpacking Gear and Necessities:
- Cooking gear: a pot to boil water and maybe a pan
- Jet Boil
- Utensils
- Tent
- Tarp
- Satellite Phone
- Headlamp
- Paracord
- Rain Jacket
- Puffy Jacket
- Gloves
- Swimsuit
- Extra Socks
- Flipflops or Chacos
- Hiking Boots
- T-shirt (x2)
- Toilet Paper
- Toiletries: toothbrush, toothpaste, etc.
- Radios: these are optional, and I like to use Rocky Talkies
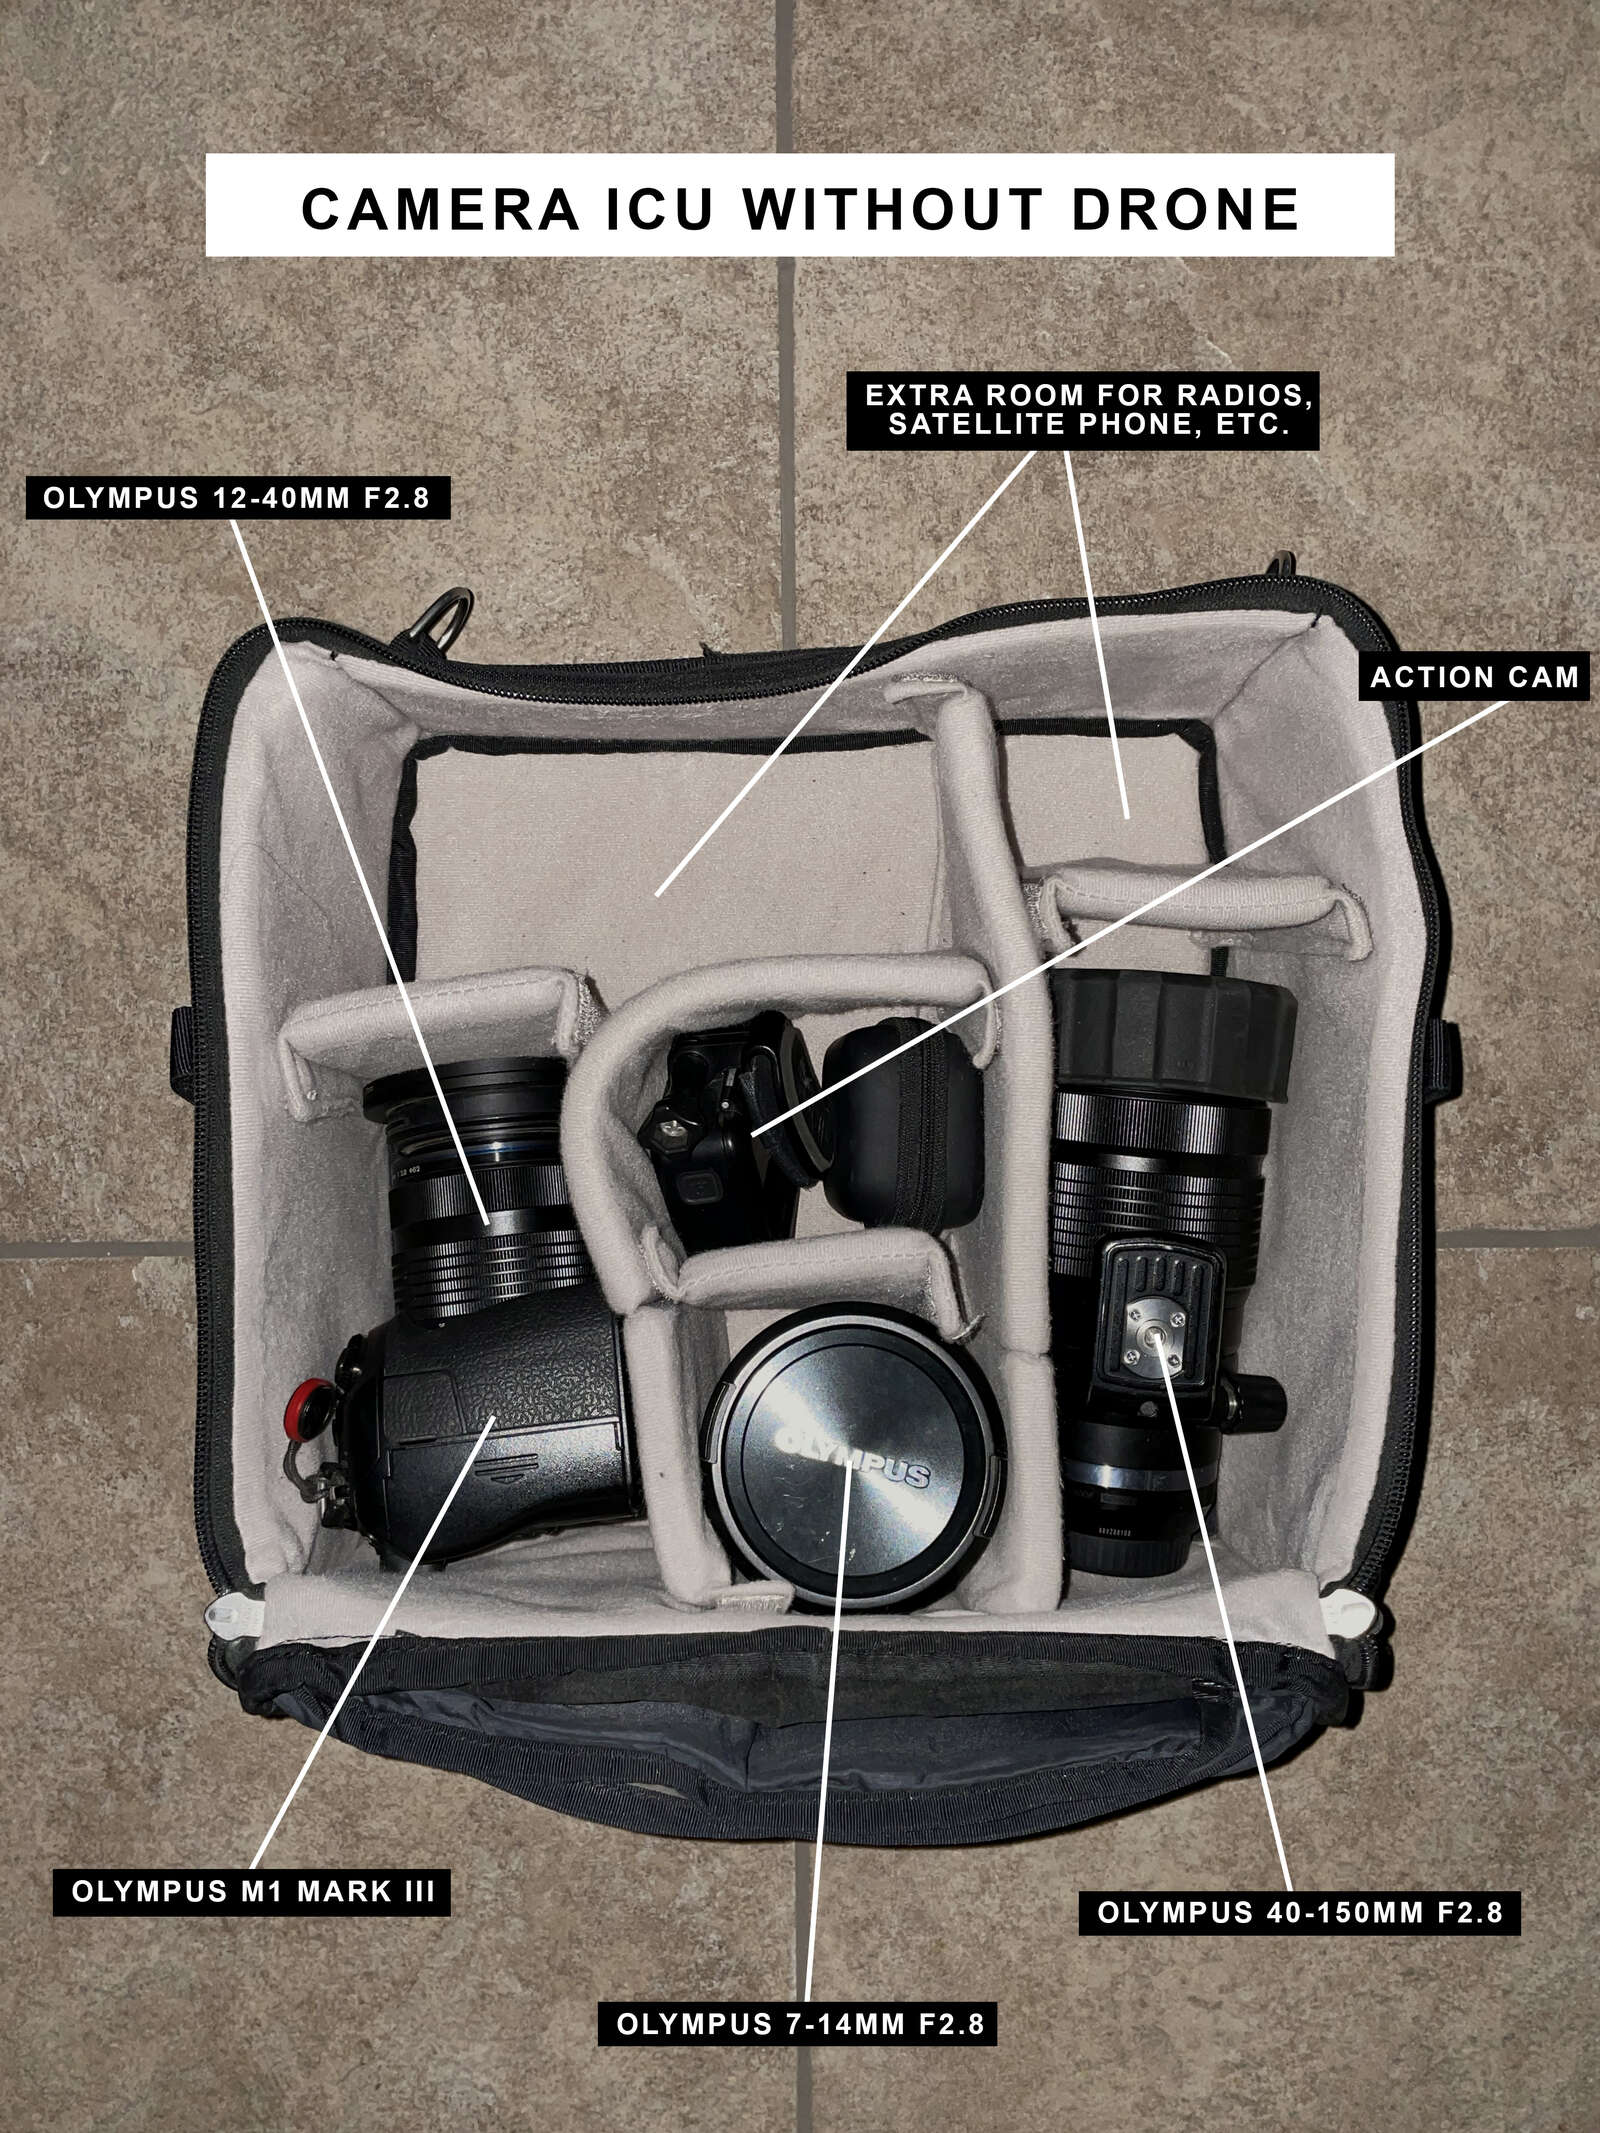
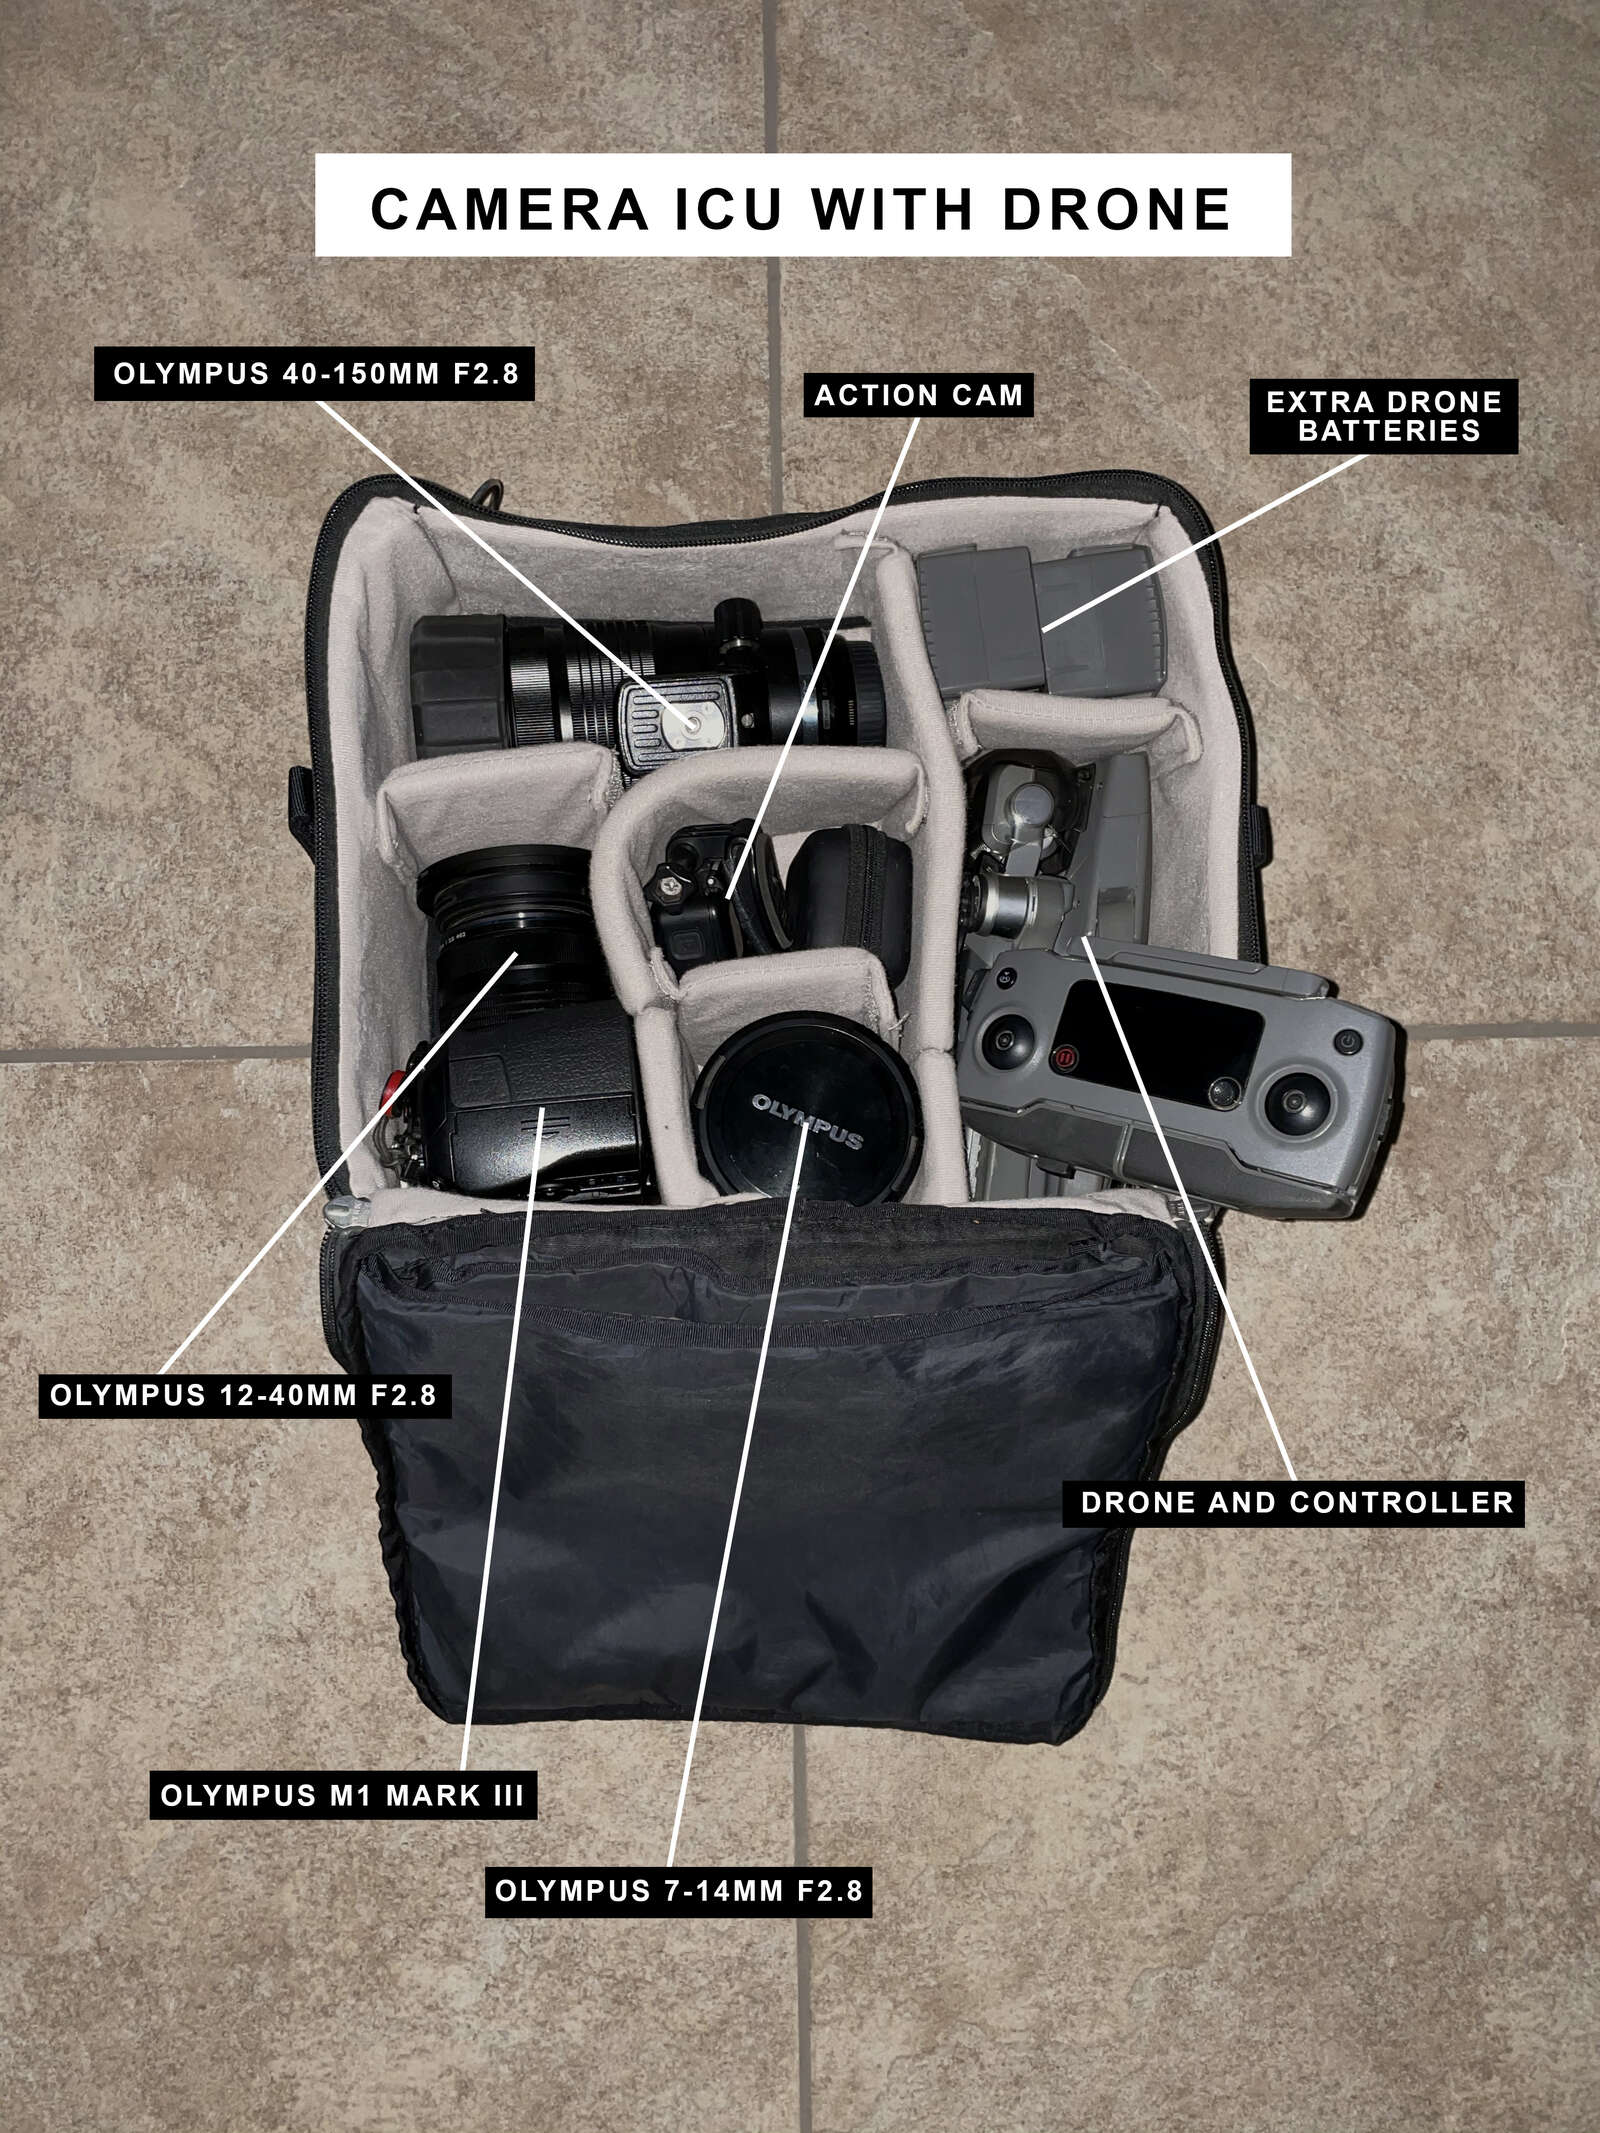
Camera Gear:
- E-M1 Mark III
- M.Zuiko 7-14mm F2.8 PRO
- M.Zuiko 12-40mm F2.8 PRO
- M.Zuiko 40-150mm F2.8 PRO (optional depending on space)
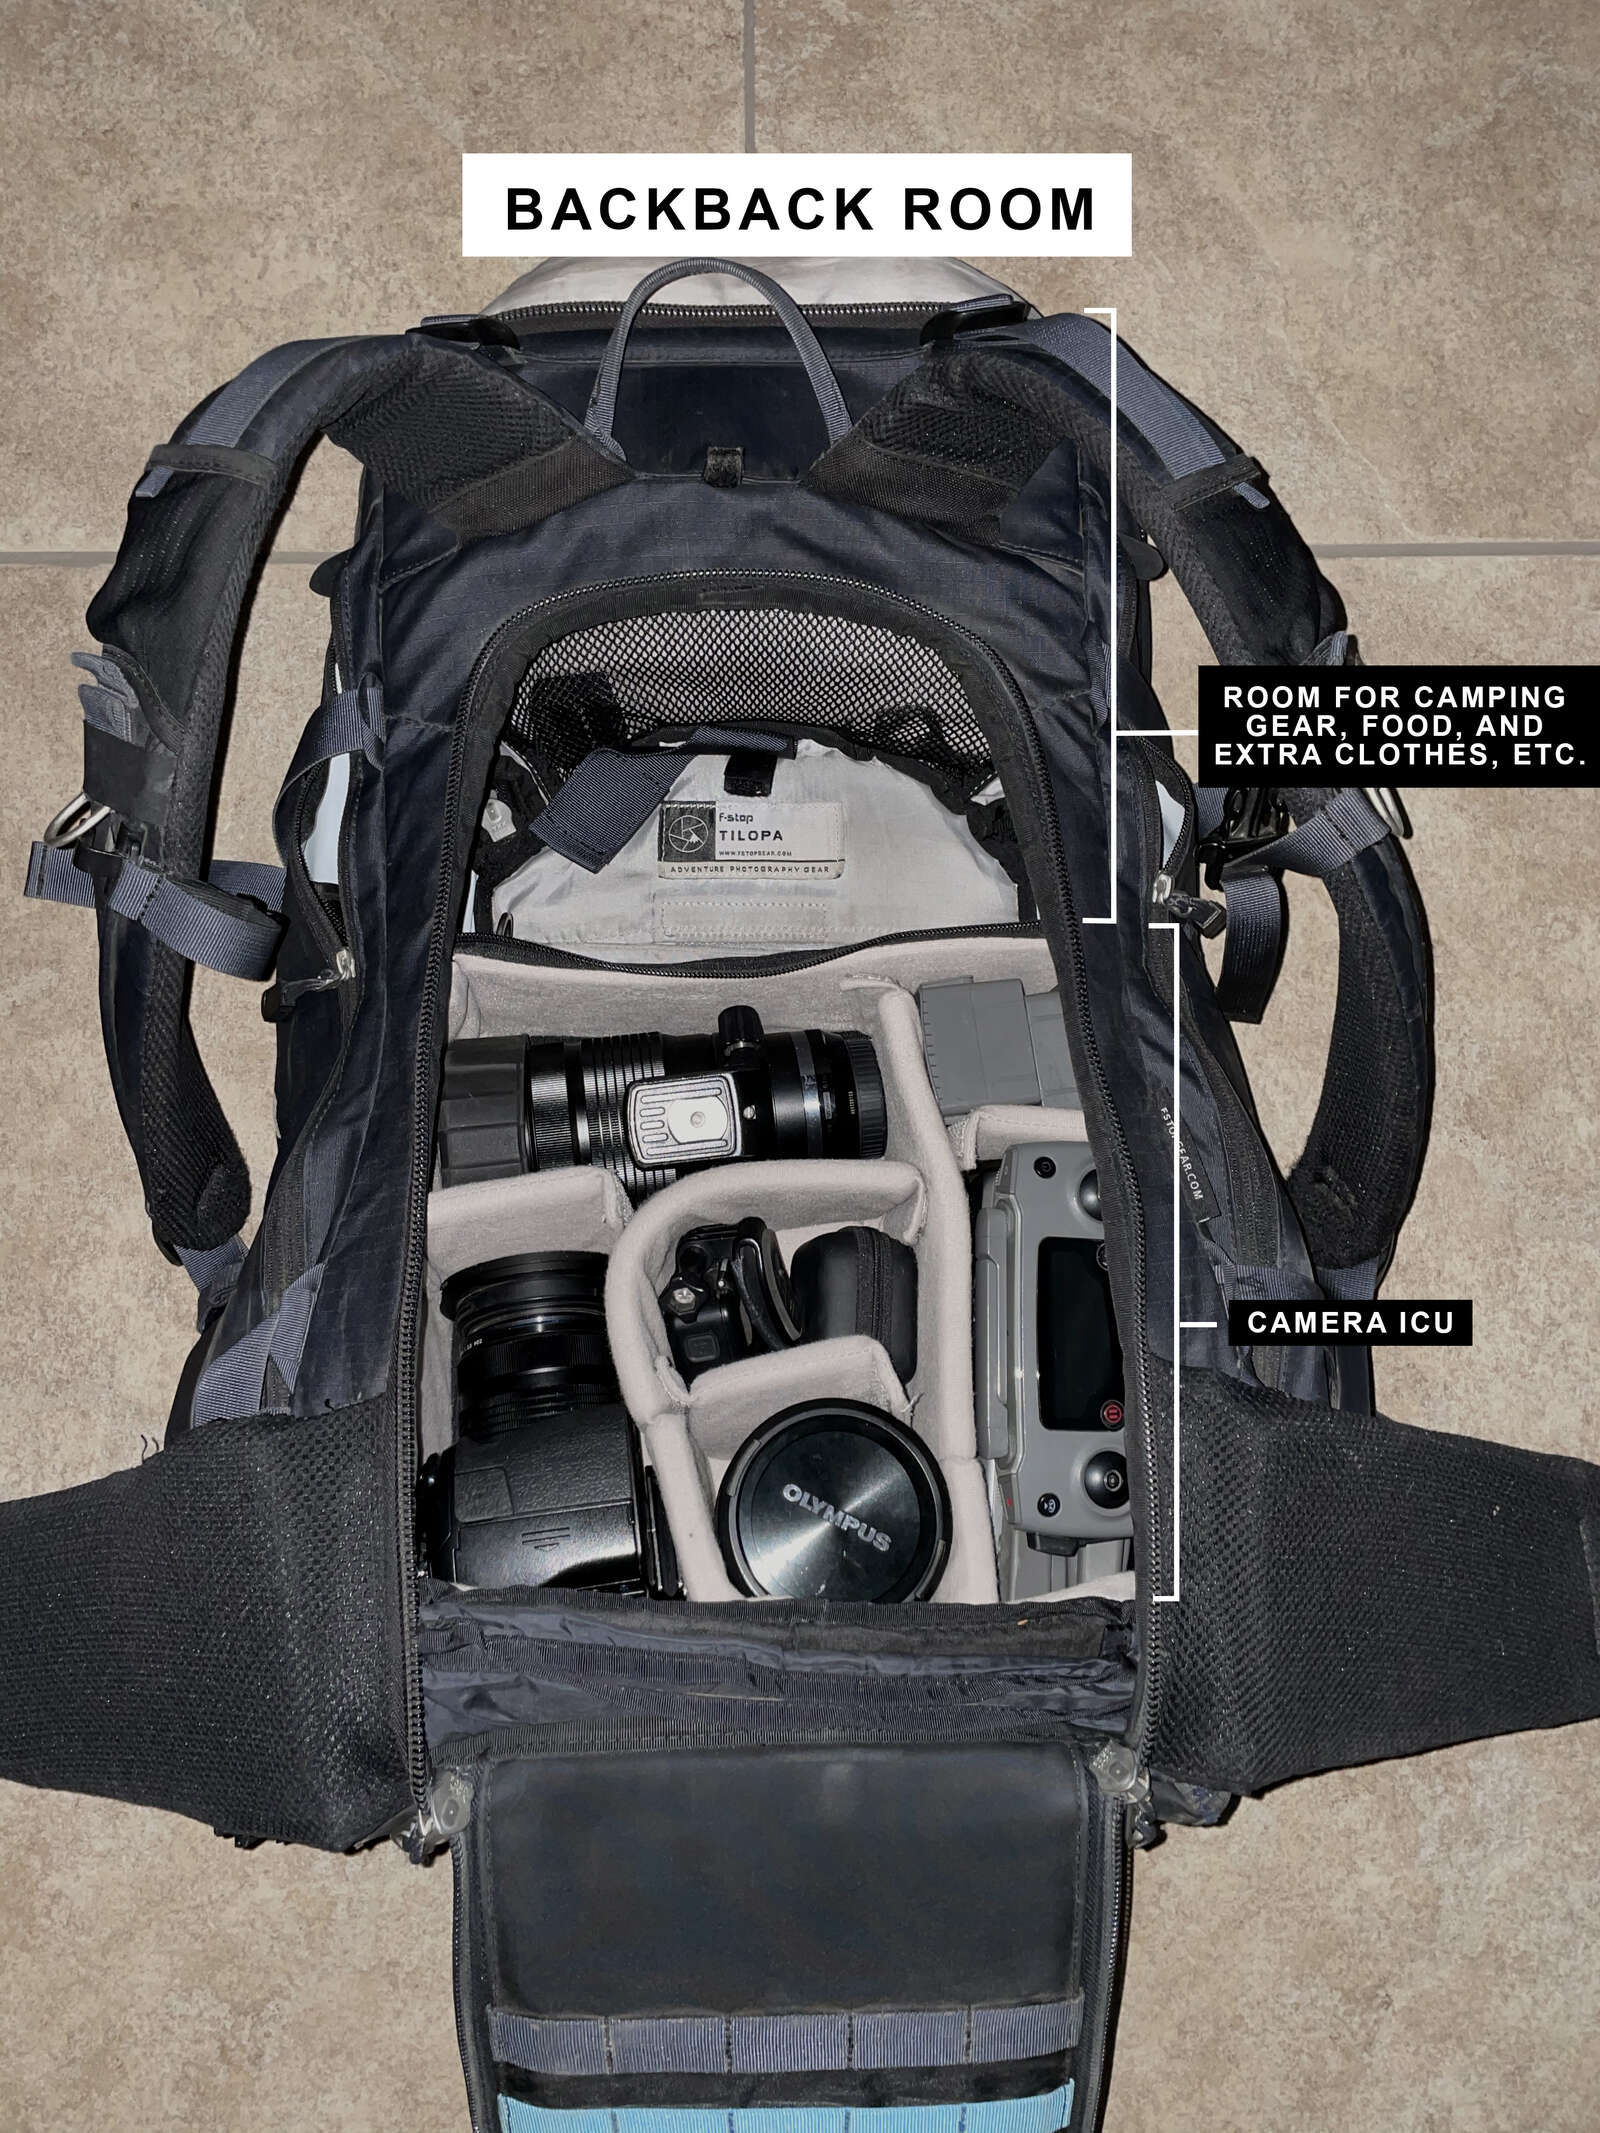
- Camera ICU
- Batteries (3)
- Rocket Air Blower
- Extra Memory Cards
- Pelican Case for Memory Cards
Now, you might be asking yourself, how on Earth is all of this going to fit into a backpack?! Well, it’s important to:
- Make sure you have a good backpack with adequate straps and a hip belt, and
- Make sure that you spend a little extra time prepping gear and organizing your bag.
The last thing you want to do is finish packing your bag and not be able to access a camera quickly or have to dig through your entire bag to get to a rain jacket.
A quick little side-note about backpacks: I prefer to use a camera-specific backpack because it lets me access my camera gear easier. There is a slight tradeoff in comfortability and space, but I’ve found that I’d rather make a small sacrifice and be able to pull my camera out quick, rather than miss a shot while I’m on the trail.
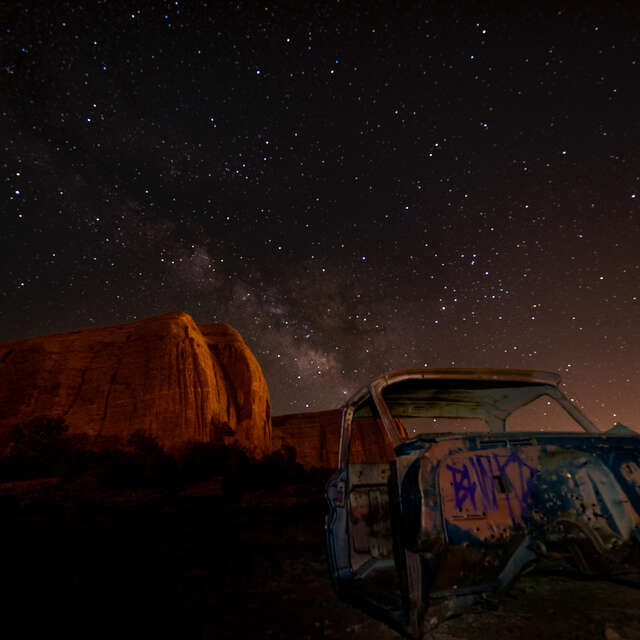
26mm | 1/2000s | F3.2 | ISO 200
The first thing that’s important to do is to find yourself something to carry your camera in. I prefer an Internal Camera Unit (ICU) from F-Stop, but plenty of other brands also make them. The best part about using one of these camera bags is that they’ll keep your camera gear together, protected, and easier to access. Without one your gear would be loosely packed in your bag and more likely to get damaged.
Once you have your camera gear organized and packed into its camera bag, it’s time to start packing the rest of your gear into your backpack. Here are two ways I like to do it depending on which style of backpack I’m using:
How to Pack a Rear-Access Camera Bag for Backpacking
As, I mentioned above: using a rear-access camera bag can be a game changer while you’re on the trail. Instead of having to unzip the top and lift out your camera pouch, you can unzip the back of the backpack and pull your camera out, all in one easy action.
When I’m packing these types of bags the first thing I’ll put into my backpacking bag is my camera pouch. I like to have my camera gear sit towards the bottom of my pack so it’s closes to my back from a weight perspective, and close to the hip belts so they can support the weight of that gear and sleep it close to my back.
Once I have my camera pouch packed, the next thing I’ll add is a T-shirt or two to act as some padding. After that I’ll add my Jet Boil and other cooking supplies. If there’s room, I’ll also set my tent in this area or strap it to the outside of my bag. If you’re backpacking with a friend and you both plan to share the same tent, it’s nice to divide the poles and tent canvas so both people can have a little extra room for food/extra gear.
I always like to bring a tarp or some sort of ground skirt for the tent to keep moisture away, and I’ve found that this works well to be stuffed into the front section of the bag. Tarps are generally light and do a good job filling space/making things feel more rigid. One the tarp is in I’ll continue to use my various soft clothing goods to fill in space and I like to roll my items to keep them organized and neat. I also like to put my socks, shirts, underwear, paracord, and swimsuit in this section as well.
After the soft goods it’s time to pack your food. This is always an interesting topic of discussion by I usually like to bring granola, freeze dried meals, and granola bars with me. The last thing I’ll put into the top of the main compartment of my bag is a puffy jacket and a rain jacket. I do this because you never know what types of weather conditions you’ll run into on the trail and having these two items to choose between can come in very clutch.
After I’ve packed the main compartment, I’ll put a few things in the very top zipper compartment of my bag so I can access these items quickly. Here is where I put my toilet paper, satellite phone, headlamp, gloves, granola bars, and extra batteries, etc. It’s a great spot for random miscellaneous goodies that you may want to grab or use while on the trail.
How to Pack a Normal Backpacking Bag for Backpacking
If you’re using a more traditional backpacking bag you may want to try mixing things up and going with a different packing approach. This is what I’ve found works good for me and I hope it will work good for you as well. Two benefits of using traditional backpacking bags is that they’re usually way more comfortable and they also have more space.
Instead of putting the camera bag in first, I wait to do that until the end and leave it closer to the top of the pack. The first thing I put into my bag when using a traditional backpacking bag is my tent and tarp, followed by my cooking supplies. I do this because I want to keep the heavier items closer to the bottom of the pack and keep them closer to my back/the hip belt. I also know I won’t be using these items until I get to camp so there won’t be any need to have to dig all the way to the bottom of my bag.
The next gear I’ll pack is my extra clothes and soft goods. Similar to above, I’ll use these items to pack in and around the tent/cooking supplies to keep everything safe and secure. Once the soft goods are in, I’ll place my food in the bag and try to keep it pushed and organized towards the front of the bag. I like to use my puffy jacket to keep the food separated from the back wall of the bag because that’s where my camera bag is going to go and since that’s heavy, I don’t want it to crush the food. After packing my puffy jacket and food, I’ll fold my rain jacket and set it on top, then place my camera pouch on top of the puffy, pushed as far towards the back of the bag as possible.
Once the main compartment is finished it’s time to do the top zipper or utilize any other quick-access pounces that may be on your bag. I like to put my toilet paper, satellite phone, headlamp, gloves, granola bars, extra batteries, and anything else that I may was to pull out and use quickly.
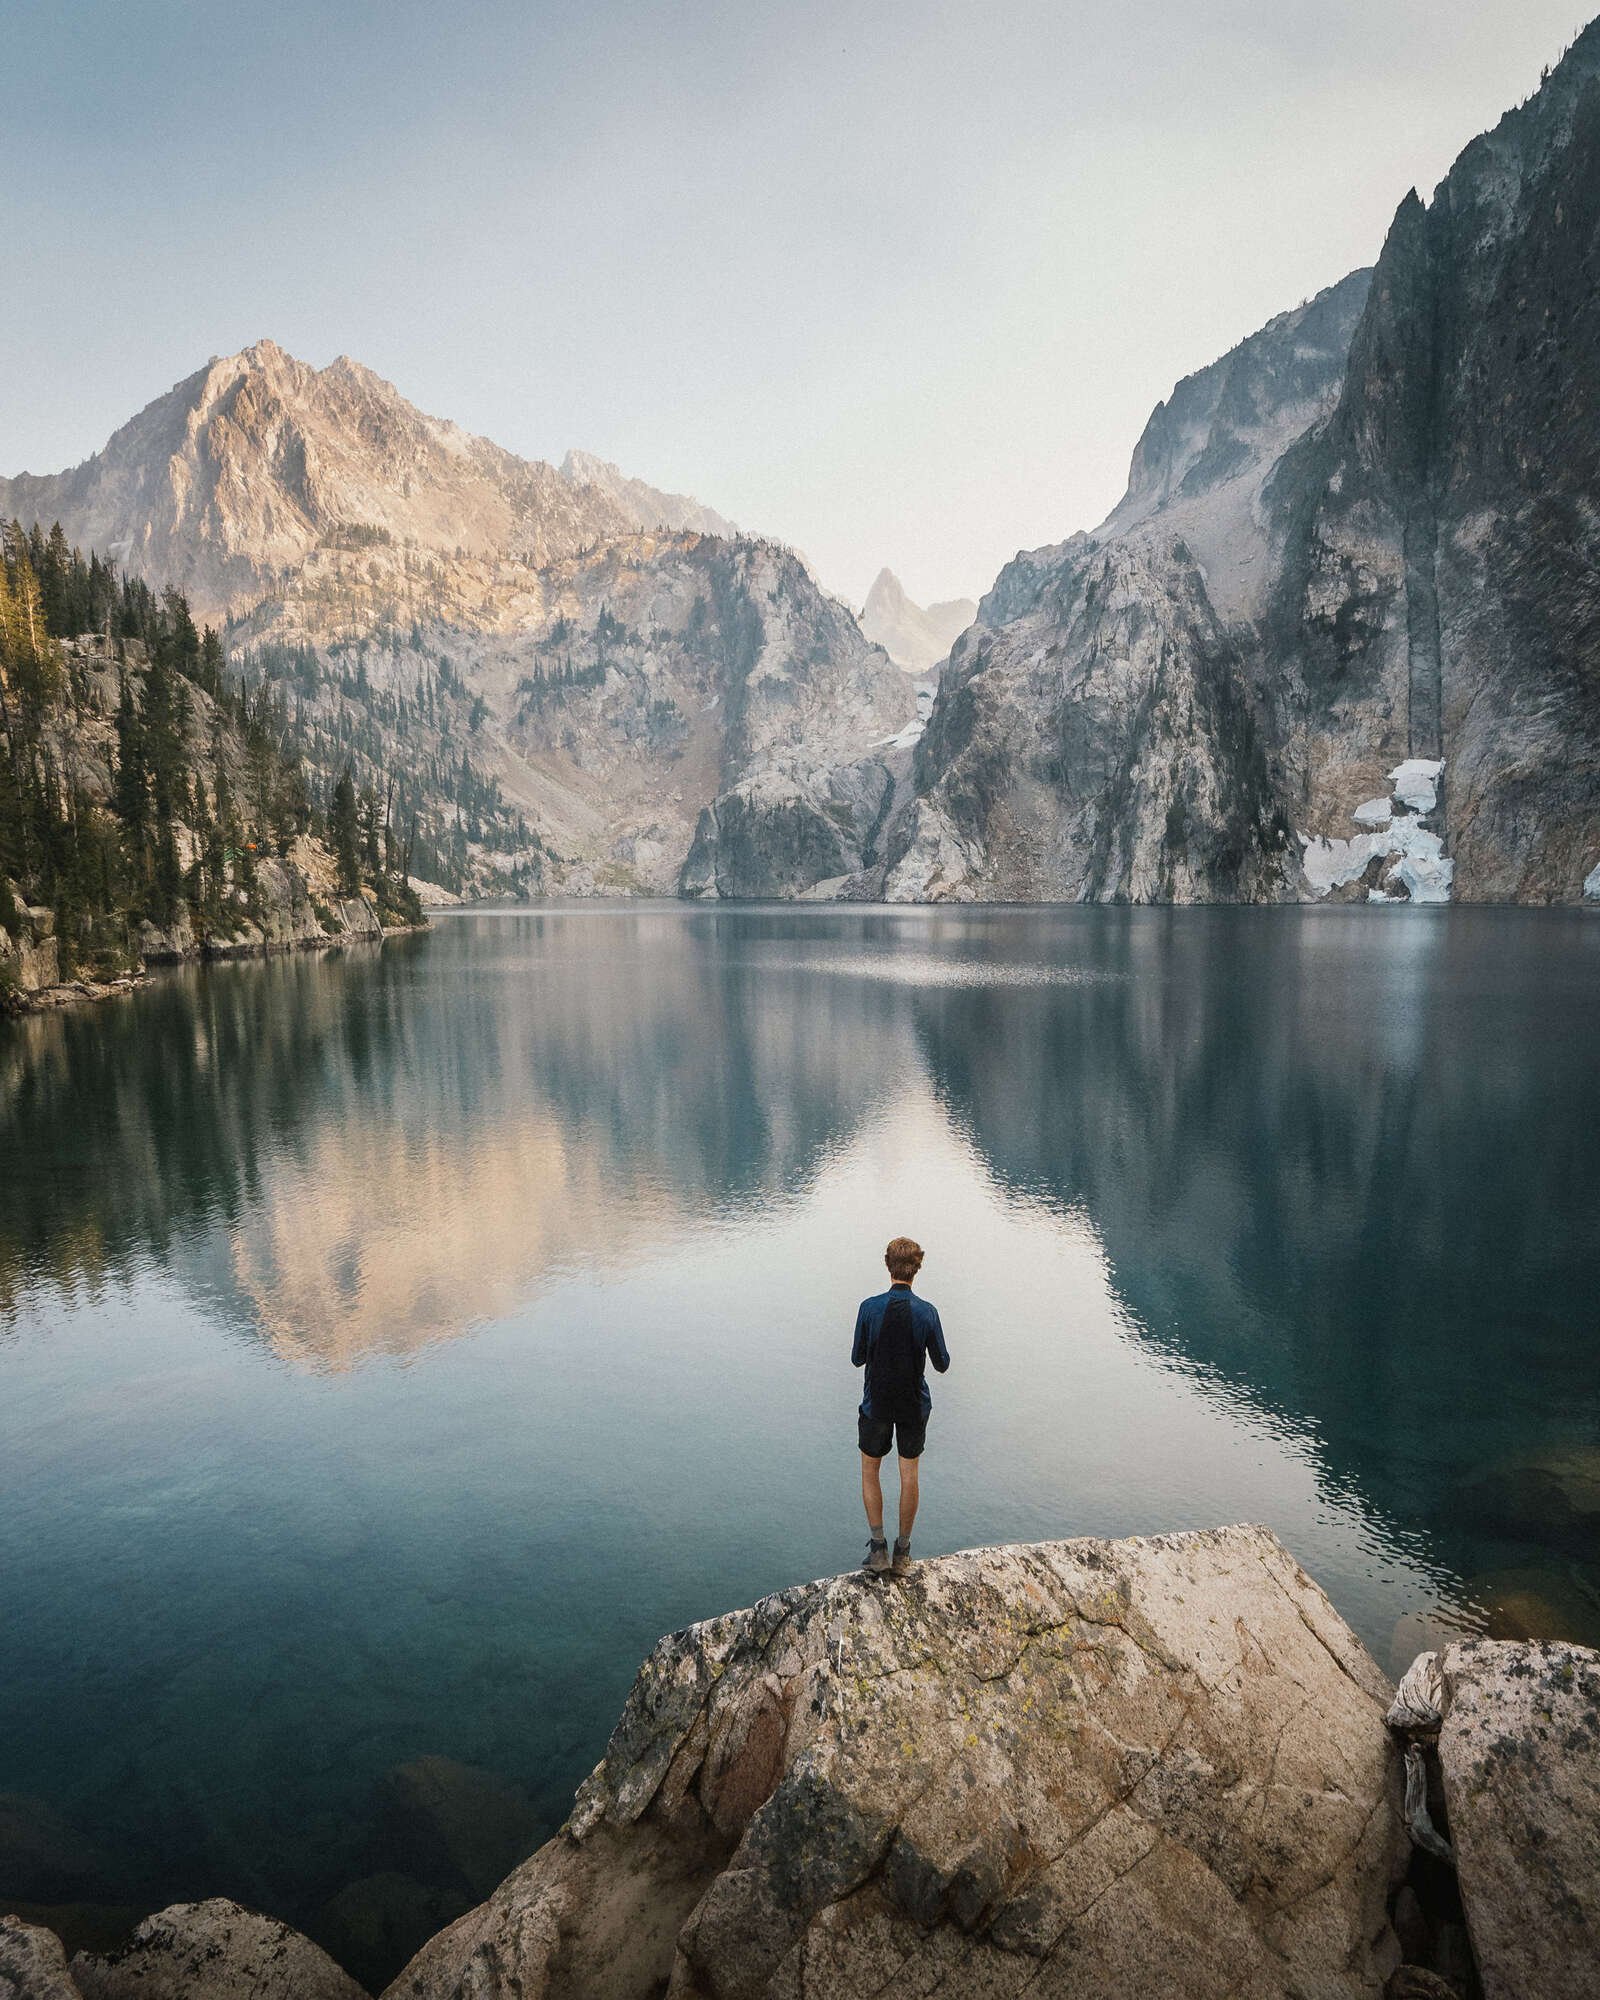
12mm | 1/2000s | F2.8 | ISO 250
9mm | 1/4000s | F2.8 | ISO 400
Now that you know how to pack both styles of bags you should be ready to head off for your adventure and bring your camera with you! Being able to get outside and experience the world like this is an incredible experience and something I would recommend to everyone. Seriously, please try it! I promise you’ll have the time of your life!
If you have any questions or are looking for more information, please feel free to reach out. I love talking about backpacking and am here to help!
21mm | 1/320s | F5.6 | ISO 500
21mm | 1/1000s | F4 | ISO 200

Instagram: @justindkauffman
Justin is an outdoor adventure and lifestyle photographer/cinematographer from Montana. He grew up playing in the mountains and can usually be found outside diving into water, climbing mountains, or exploring different areas of the world.