My love of photography started when I was twelve years old. What appealed to me most then, and still today, is how I can use the camera to “see” differently. My choice of shutter speed, aperture, focal length, filters and various compositional strategies can allow a mundane scene to turn into something wonderful. The pure basics have not changed over the years. We still have choices to make regarding exposure settings and composition. But we aren’t holding cameras anymore. We are holding computers with lenses attached, and that computational power allows us to see the world in new and exciting ways.
OM SYSTEM is a pioneer in computational photography and no camera is more advanced in this area than the OM-1. Through the powerful technology of the True Pic X processor you can create images that were just not possible a few short years ago. The OM-1 has a number of computational features – live composite, high resolution modes, Live ND and several more. Even though each would be used under different circumstances, and provide quite different results, they all have one thing in common. Once engaged, the camera takes a number of images and then processes them to create a single shot with that specific feature applied. OM SYSTEM/Olympus cameras have had this ability for a number of years. The OM-1 expands the possibilities and dramatically increases the processing speed so that you get on with your next shot.
OM System has developed a number of features involving computational photography. The ease of use and power of these features has completely changed the way I create many of my landscape shots.
Live Composite Mode
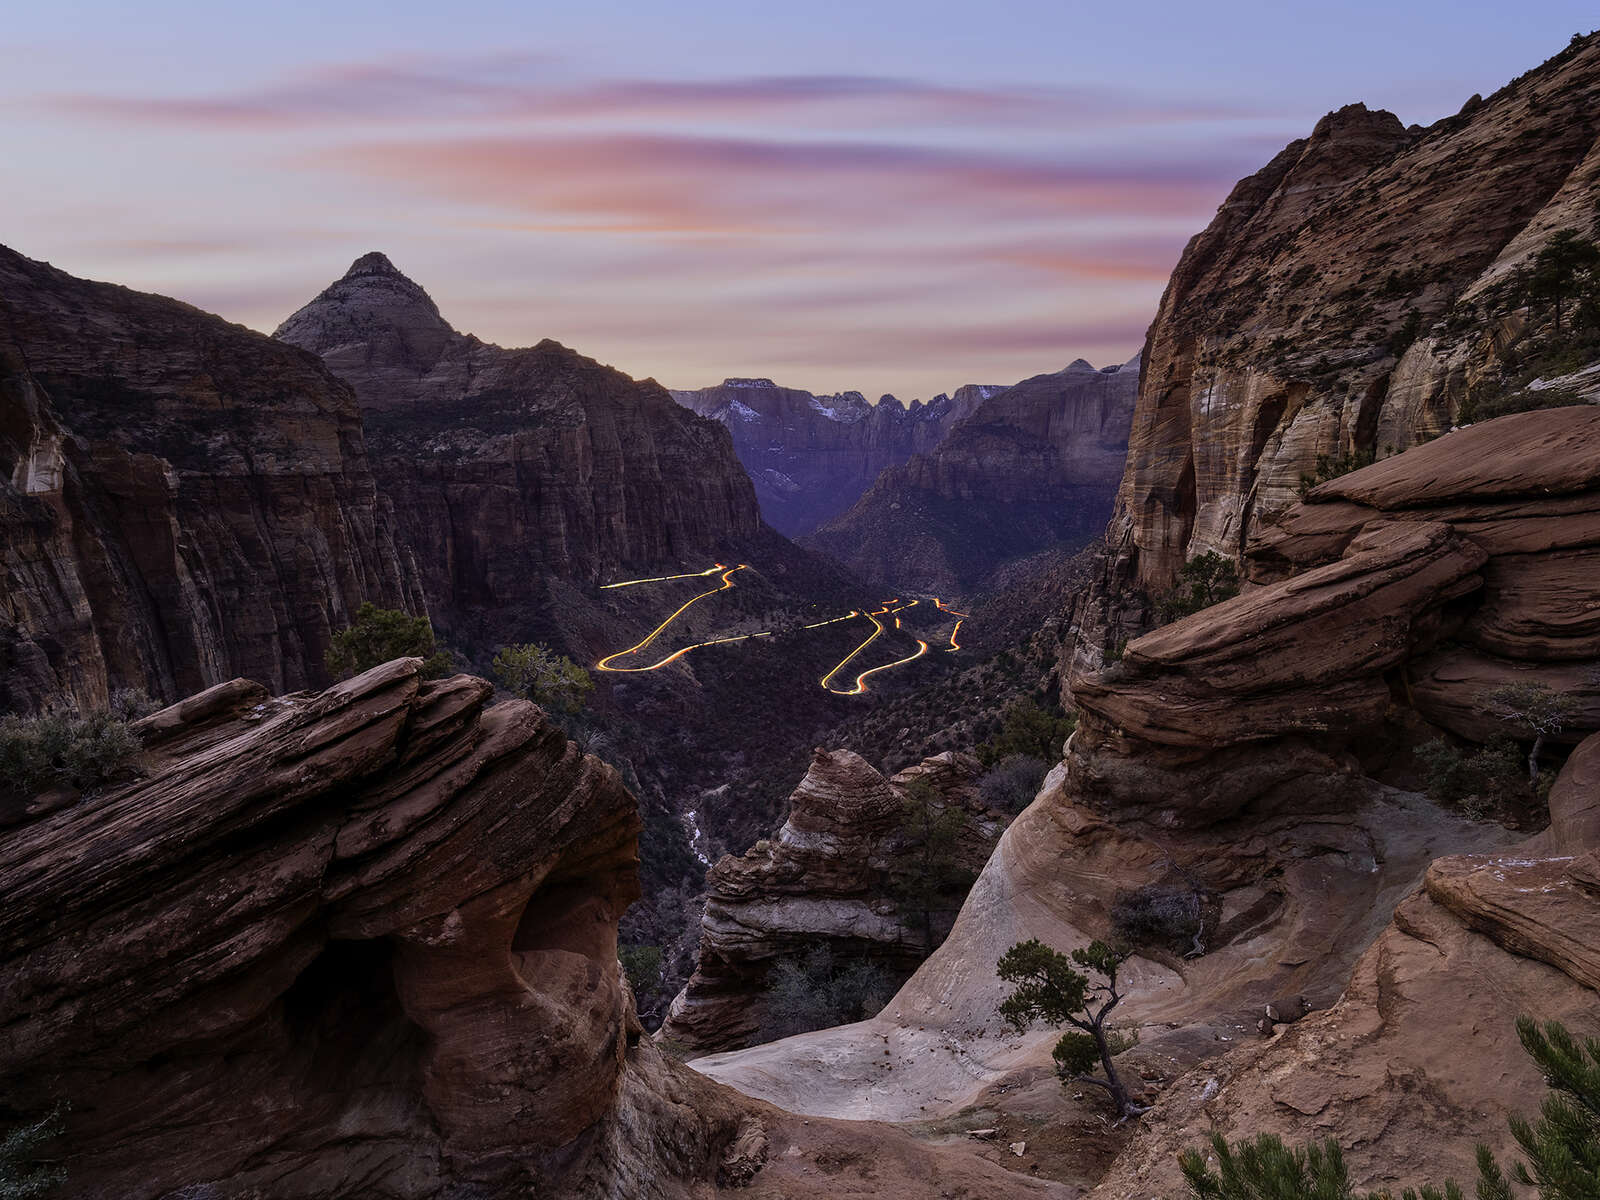
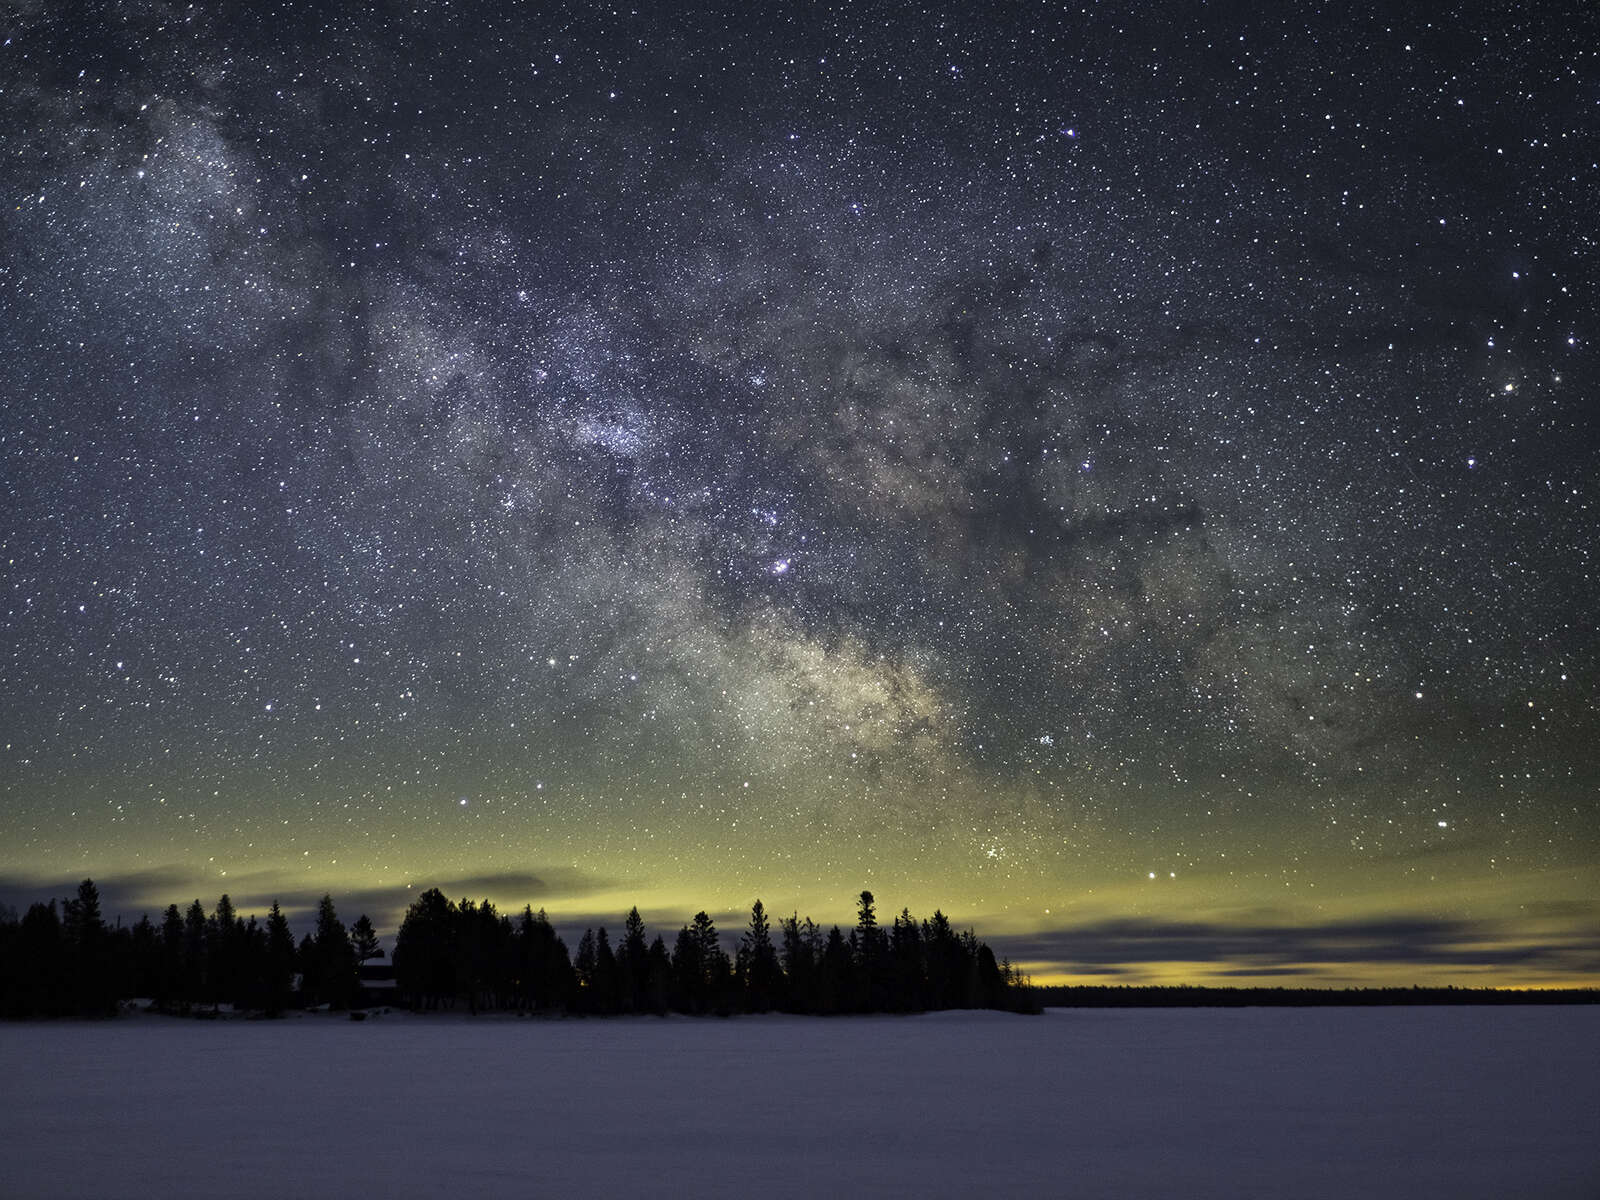
It makes sense to start with the feature that has been around for a while. Live Composite Mode is designed to be used under dimmer lighting conditions, for example at dusk or at night, and allows the photographer to capture very long exposures without blowing out any of the highlights. In essence, a live composite image is one made of several separate photographs that are combined in the camera over a period of time. A live composite can last from a few seconds, all the way to six hours! Regardless of how long the shutter is open you start by setting a base exposure, let’s say 5 seconds. Once you press the shutter release the camera creates a ‘dark frame’ that is used for noise reduction at the end of the process. After the dark frame is created, you are instructed to start the actual live composite, by pressing the shutter release again. The sensor records the first 5-second exposure and you will see it displayed on the LCD. The shutter remains open and subsequent 5-second exposures only record areas of the image that change brightness. Although this feature has many different applications, I have used it mainly for capturing star trails. As the stars move through the sky their new position is recorded by the sensor, but other lights, such as a street light won’t affect that overall exposure of the scene because they are not changing position or intensity. Live composite is perfect for any situation where you want to capture a change in light within a darker scene. Some possible applications include photographing fireworks, lightning, cloud movement at sunset, or traffic trails.
To access Live Composite turn the mode dial to “B” and use the rear dial to select “LiveComp”. Then press the Menu button in order to choose your base exposure, from 1/2s to 60s. You will also notice that the LCD monitor dims considerably once you have entered Bulb mode. The brightness can be adjusted by pressing the menu button again and selecting the “Bulb/Time Monitor” option. This is also where you can set the upper limit of your live composite shooting, with options from a short as 4 minutes to as long as 6 hours.
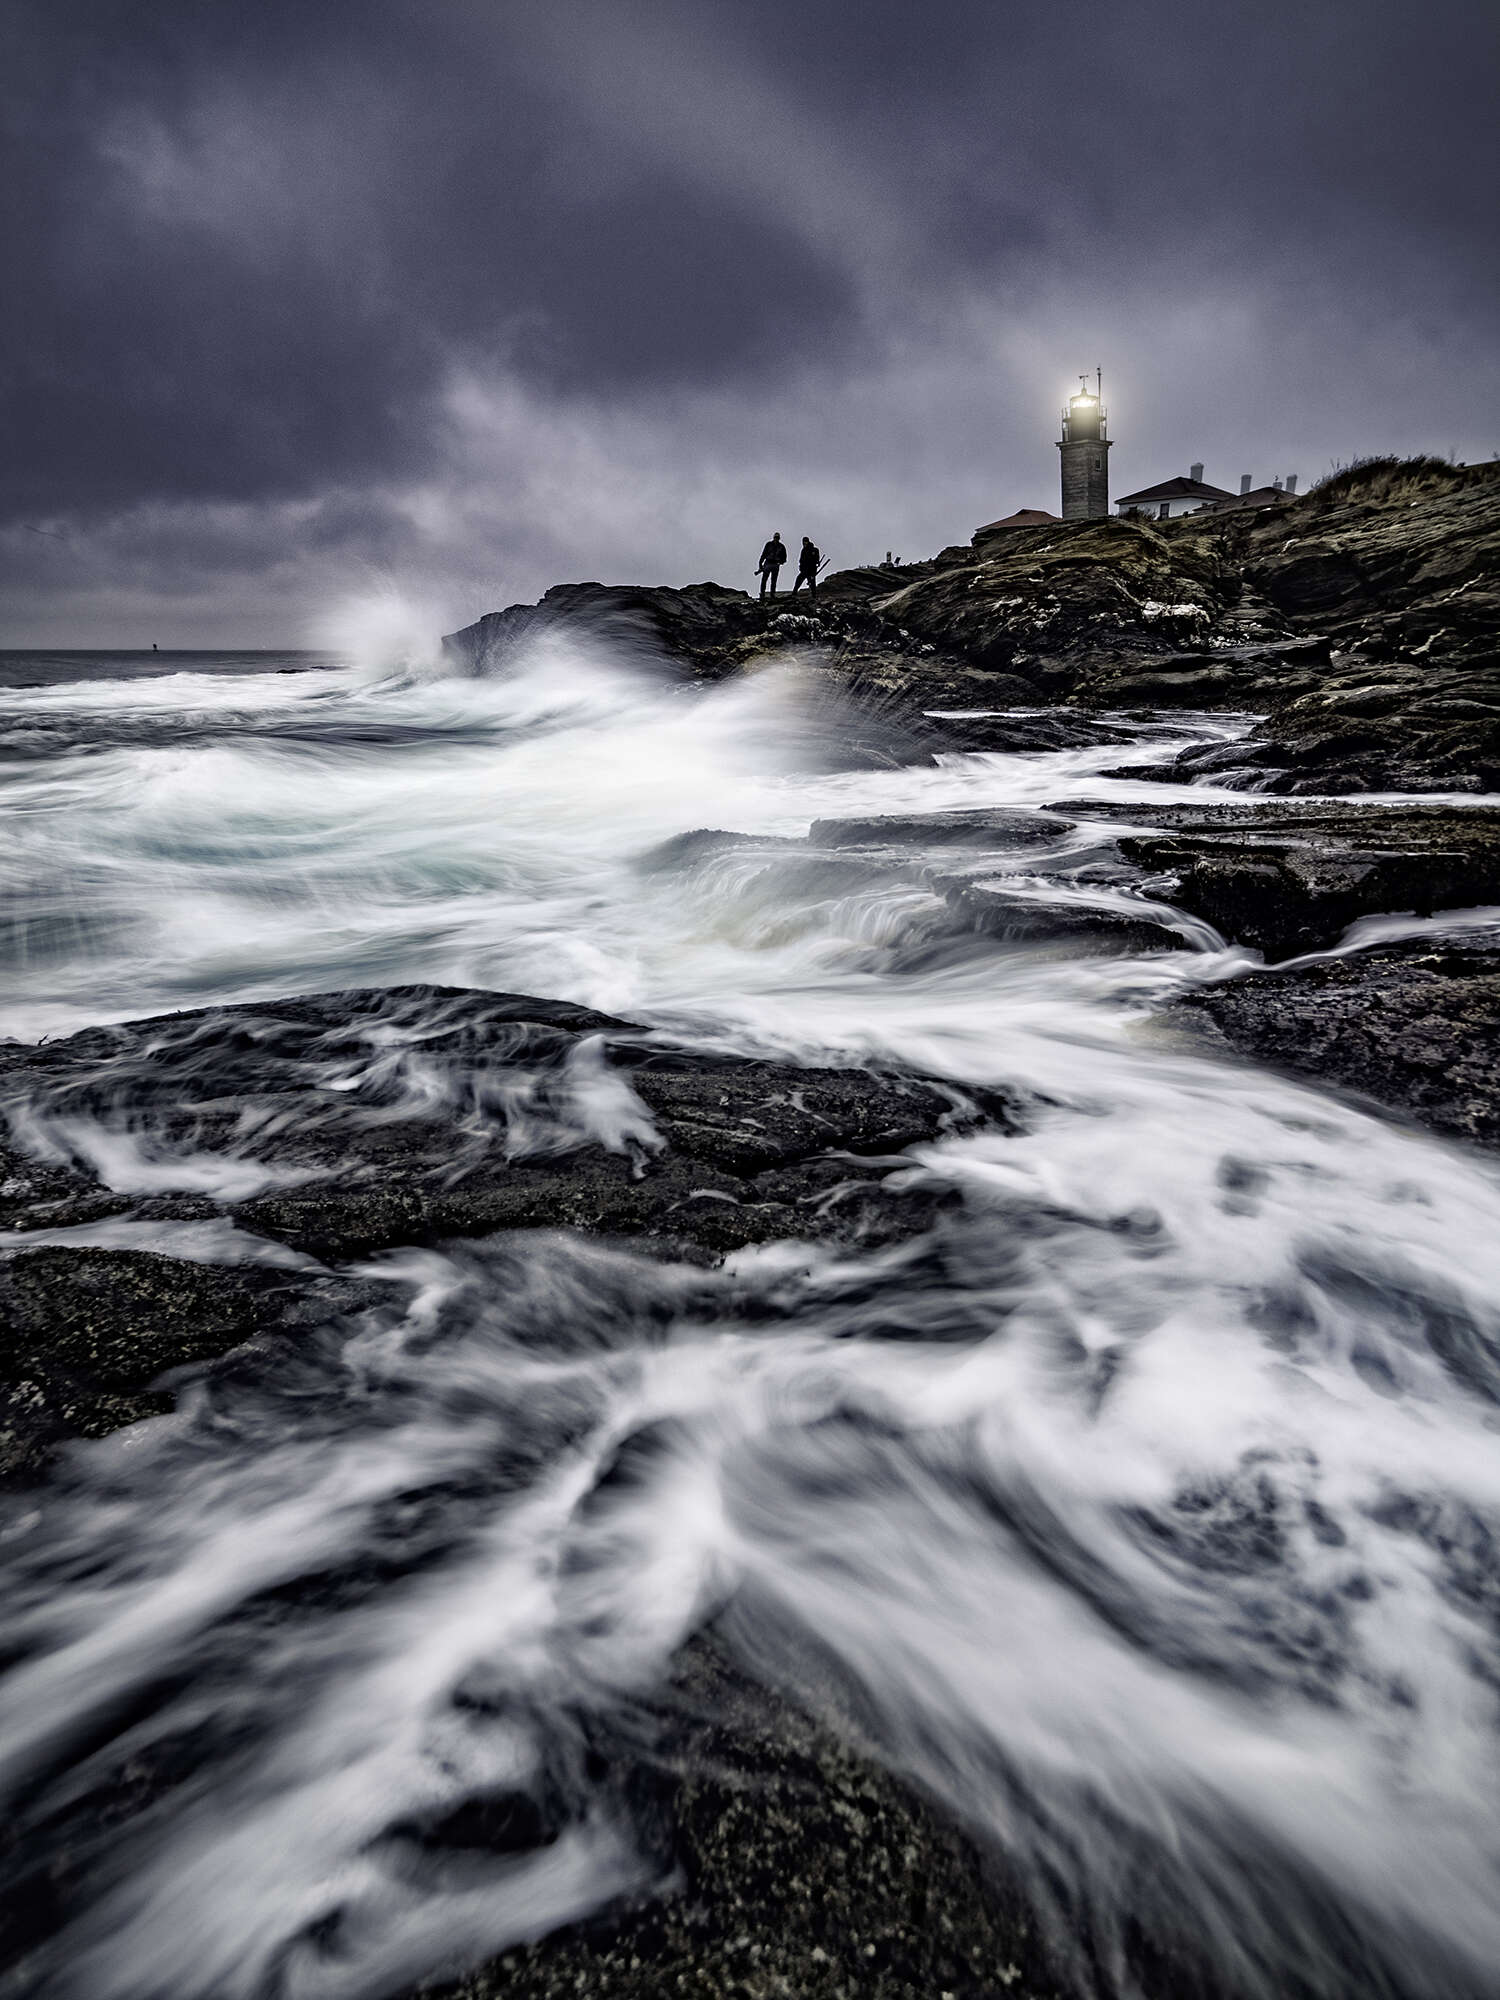
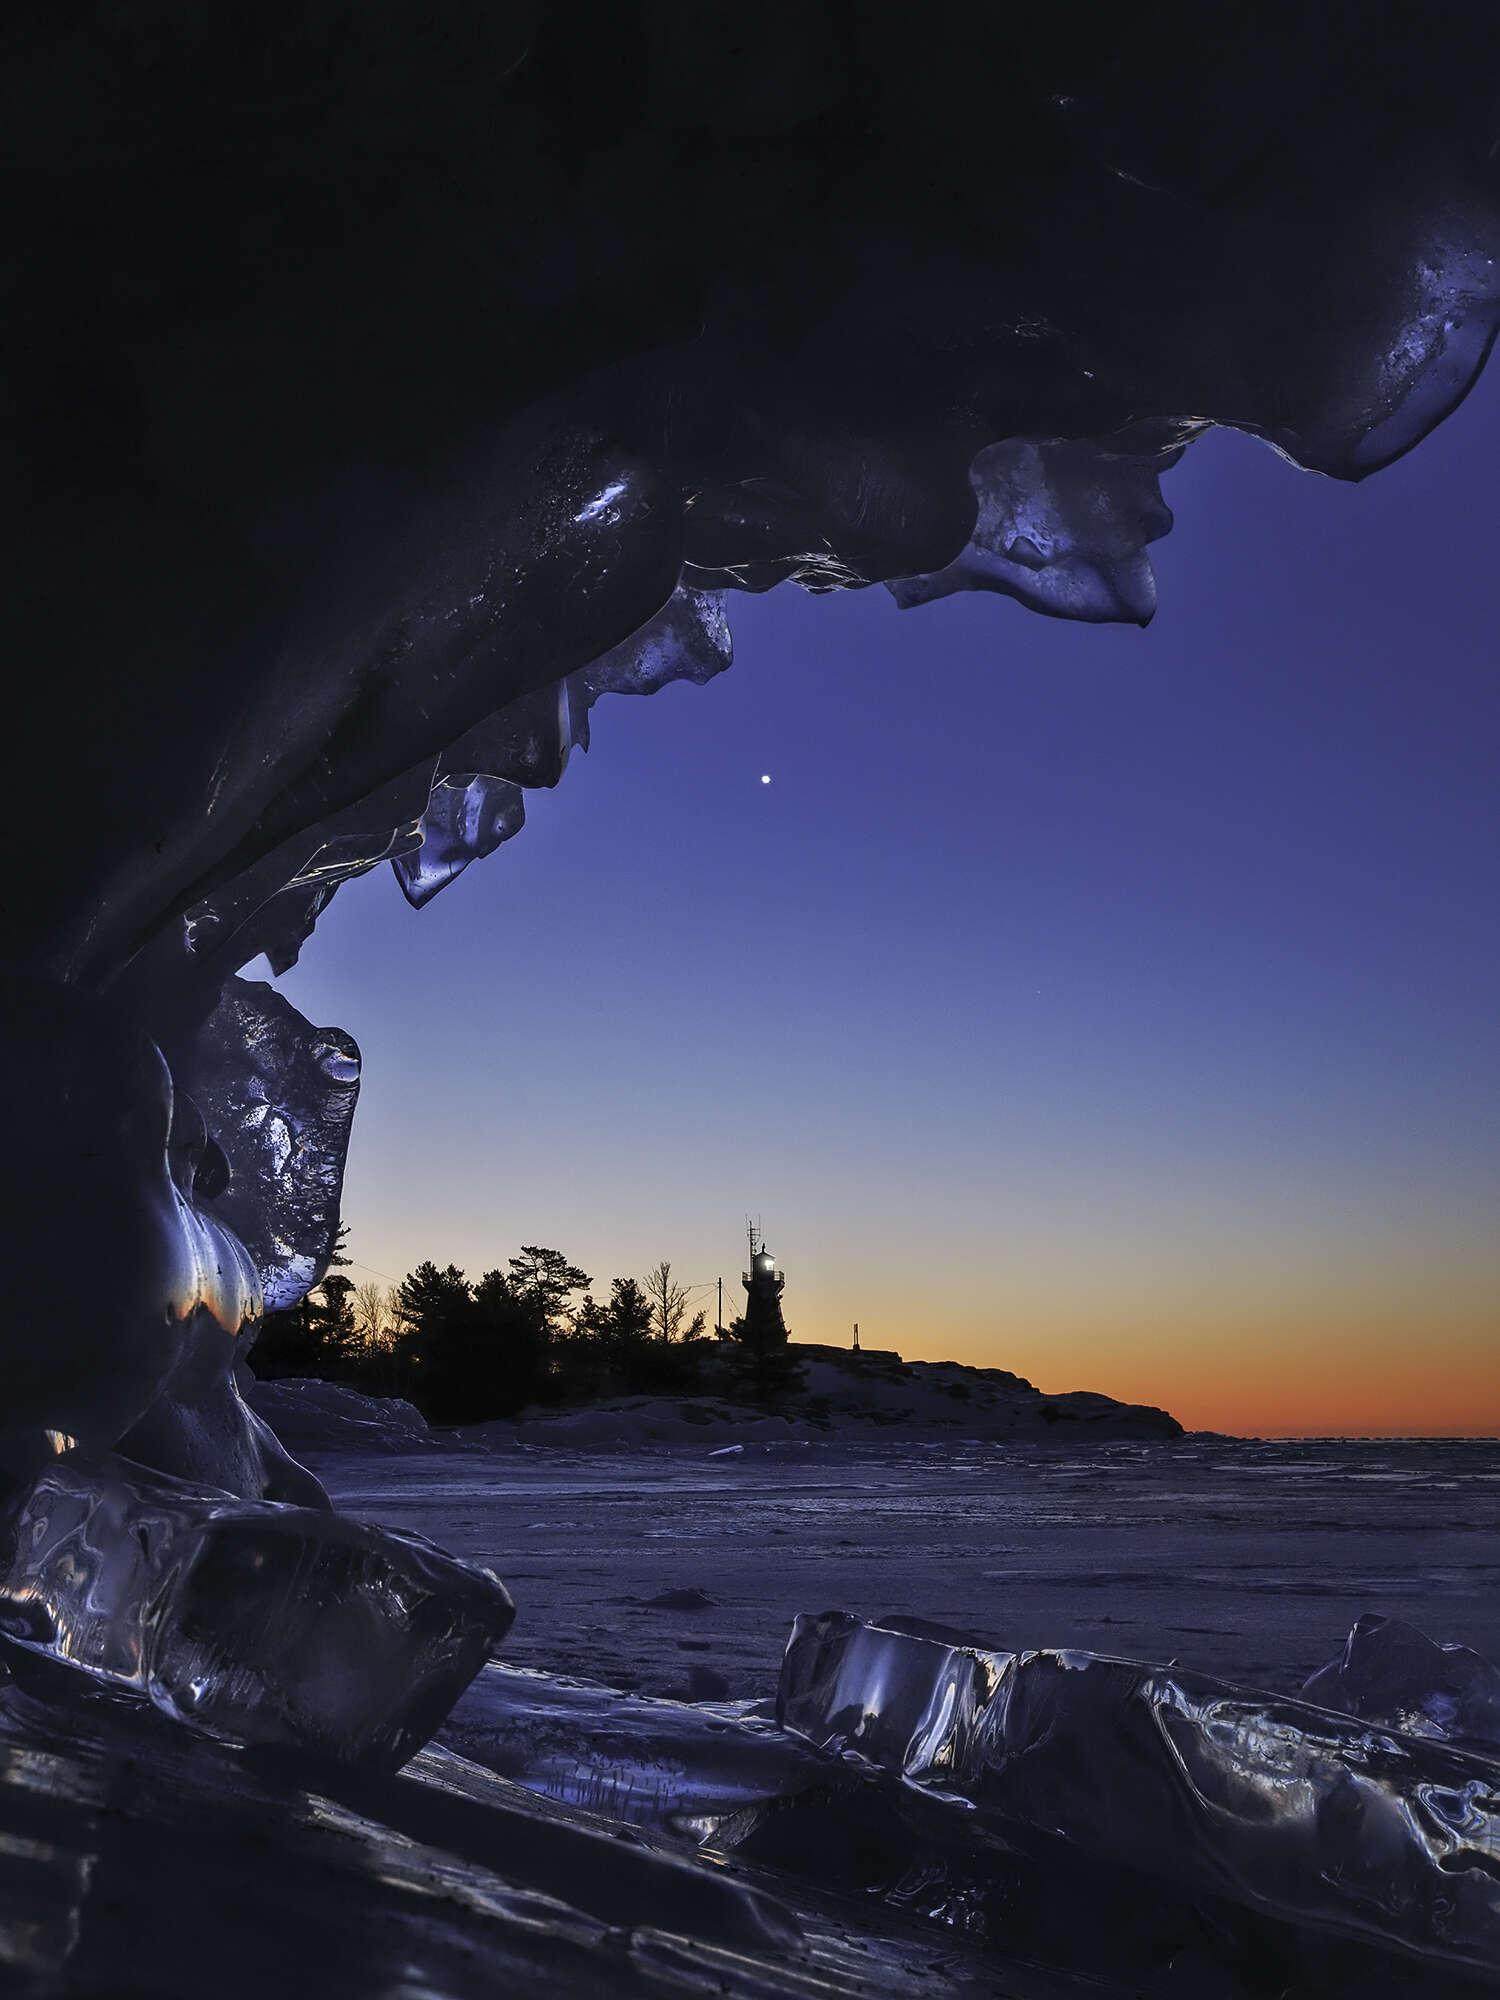
OM-D E-M1X | M.Zuiko 7-14mm F2.8 PRO
3.2s | F7.1 | ISO 200
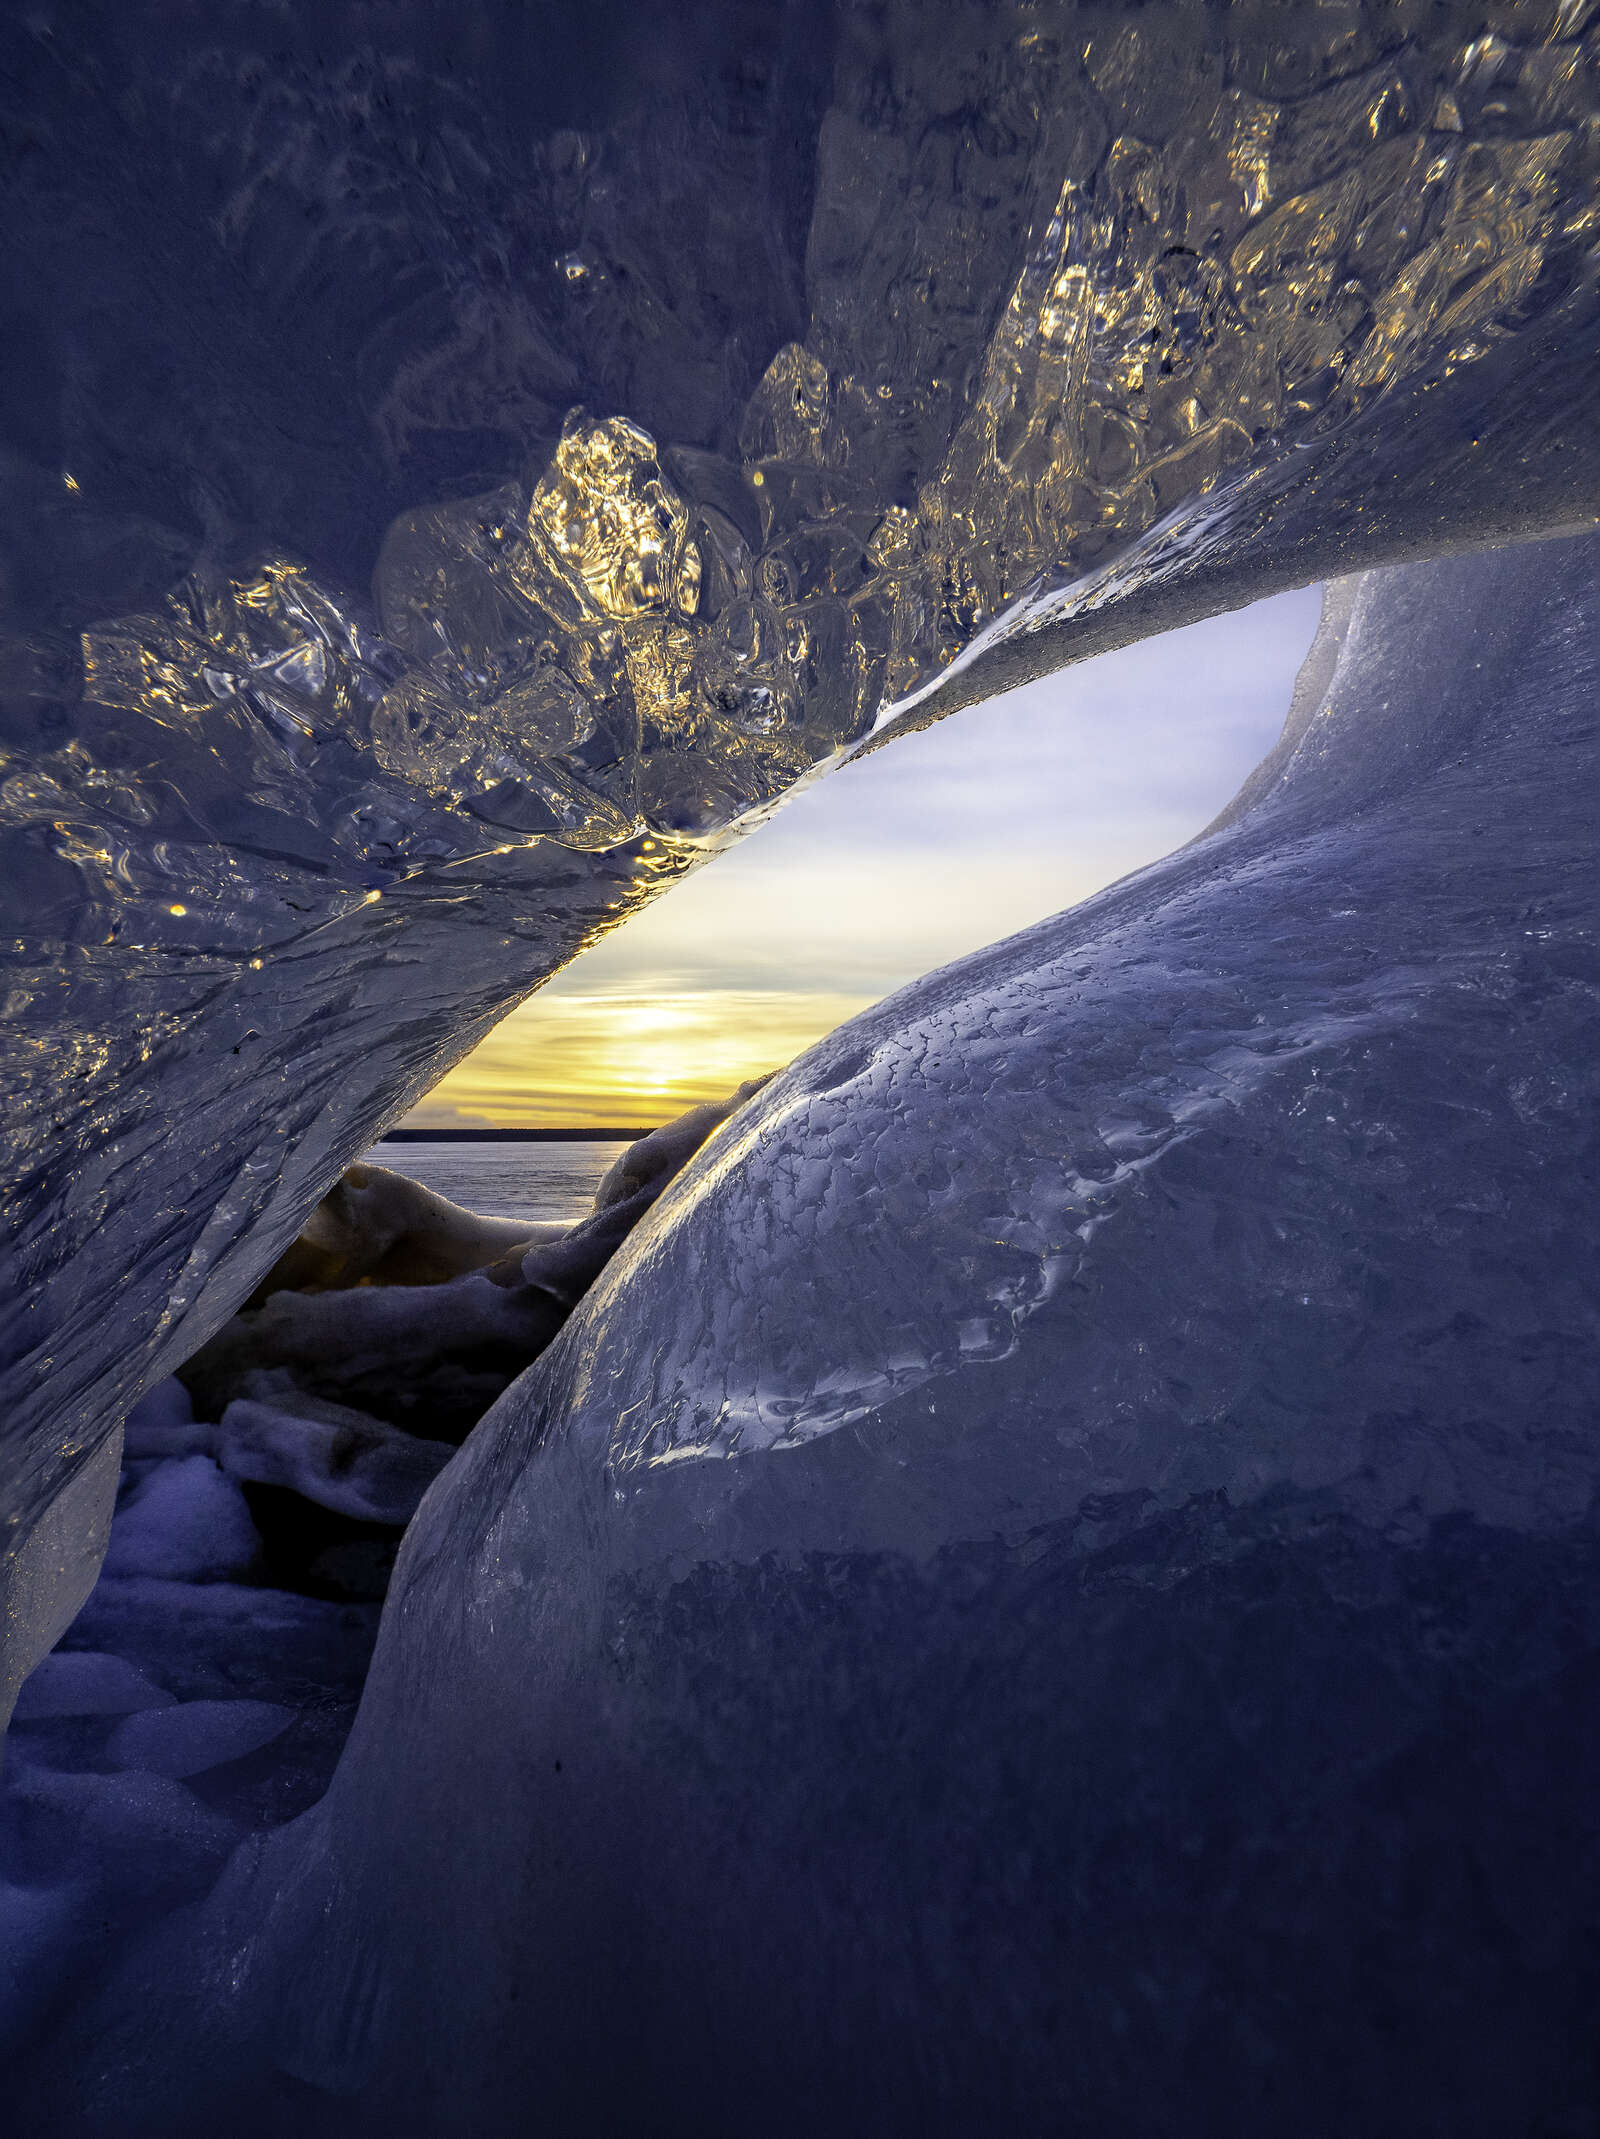
OM-D E-M1 Mark II | M.Zuiko 12-100mm F4.0 IS PRO
.8s | F13 | ISO 200
The New OM-1 Menu
Live Composite is the only computational feature that is activated using the mode dial. All of the rest are accessed using the menu or a function button. The OM-1 has a completely redesigned menu and it is a welcome change. The Camera 2 menu is now dedicated to computational features. This makes them much easier to find and control – it’s a one-stop shop! Beyond the five features listed on the first page of the Camera 2 menu, you can also access a number of other features within Page 2 and 3 of the Camera 2 menu – interval shooting, keystone compensation, fisheye compensation and the various bracketing functions. For those features that you access regularly you can also program that feature into one of the camera’s programmable buttons or add them to the My Menu page.
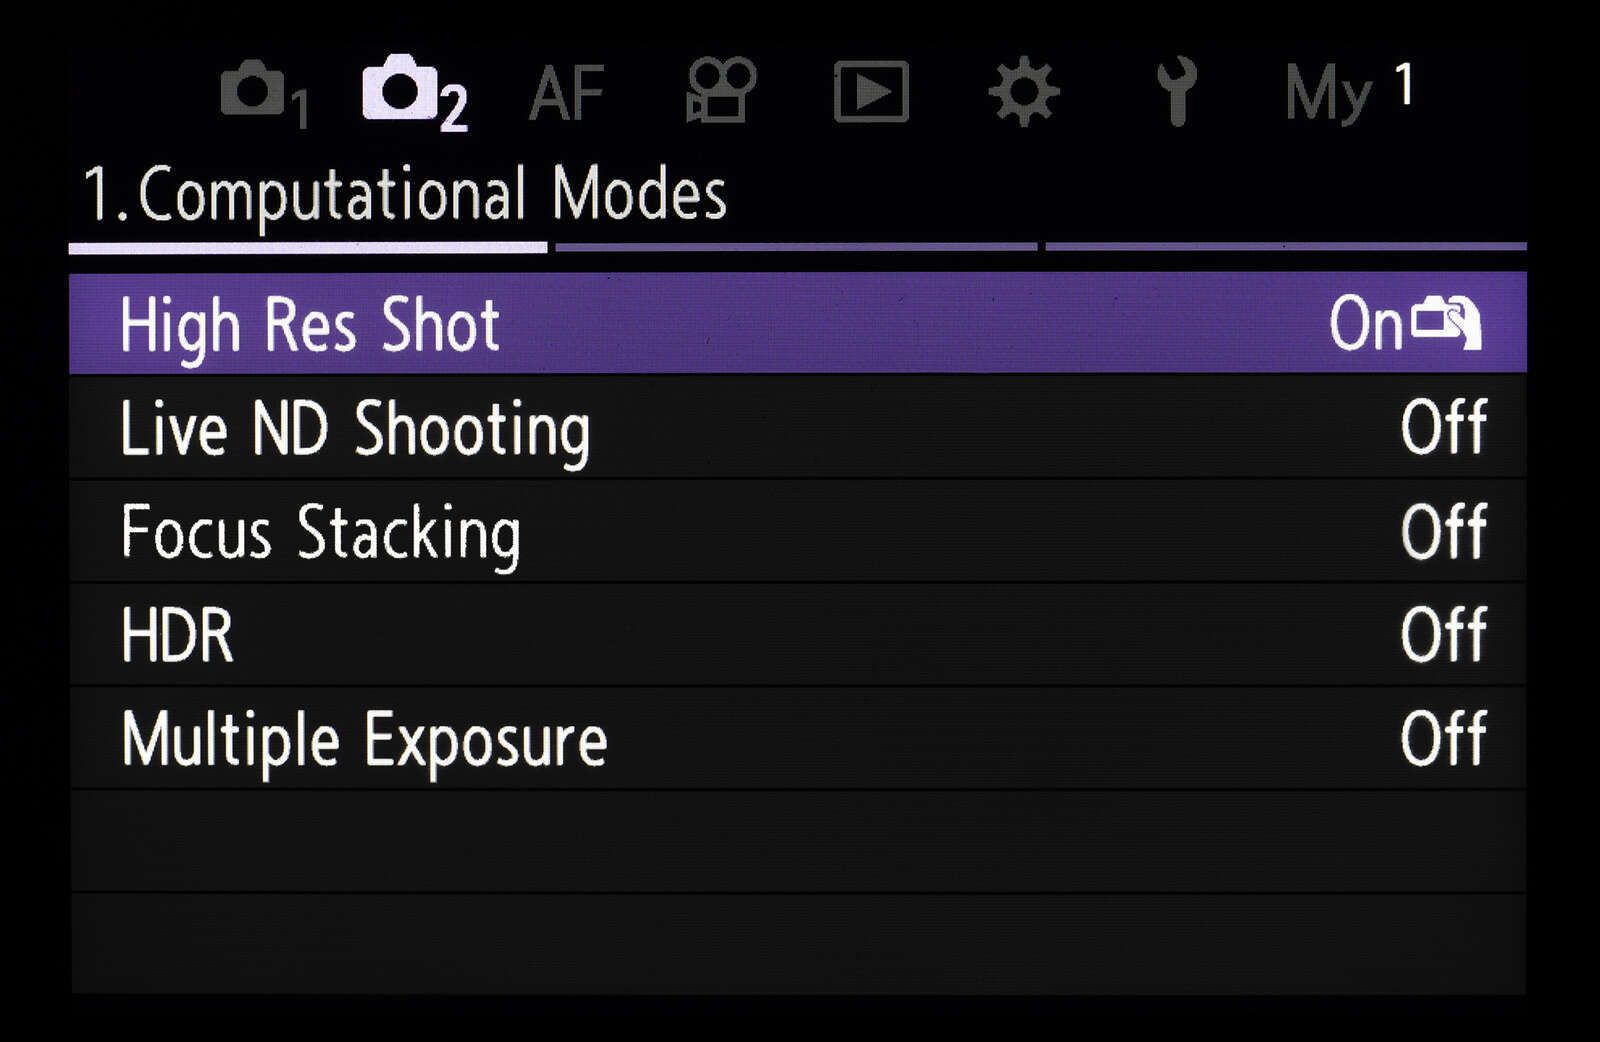
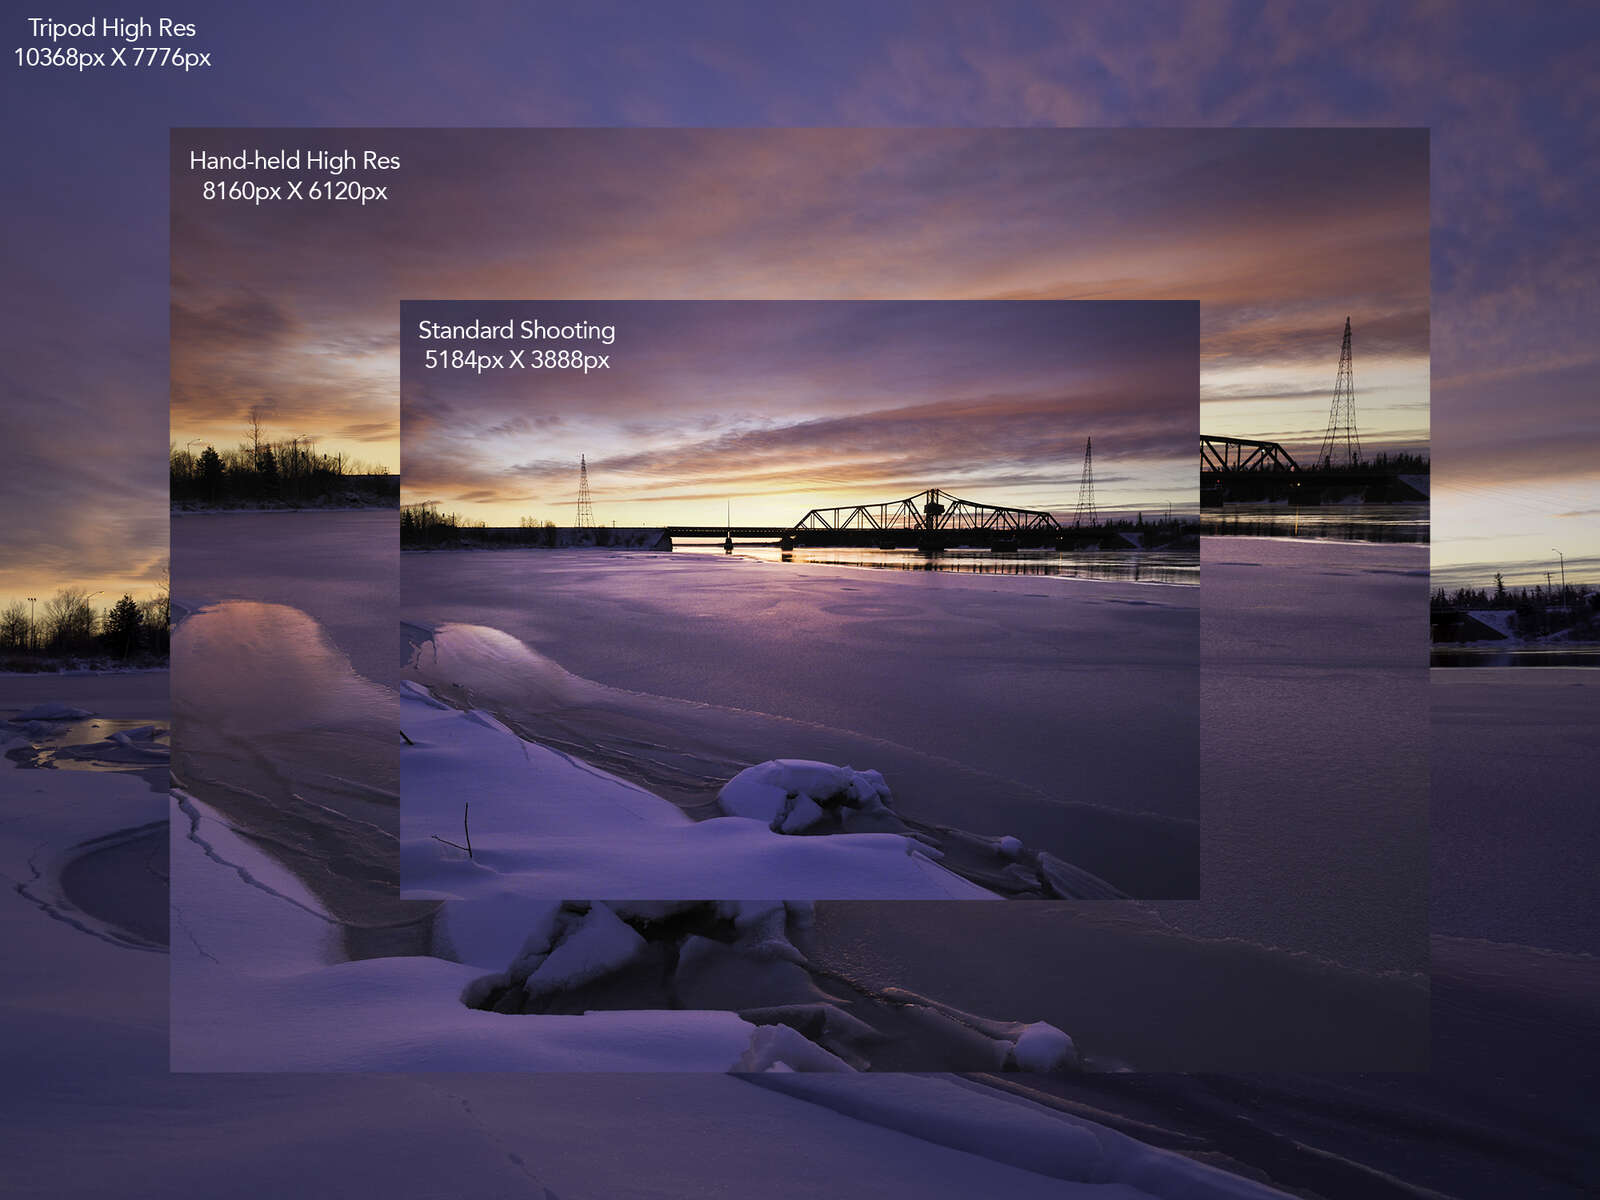
High Resolution Shooting
The OM-1 has an excellent 20 MP Stacked Back-side Illuminated Live-MOS sensor. It provides ample resolution for almost every situation I encounter. There are times however where having a higher resolution image would be nice. Using sensor shift technology, the OM-1 can capture a much higher resolution photo. There are two options – tripod mode and hand-held high res mode. The tripod mode will provide an 80MP image, while the hand-held setting will create a 50MP shot. The HHHR mode accounts for slight movements while you are taking the photo and realigns each shot. This is perfect for someone like myself who doesn’t want to be tied to tripod.
High Res mode can be accessed through the Camera 2 menu, but the OM-1 also has a dedicated button that makes it fast and convenient to turn the feature on and off. Pressing the video record button will enable high res shooting. You can also quickly change between the different high res modes by holding the record button down and turning either the front or rear control dial. Additional settings can be accessed through the menu. You can adjust the overall resolution of the image and add a time delay of up to 30 seconds for tripod mode and one second in hand held mode.
Creating a high-resolution image puts the camera’s processor to work. Eight separate shots are taken and those are then combined to create one single image. In previous models I would hesitate to use the High Res modes if the light was changing quickly because of the processing time. The new True Pic X processor is amazingly fast. On paper, OM SYSTEM states that it is 2.5x faster than the previous processor. In my experience however, it is even faster than that. For the HHHR shots that I’ve been taking, the final image is processed in four to five seconds. It is because of that speed that I am now using this feature far more often than previously.
OM-1 | M.Zuiko 8-25mm F4.0 PRO
1/20s | F7.1 | ISO 200
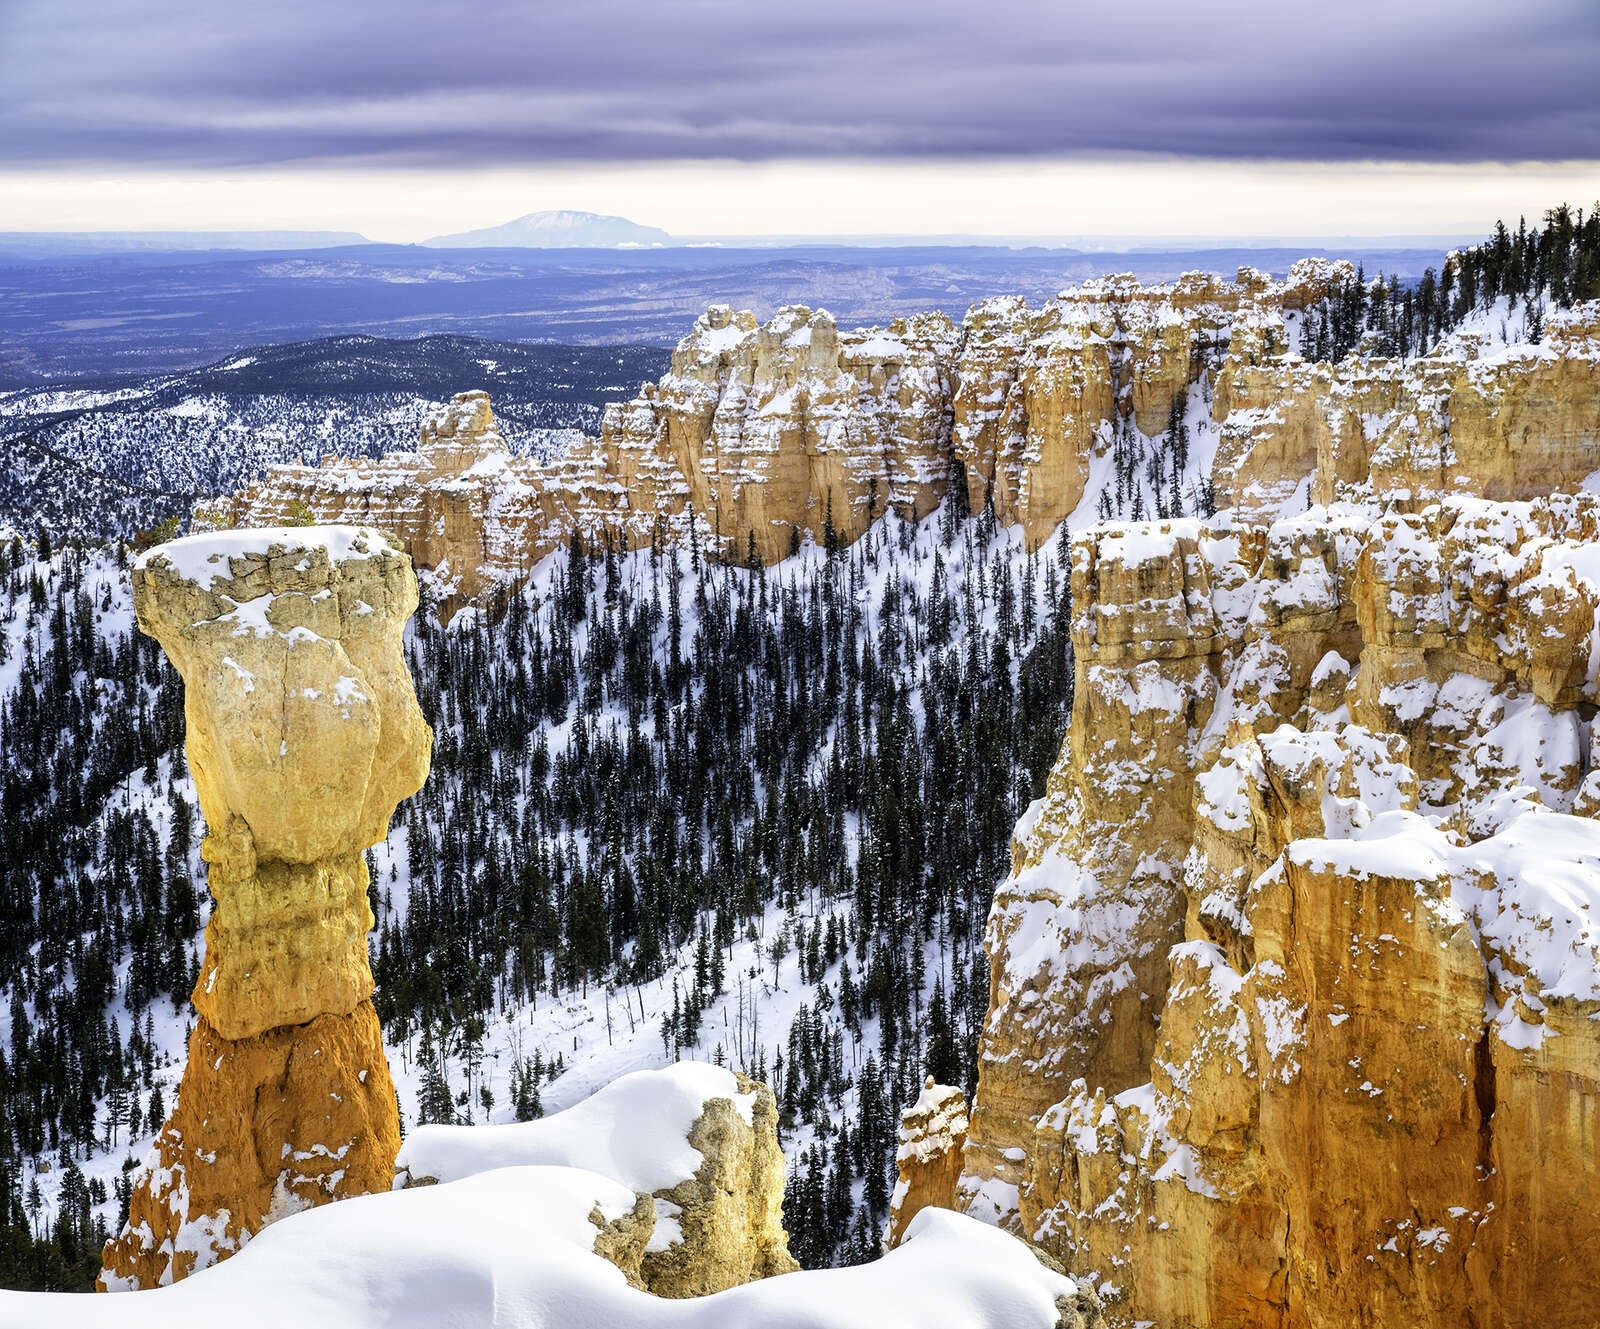
1/320s | F7.1 | ISO 200
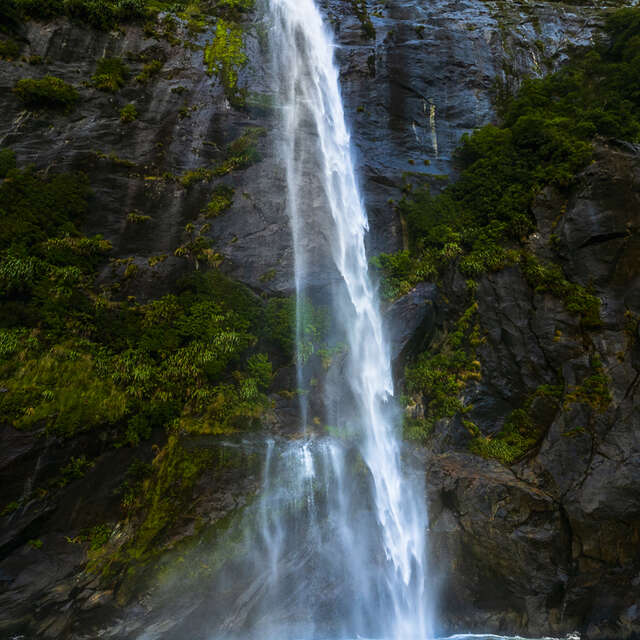
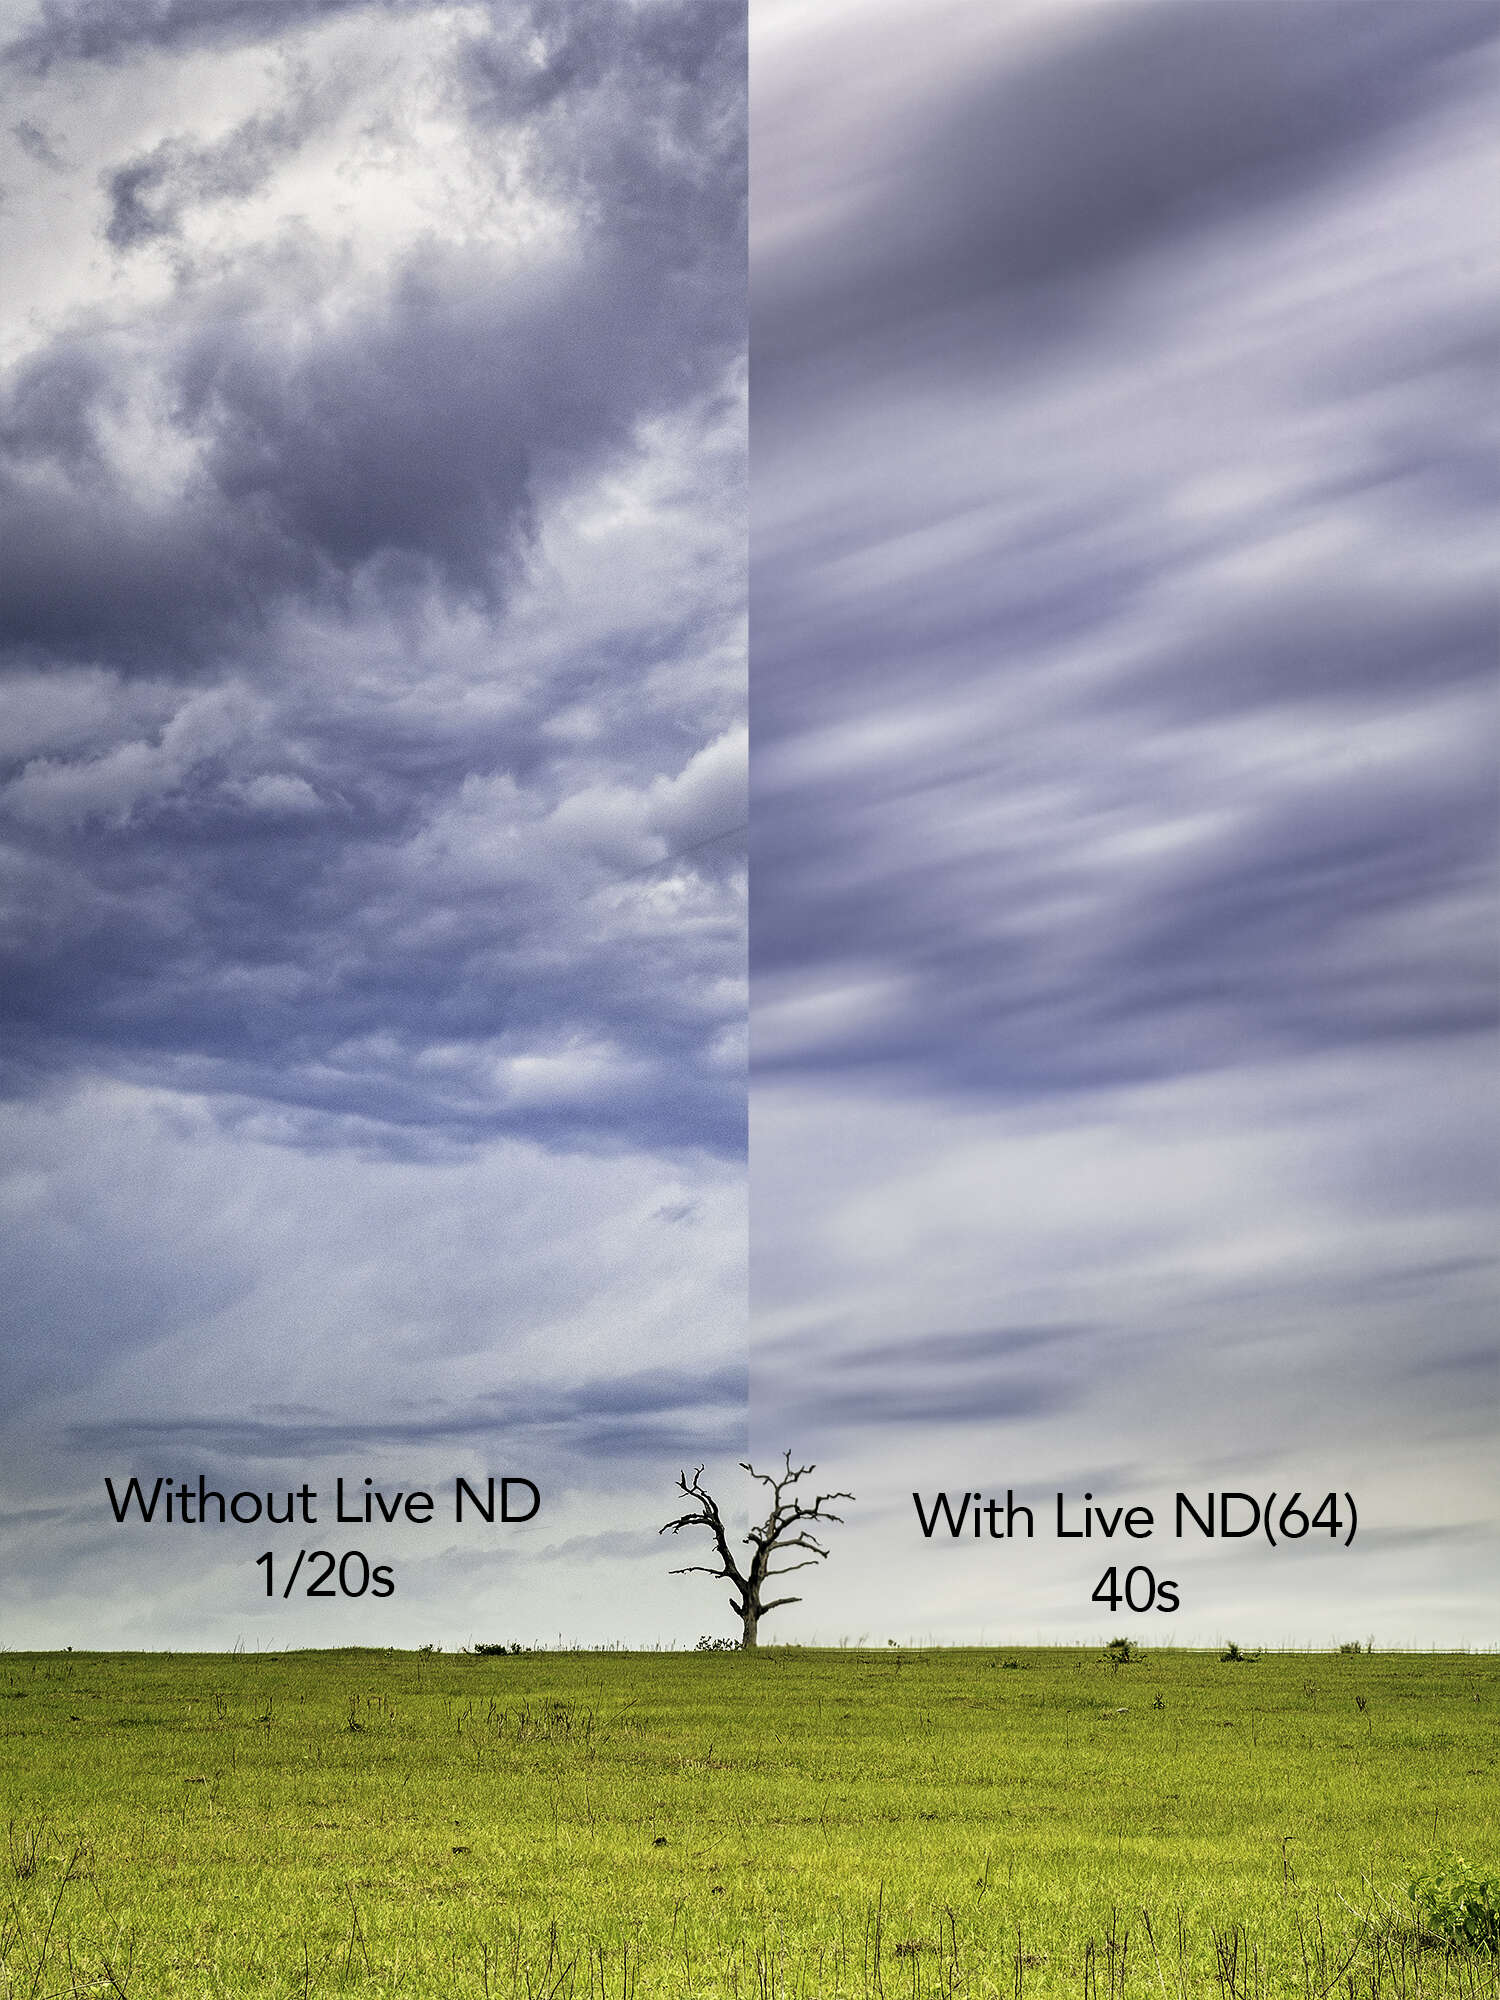
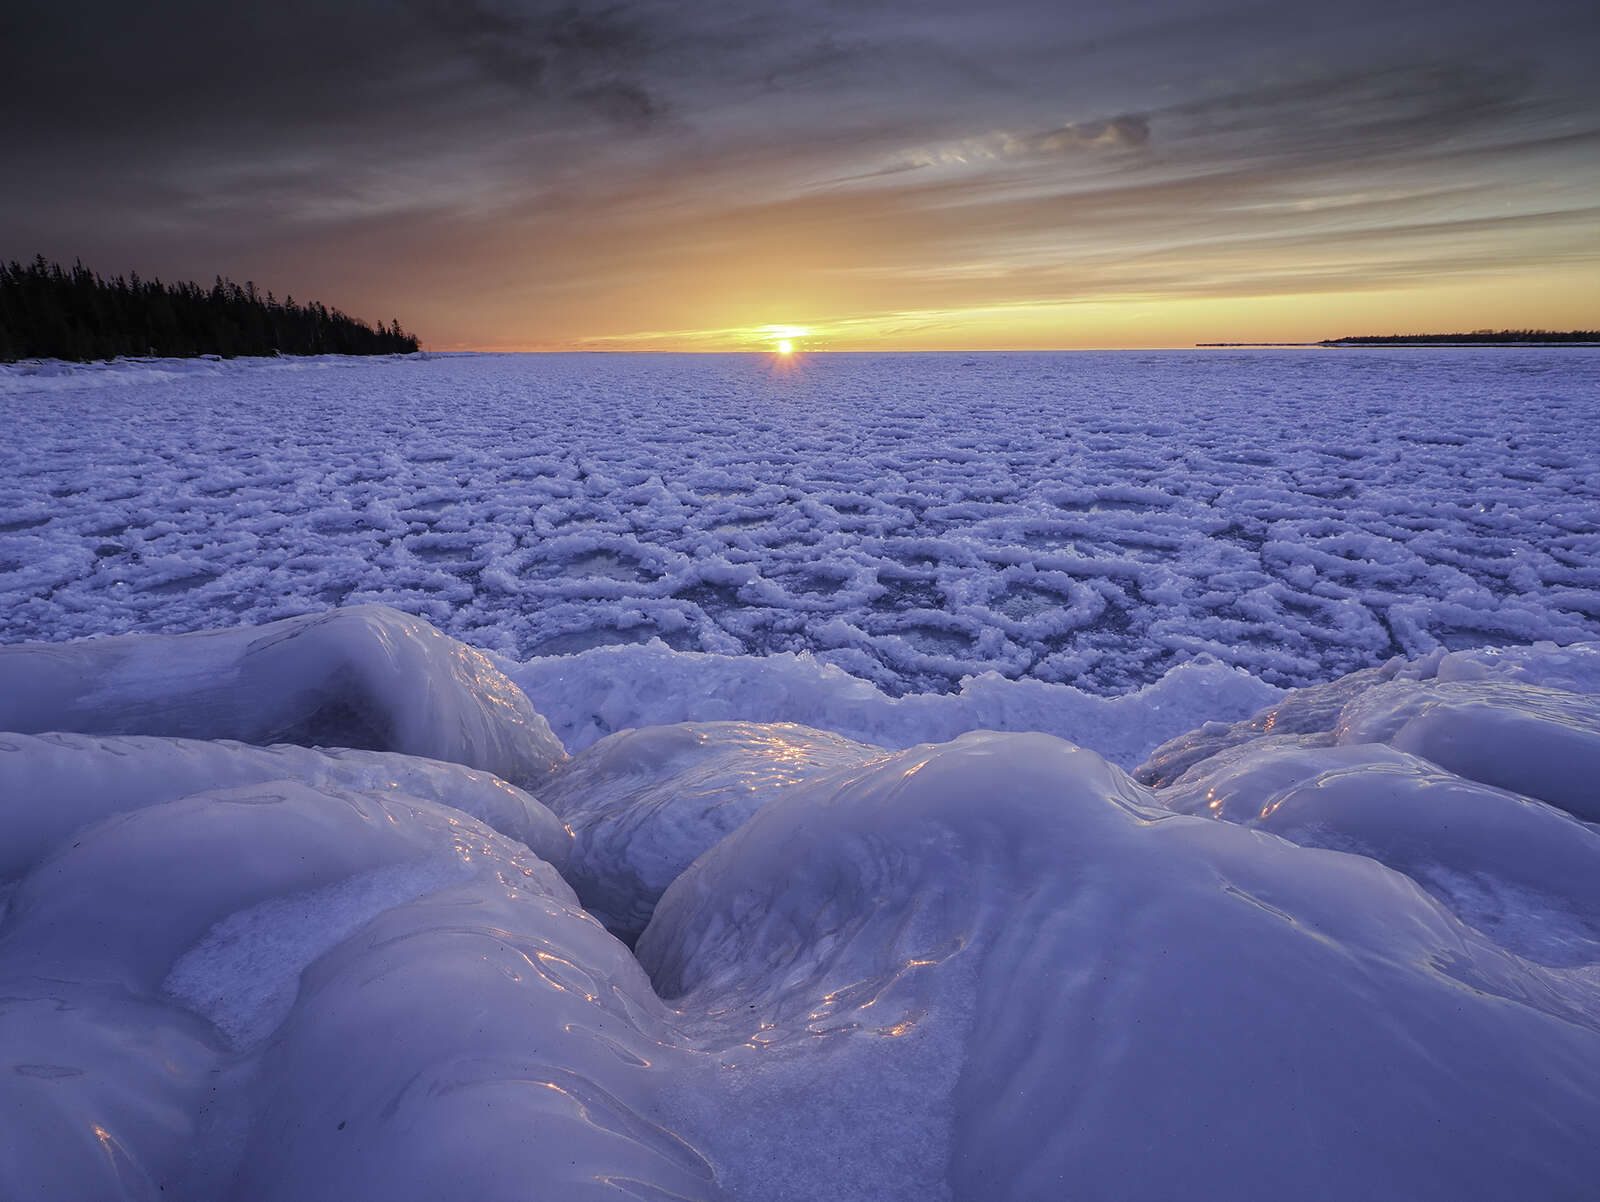
Live ND Mode
As a landscape photographer I regularly use filters to help control the light. In my bag I carry a circular polarizer, graduated neutral density filter and a variable ND filter. That final one isn’t getting much use anymore. Live ND Mode emulates a regular neutral density filter allowing you to use longer shutter speeds in conditions that would normally be too bright. I use this feature wherever there is motion that I want to blur. Usually that involves moving water like waterfalls, rapids or waves crashing on shore. I love that silky look. Of course, anything that moves can be blurred with a slow enough shutter speed. I have used Live ND to blur the motion of clouds, flowers blowing in a field, or to exaggerate intentional camera movement.
The Live ND feature can only be accessed when shooting in Manual or Shutter Priority. Like the high res modes, a series of images are taken during the exposure and then blended together into a single RAW photo. Just like a variable ND filter, you can adjust the intensity of the effect. On the OM-1 the available settings range from ND2 (1 stop) up to ND64 (6 stops). I use this feature quite regularly so I have programmed one of the custom buttons on the front of the camera to make turning on the feature easier. And just like High Res, I can hold that button down and turn one of the control dials to quickly change settings.
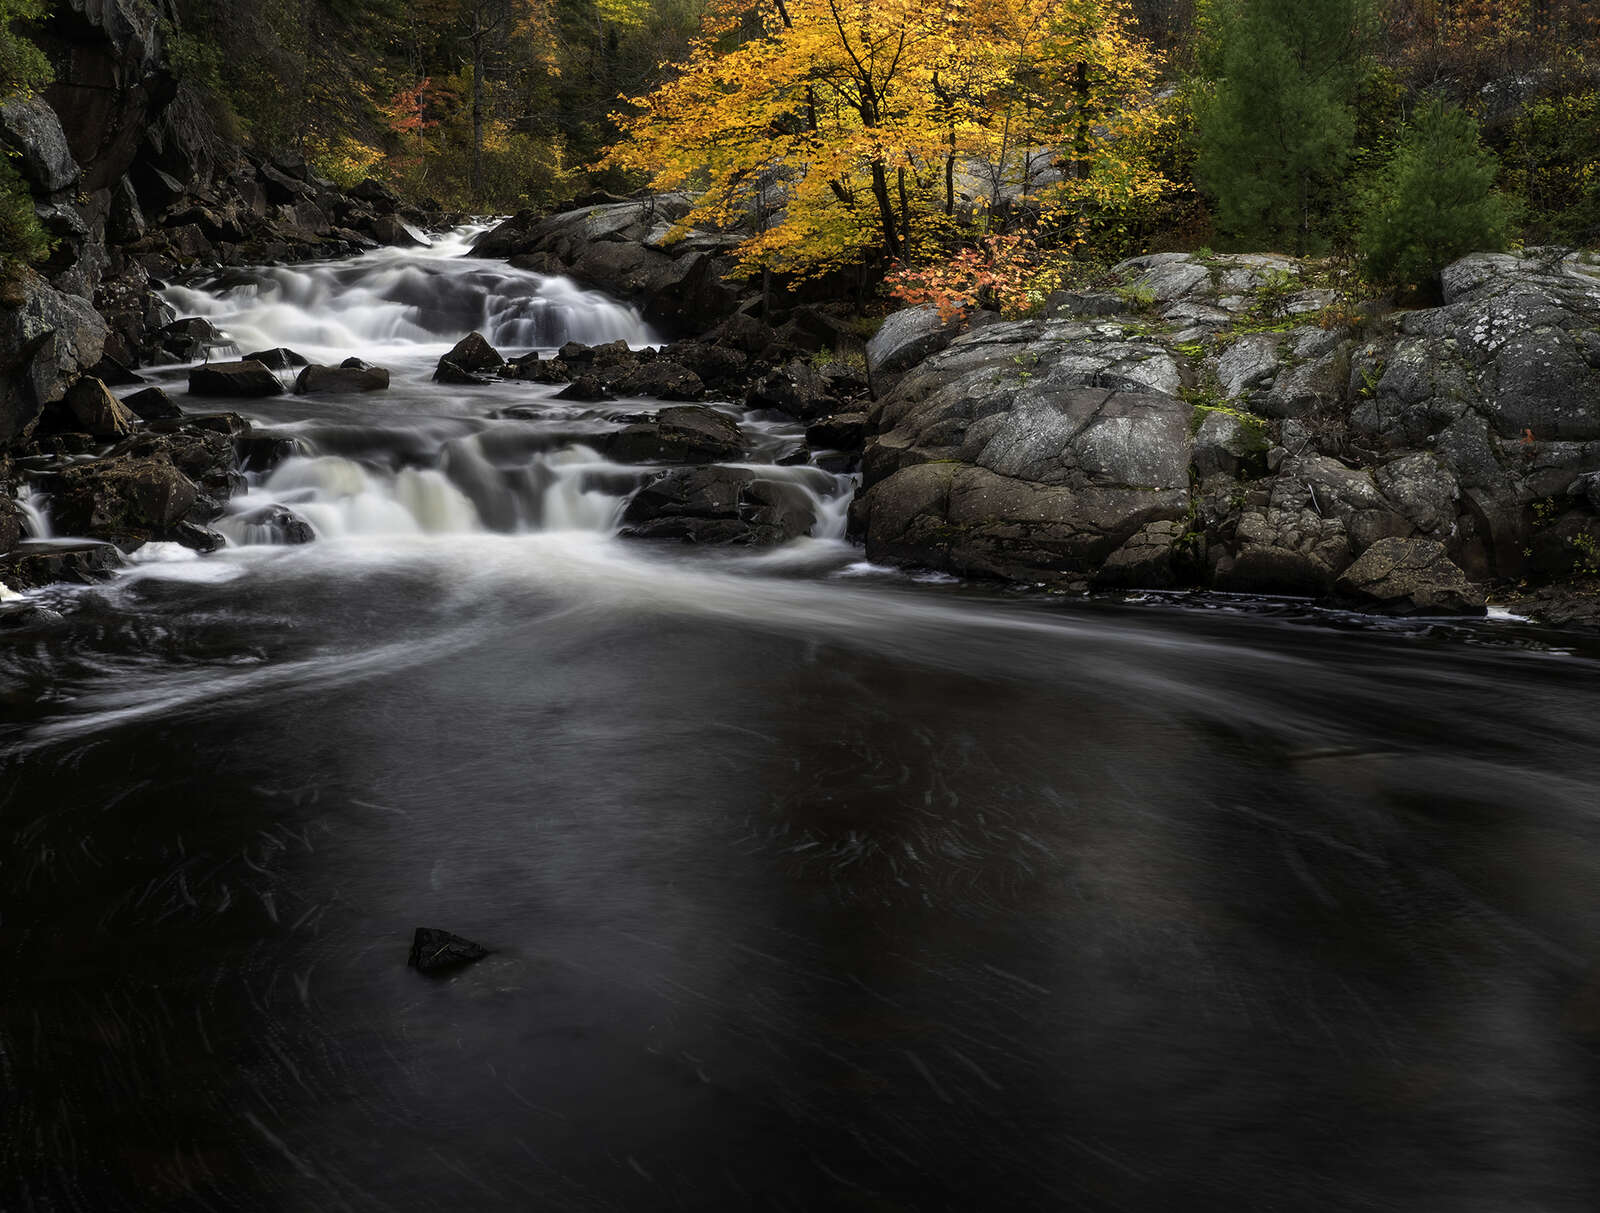
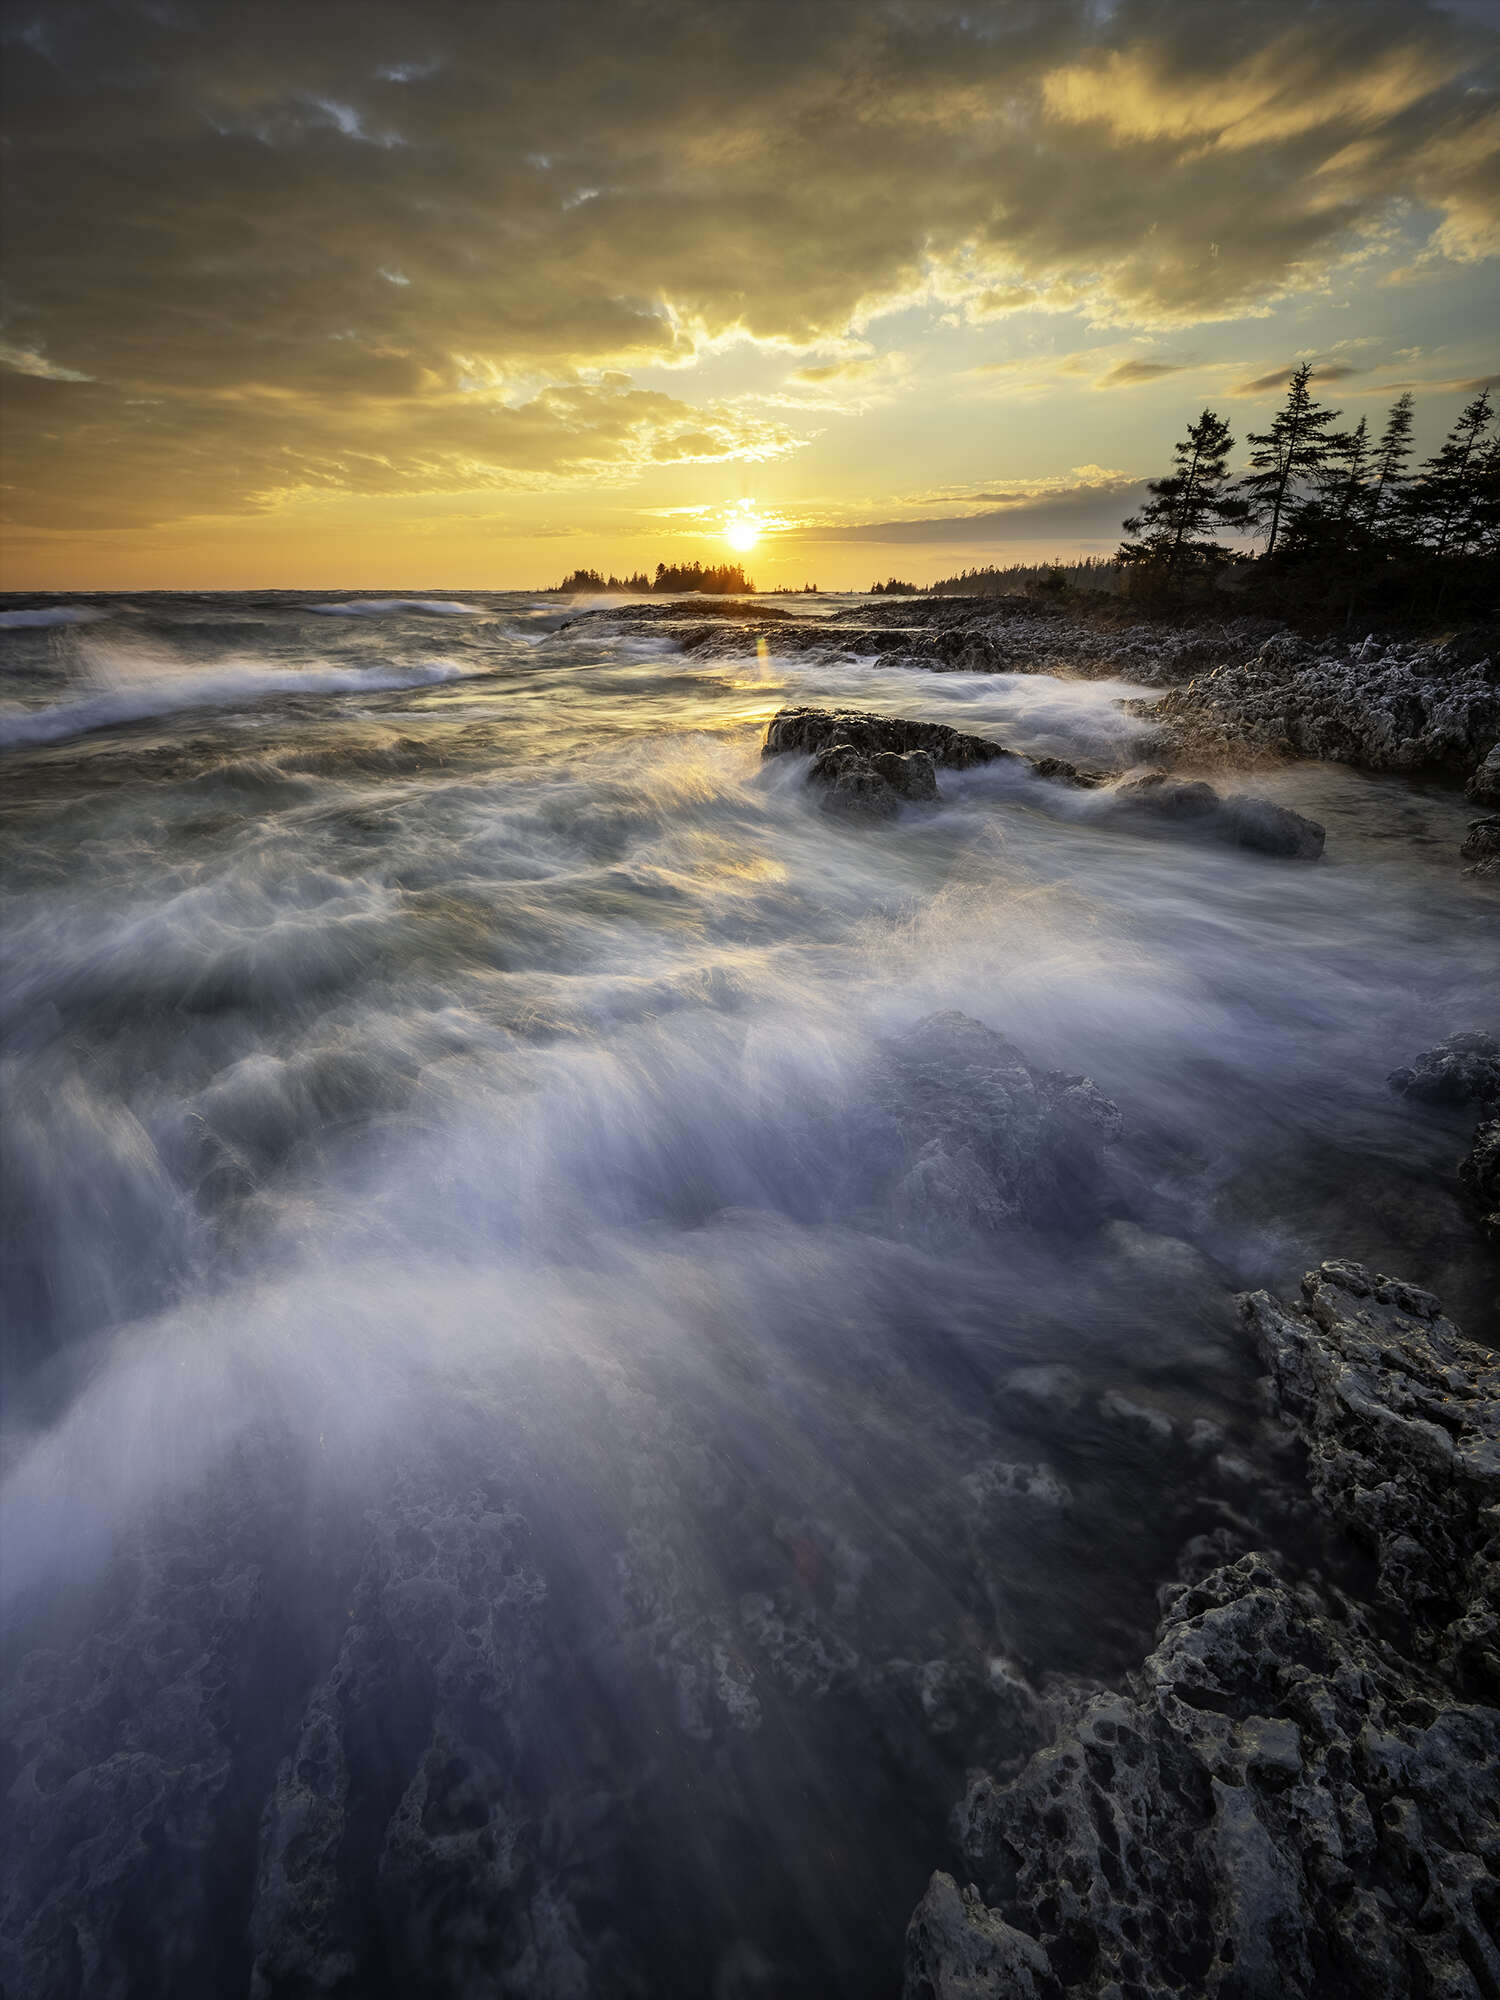
OM-D E-M1 Mark III | M.Zuiko 12-100mm F4.0 IS PRO
5s | F13 | ISO 200
.5s | F4 | ISO 800
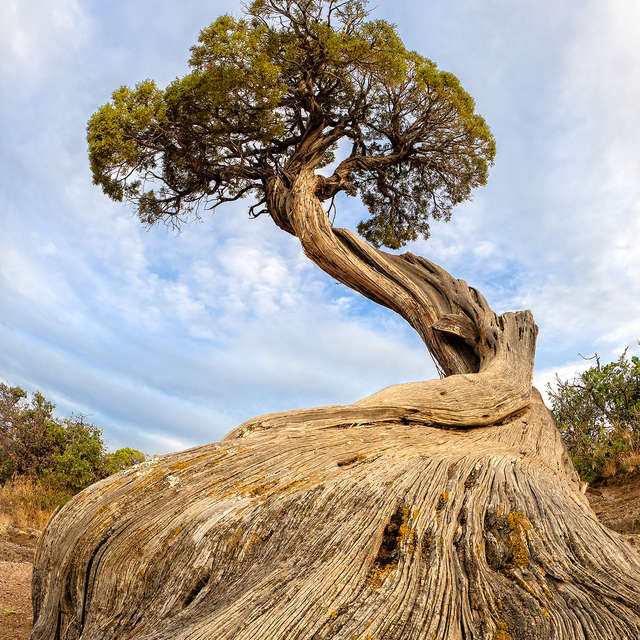
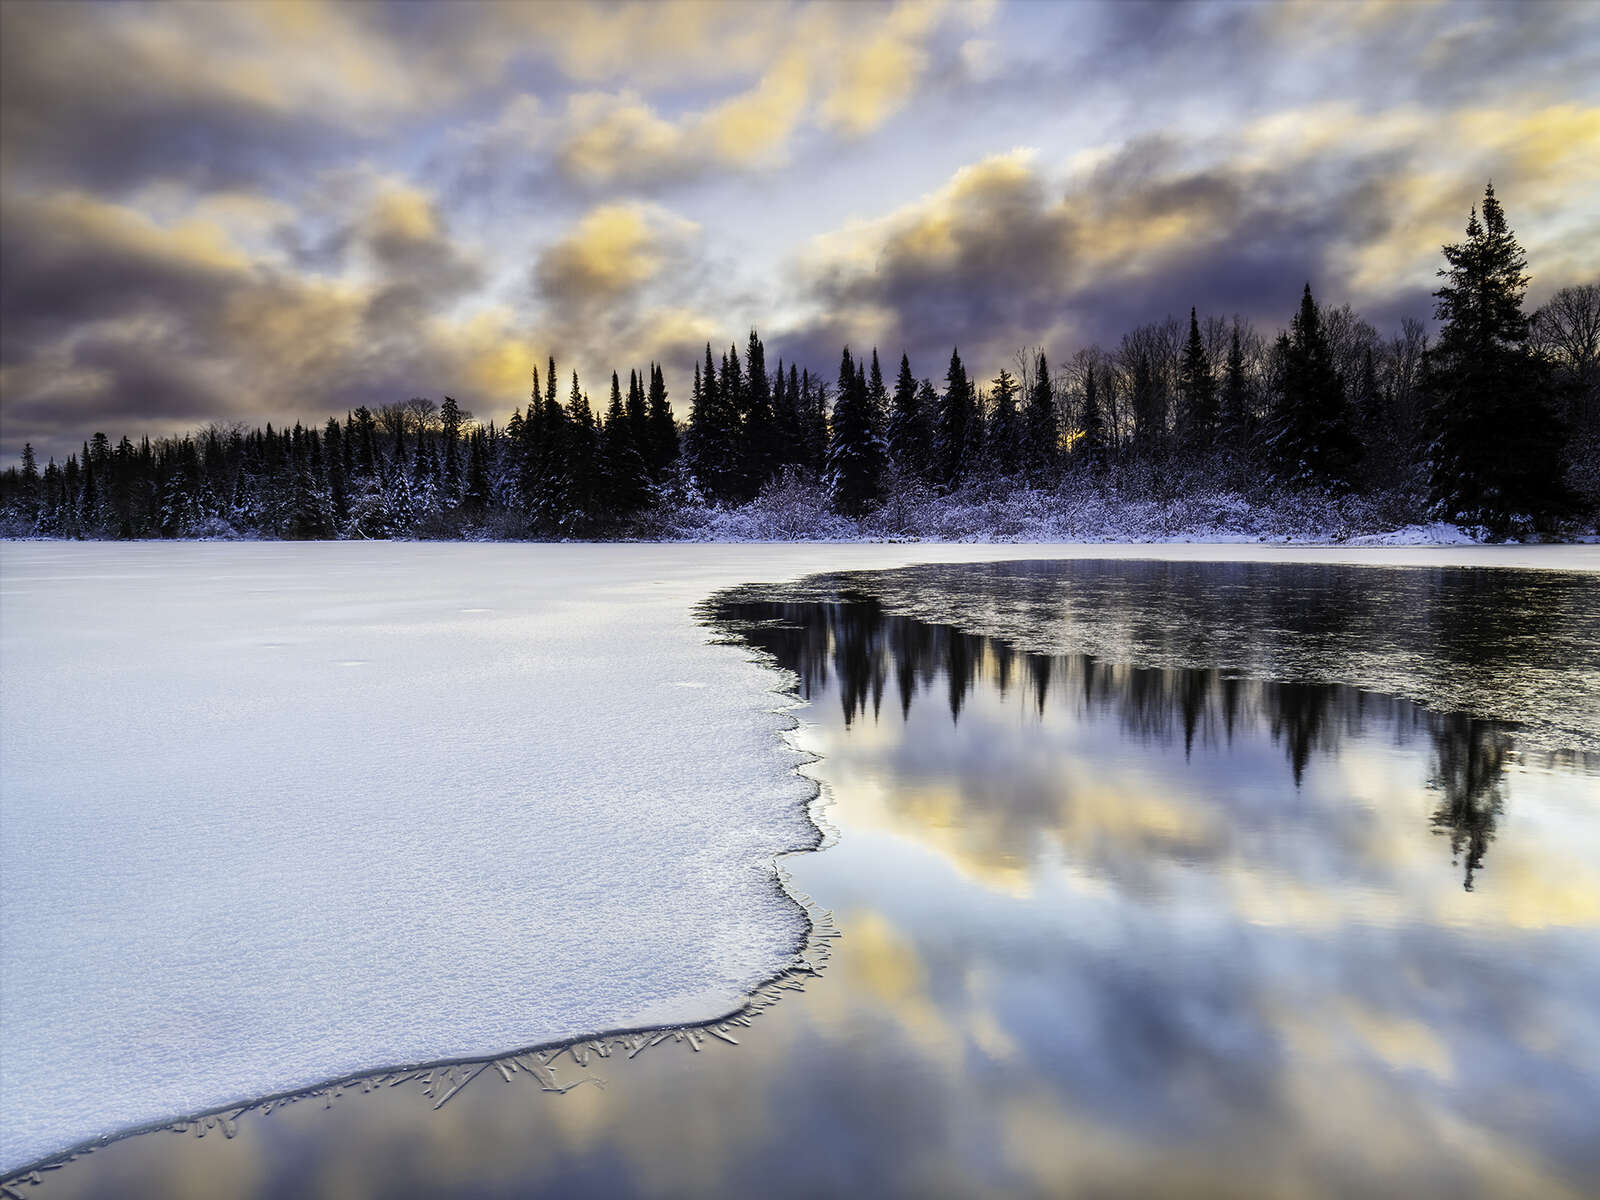
Focus Stacking
Each of the computational features in the OM SYSTEM cameras has made an impact on how I photograph my landscapes. But none has made as big a difference as focus bracketing and stacking. This is definitely the feature that I use the most. Focus stacking is usually thought of as a technique reserved for macro shooting, and it is certainly perfect for that genre. But, it is now a technique that I regularly use for landscape shooting. In most of my landscape shots I like to have that classic foreground, midground and background. Now I can accentuate that foreground. I love the fact that even tiny objects can become a dominant element in a photo. This makes me far more observant of my surroundings as I look for new and interesting ways to photograph a scene.
In many cases I place the front lens element within a few inches of the foreground subject and, with the incredible image stabilization of the OM-1, I often forego the tripod. It may require a bit of experimentation to figure out how many shots are needed in order to get maximum clarity throughout the scene. Focus stacking is limited to a maximum of 15 shots, but I have found that setting eight to ten shots usually works quite well. I leave the focus differential at 3 and usually shoot with an aperture of f/4 or f/5.6. I set my focus point on the closest part of my subject. The OM-1 has 1053 focus points with full coverage of the frame which gives more precise control over focusing. Once the shutter release is pressed the camera will capture the set number of shots, but keep in mind that the 2nd and 3rd shots of the sequence actually focus in front of where you set your focus. The remaining shots focus deeper into the frame. If you are shooting in RAW, the individual shots will be recorded in RAW, but the stacked image will be a jpeg. Even though I process and stack the RAW images in third party software, I find the in-camera stacked jpeg very useful to see whether I nailed focus throughout the final image.
As with the other computational features, focus stacking can be programmed into one of the customizable buttons and settings can be changed quickly by holding down that button and turning one of the control dials.
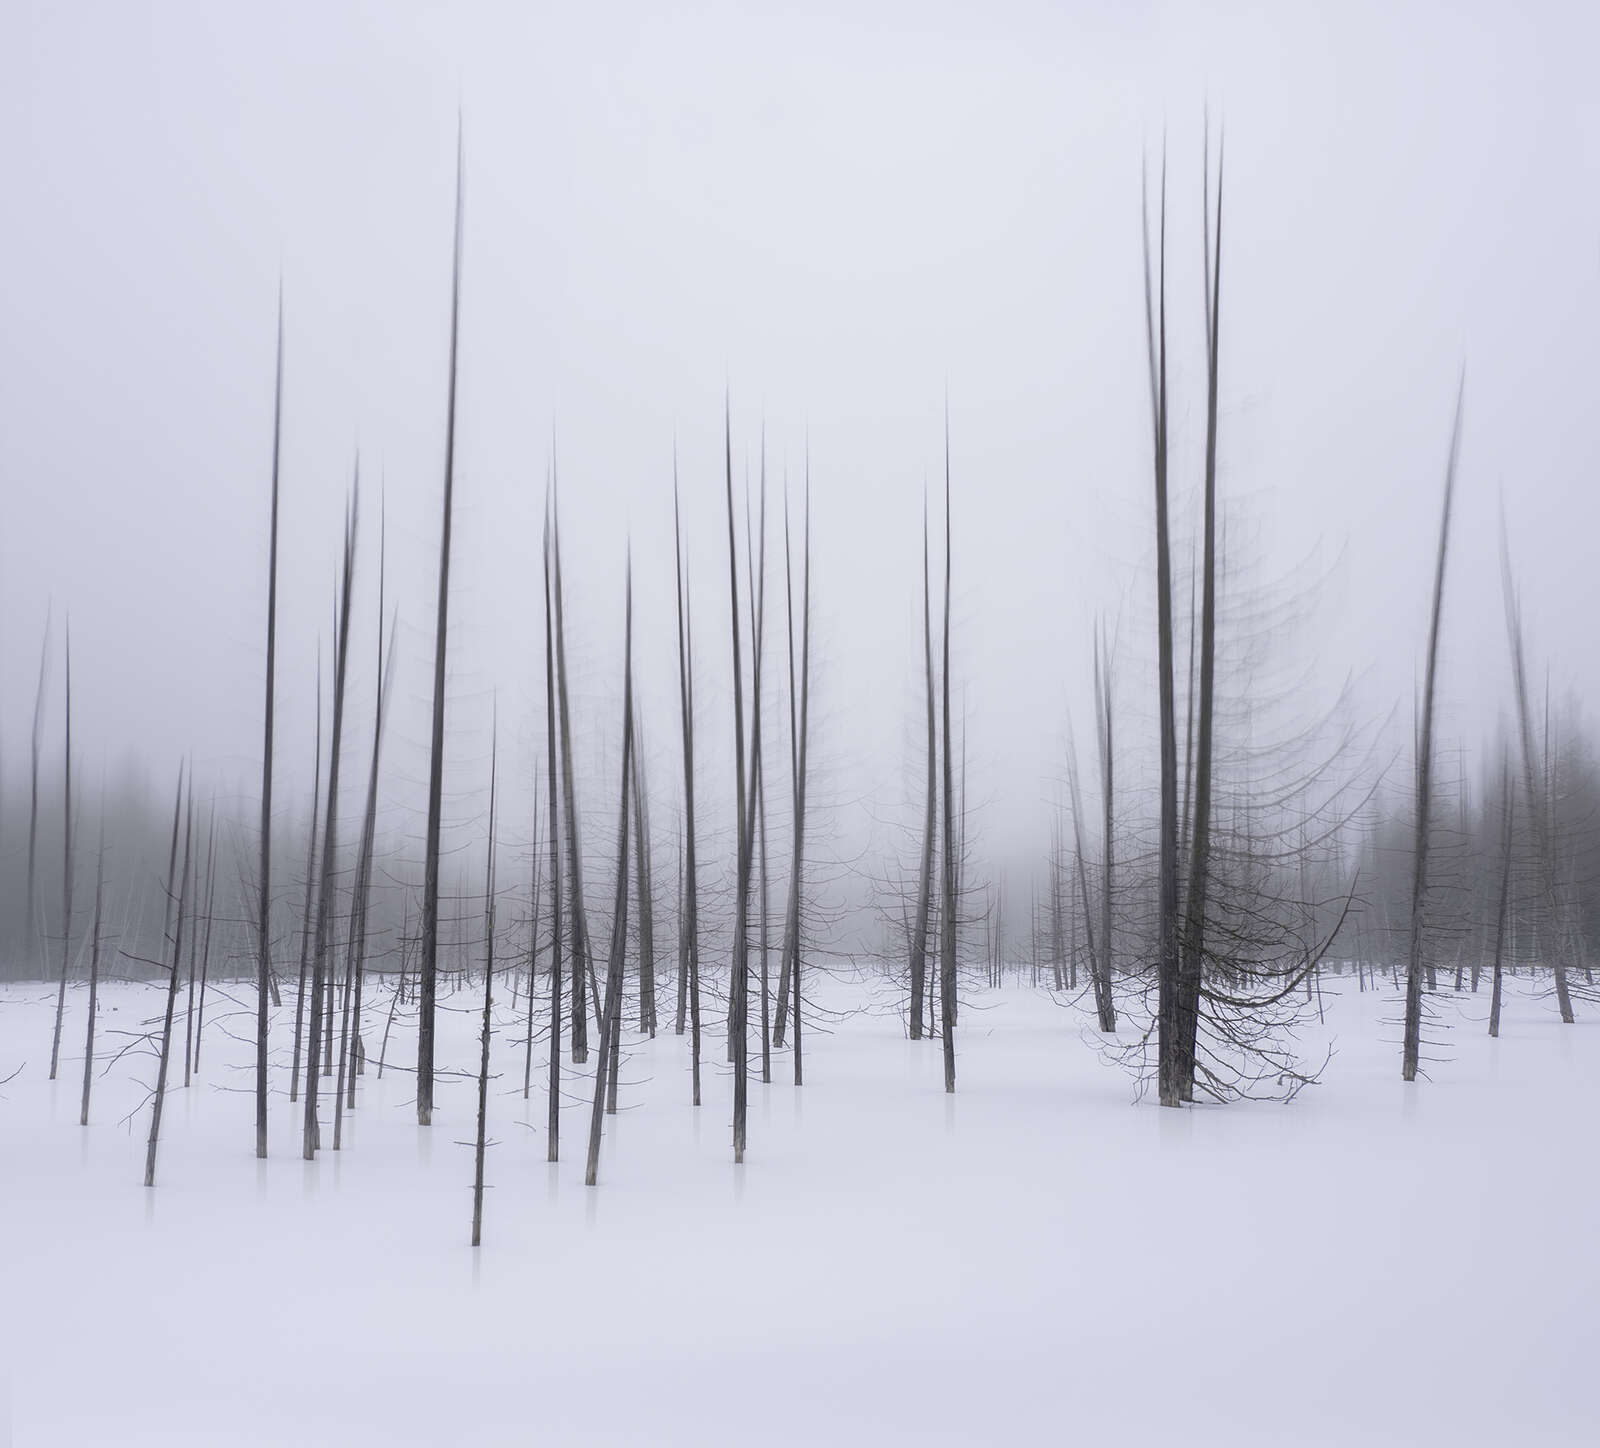
OM-1 | M.Zuiko 8-25mm
.4s | F5.6 | ISO 500
OM-1 | M.Zuiko 8-25mm F4.0 PRO
1/640s | F5.6 | ISO 200
OM-D E-M1 Mark III | M.Zuiko 8-25mm F4.0 PRO
.5s | F7.1 | ISO 200
Final Thoughts and Image
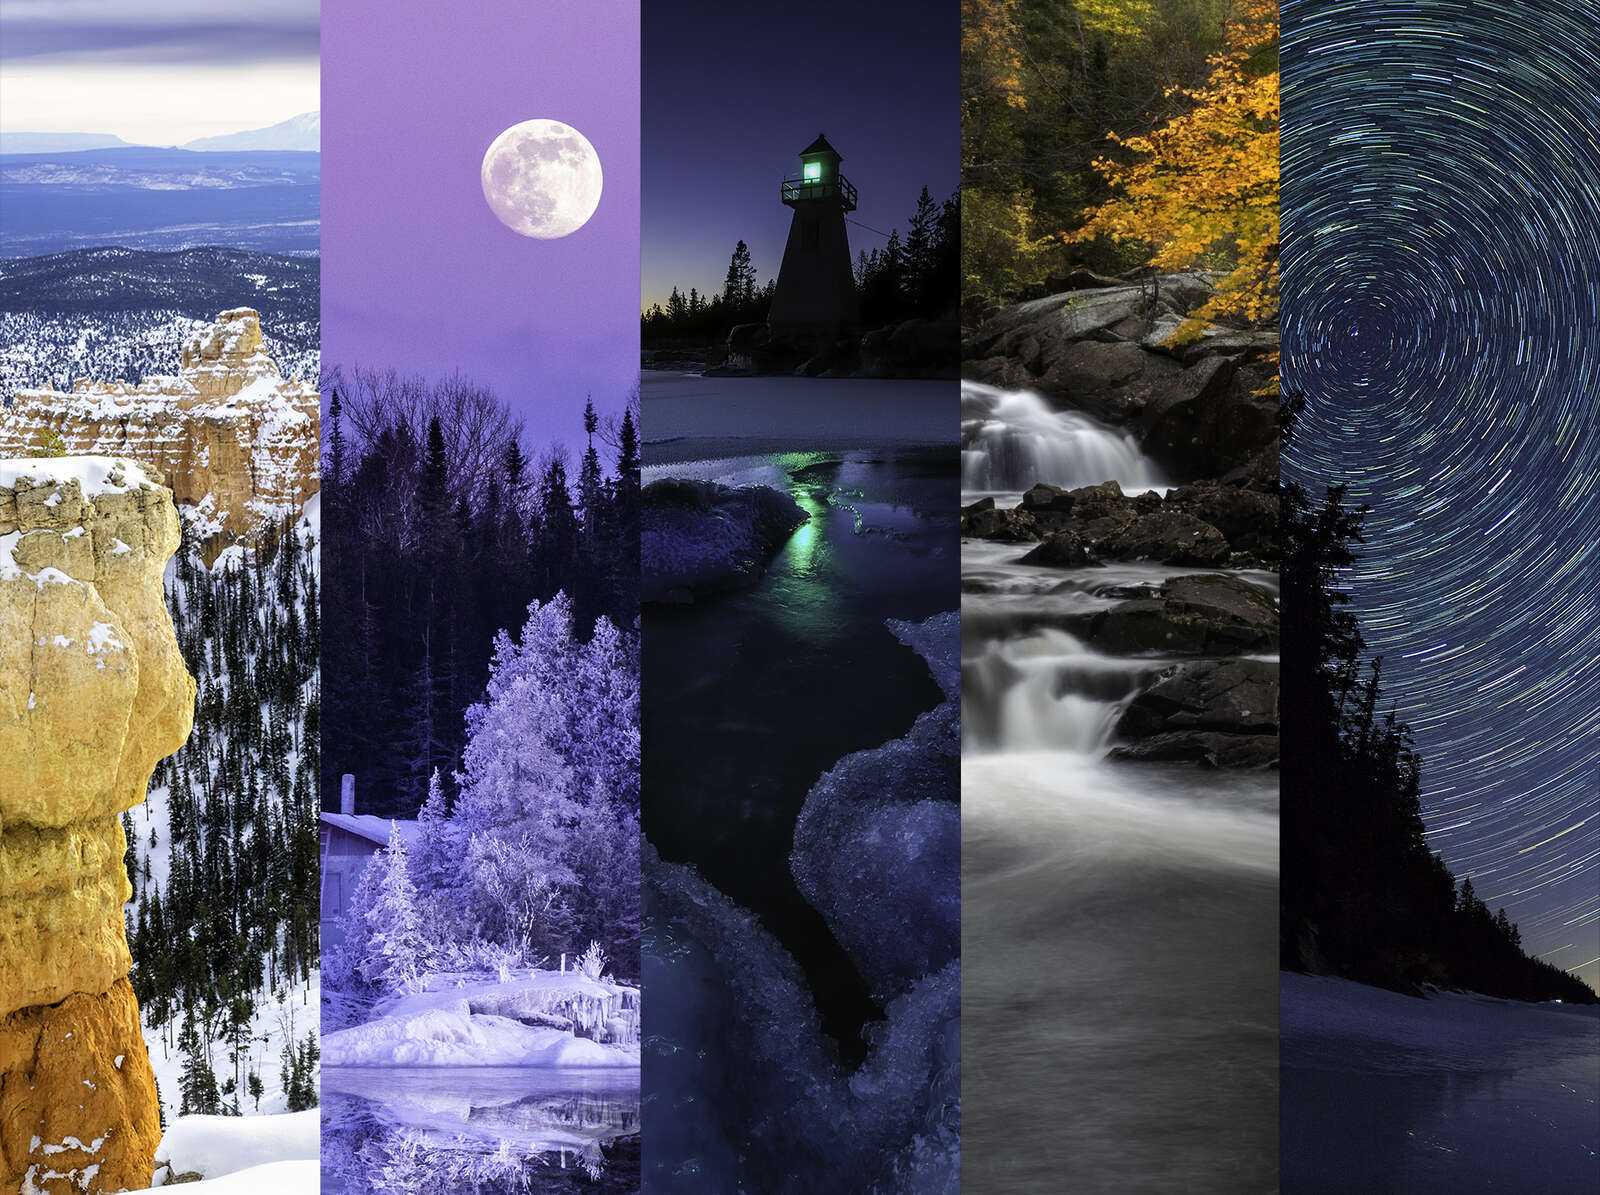
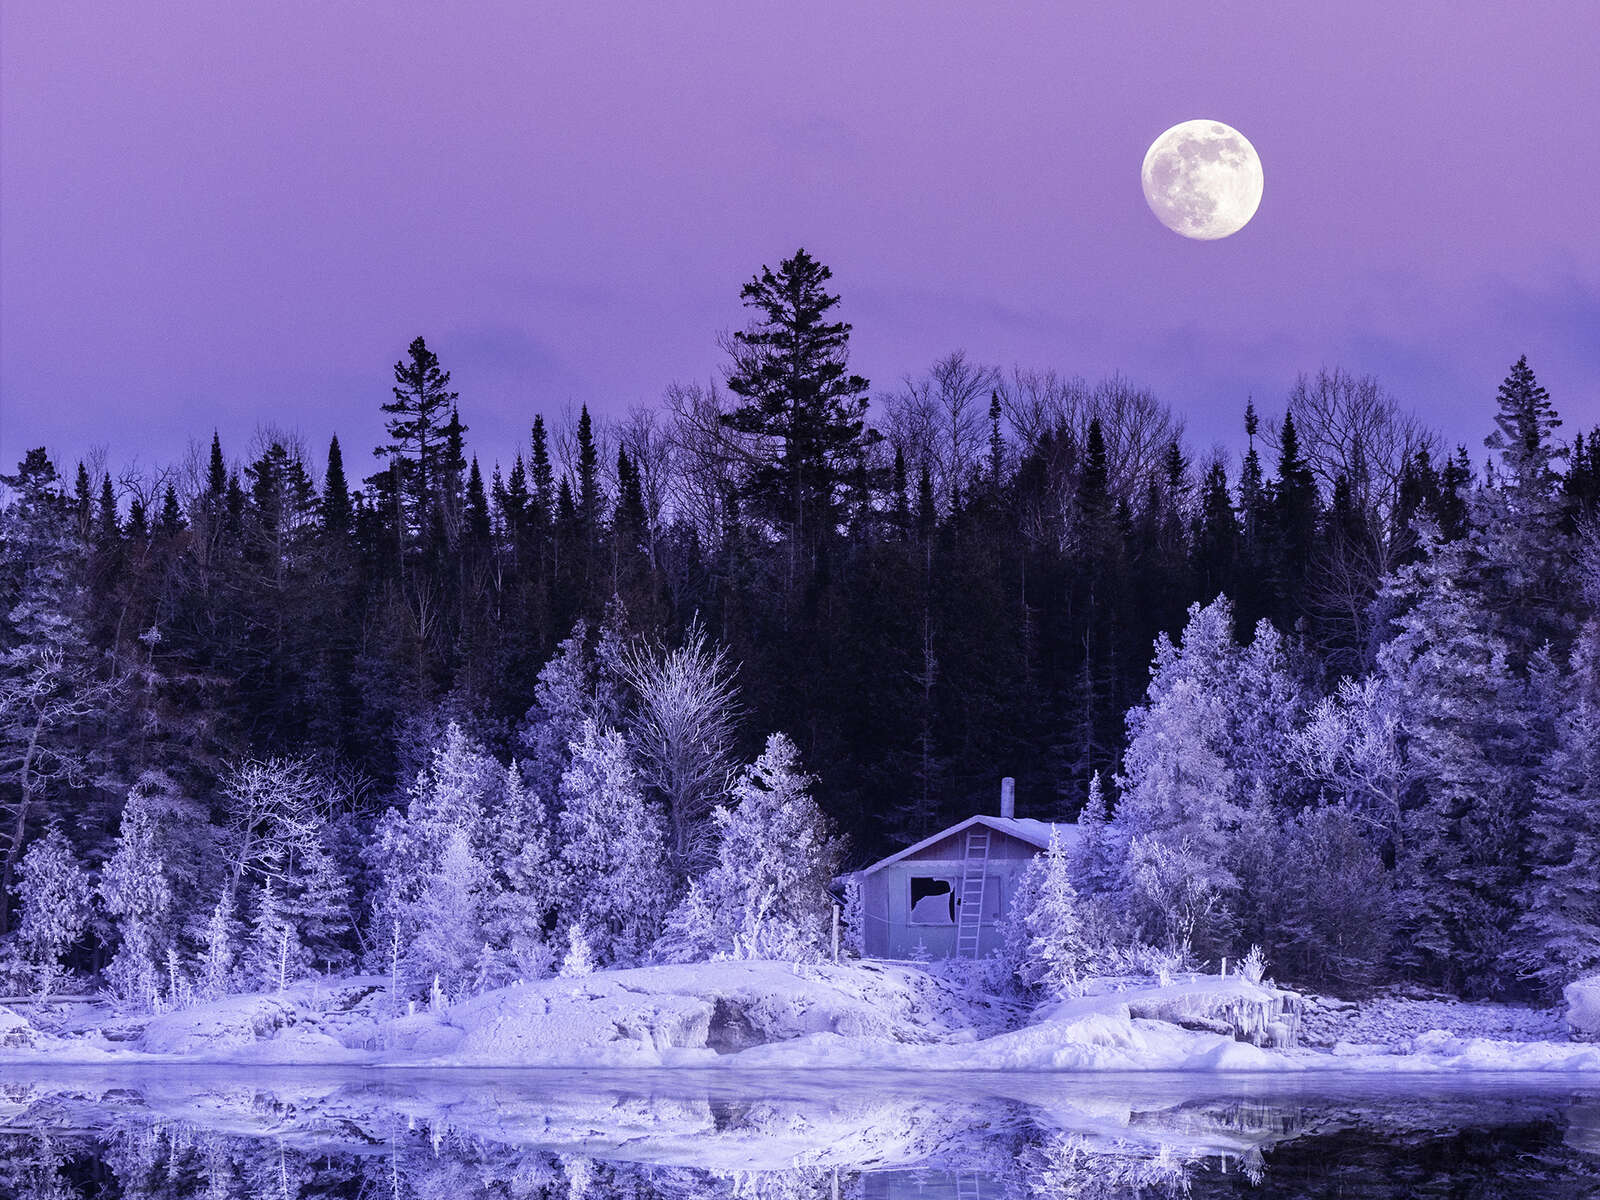
The computational modes available on various OM SYSTEM models has truly changed the way I see and photograph the world. The OM-1 has not only expanded the possibilities for my landscape photography, but with the new menu system, programmable buttons, and increased power and speed of the True Pic X engine, it has made the process easier and faster. Within this article I have covered those features that I used quite frequently, but there are others that are equally useful depending on the situation. For example, I use the Multiple Exposure feature with many of my full moon images. It’s a great way of grabbing the moon out of the sky and placing it exactly where you want it in your photo. For particularly tricky exposure situations, the built-in HDR modes can be useful for balancing lights and shadows when a graduated neutral density filter is not practical. I certainly don’t use the various computational features on every photography outing, but they have greatly expanded my creative potential.
For more information on specific computational photography features check out these articles;
- Live Composite – Live Composite and Star Trails and Live Composite: Beyond the Stars
- Focus Stacking – Using Focus Bracketing and Stacking in Landscape Photography
- Live ND – When to Use the Internal Live ND Filter
- Multiple Exposure – Shoot the Moon… with Olympus
OM-1 | M.Zuiko 12-100mm F4.0 IS PRO
OM-D E-M1X | M.Zuiko 150-400mm F4.5 TC1.25x IS PRO
1/30s | F7.1 | ISO 500
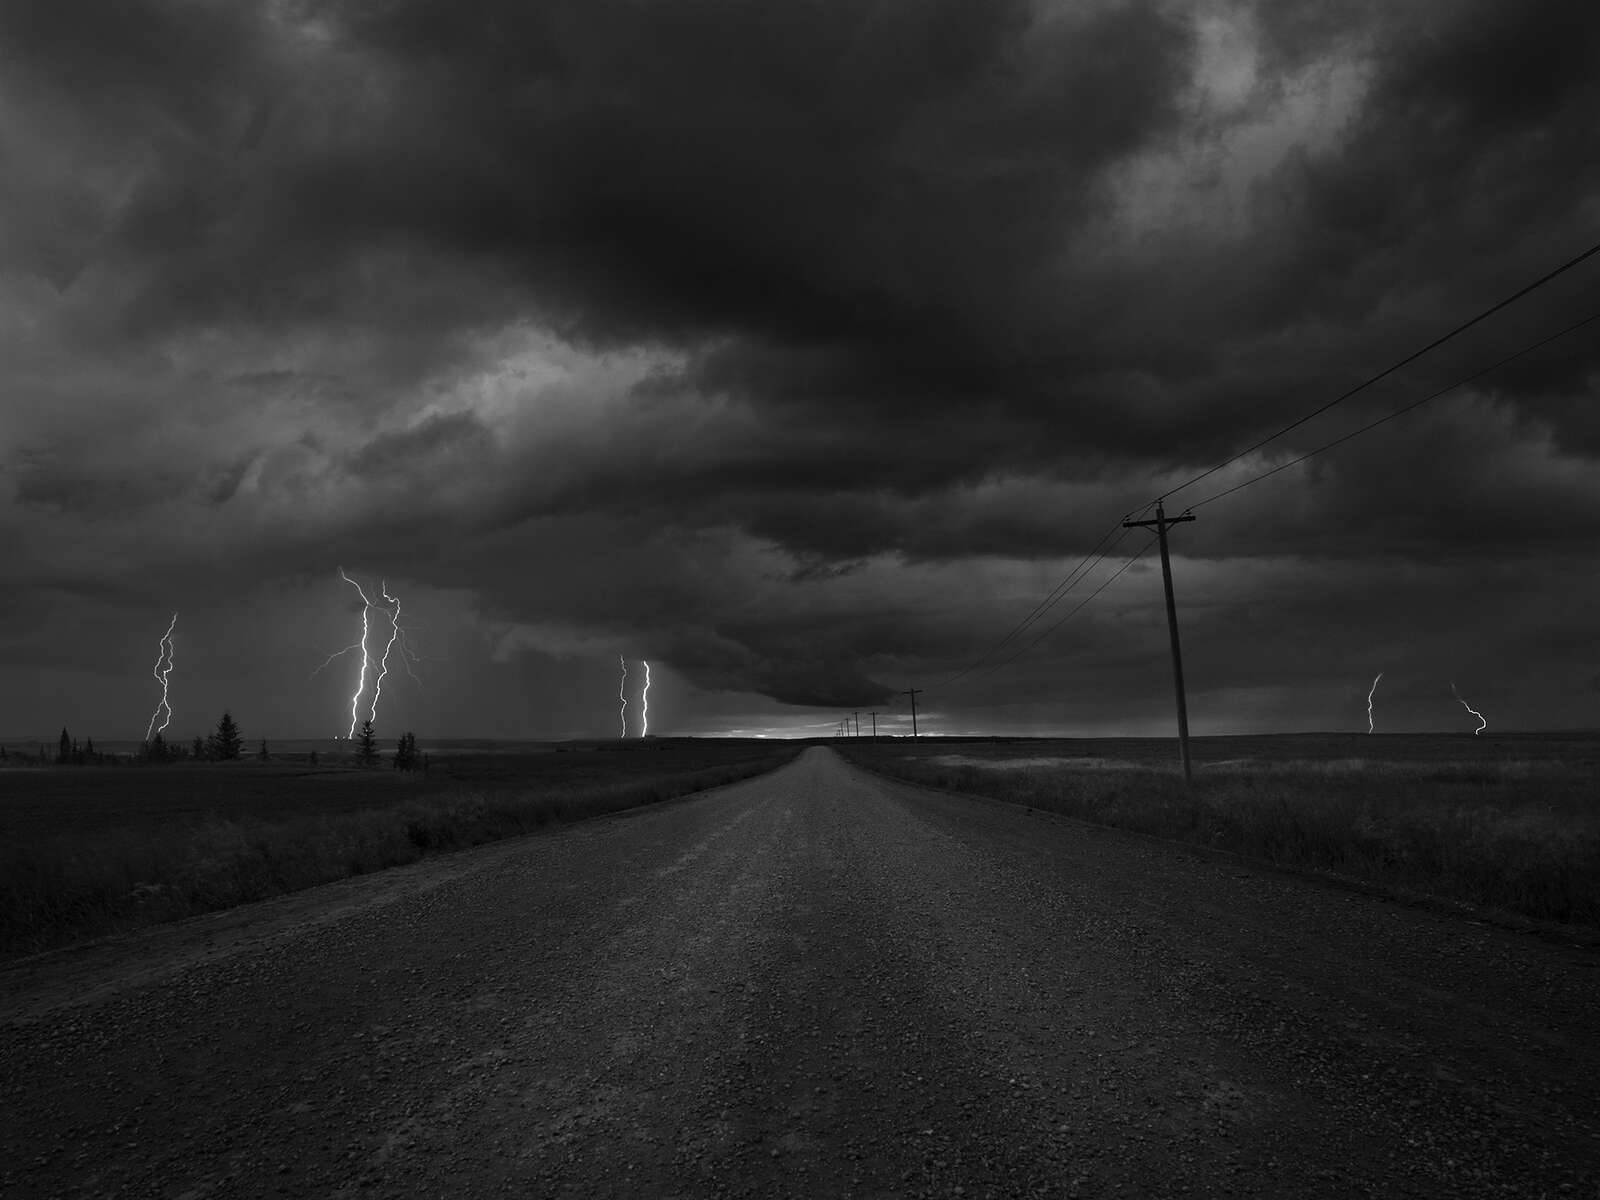
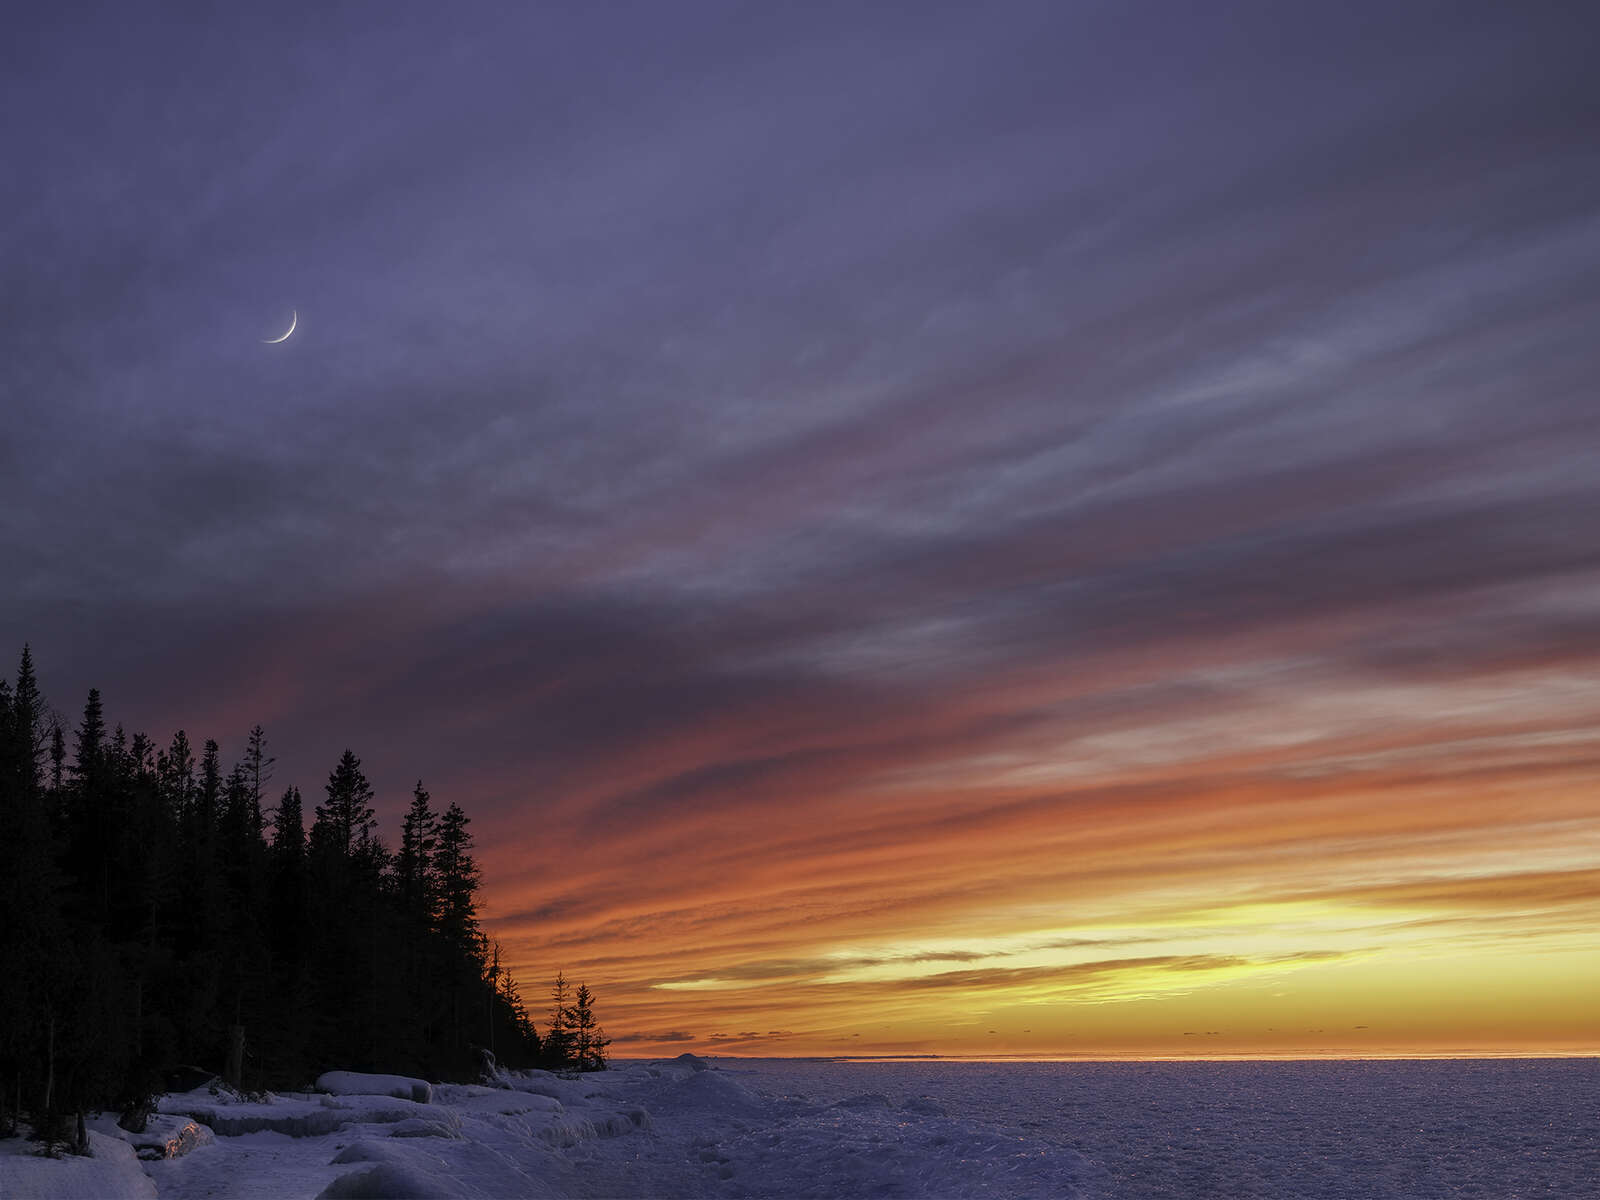
OM-1 | M.Zuiko 20mm F1.4 PRO
15s | F1.4 | ISO 1600
OM-1 | M.Zuiko 8-25mm F4.0 PRO
1/40S | f6.3 | ISO 200
OM-D E-M1X | M.Zuiko 7-14mm F2.8 PRO
1/20s | F7.1 | ISO 64
ABOUT PETER
Web: creativeislandphoto.com
Blog: creativeislandphoto.com/blog
Twitter: @creativeisland4
Peter has been a dedicated Olympus shooter for nearly 40 years, and has found a way to combine his passion for photography with his love of teaching to develop photography workshops with a focus on landscape, wildlife and astrophotography. Peter’s work has been published in a number of magazines including Canadian Geographic, Shutterbug and Outdoor Photographer. He maintains his own blog with an emphasis on tutorials that assist others in bringing their photography up to the next level.