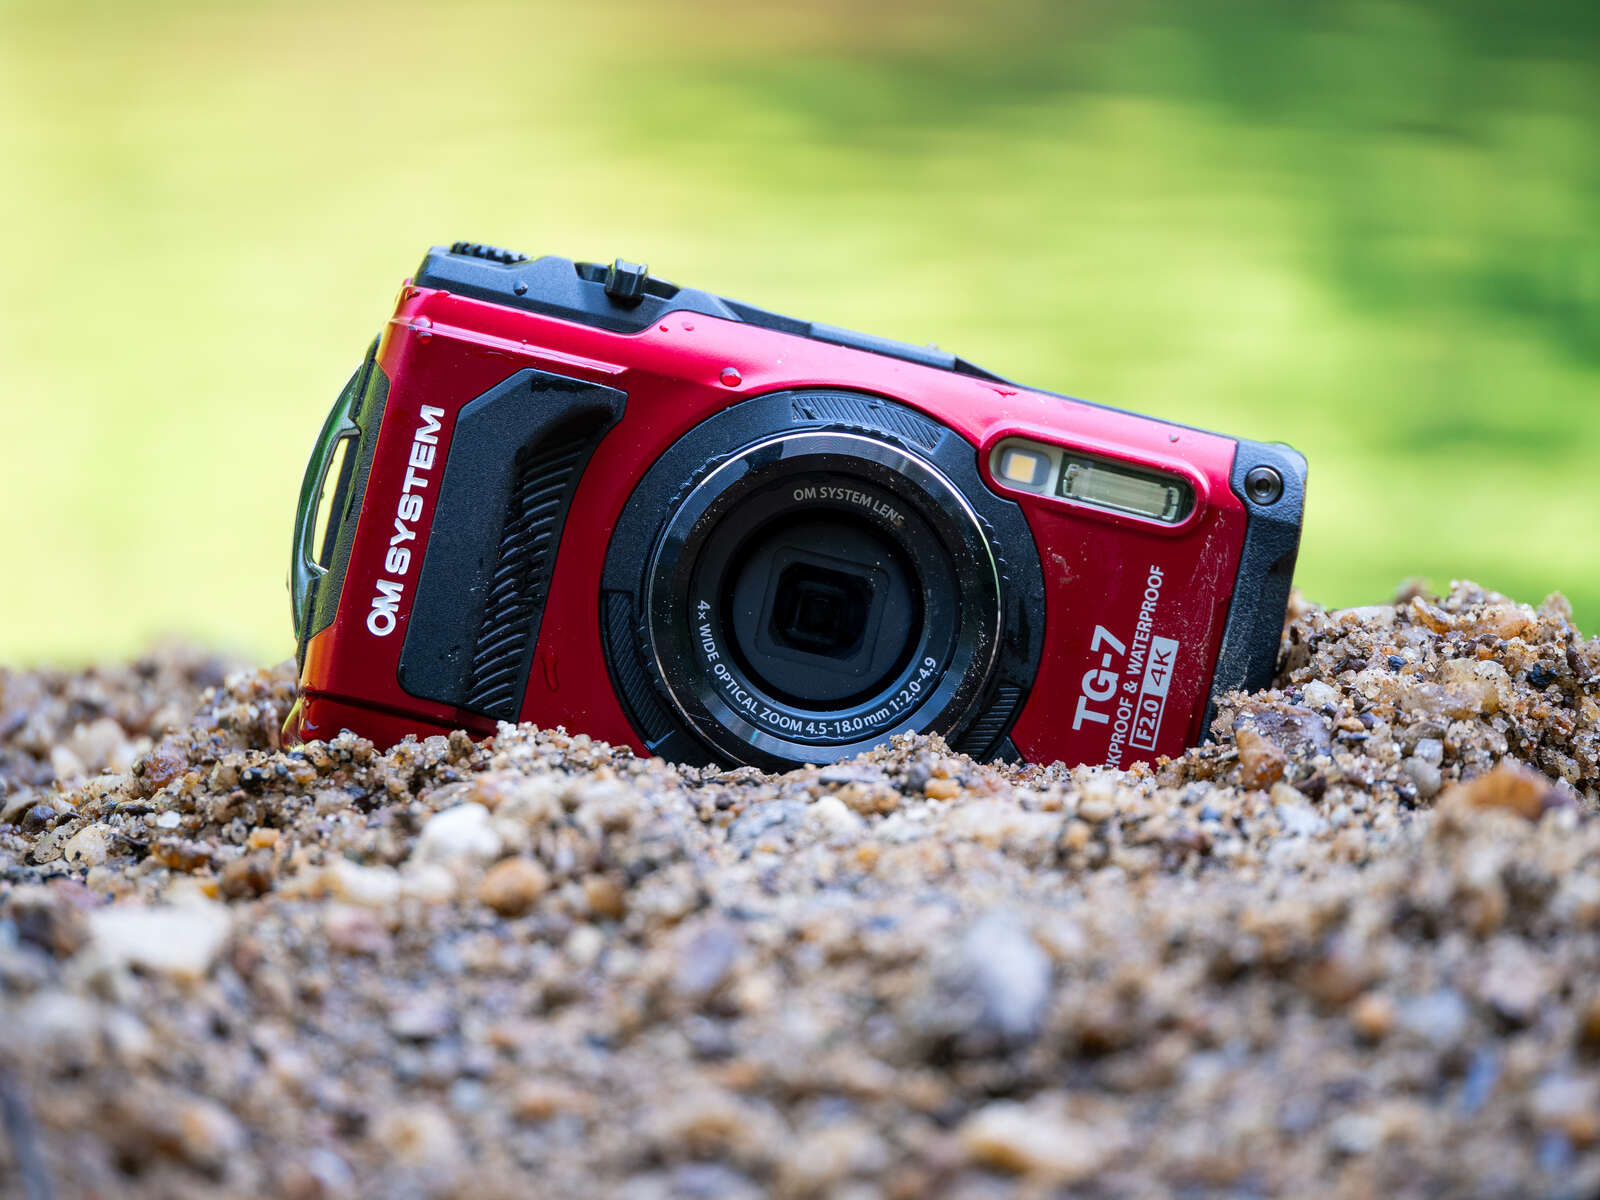
You know the Tough cameras are…tough, but did you know they’re also extremely capable?
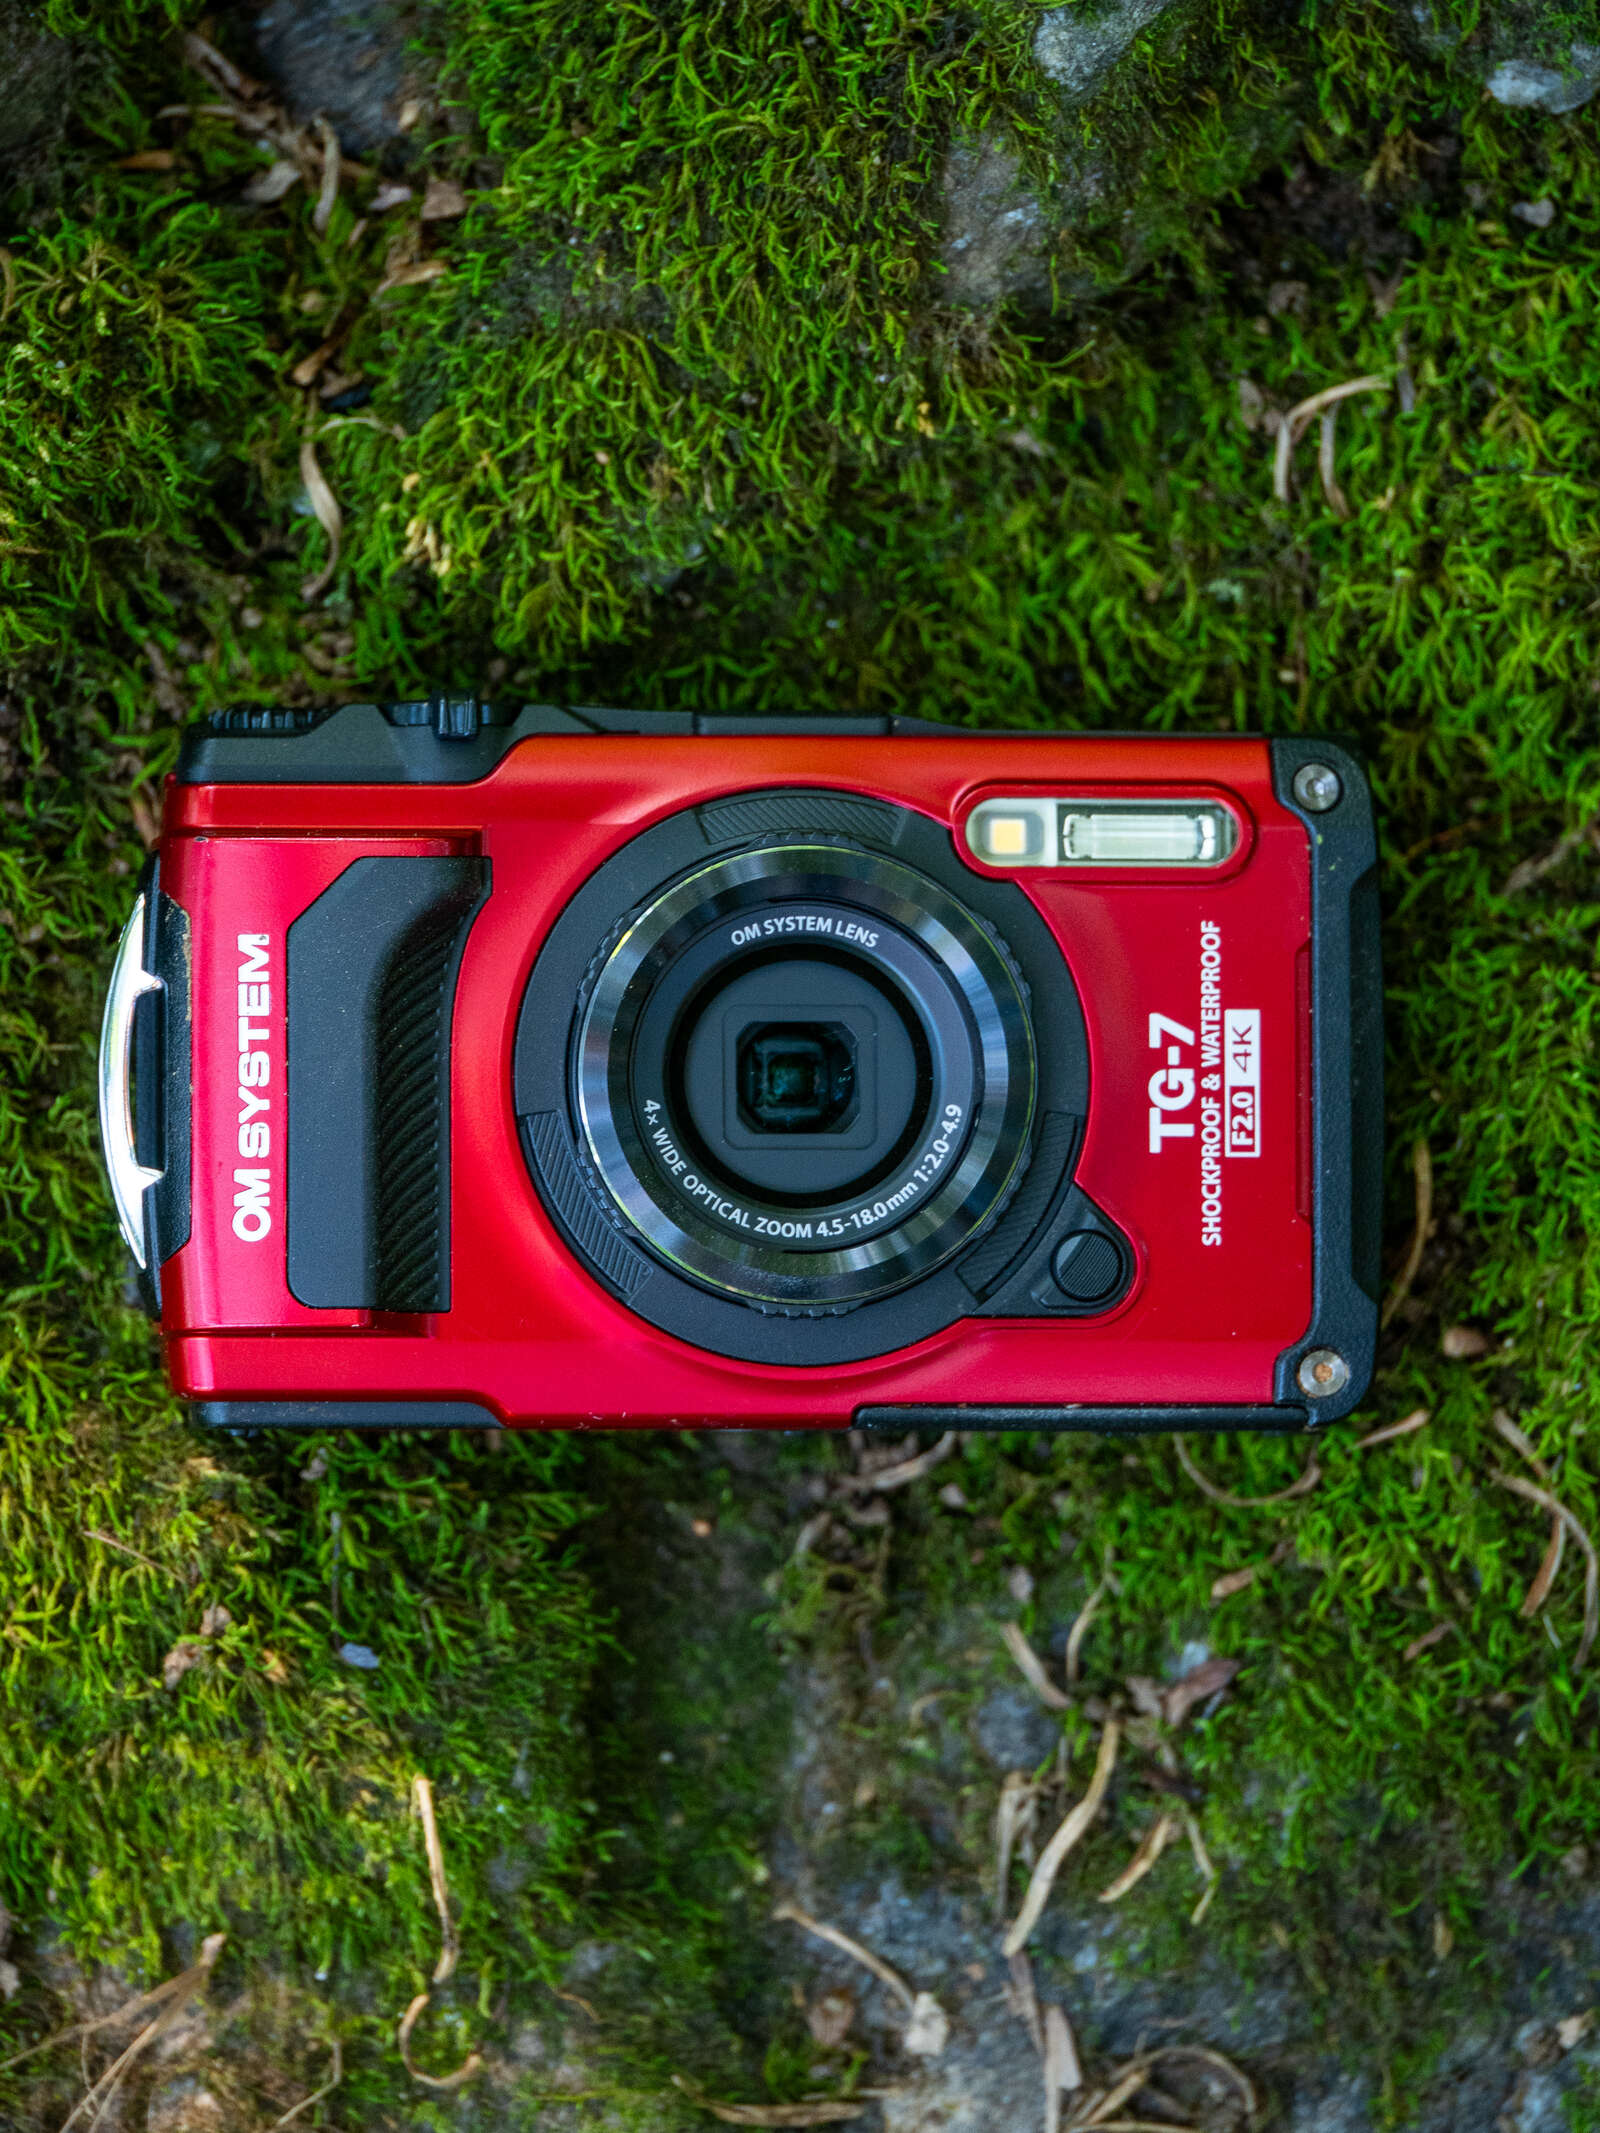
The TG-7 is a compact macro powerhouse. Combined with its waterproofing, dustproofing, freezeproofing, and ability to survive a substantial crush and/or tumble, it’s the perfect camera for the tiniest and harshest shooting scenarios. But what if you only want to take photos at the park on a nice day? There is that, too. This article focuses on two of my favorite TG-7 capabilities: Focus Stacking and Focus Bracketing
Focus Stacking
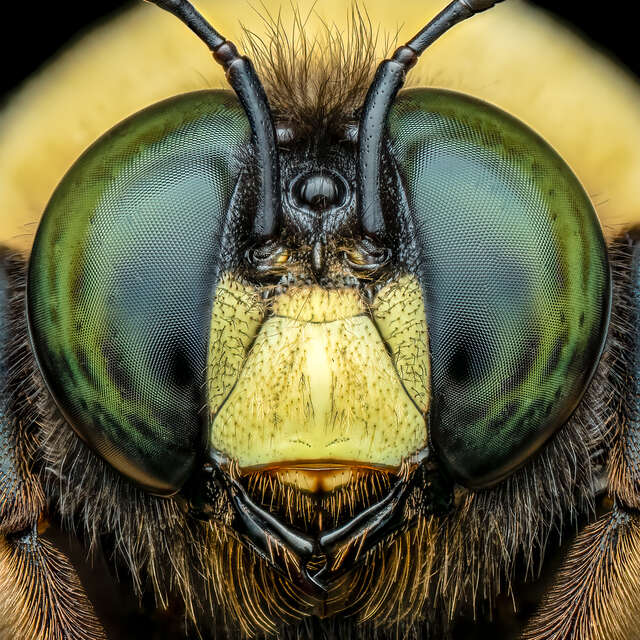
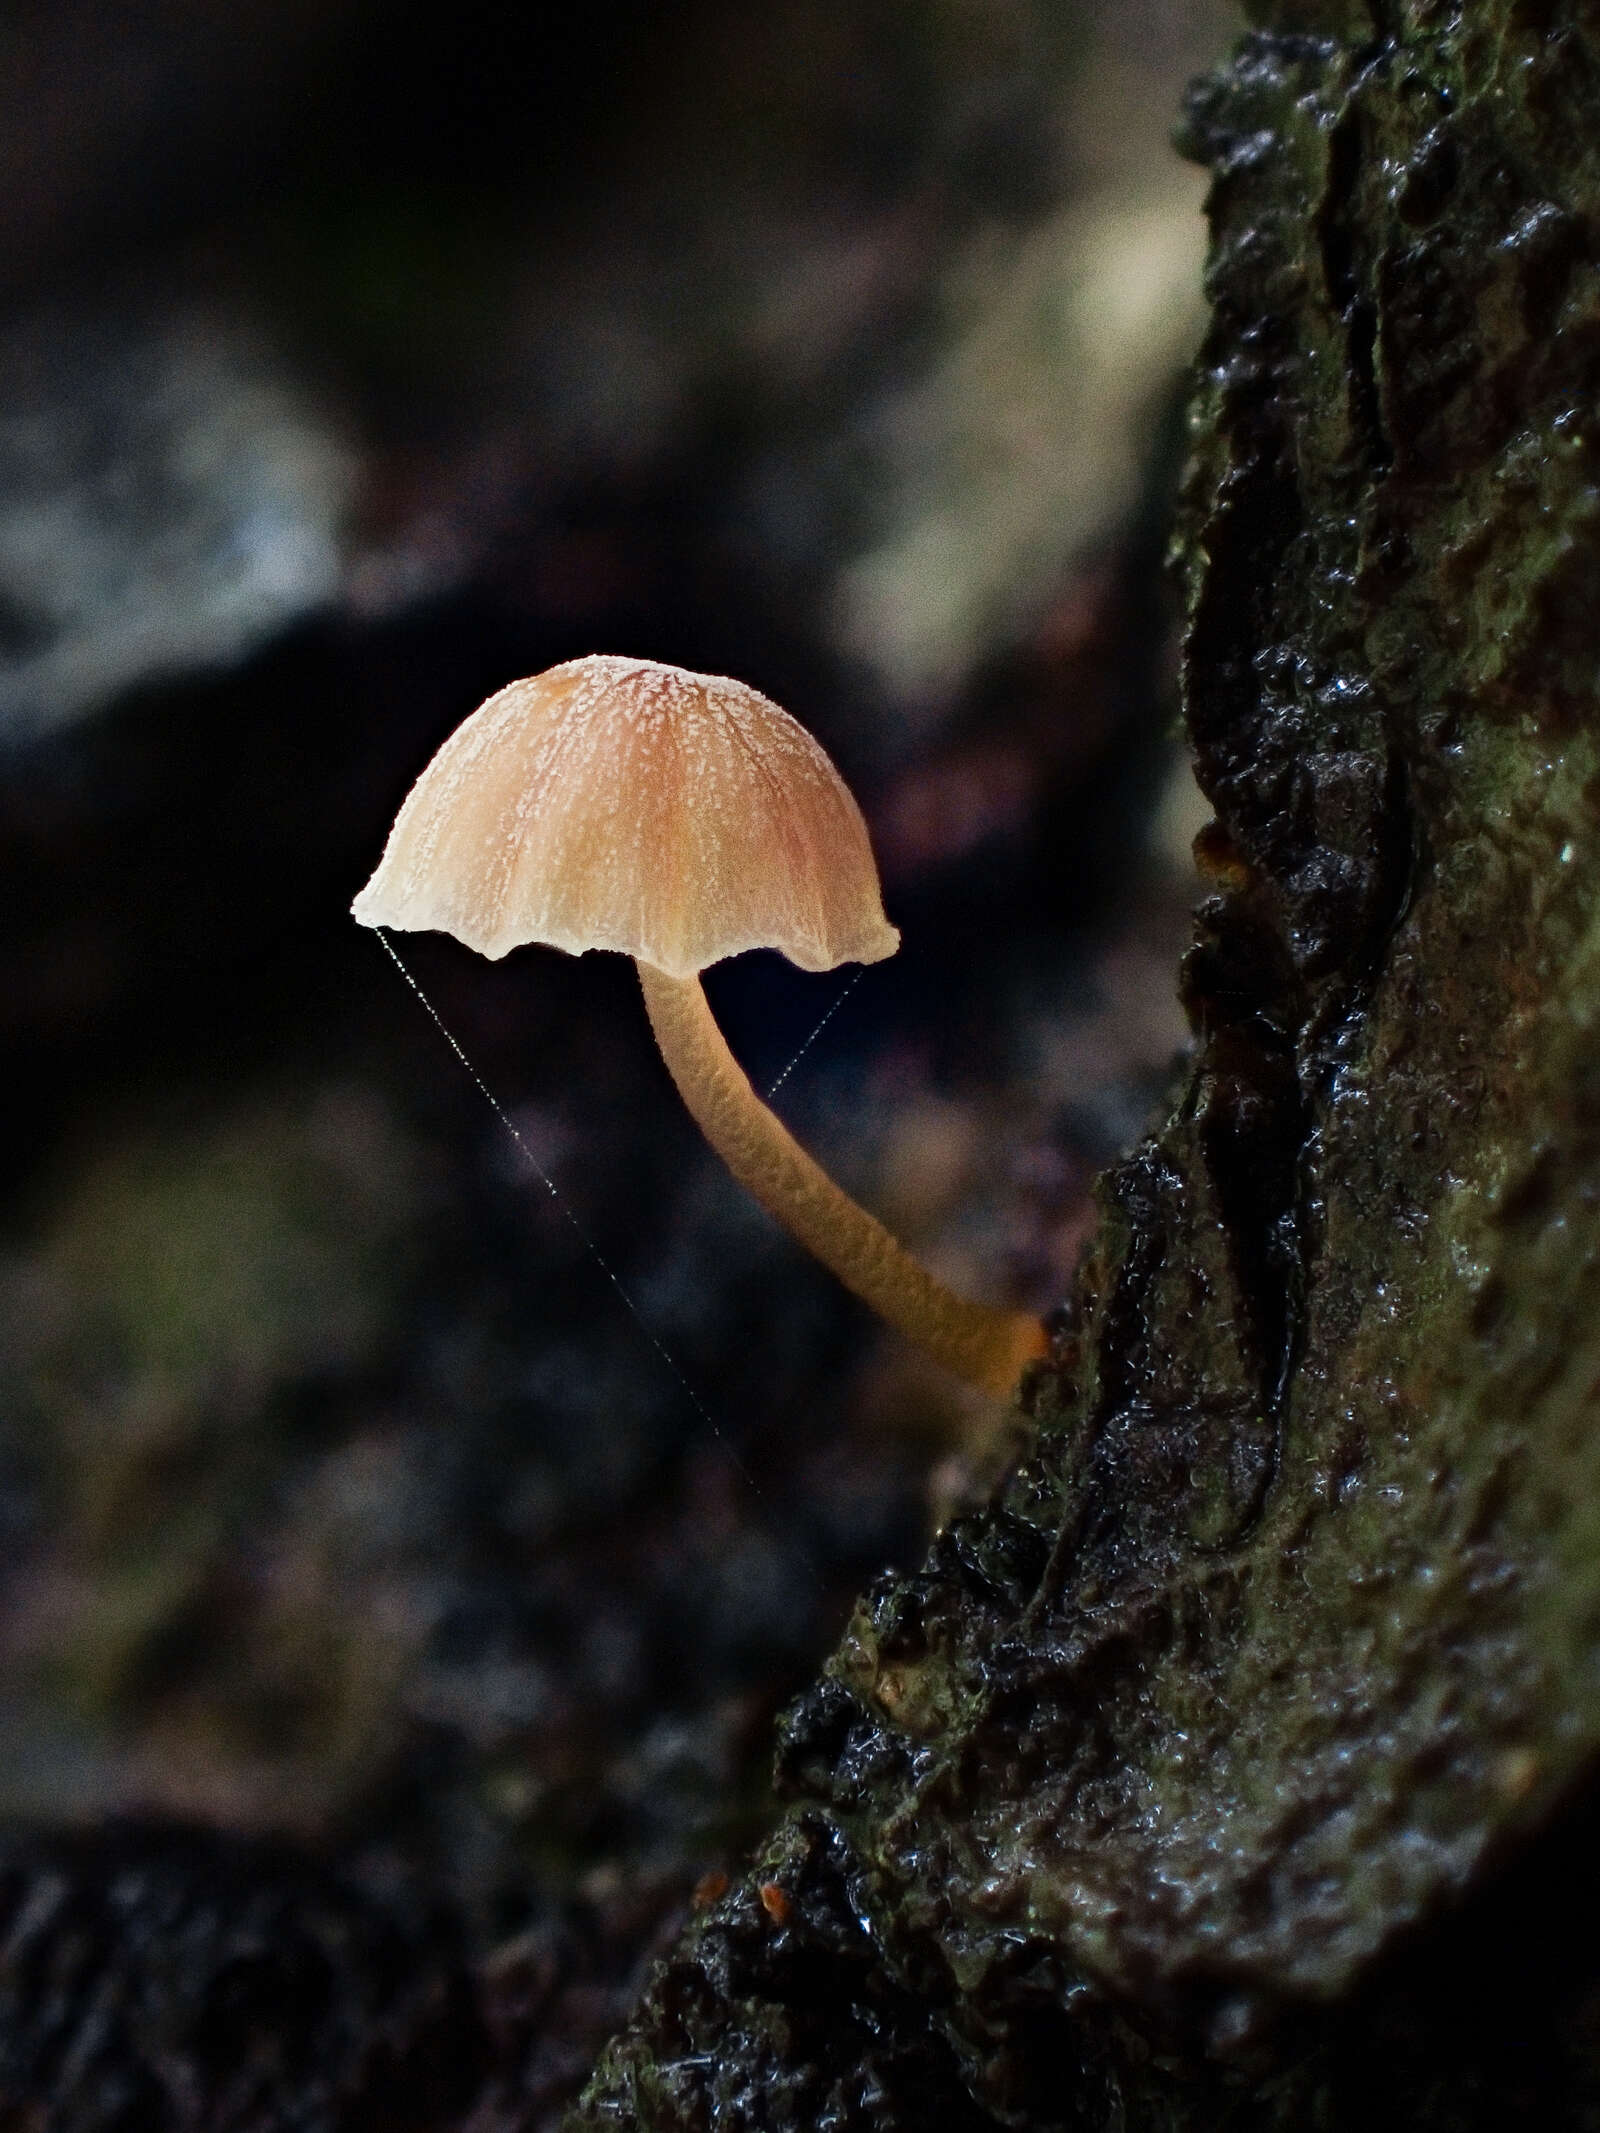
The TG-7 can get close. Crazy close. Up to 7x (35mm equivalent), actually. However, when increasing magnification, the depth of field decreases. If you’re looking to increase depth of field without having to combine multiple images in post, Focus Stacking is right up your alley. Focus Stacking will vary focus over a selected number of shots (3-10) and then combine the individual shots into a single image. Let’s say you found a miniature flower to shoot but the depth of field at your desired composition only details the front of the subject. With Focus Stacking on, the camera will capture separate photos down the flower towards infinity and generate a single combined image in a matter of seconds.

1/125s | F4.5 | ISO 250
TG-7 Focus Stacking Tips:
- Turn on Focus Stacking by moving the dial to the microscope position and selecting the sub mode Focus Stacking option on the screen.
- Focus Stacking settings can be accessed in Shooting Menu 2.
- If you’re using flash, the FD-1 Flash Diffuser attachment will help soften the light. I recommend using natural light or off-camera continuous light to give you more shooting flexibility and speedier stacking.
- Stability is crucial. Using a tripod or resting the camera on a static object (e.g., directly on the ground or a fallen tree) will let you keep the ISO down with a slower shutter speed. You can increase the ISO for faster snaps, but you’ll be increasing noise.
- Set the Start Waiting Time in the Focus Stacking settings. You don’t want the stack process to start right away because pressing the shutter down will cause the camera to move slightly. Setting a small delay will ensure you avoid any movement at the beginning.
- If the stack doesn’t process to your liking the first time, try increasing or decreasing the set number of shots. If you’re still having issues, try changing the distance to your subject and/or your focus point. Lastly, try changing the angle of approach. You will sometimes get a halo-type effect when there is increased separation between your subject and the background. This can quickly be fixed in post, but often is not apparent enough to require removal.
- Autofocus will help you target an image, but manual focus will give you more control over magnification (if you want it). If you think autofocus isn’t the subject close enough, hit OK from your shooting screen and use the arrows to find focus mode options. Select MF, then use the arrows to move focus forward and backwards. If you’re trying to increase magnification, hold the down arrow.
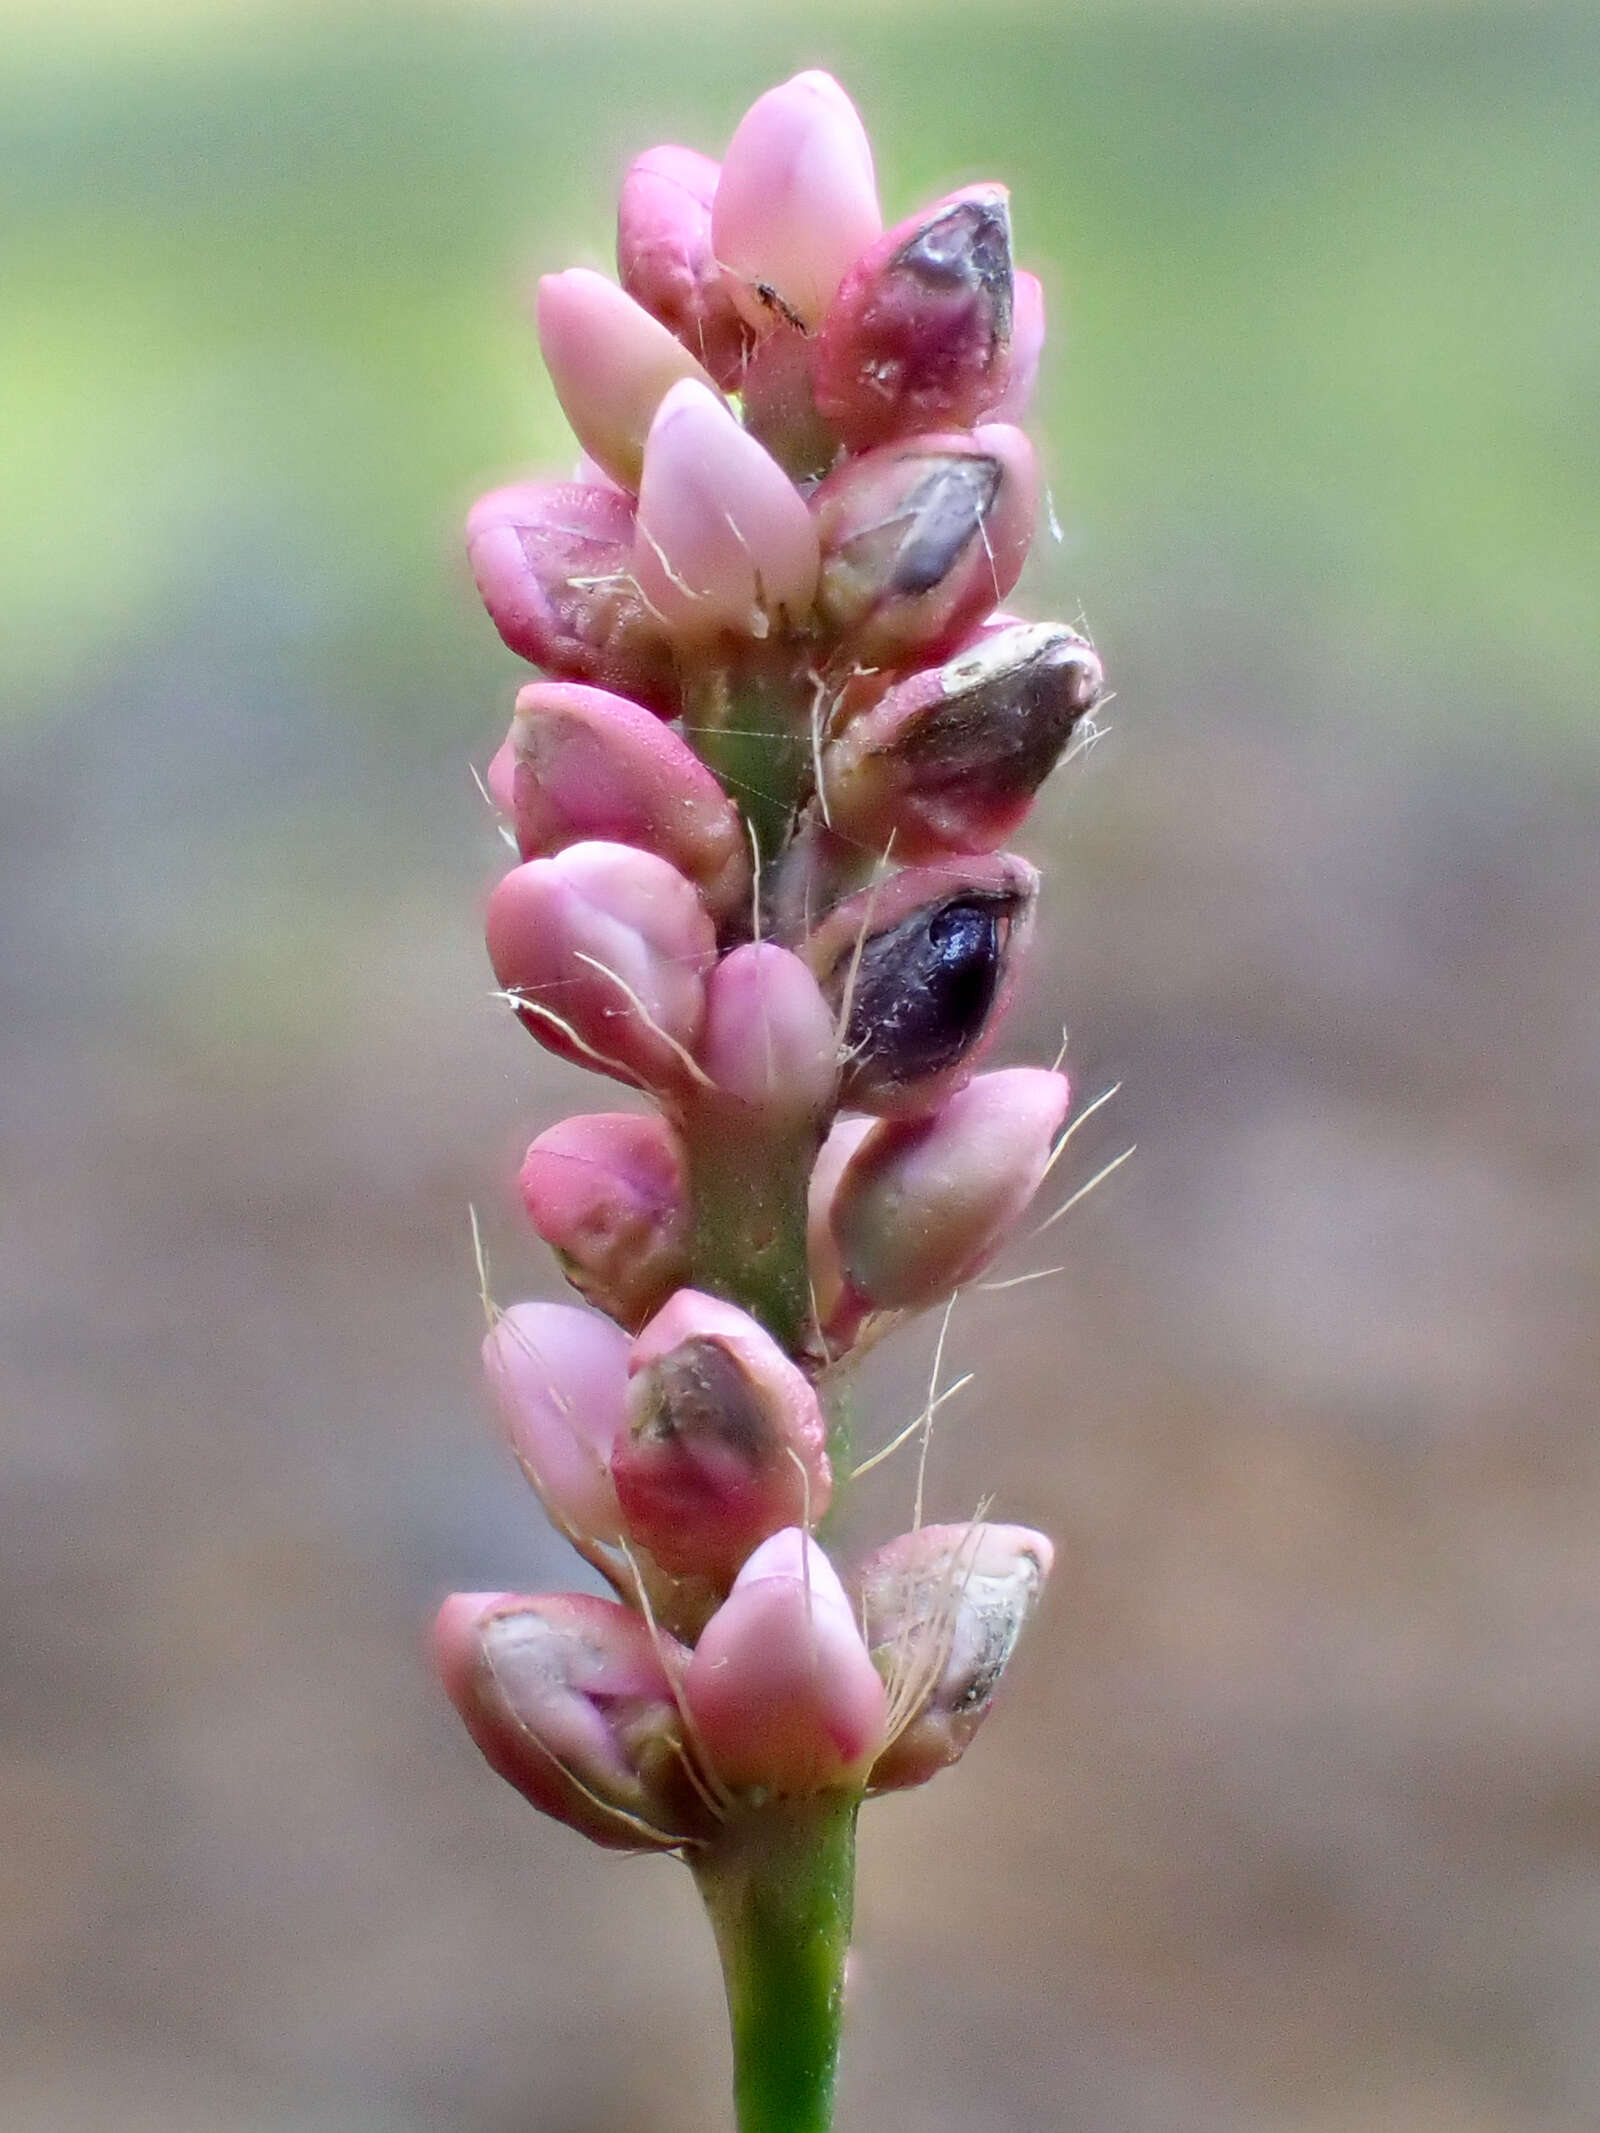
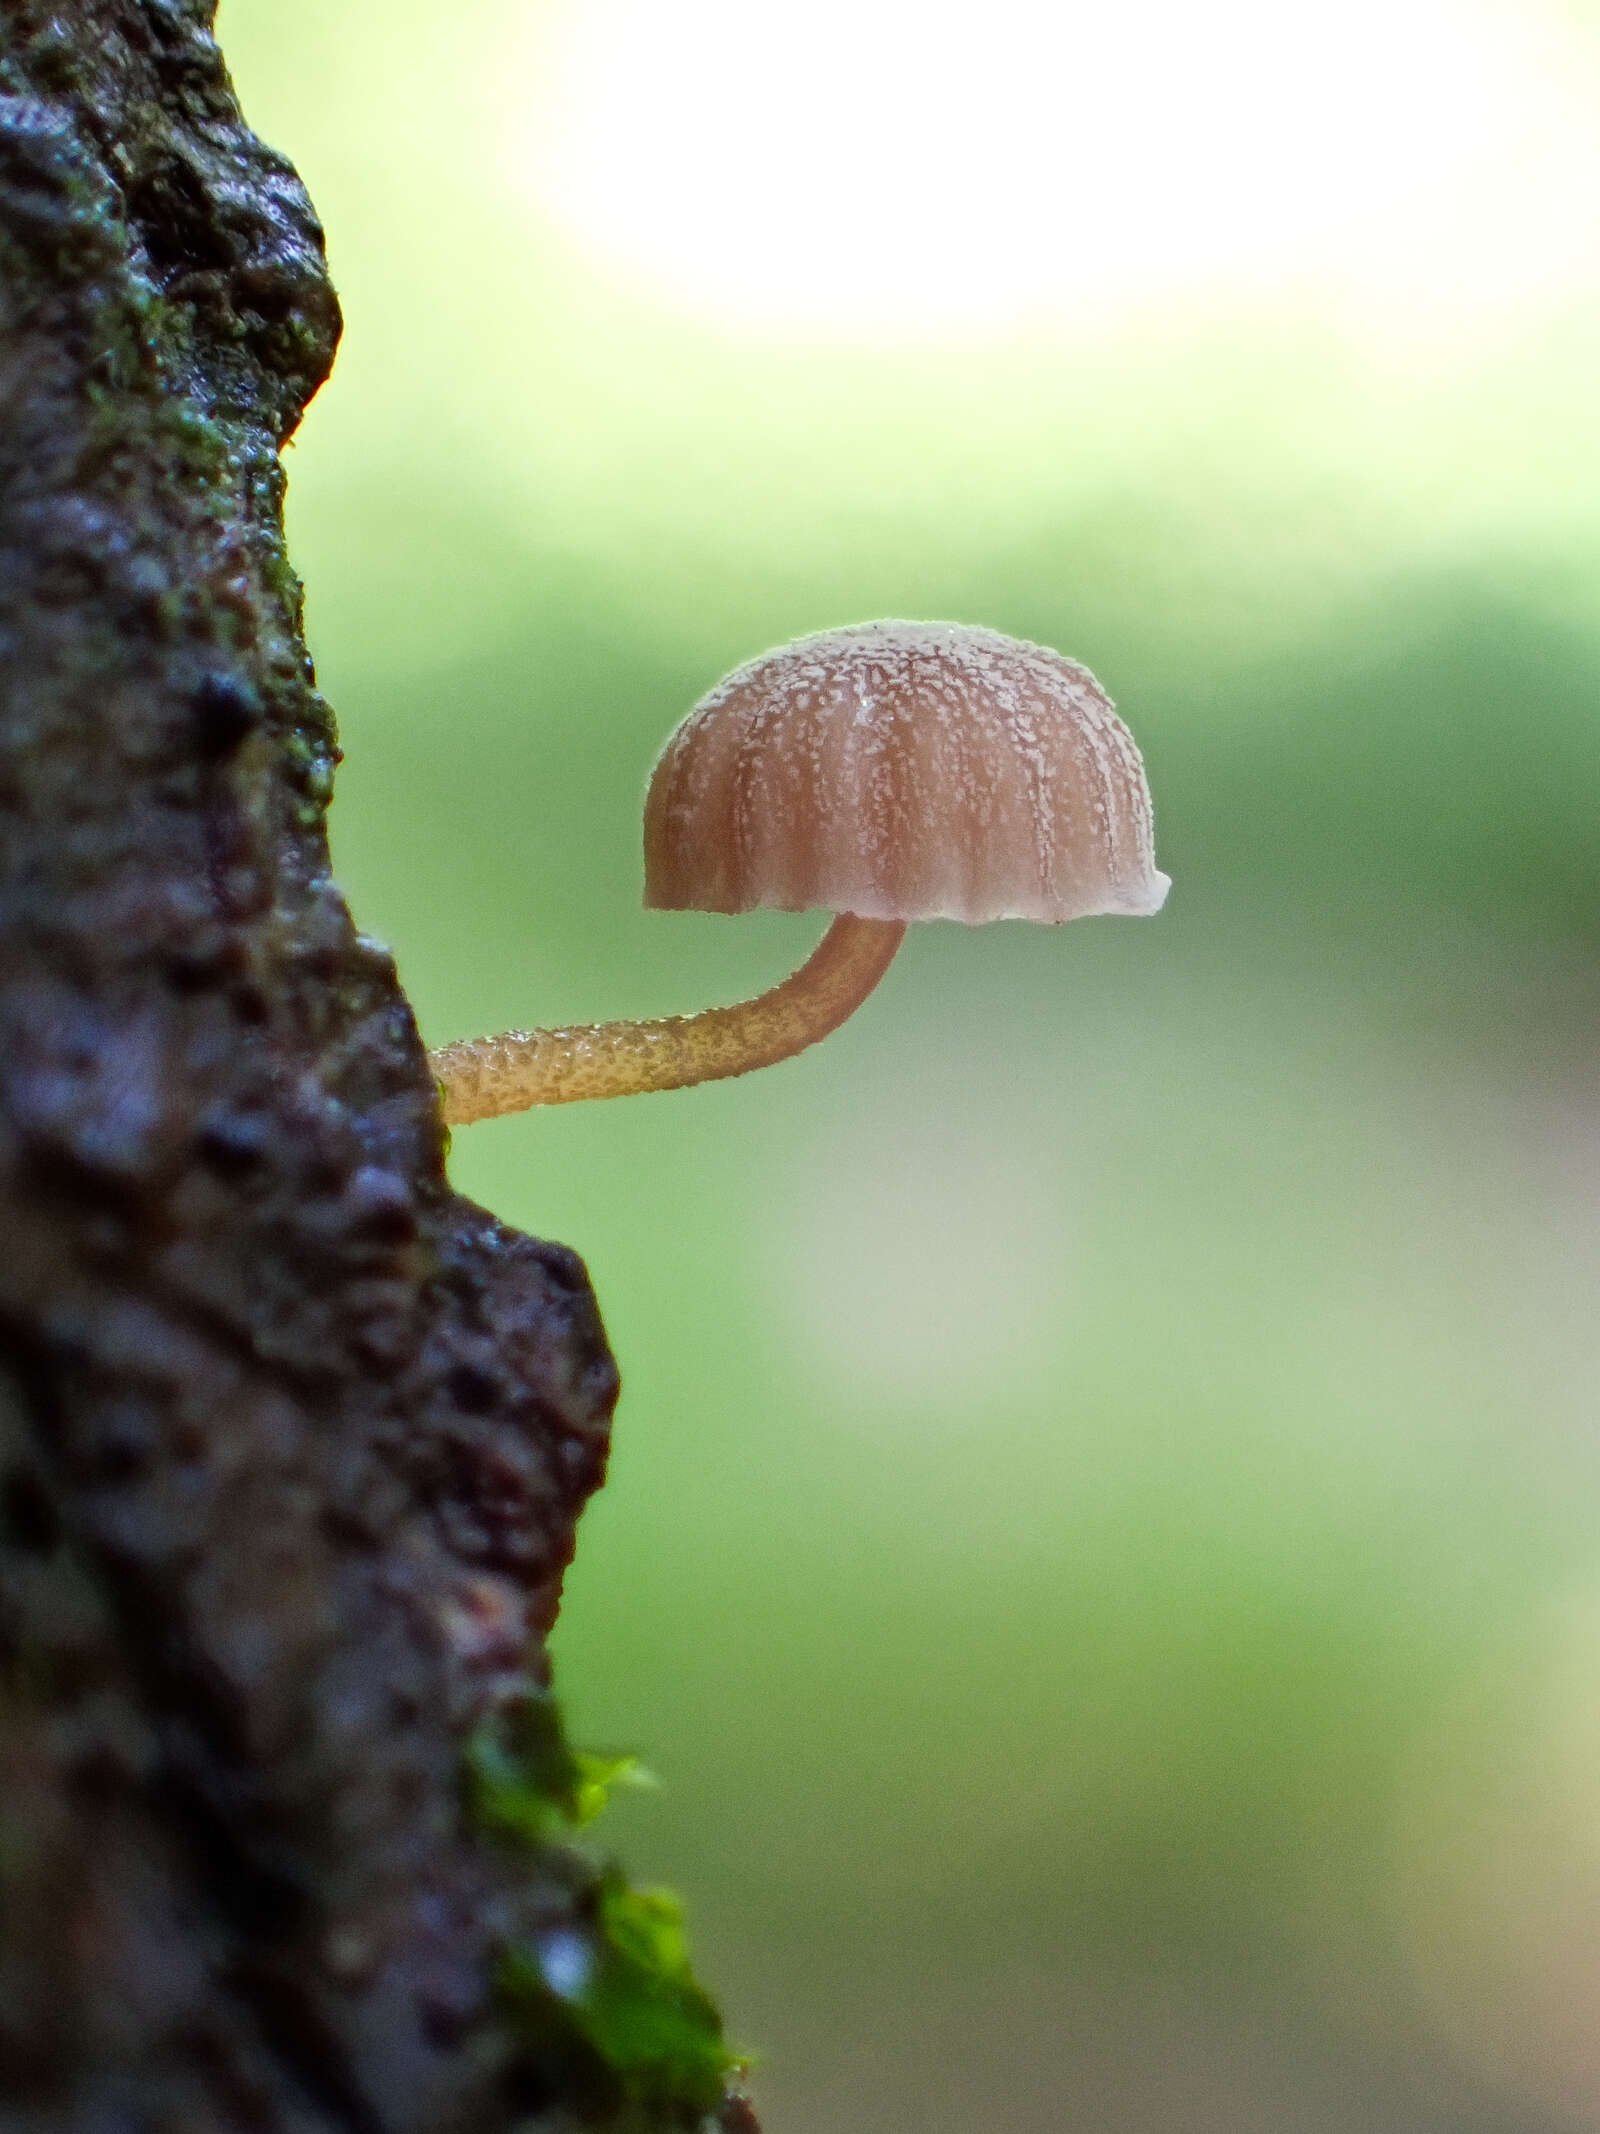
1/40 | F4.5 | ISO 250
Focus Bracketing
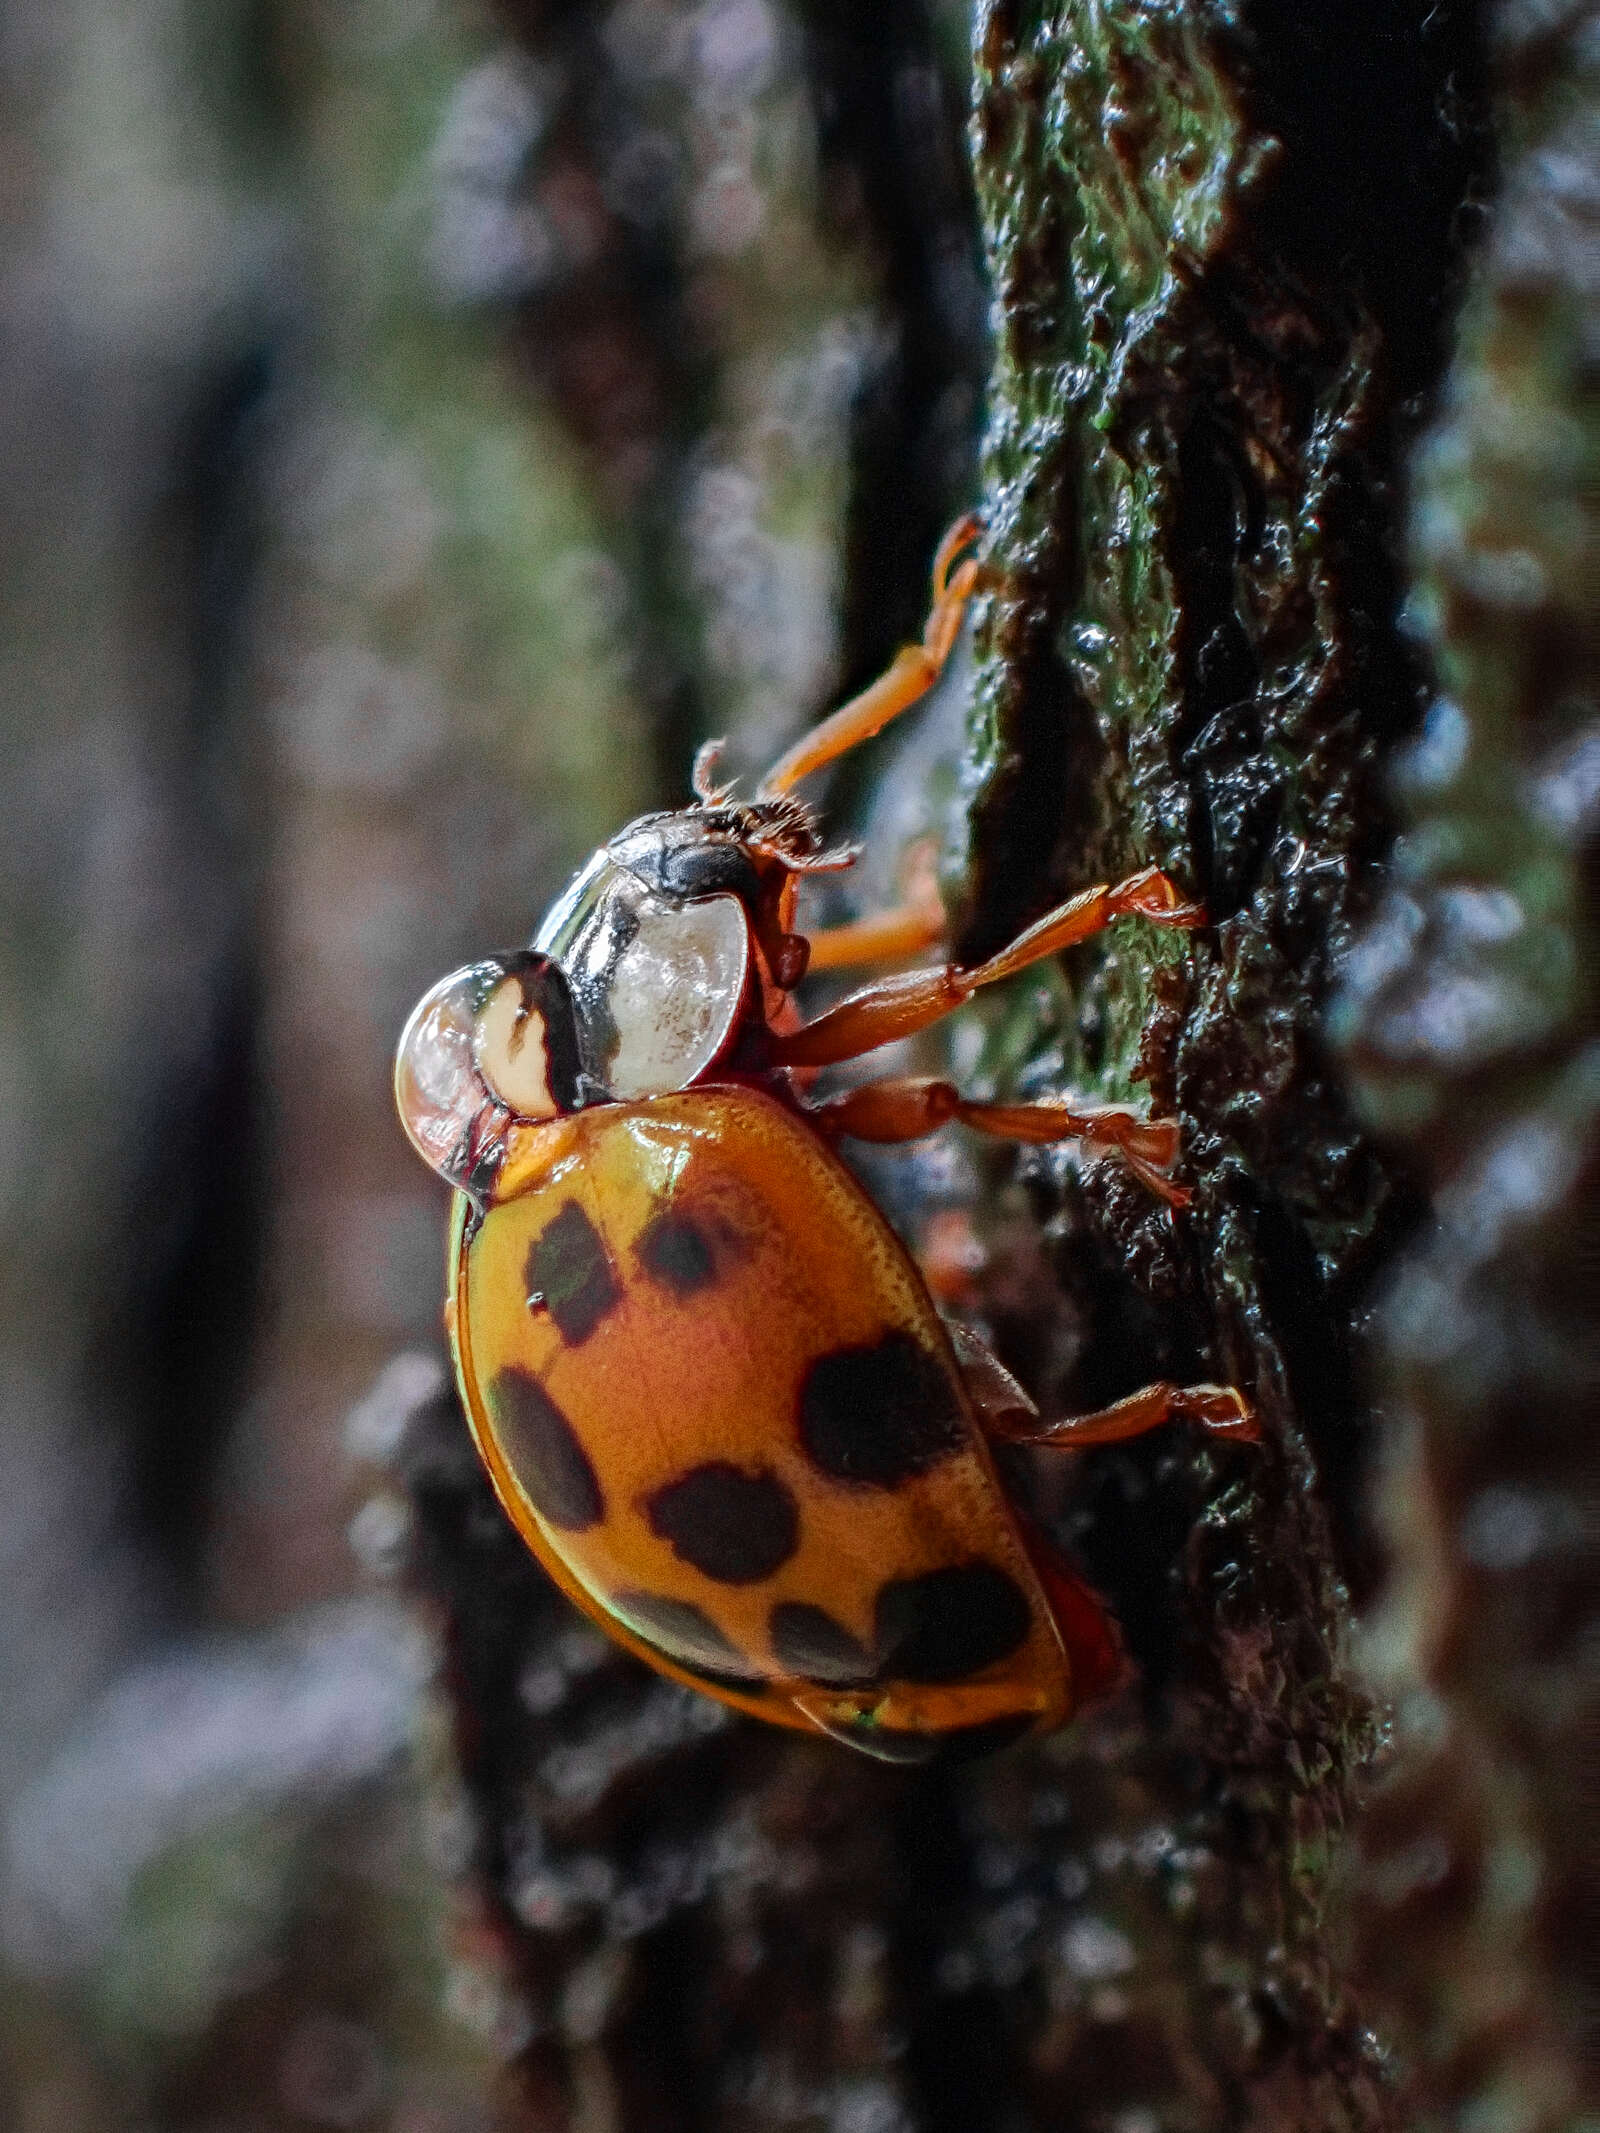
Focus Bracketing has all the feel of Focus Stacking but you can set the number of shots to 10, 20, or 30, and you have to stack the images yourself in post. The main benefit of this is that you have more control over the stacking process. The main disadvantage is the extra legwork.

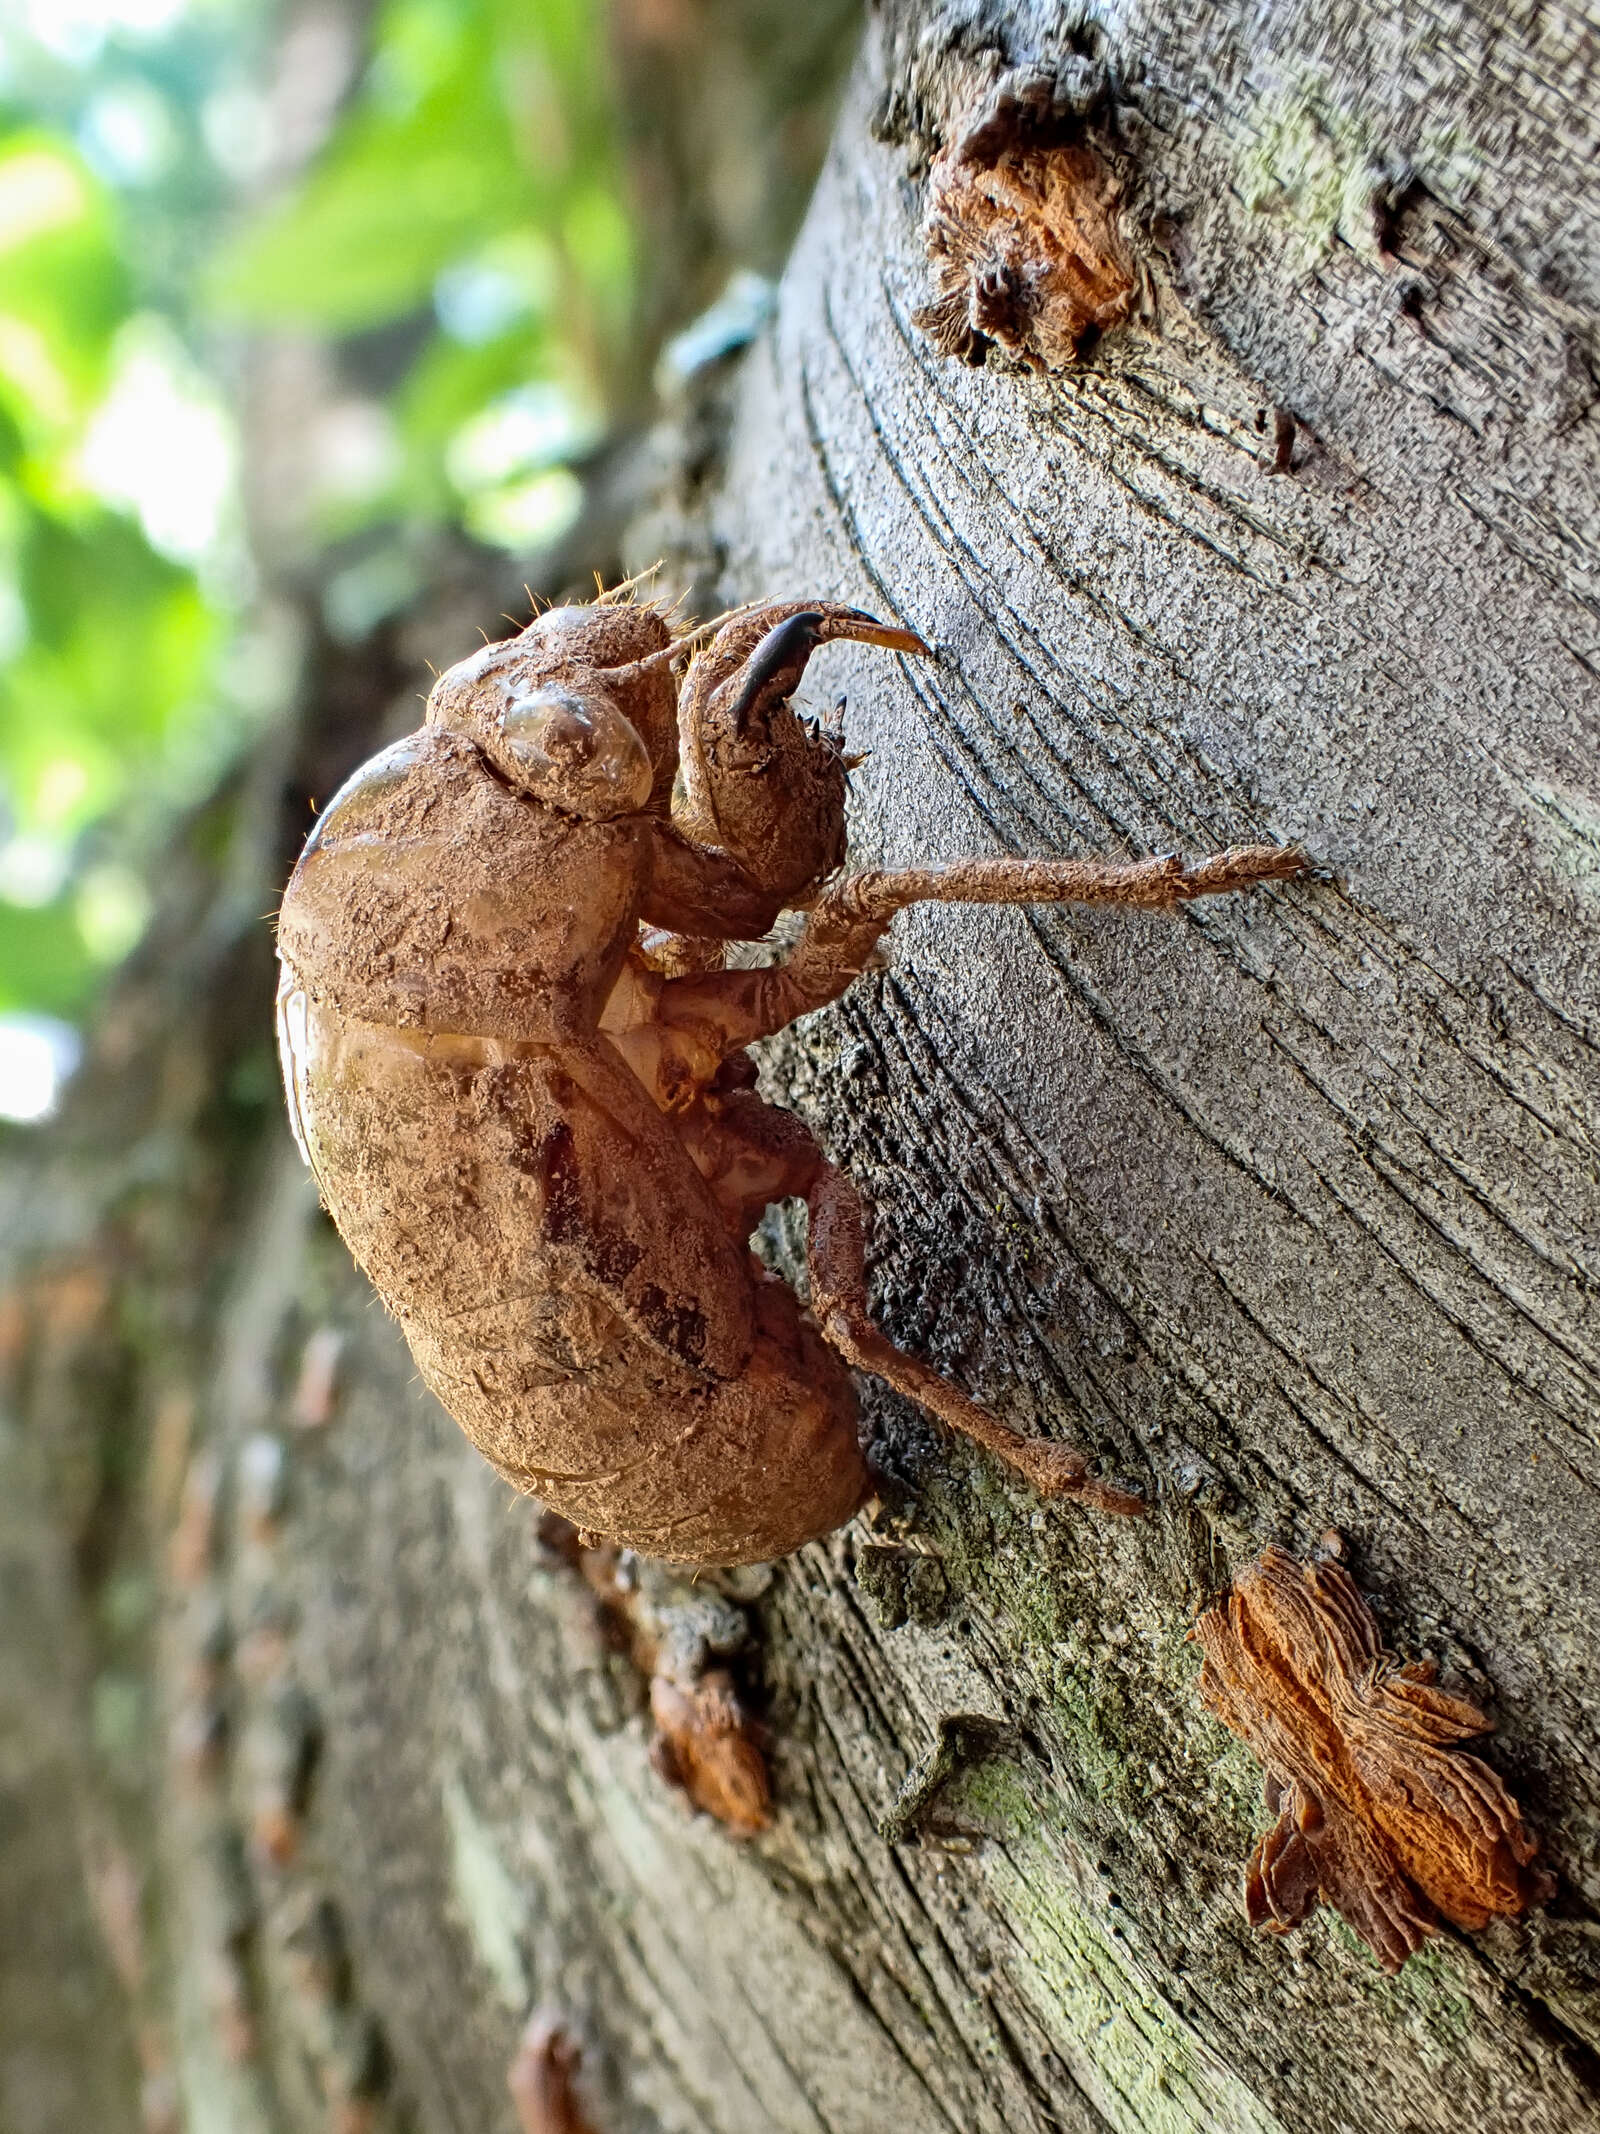
1/80s | F4.9 | ISO 800
TG-7 Focus Bracketing Tips:
- Turn on Focus Bracketing by moving the dial to the microscope position and selecting the sub mode Focus BKT option on the screen.
- Focus BKT settings can be accessed in Shooting Menu 2.
- Like Focus Stacking, stability, setting the Start Waiting Time, and using manual focus are all helpful.
- If manual focus doesn’t appear to isolate your subject very well during the bracketing process, you may get better results using autofocus.
- In the Focus Bracketing settings, you can also change the focus differential between Narrow/Normal/Wide. I recommend having the narrow differential set for most macro subjects. If you’re not covering enough ground with the set number of shots, increasing differential will help.
- Try shooting in RAW! If you’re going to spend some time in post anyways, why not try shooting unprocessed images to get the most out of each shot? You can change the still image quality easily by hitting the OK button while on the shooting screen and scrolling to the image quality options.
- Adobe Photoshop can be used to stack images together by bringing them into the software as individual layers. From there, it’s as simple as Edit>Auto-Align Layers, and then Auto-Blend Layers. There is also dedicated stacking software available like Helicon Focus and Zerene Stacker, which are recommended if you’re becoming a serious stacker.
1/8s | F4.9 | ISO400
1/8s | F4.9 | ISO 400
As previously mentioned, the TG-7 is an extremely capable and nearly indestructible compact camera. When I first left my house with it on a trip to the local woods, I didn’t end up leaving my front yard for about 15 minutes because I became immediately obsessed with shooting tiny mushrooms I found. I couldn’t believe it had similar functionality to OM SYSTEM’s interchangeable lens camera, all while fitting in a pocket. I recommend this camera to anyone that wants all-in-one macro capabilities in a small, sturdy package.
1/15s | F4.9 | ISO 400
1/160S | f3.2 | ISO 400
Bio - Ben Salb
ABOUT BEN SALB
Website: www.benssmallworld.com
Benjamin Salb is an OM SYSTEM Ambassador and international award winning macro photographer based in Gaithersburg, MD. Ben specializes in close-up portraits of living invertebrates and likes to test the environmental and technical limits of handheld focus bracketing in the field. Years ago, he collected 150 of the 151 original Pokémon before his saved game was deleted by a friend, and he’s been making up for it ever since.