When you think about a camera test what do you envision? Looking at different specs on a camera comparison website? Using the camera to take photos of your plants, animals, or children? Maybe testing a raw file in Lightroom or Olympus Workspace to see how it works? What about physically putting a camera through its paces in two of the most polar-opposite climates imaginable?
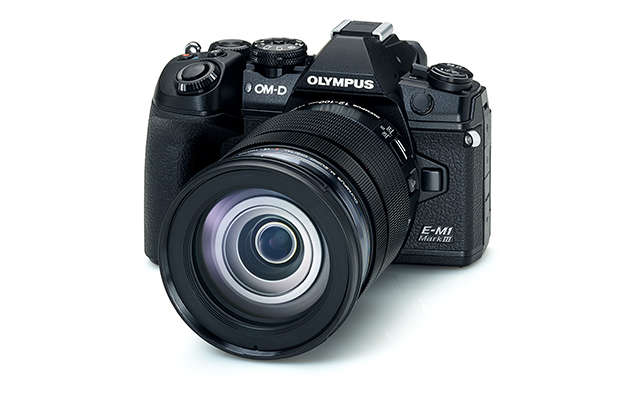
Well, that’s exactly what I did. I brought Olympus’ new OM-D E-M1 Mark III to Thailand and Norway to see how it would perform and let me give you a little hint, the camera performed FLAWLESSLY.
1/1250s | F1.4 | ISO 200
Exploring Thailand
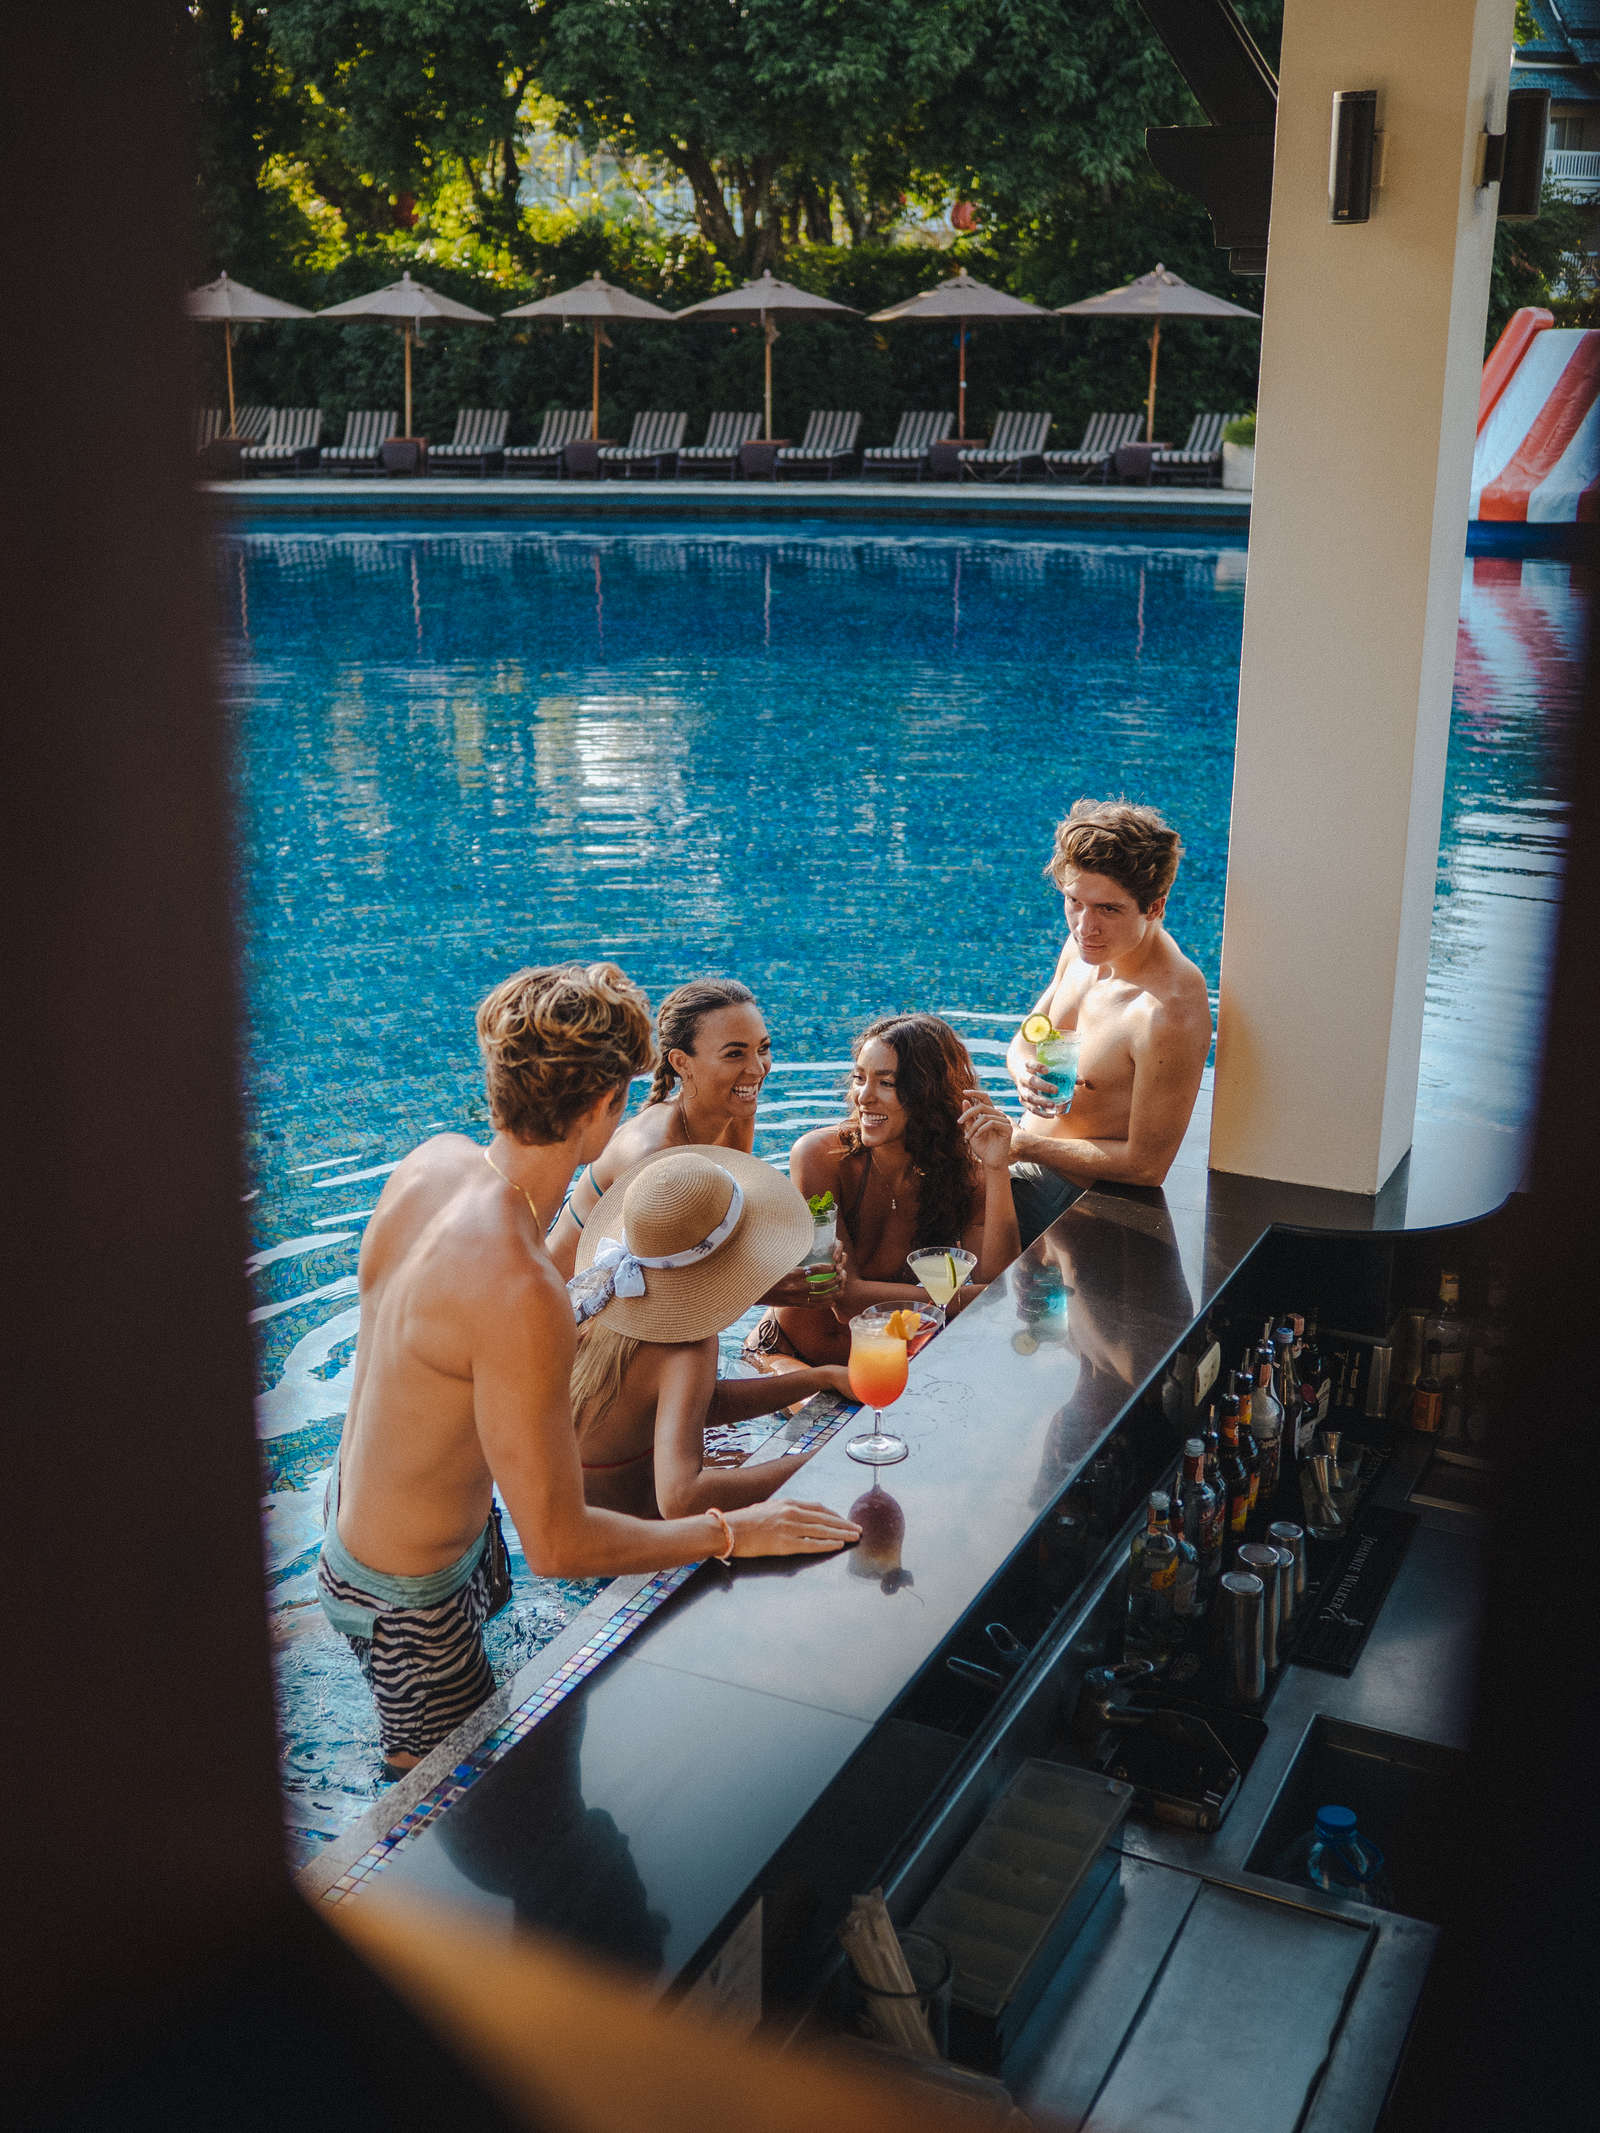
Thailand was a country I had never been to before, so I had no real clue as to what I should expect. I knew it would be warm and tropical, but once we arrived, I realized that it was also rugged and a pretty chaotic trip. I spent the first week of my trip shooting some commercial content for a resort where I managed to sneak a couple photos with the new camera, but I was happy to finish that project and head out on the real adventure. We scoured Google Earth, rented motorbikes, and headed off towards the mountains.
Our first day after leaving the resort turned out to be quite the hectic combination of chaos and unpredictability. We got caught in two massive rainstorms, had to pull over and wait out the weather multiple times, and, to make it even worse, one of my friends got such bad food poisoning that we had to find lodging for the night. The silver lining to all of this, however, was that I used the E-M1 Mark III to take photos of what was going on because I wanted to be able to remember this unfortunate series of events. This also happened to be where I first put the camera through its paces in terms of testing out just how weatherproof it is. I should probably pause here and take a second to apologize to Olympus for testing this sample so hard. My guess is that they didn’t expect me to use it in such wet conditions like this but, it handled the rain like a champ and I was shocked at how unaffected it was by the water!
Within seconds of getting my camera out, it was soaked with water and I was a little worried that I might have been better off leaving it tucked away in my covered camera bag. I continued to keep shooting and as you can see, the rain was coming down in BUCKETS. I had water on the body, on the front of the lens, and all over the screen – yet it continued to work perfectly. There was never a moment where it stumbled or struggled from any of the rain.
We spent the rest of that night seeking lodging and trying to help our friend with food poisoning feel better. After a quick power nap, my brother and I woke up at 4am to ride the rest of the way to our destination. We had hopes of catching sunrise and managed to get there just in time. I took this opportunity to play around with the M.Zuiko 40-150mm F2.8 before we joined back up with the rest of the crew to board our boat.

1/10s | F2.8 | ISO 1000
1/5000s | F8 | ISO 200
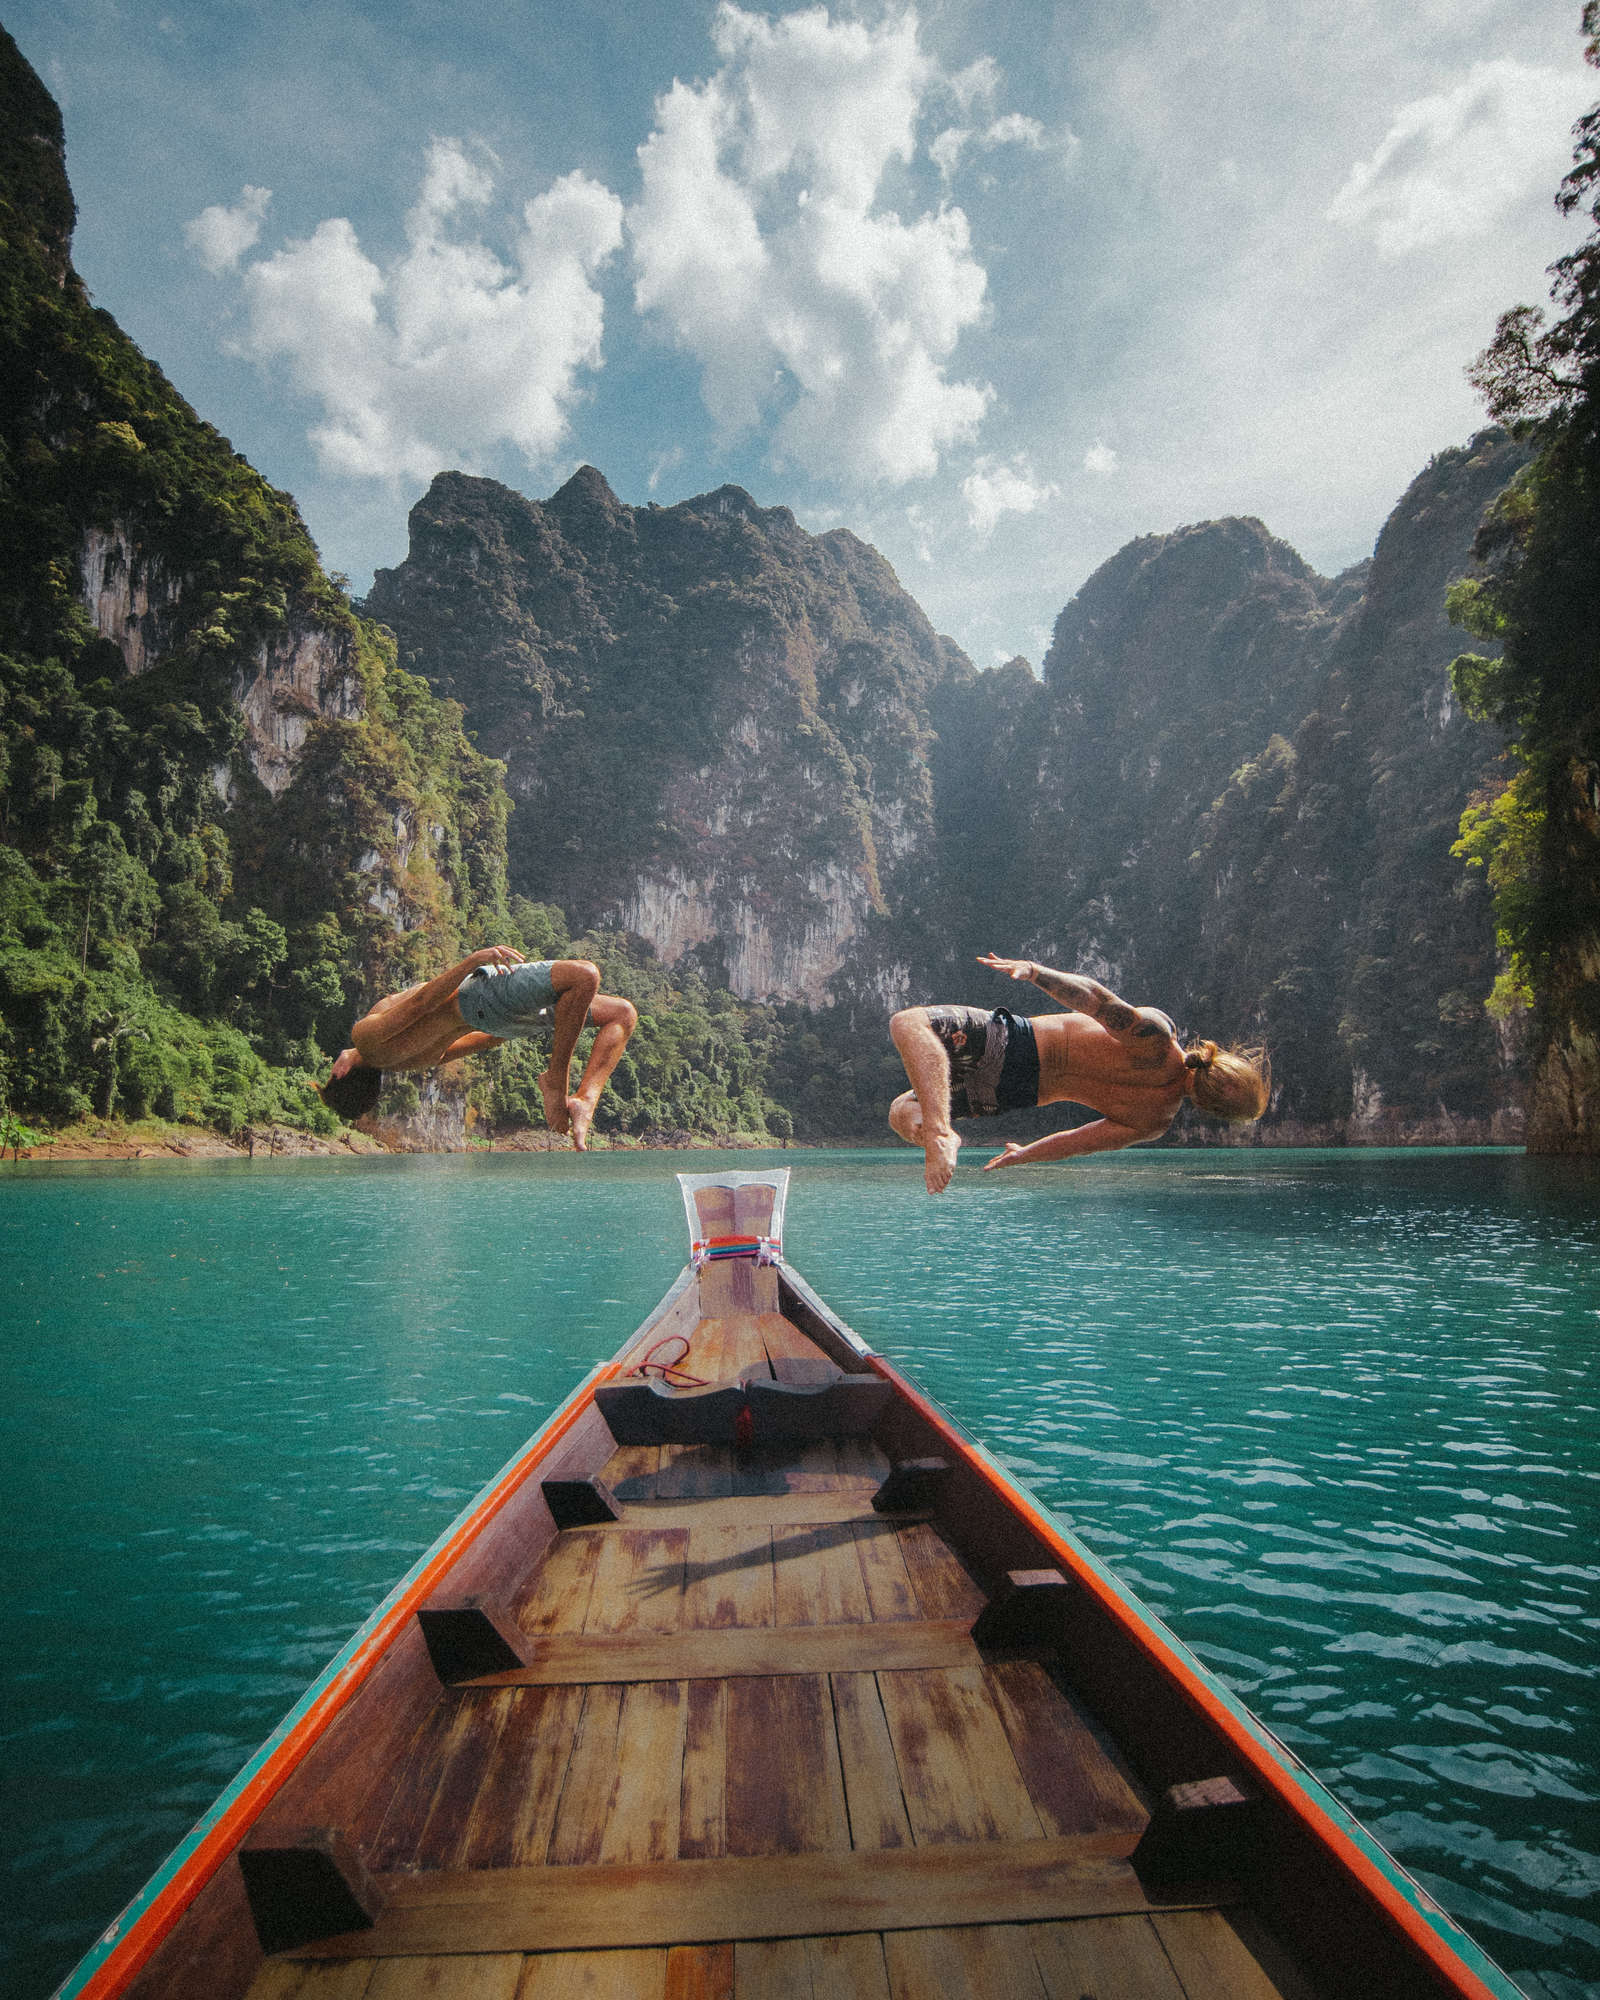
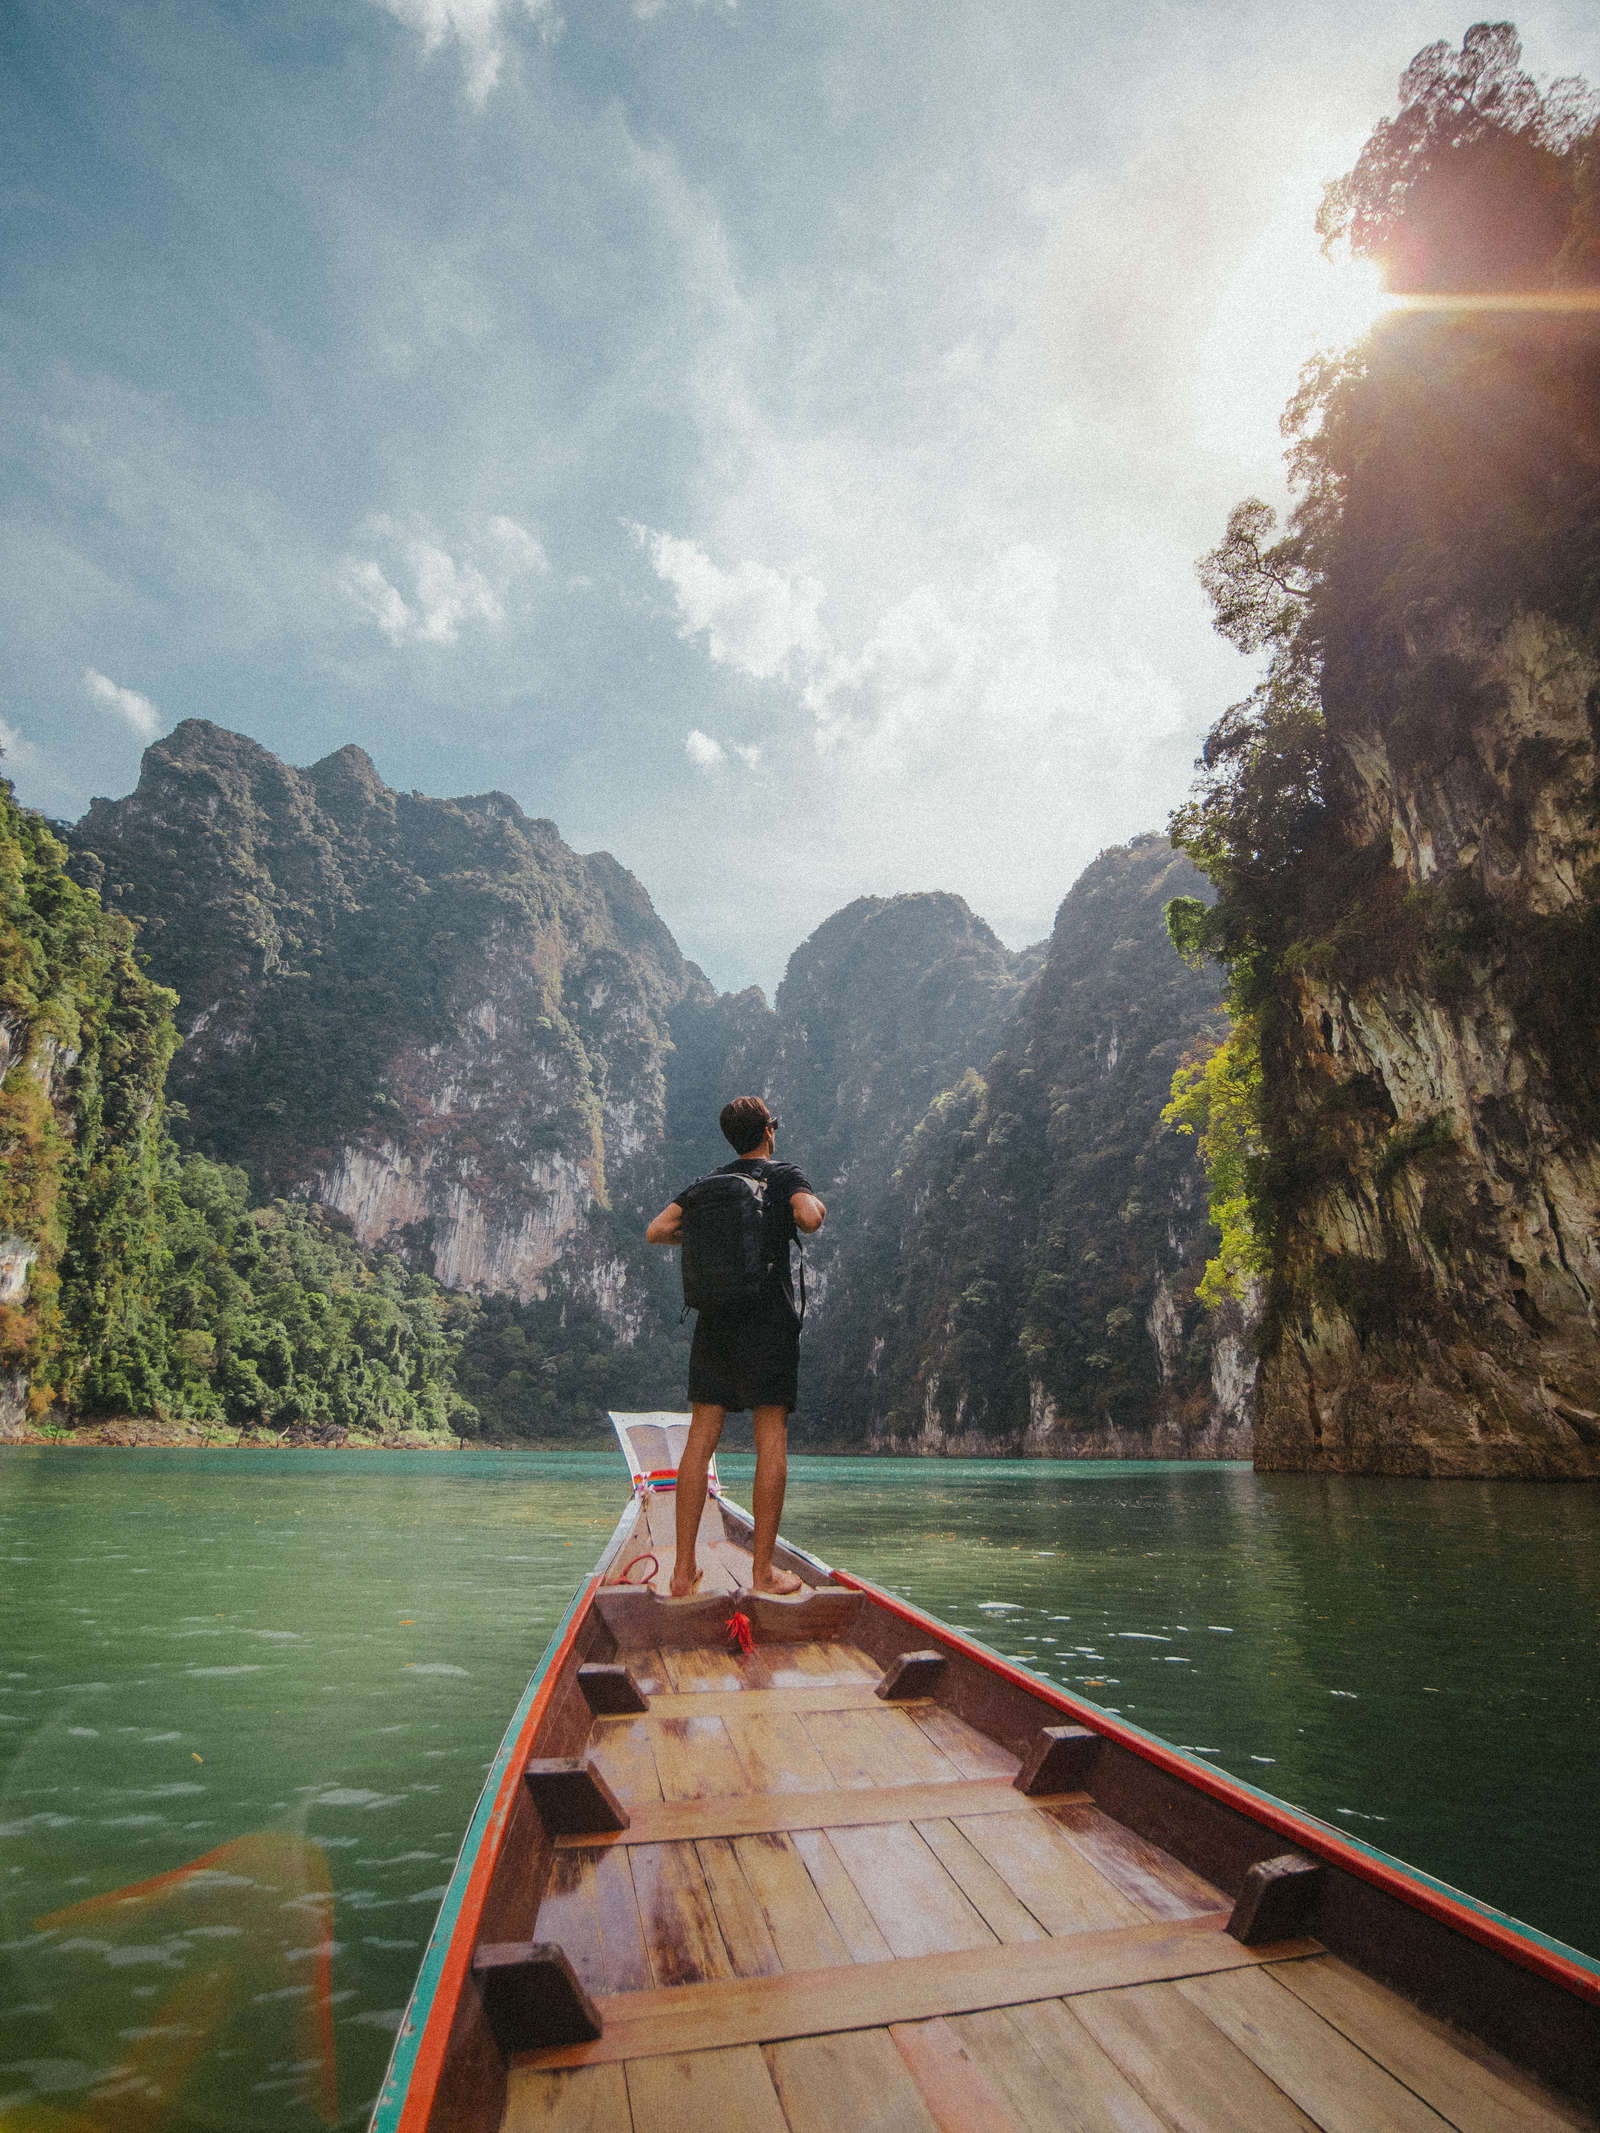
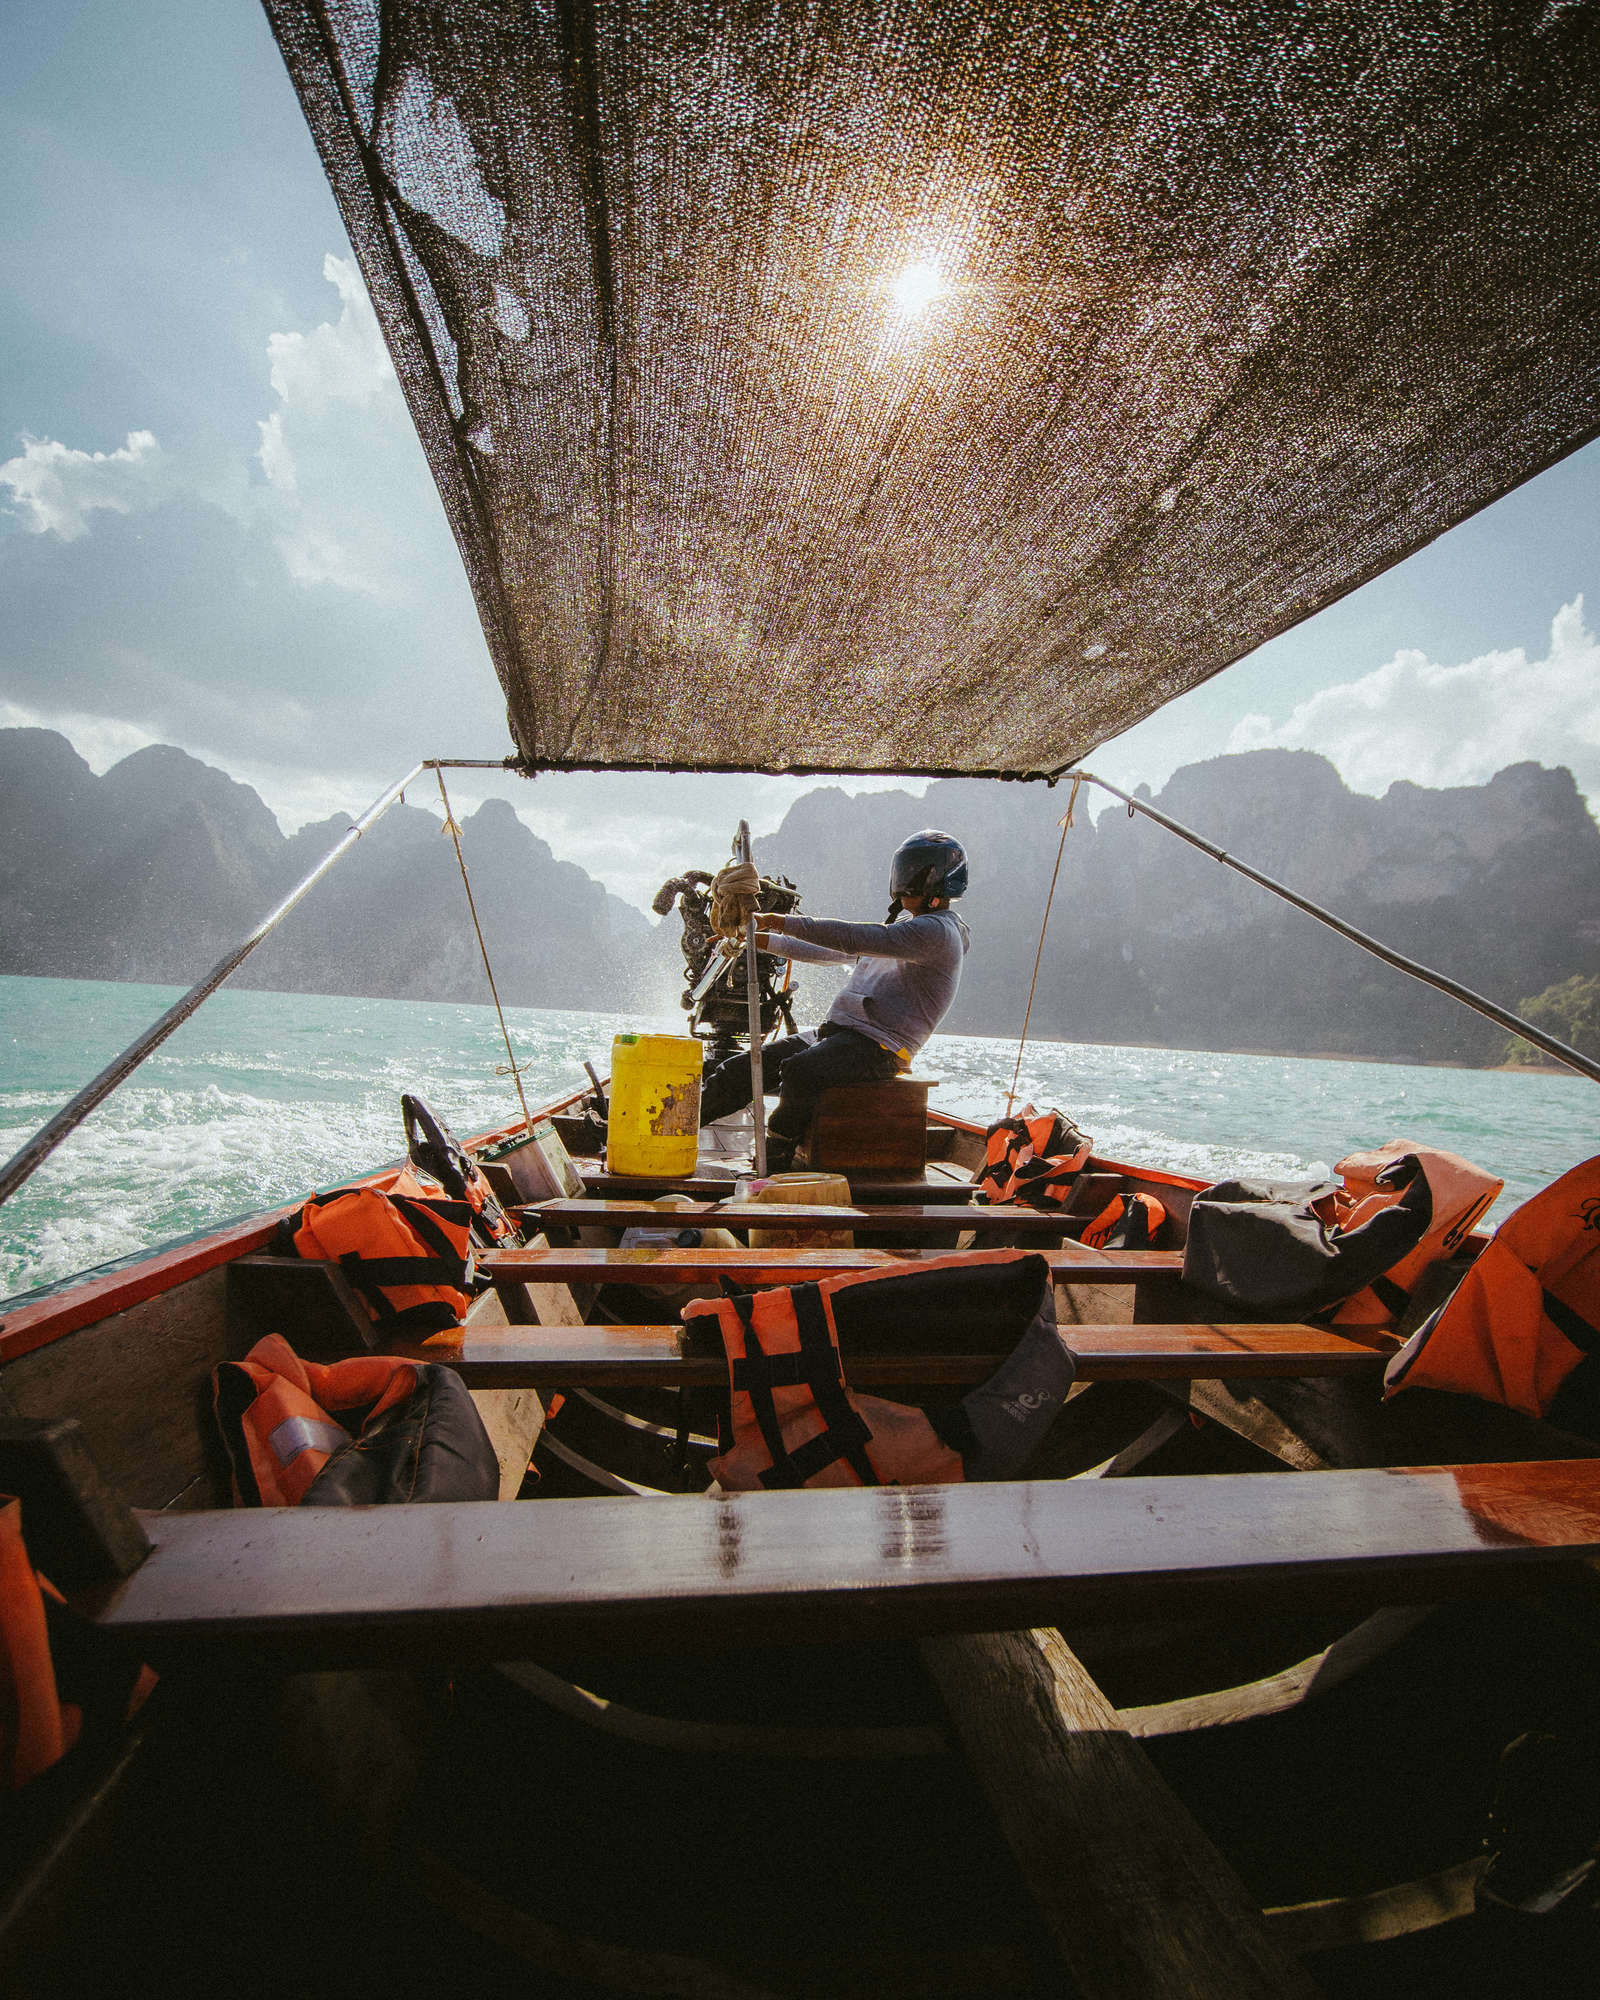
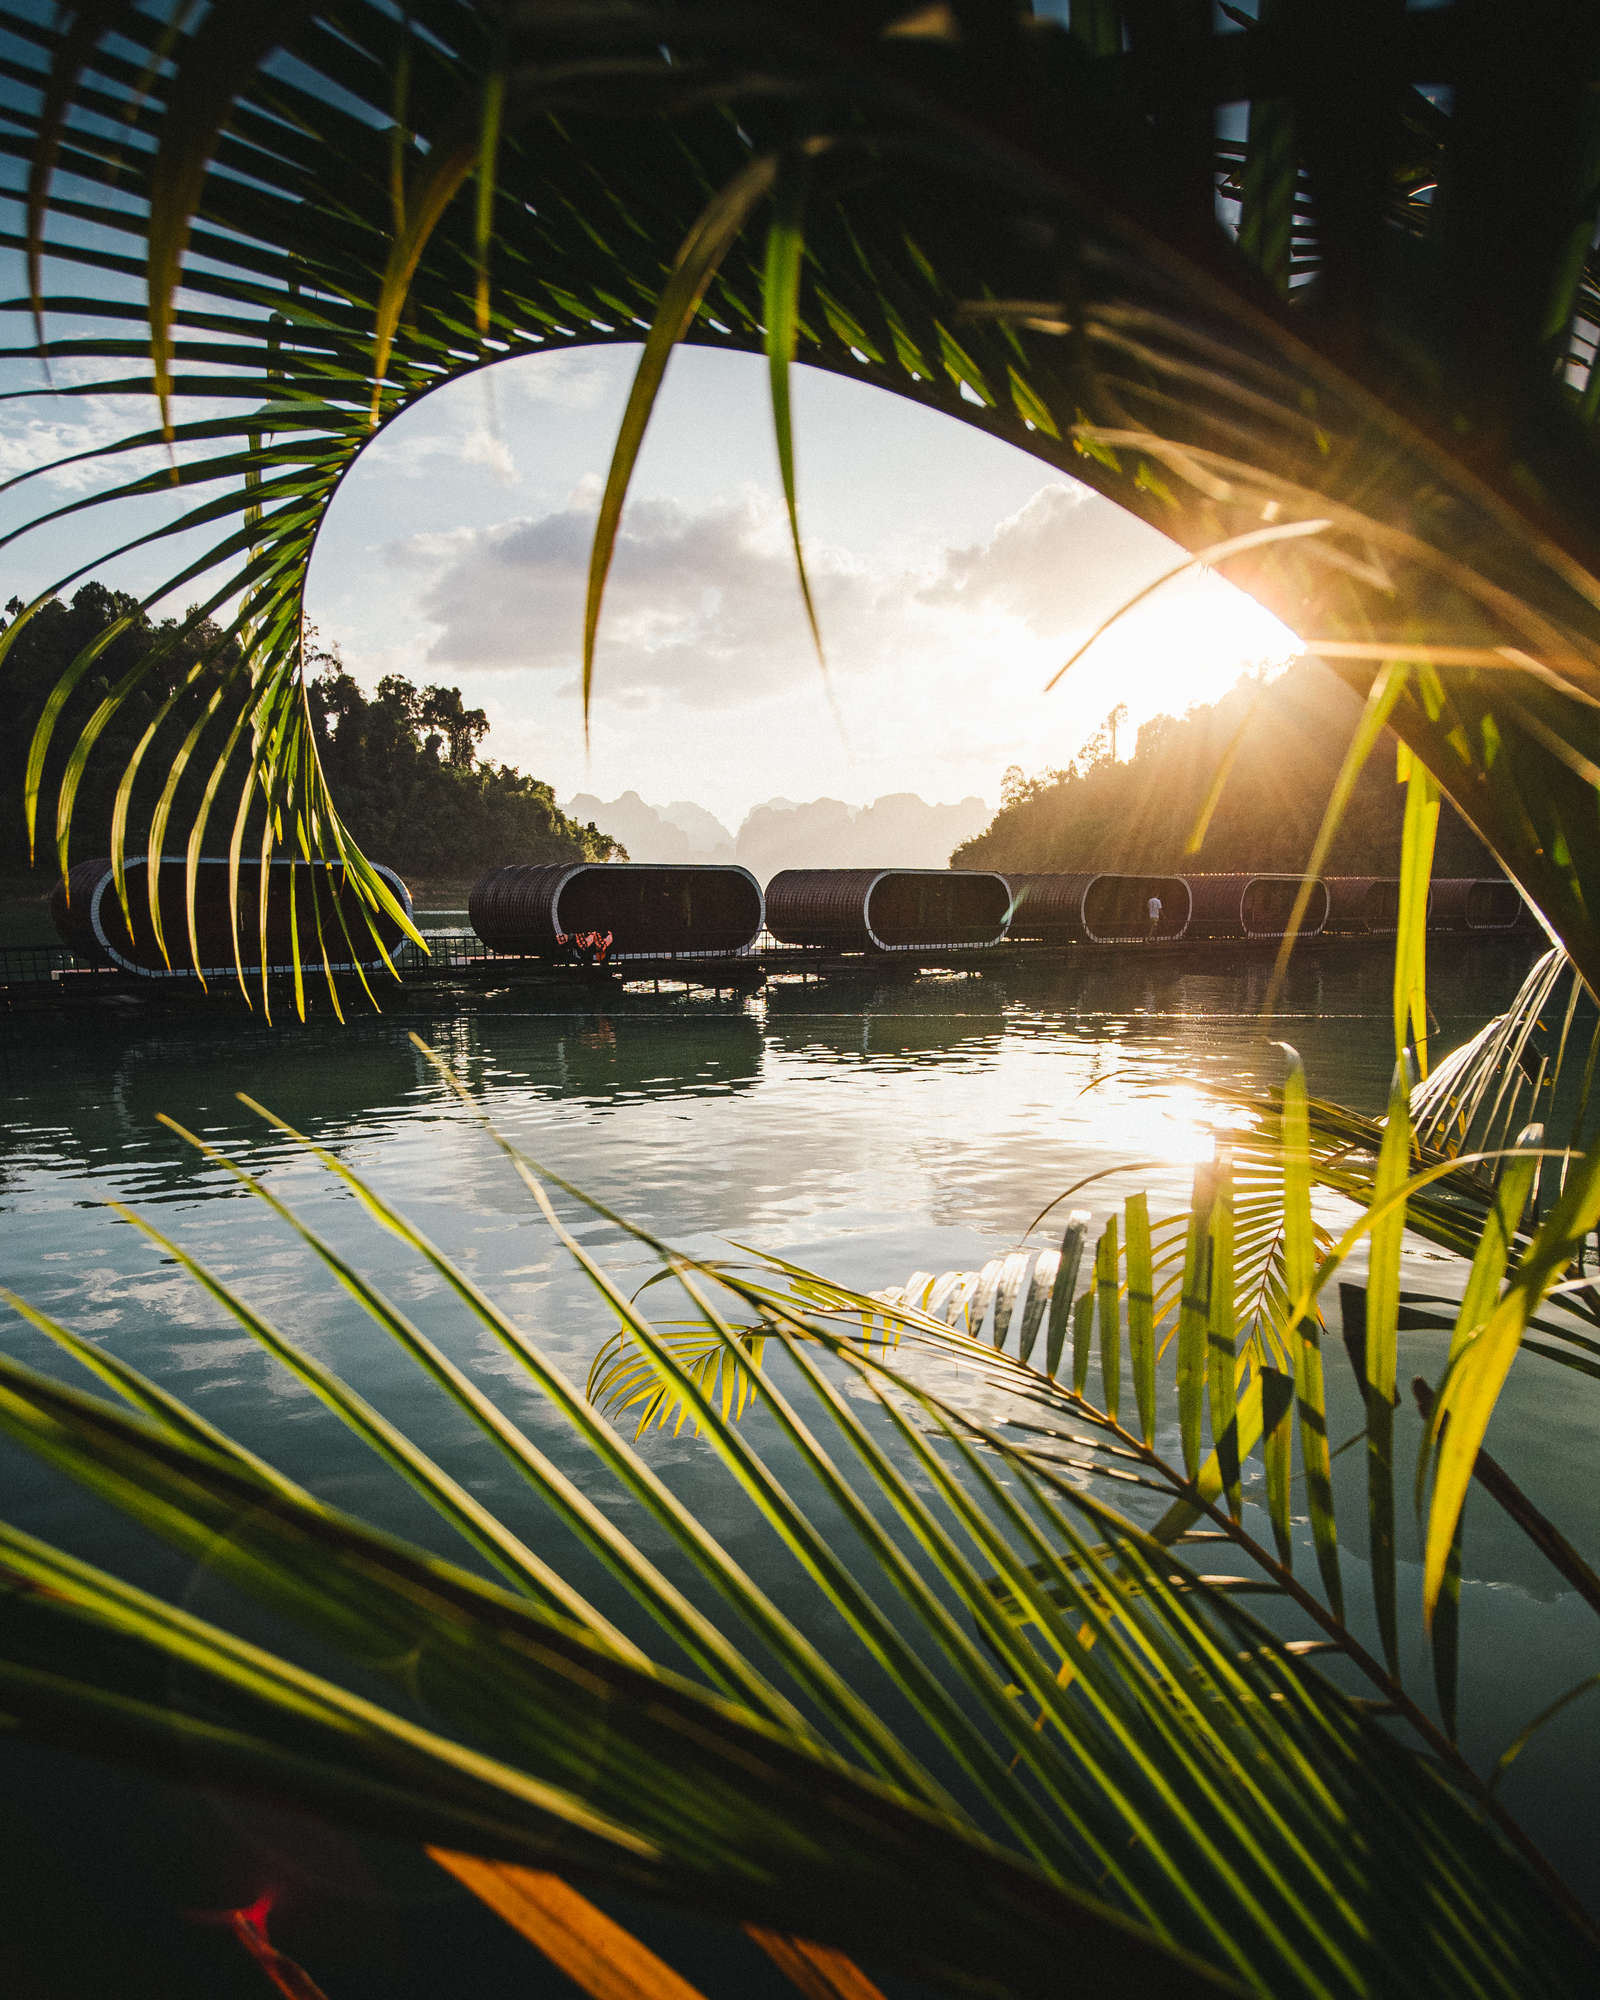
After a 30-ish minute boat ride we finally made it to where we would be staying. Tucked away in a little cove of this incredibly scenic and beautiful preserve, was our floating cabin for the night. We worked with the local guides to arrange two private boat tours and used this opportunity to explore the inlets and shadows of the massive mountains of the area.
The boats were a little sketchy and very low to the water, which was a great opportunity to test the in-body Image Stabilization of the E-M1 Mark III. This worked in my favor because the IBIS handled the movement perfectly and it allowed me to be able to get shots way quicker on the fly. The IBIS was also extremely helpful for slow shutter photos. I messed around with motion blur and had a lot of fun trying to portray the speed at which we were skipping across the surface of the water. These images were a bit “spray and pray” to acquire, but I think they might be some of my favorite shots from this experience.
1/4000s | F5.6 | ISO 200
1/3200s | F4 | ISO 200
1/2500s | F4 | ISO 200
1/6s | F2.8 | ISO 200
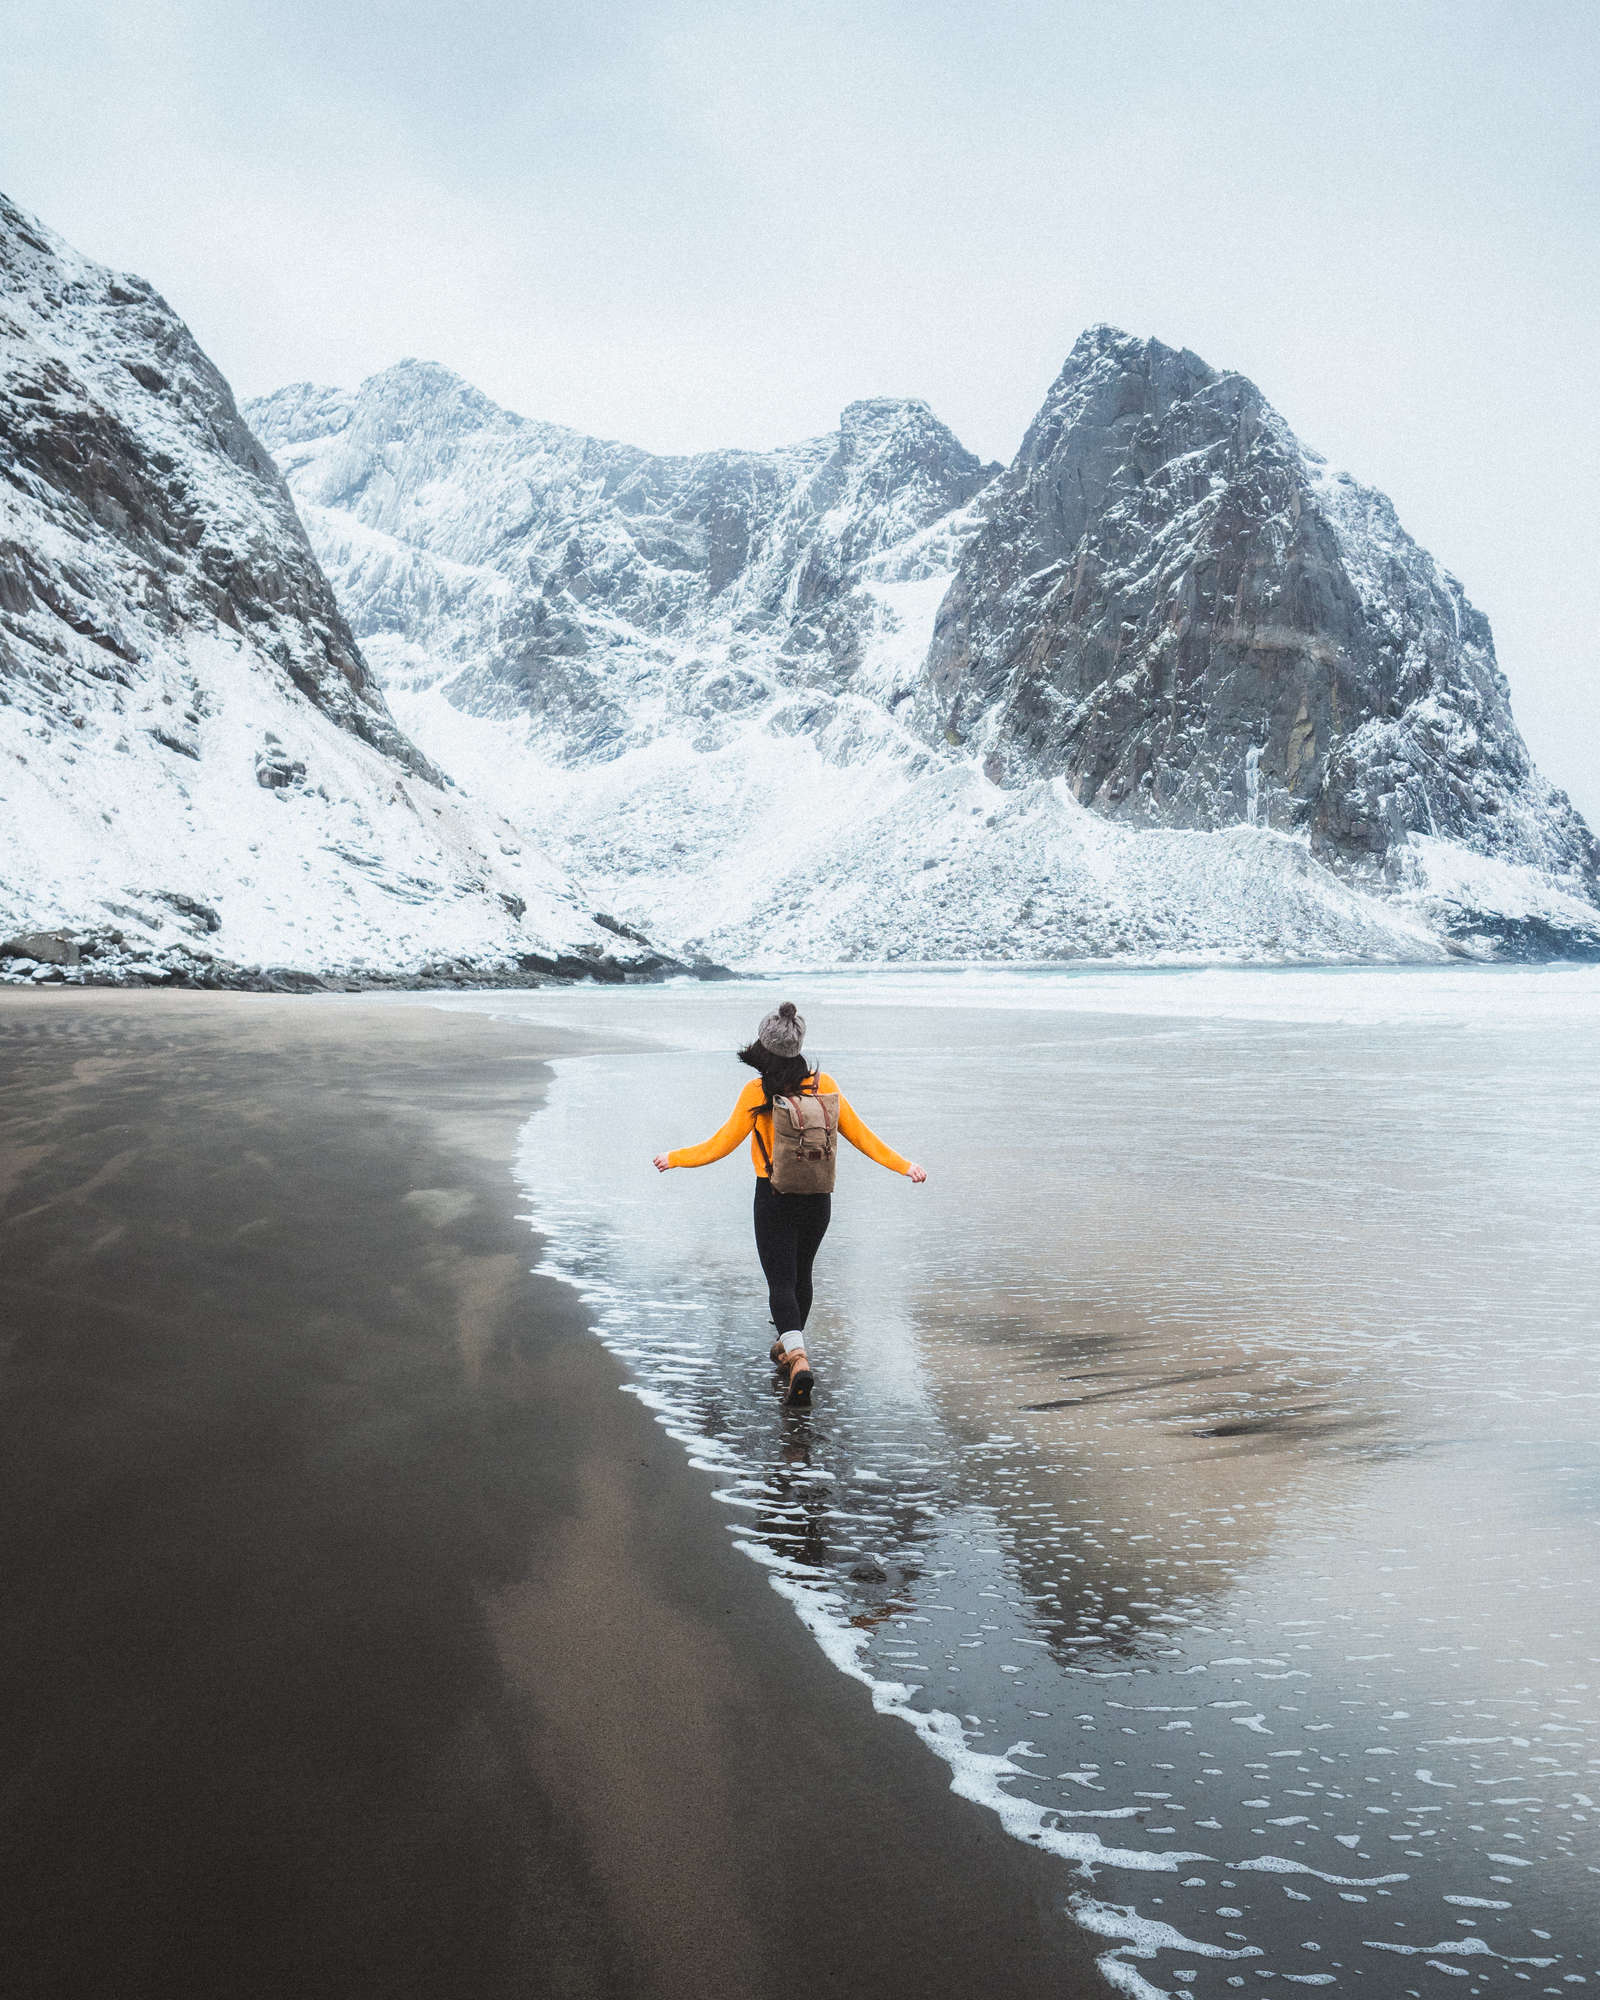
On to the Next Country: Norway
Immediately after coming back from the mountains we returned our motorbikes and headed to the airport to continue our adventure…this time, to Norway.
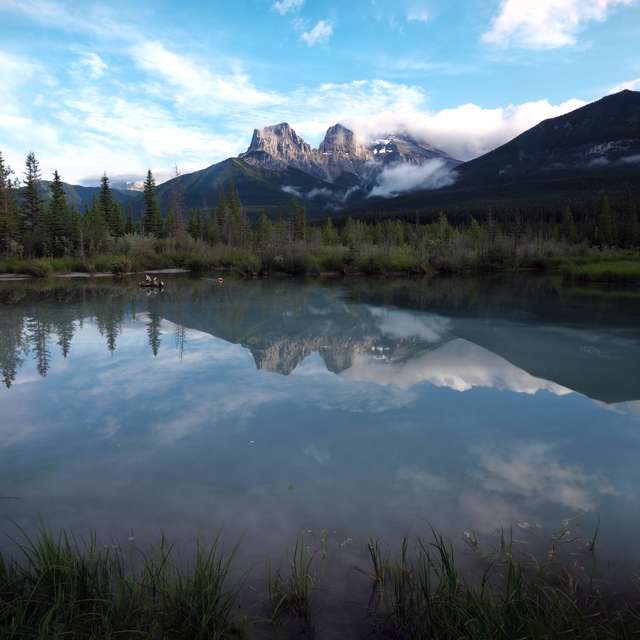
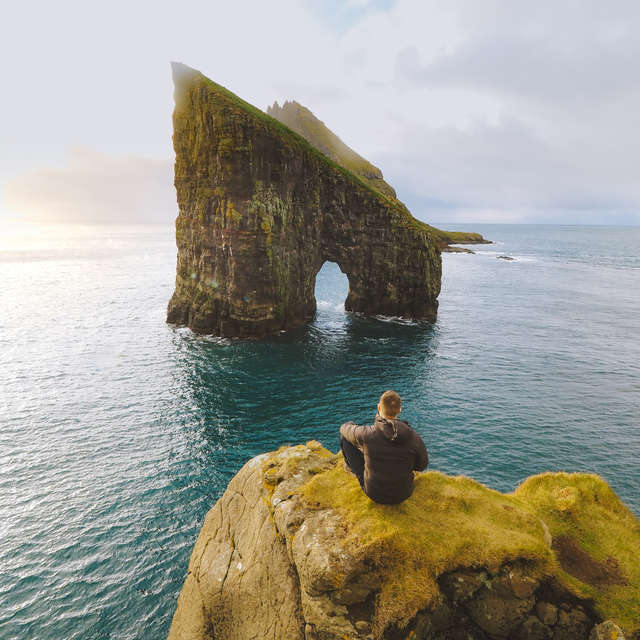
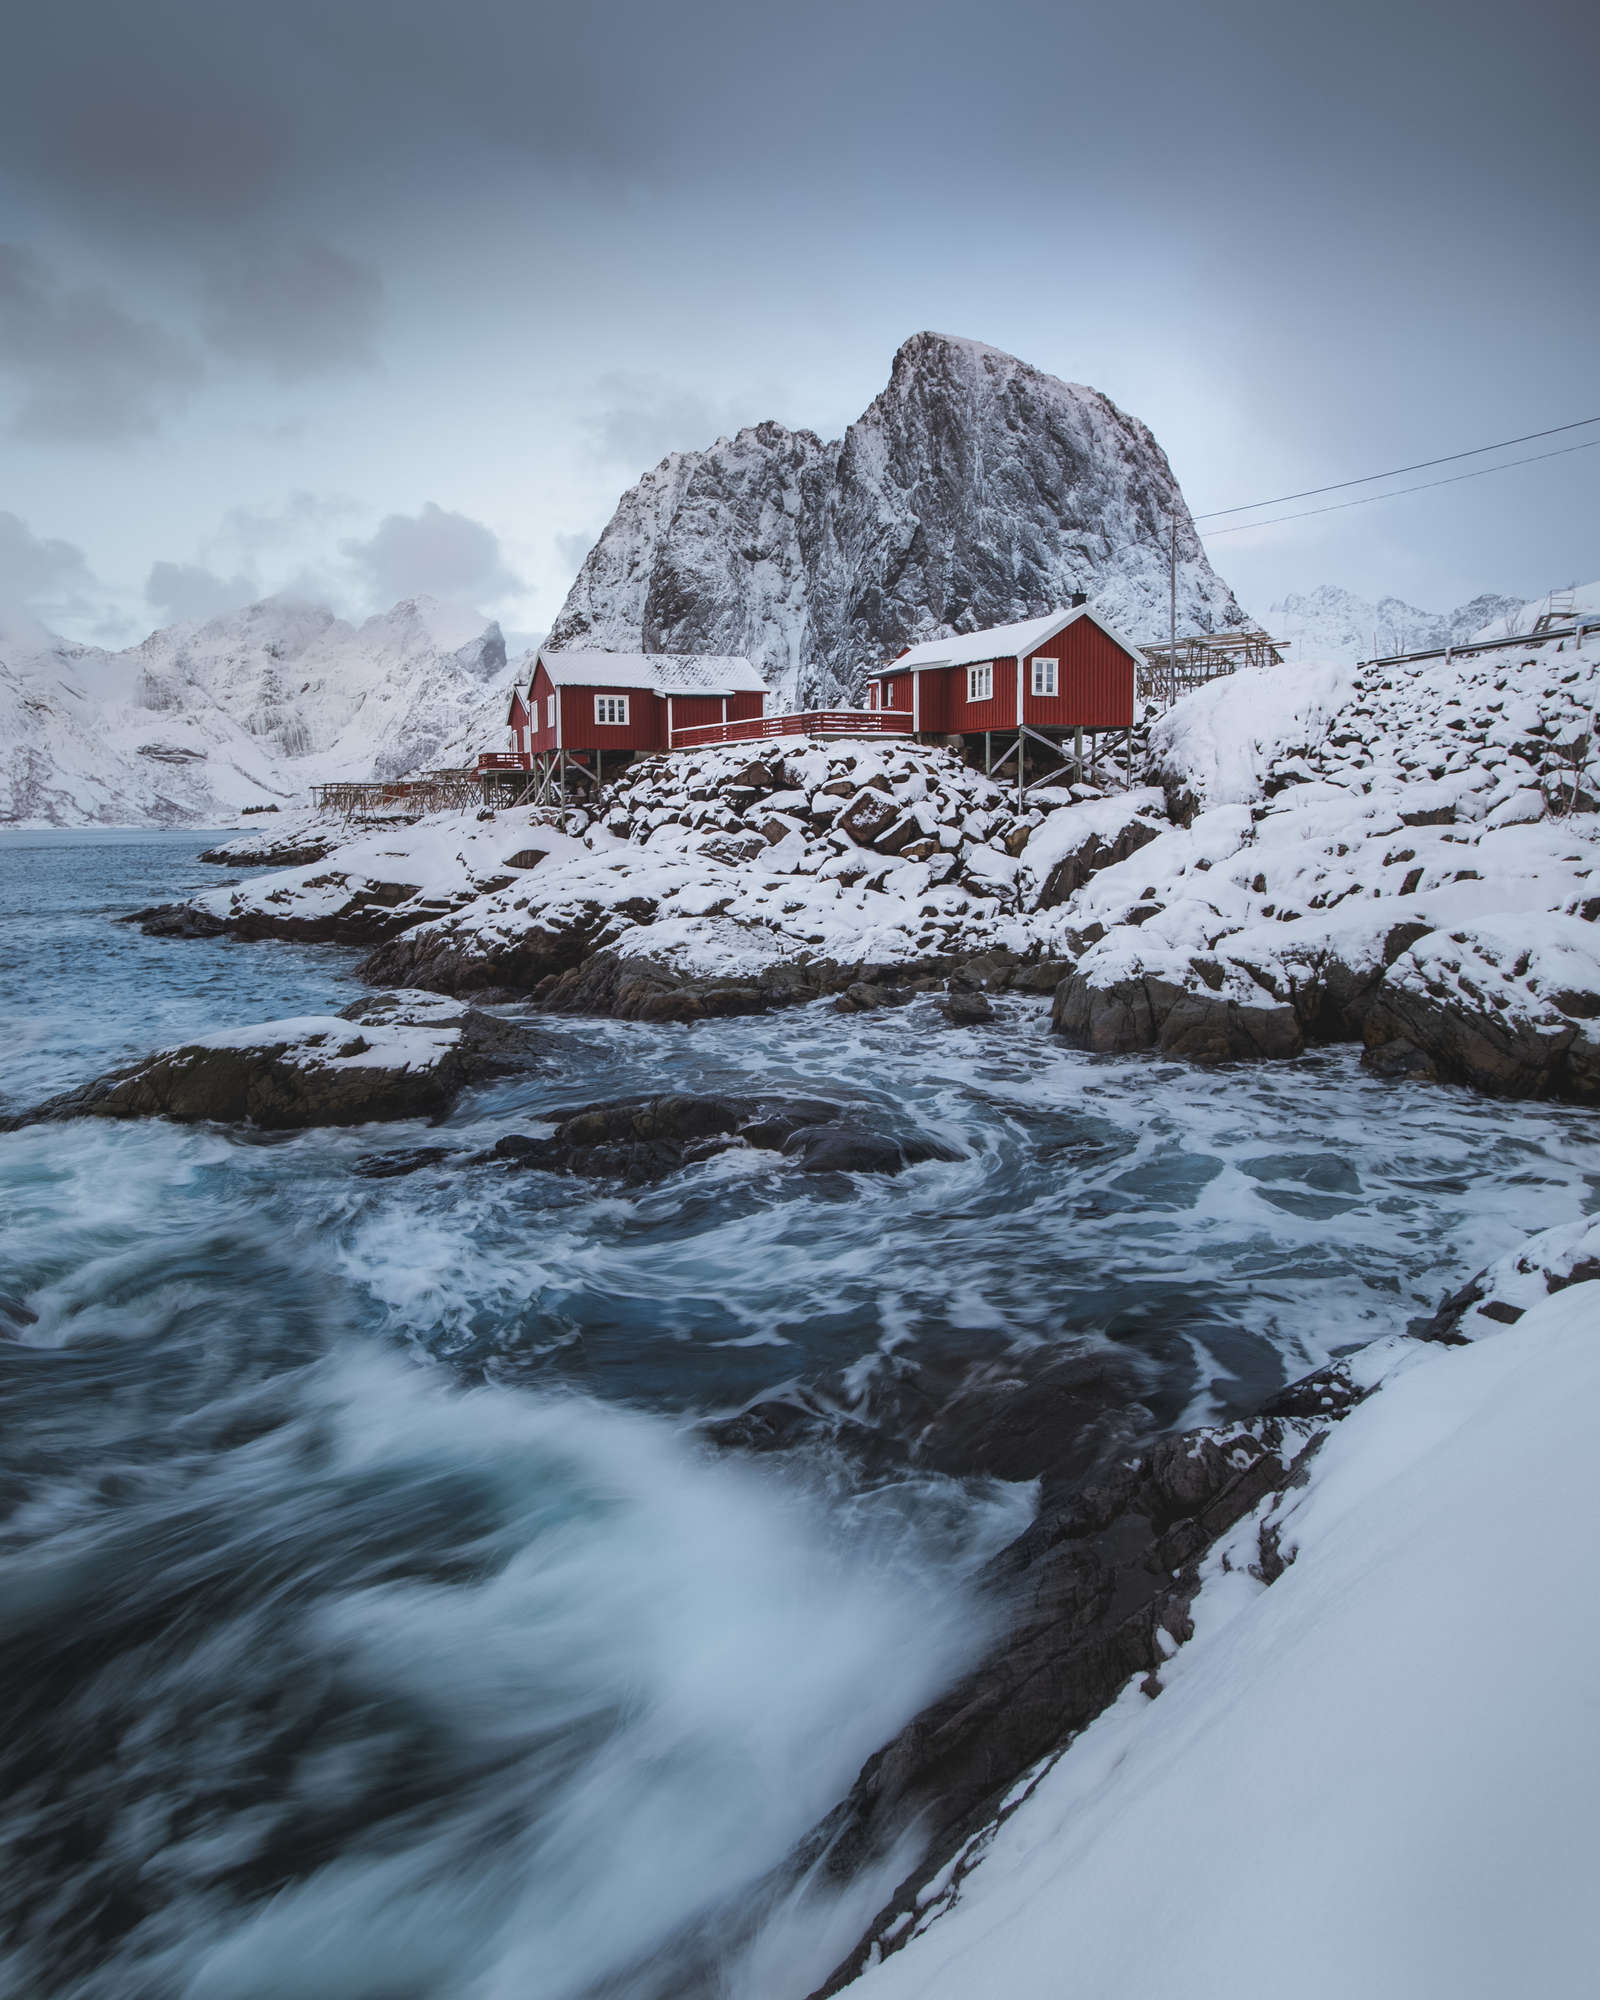
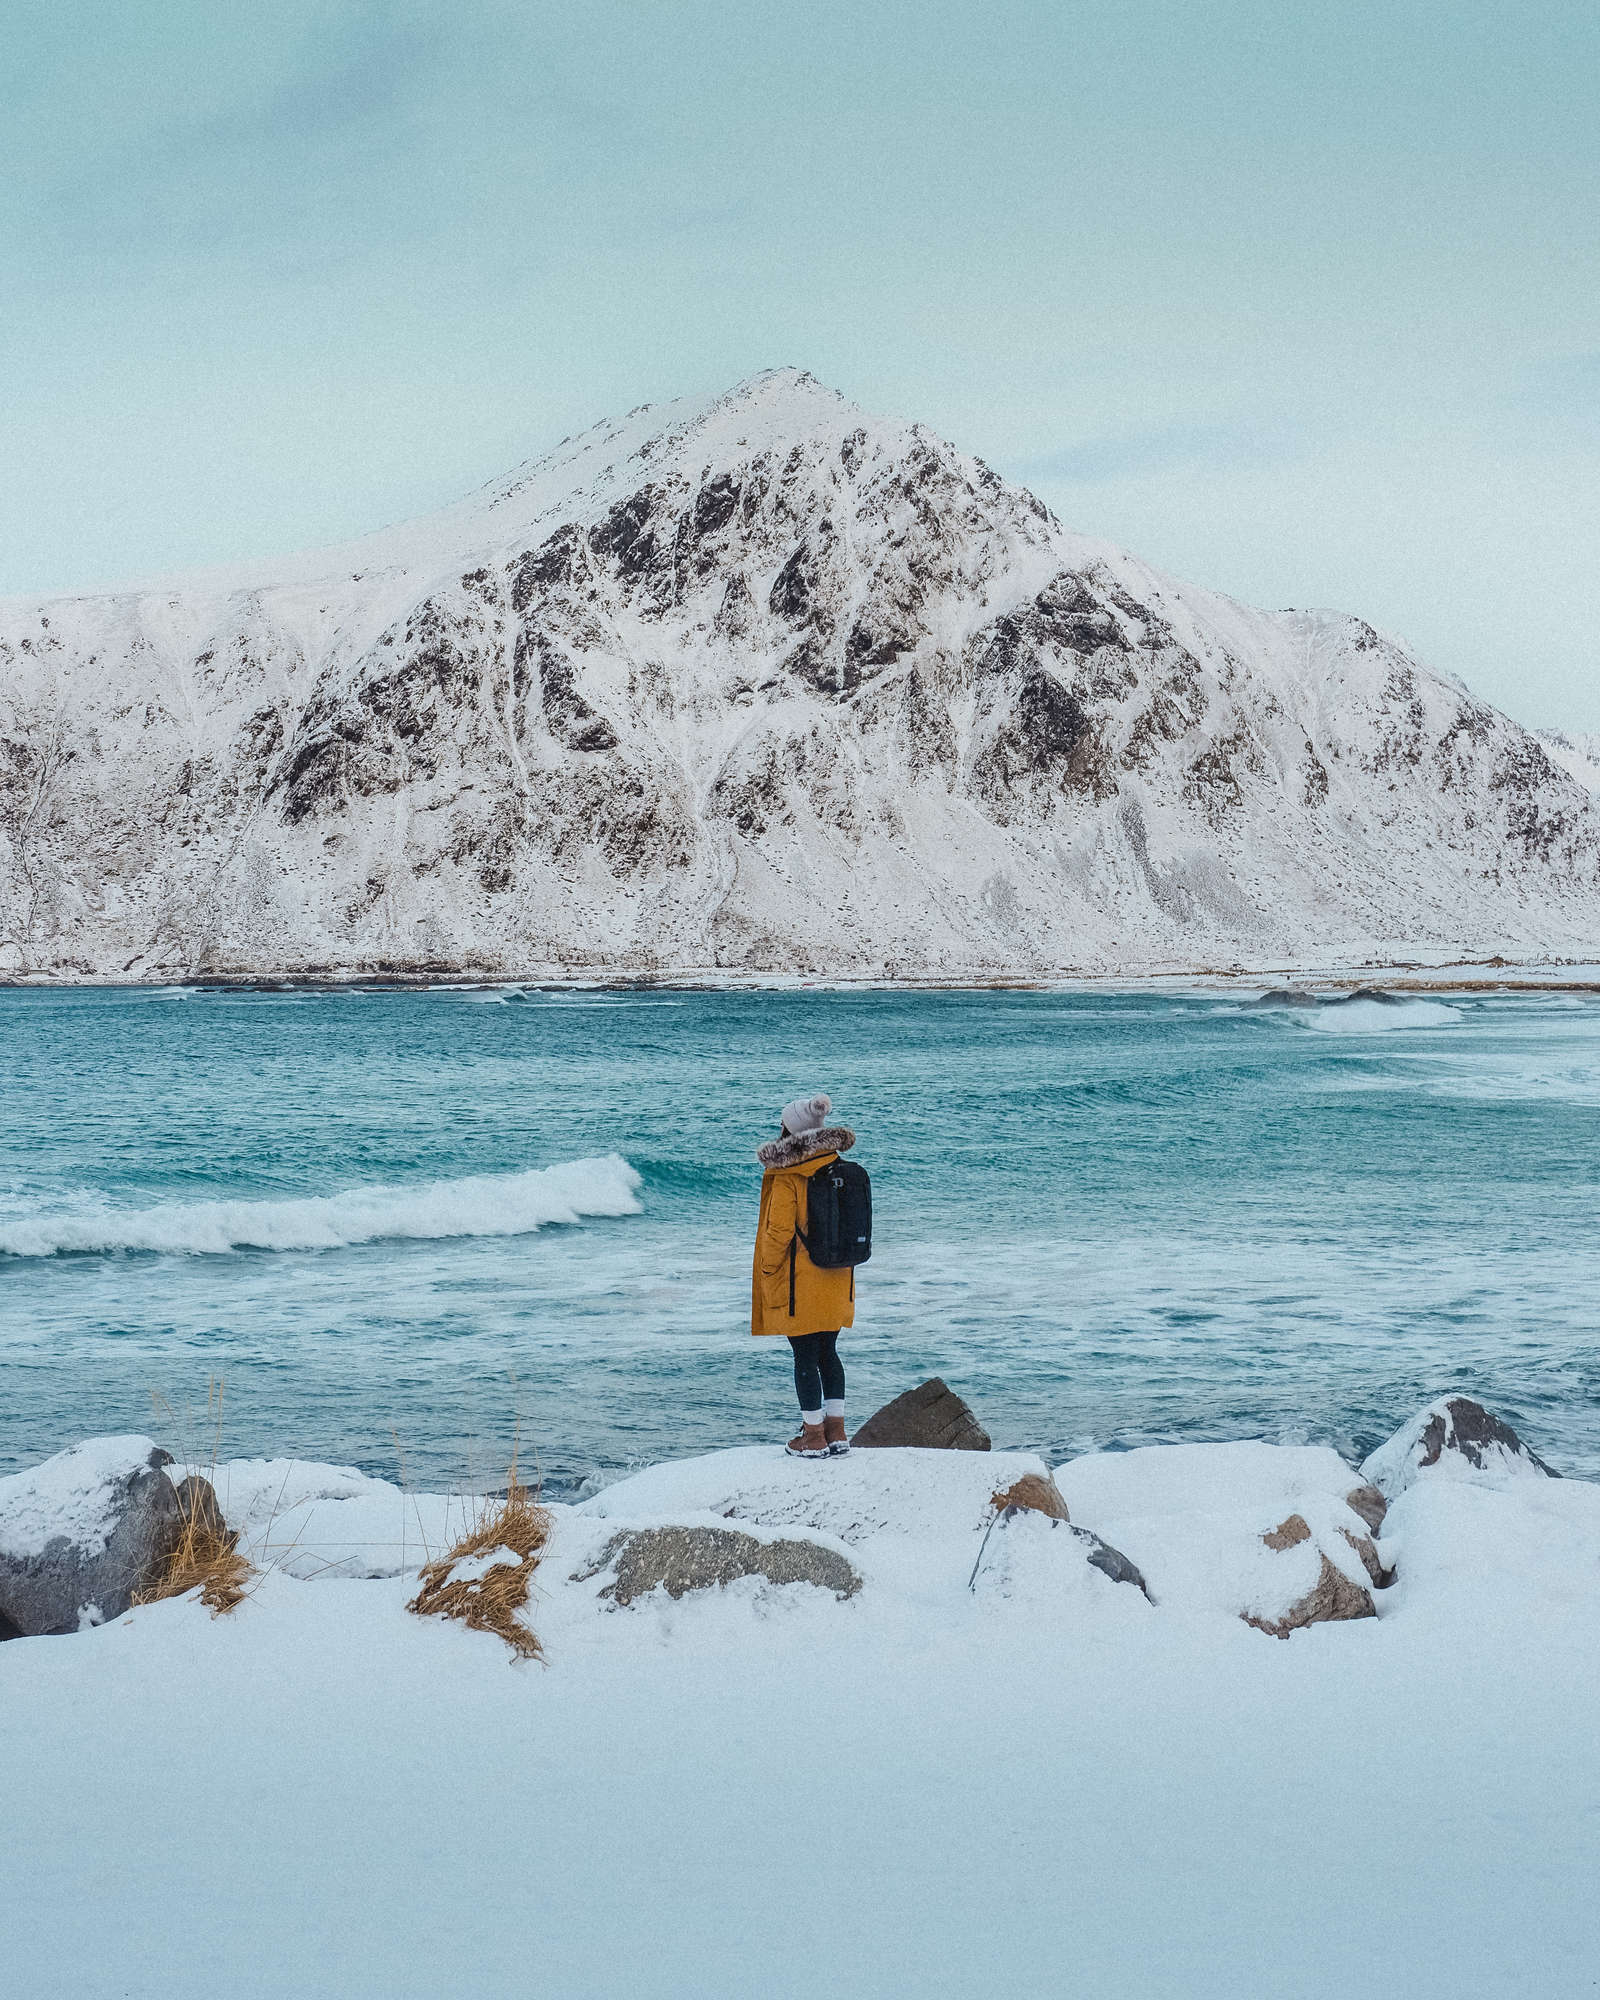
I’ve always been a sucker for mountain towns, epic mountain vistas, and hiking in general, so the opportunity to visit Norway was a no-brainer for me. I met up with another group of friends and we all quickly fell in love with the Lofoten area. In total, we spent 10 days here and I can honestly say that this time was some of the most enjoyable, mentally challenging, and sleep-deprived time that I’ve ever experienced in any country, but it made the memories that much greater. The weather was slightly colder than I imagined, but thankfully we were prepared because we had brought the proper gear with us (which I must say was extremely tough to do and plan for so far in advance—especially coming from Thailand right before this).
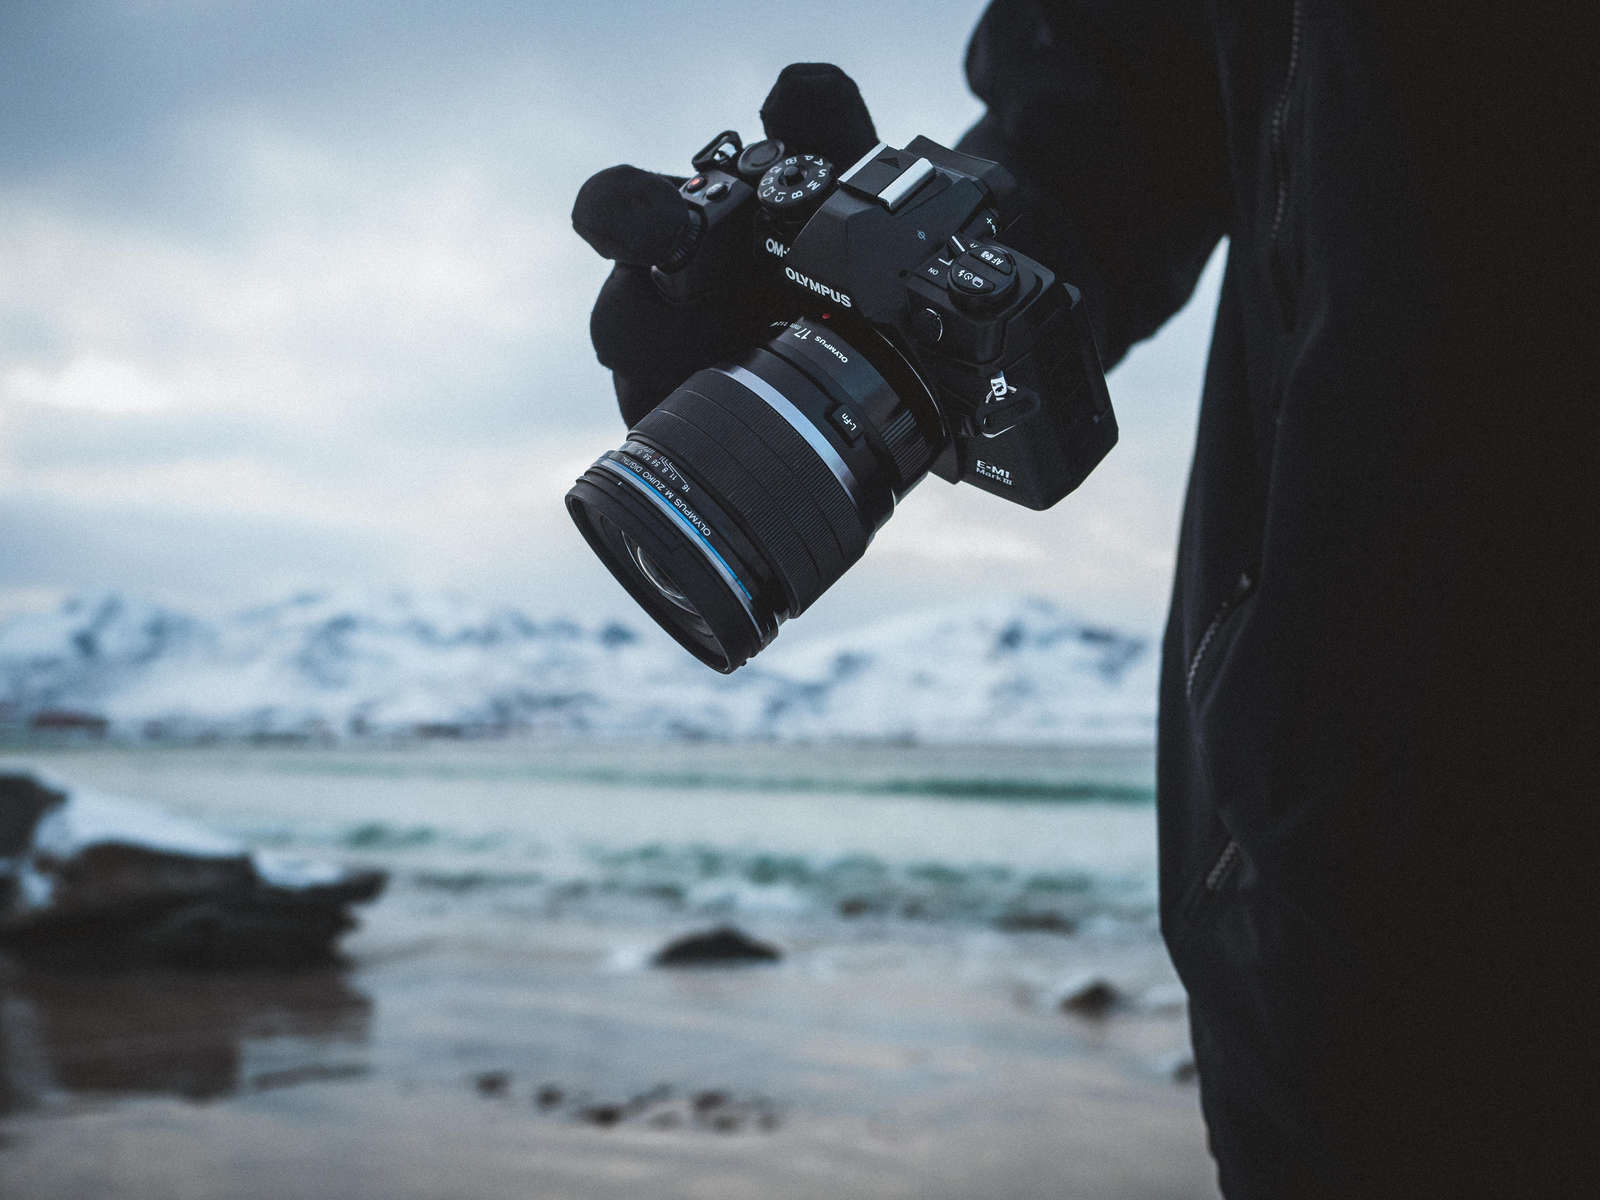
Whenever I’ve used camera gear in the winter in the past I’ve always found myself having second thoughts about shooting. I’m either hesitant to dig a camera out because I risk depleting the battery quicker or it just makes my hand colder and it becomes a nuisance to hold onto. That, or it also becomes this clunky object that is out and accessible, but doesn’t get used because I have to fumble around with buttons, settings, and menus. Thankfully, the E-M1 Mark III completely changed my perception of shooting in the cold.
OM-D E-M1 Mark III | M.Zuiko Digital ED 17mm F1.2 PRO
8s | F2 | ISO 2000
1/500s | F3.2 | ISO 500
From the first time I used the E-M1 Mark III with a glove on I was overjoyed to experience the joystick. It might seem like a relatively small feature, but in comparison to my E-M5 Mark III, the joystick made a world of difference. Switching autofocus points, flipping through settings, or navigating the camera in general became a breeze.
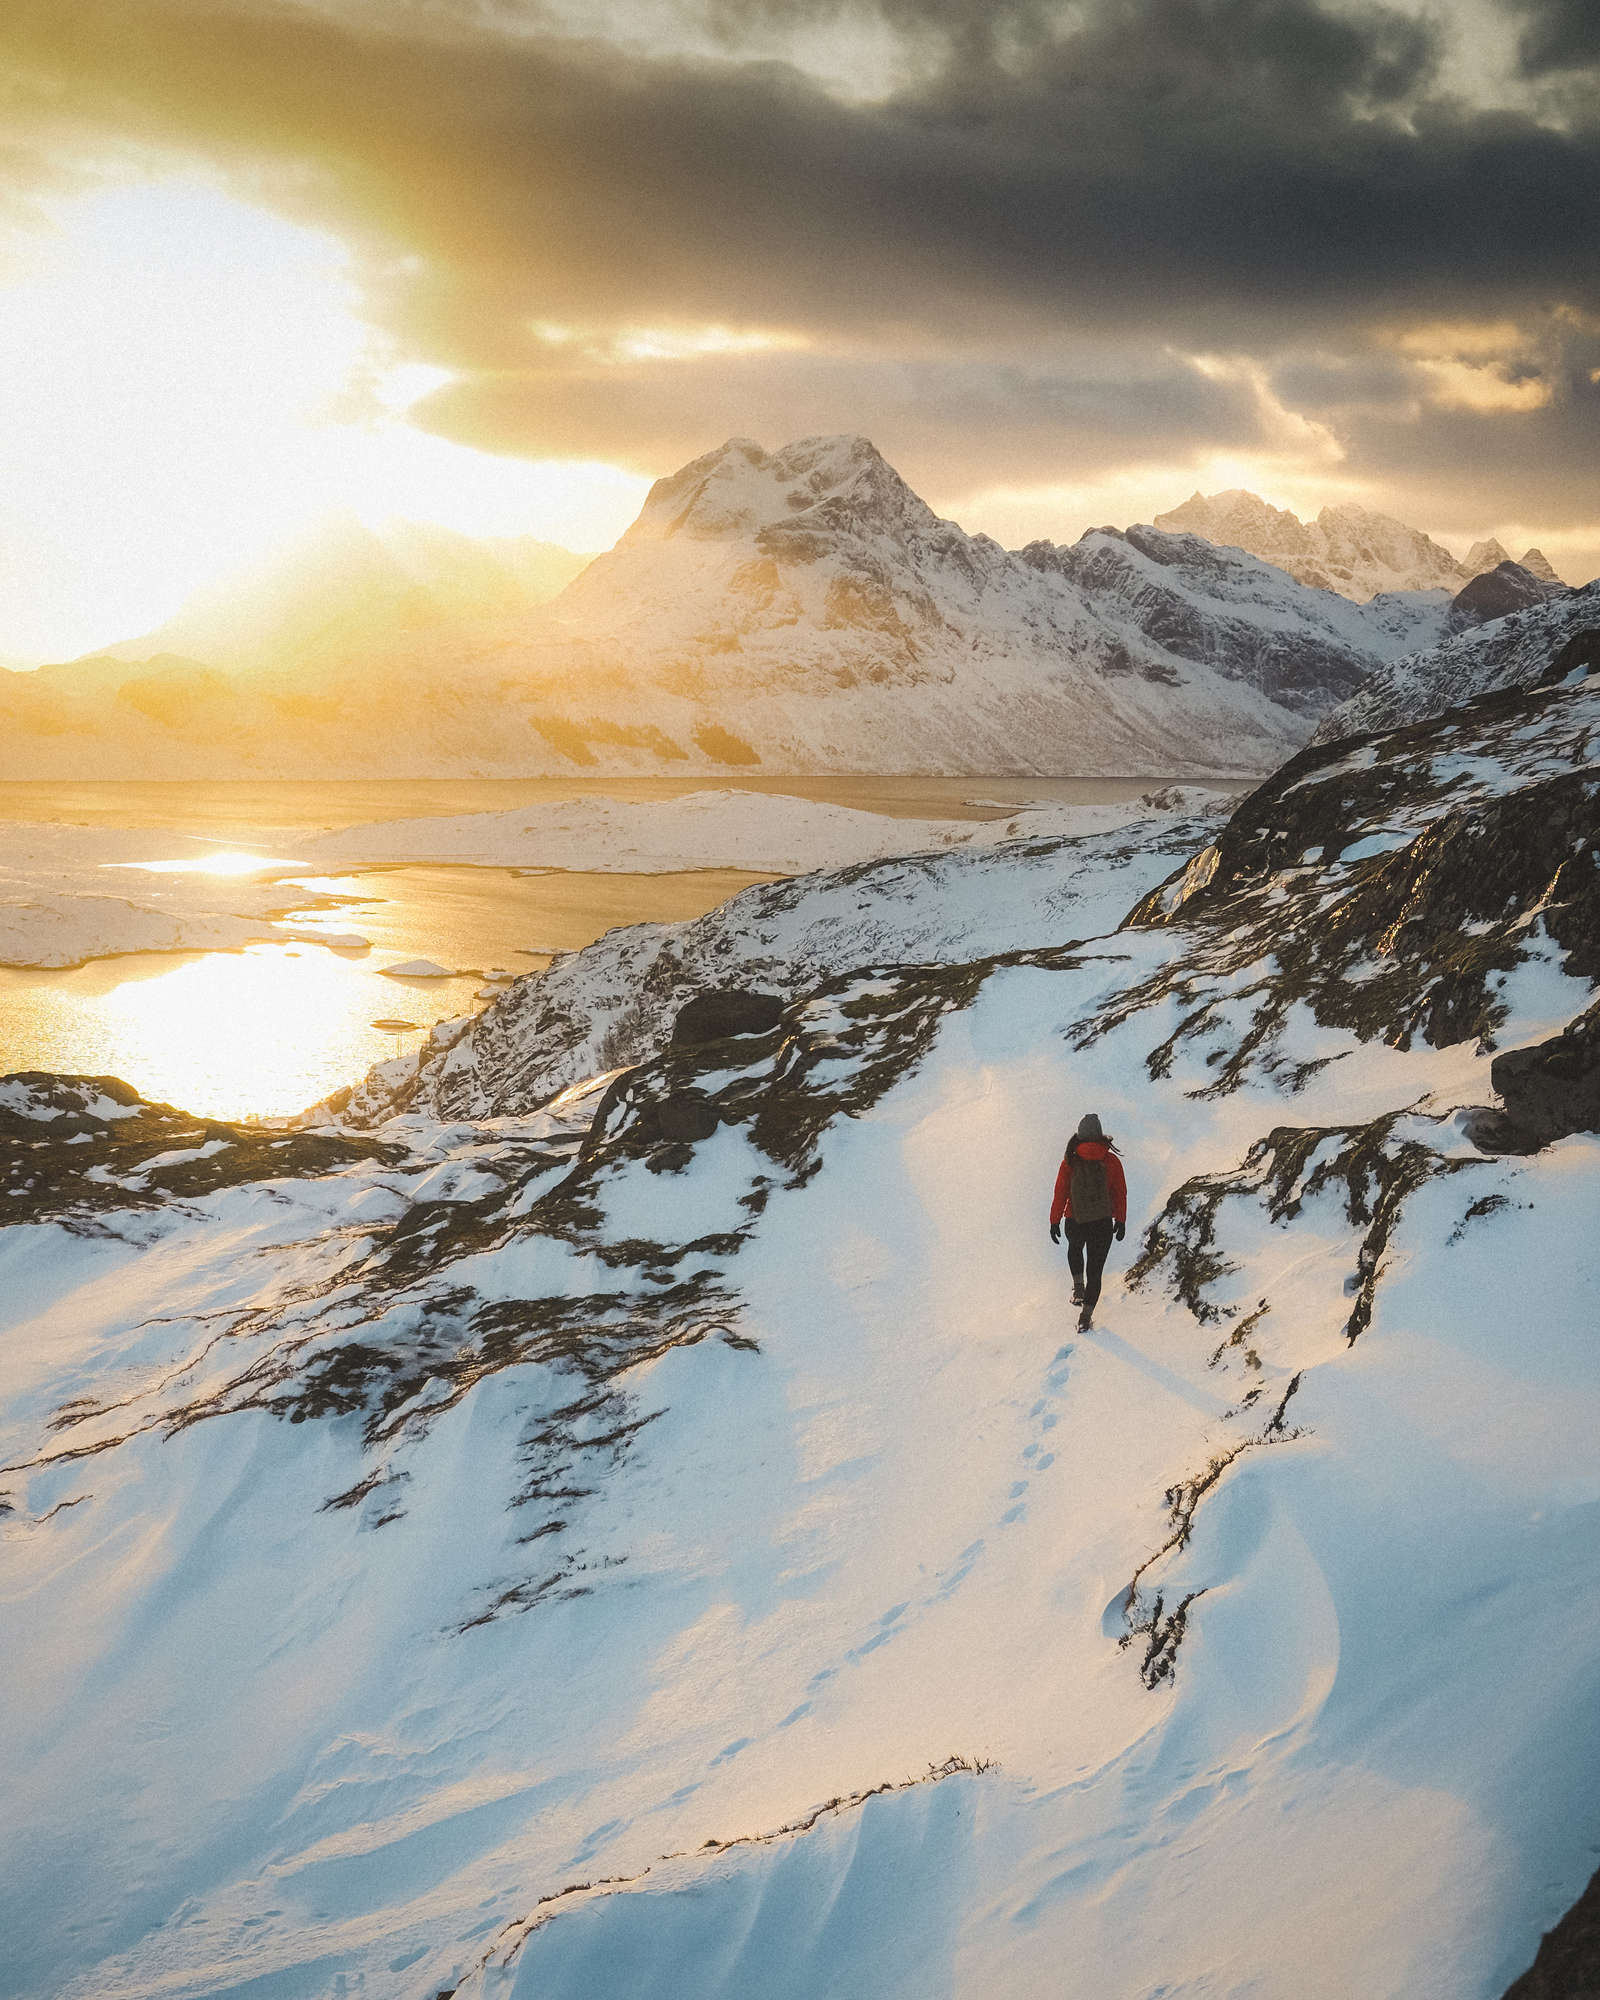
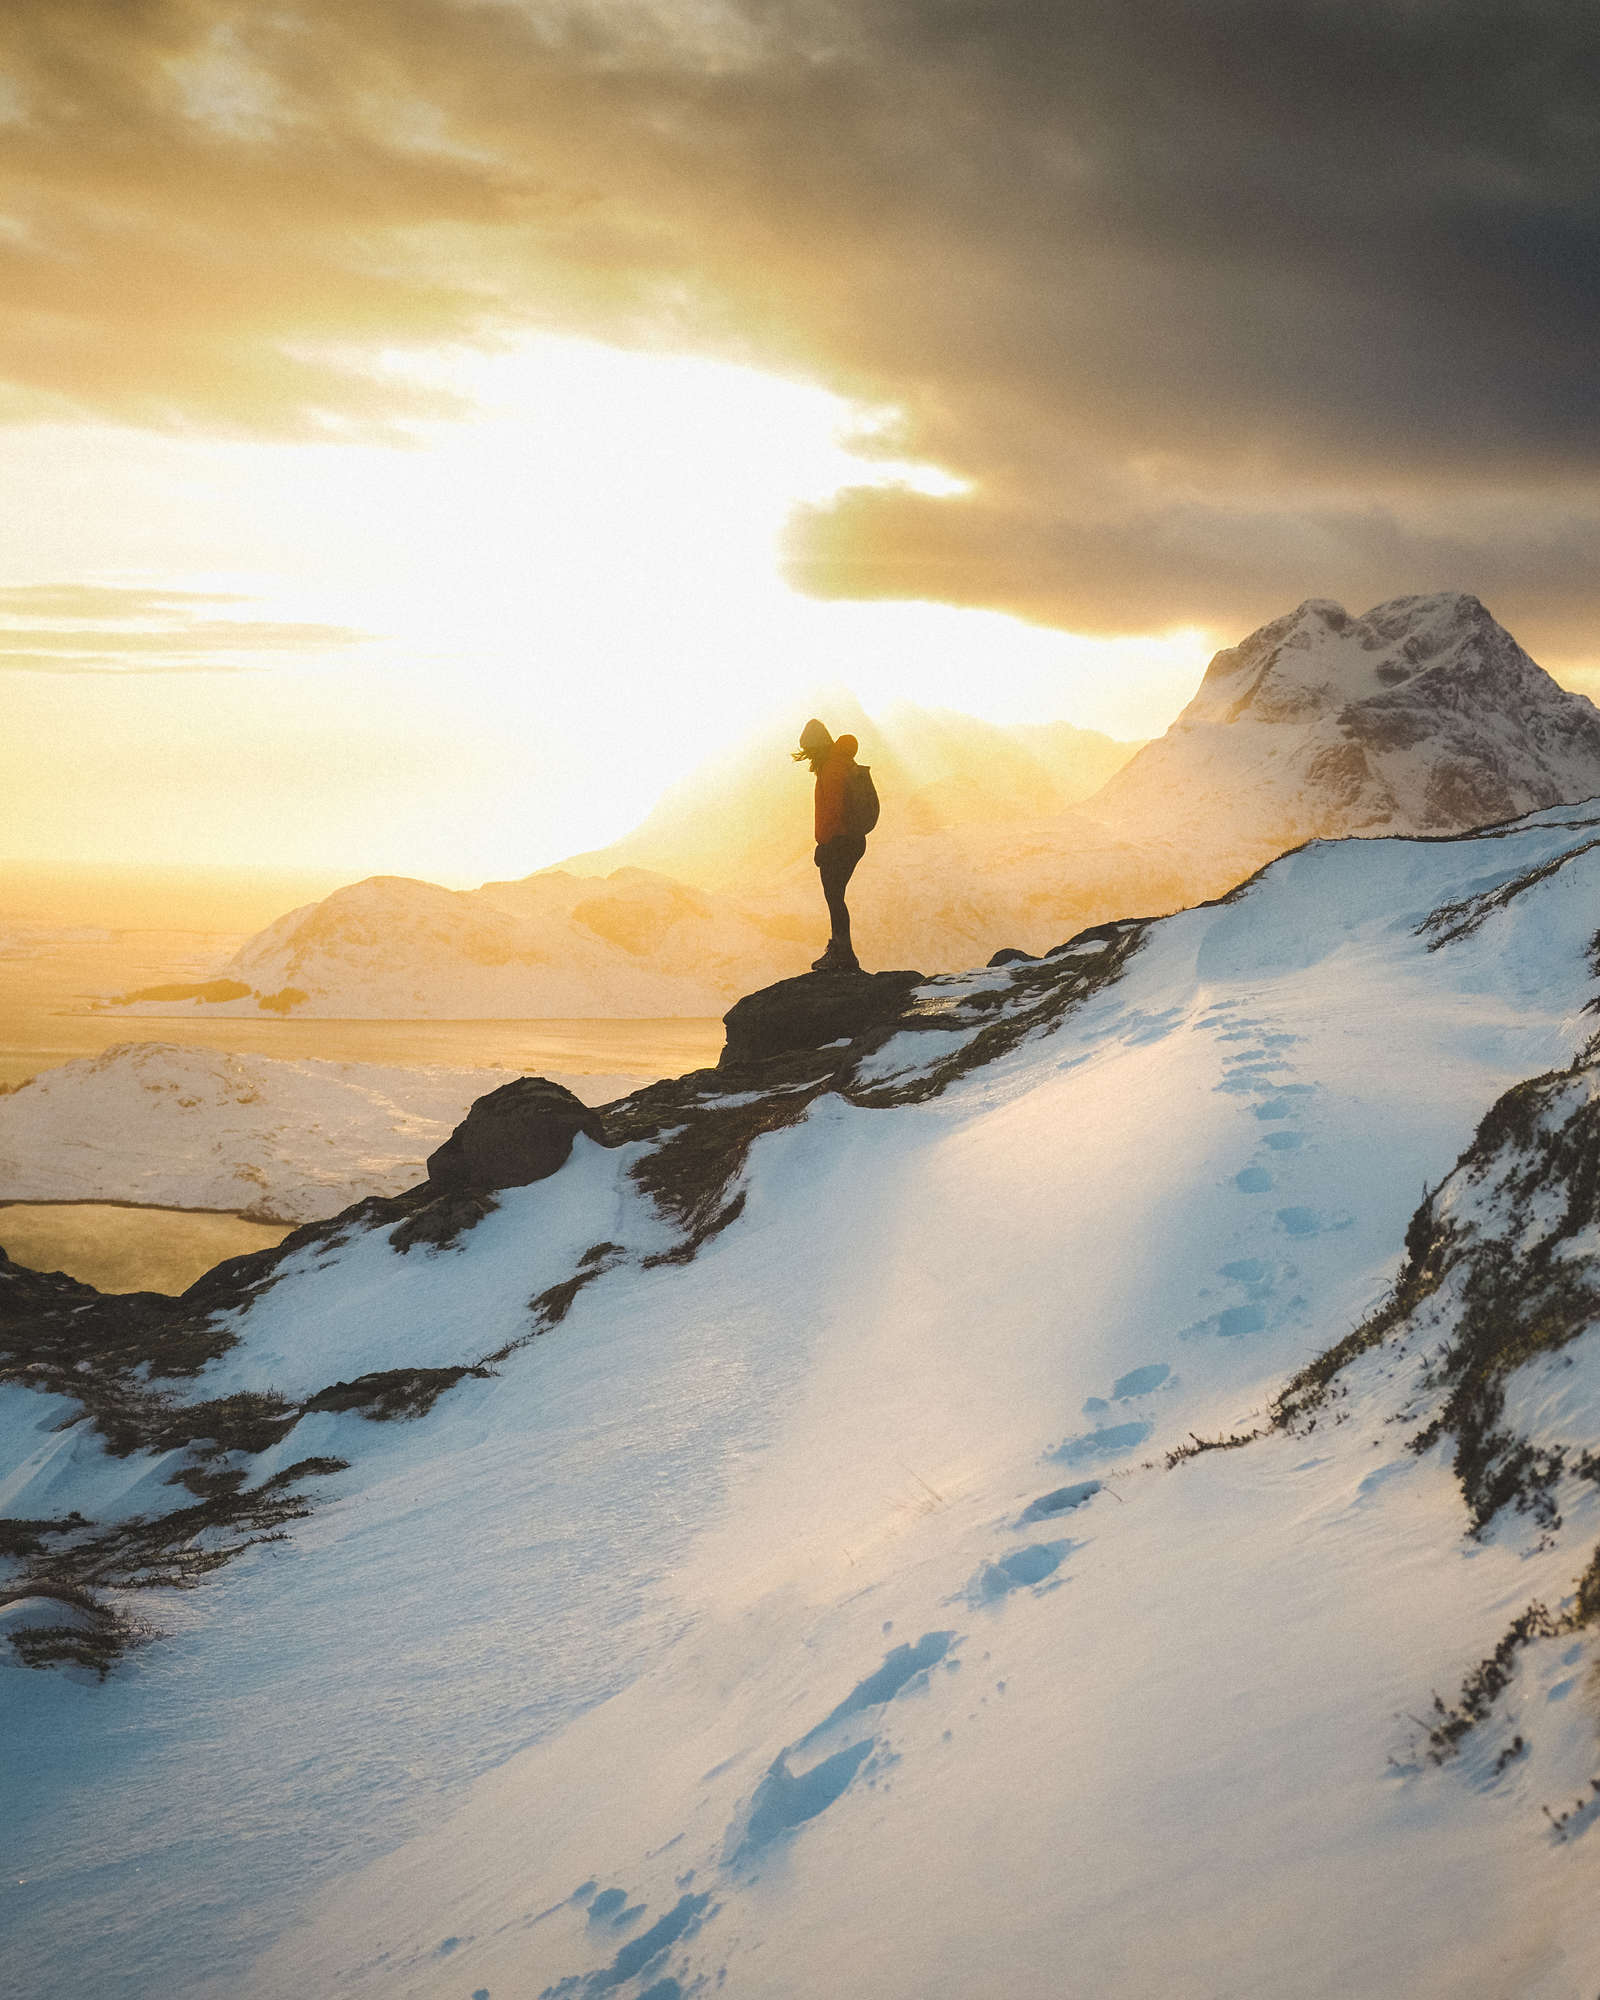
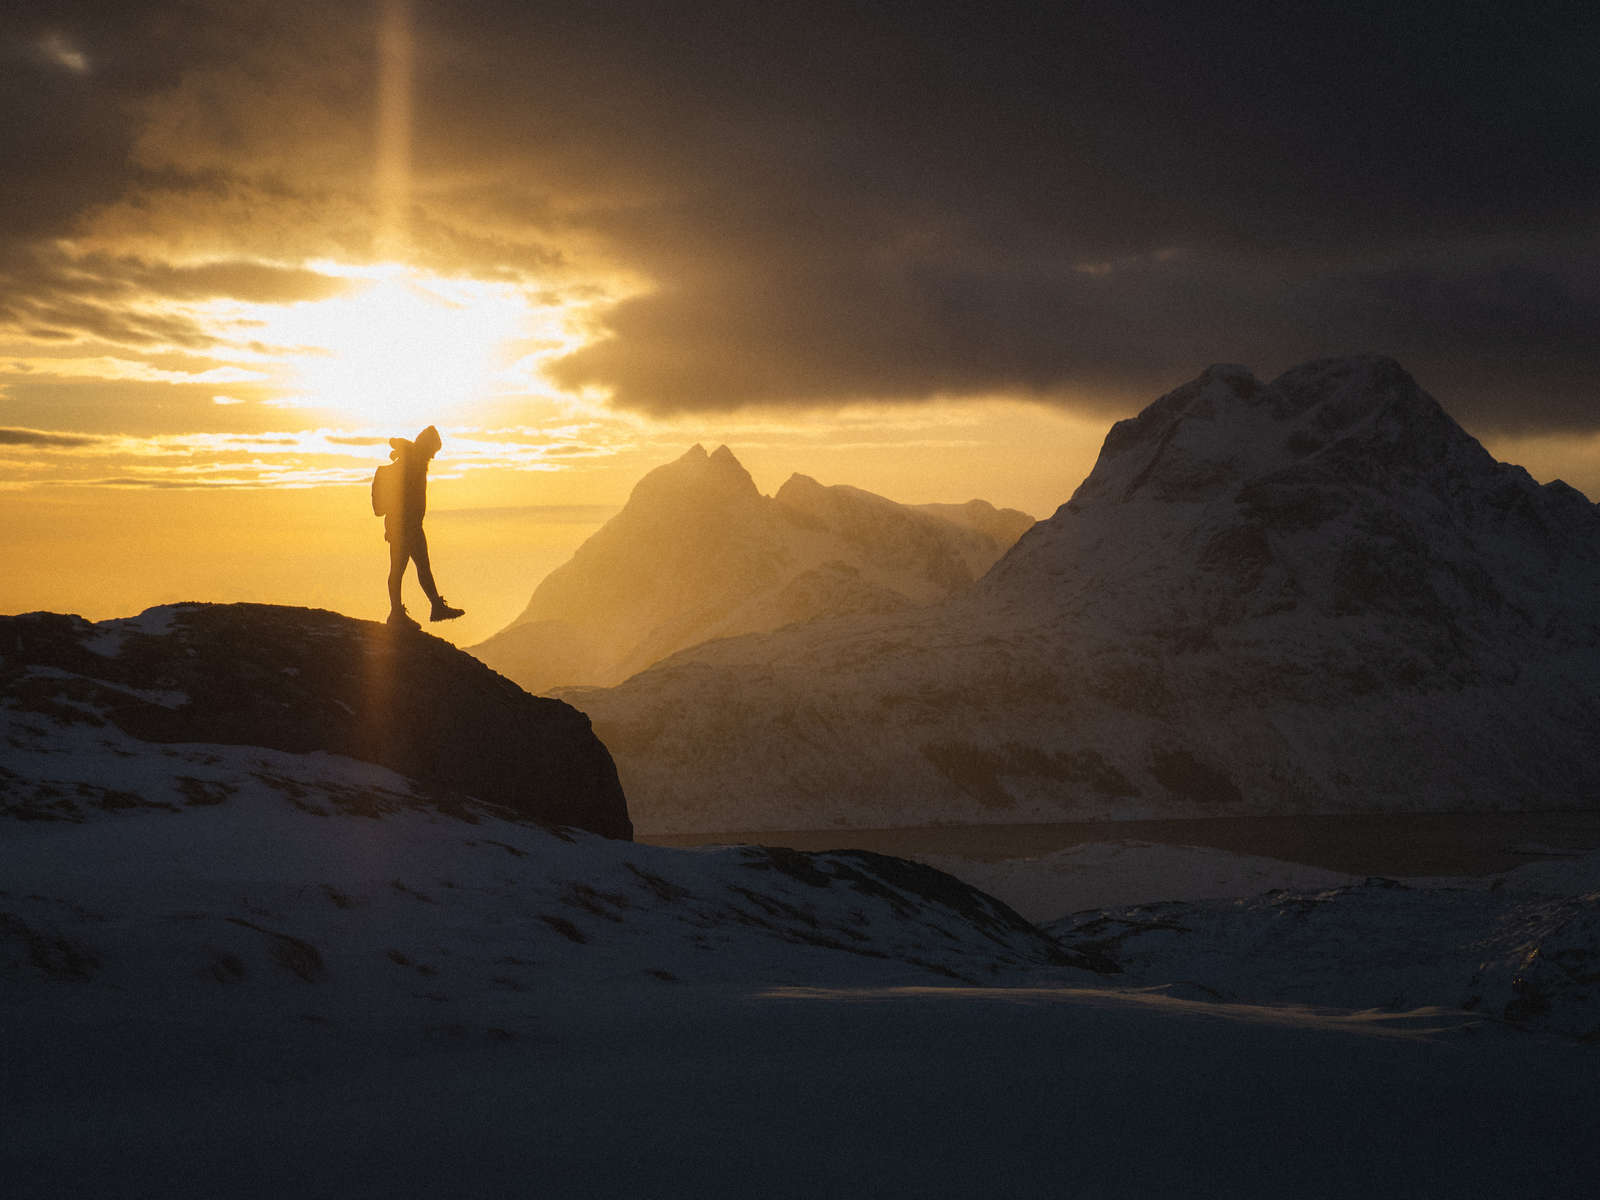
I spent a ton of time hiking in Norway and one of my favorite experiences was this mountain summit that we actually hiked to twice because the view was so beautiful. The journey to the top was incredibly challenging and nerve-wracking (mostly because the whole thing was covered in brittle ice and had a lot of steep exposure that would result in painful consequences if you were to fall), but being able to climb to the top and accomplish this was a feeling I’ll never forget.
In most situations I feel like I would not have brought much camera gear on a hike like this because other climbing gear would be the priority, but thankfully the size of the E-M1 Mark III was the perfect choice of kit for this scenario. I used it during most of the climb and felt very comfortable having it out because it was easy to operate with gloves on (something that I can’t say about most cameras that I've used in the past). We lucked out with incredible weather both days and it was refreshing to be able to stay up on the summit for over an hour with perfect light.
1/250s | F2.8 | ISO 400

1/500s | F2.8 | ISO 500
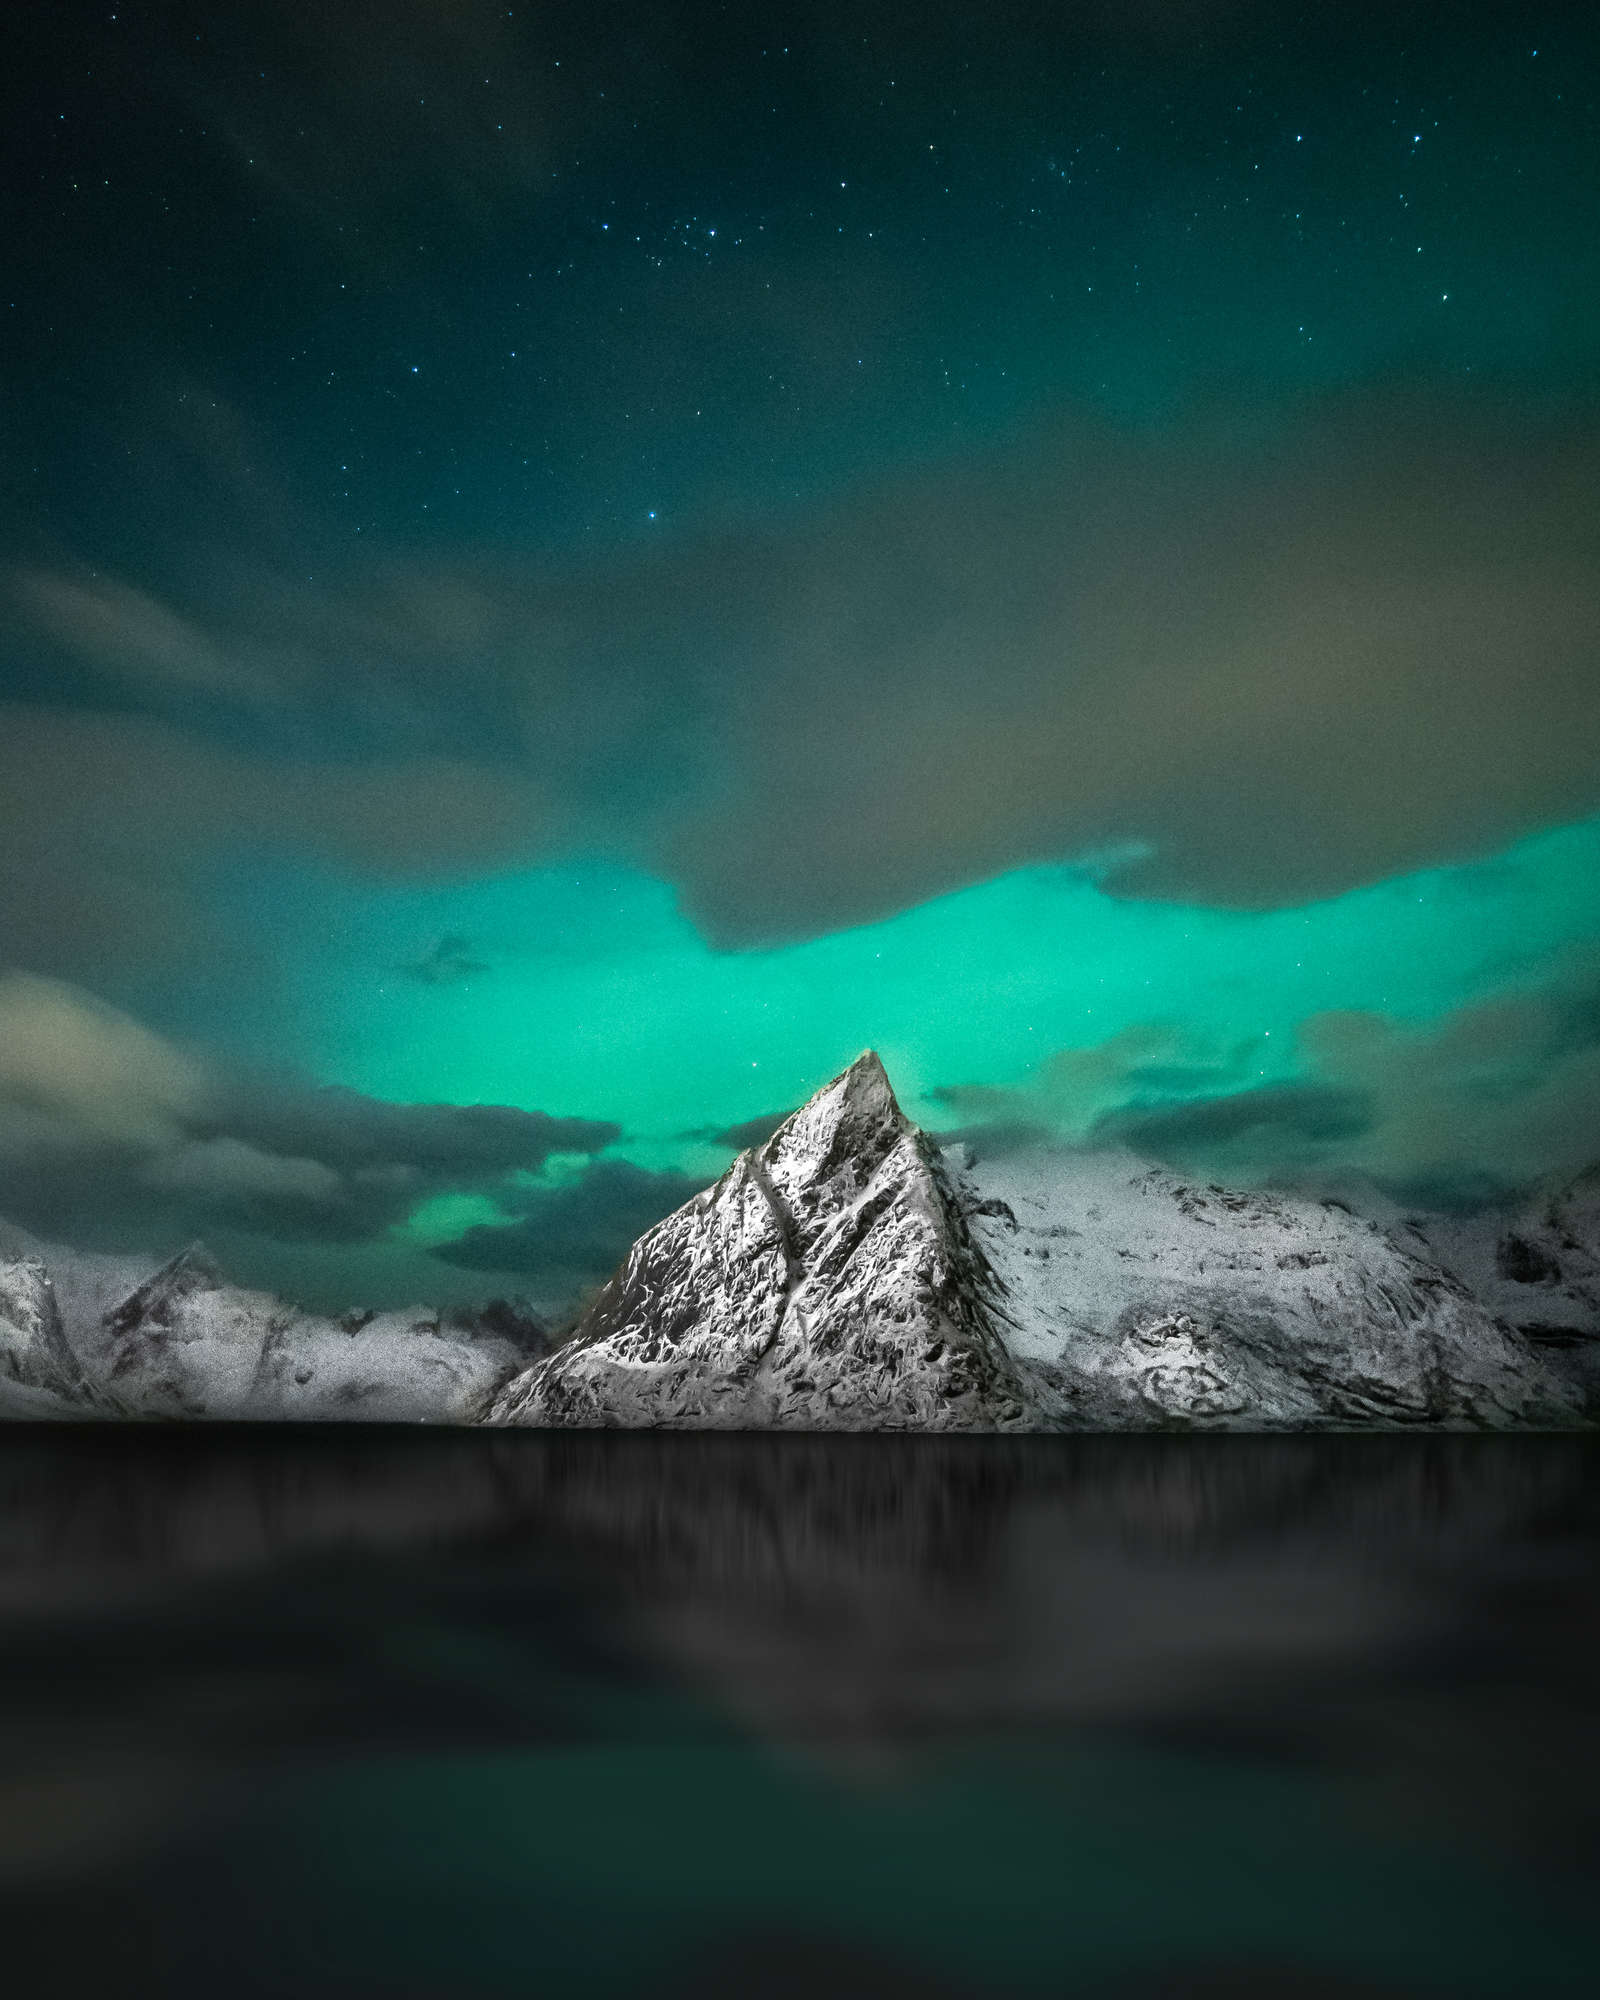
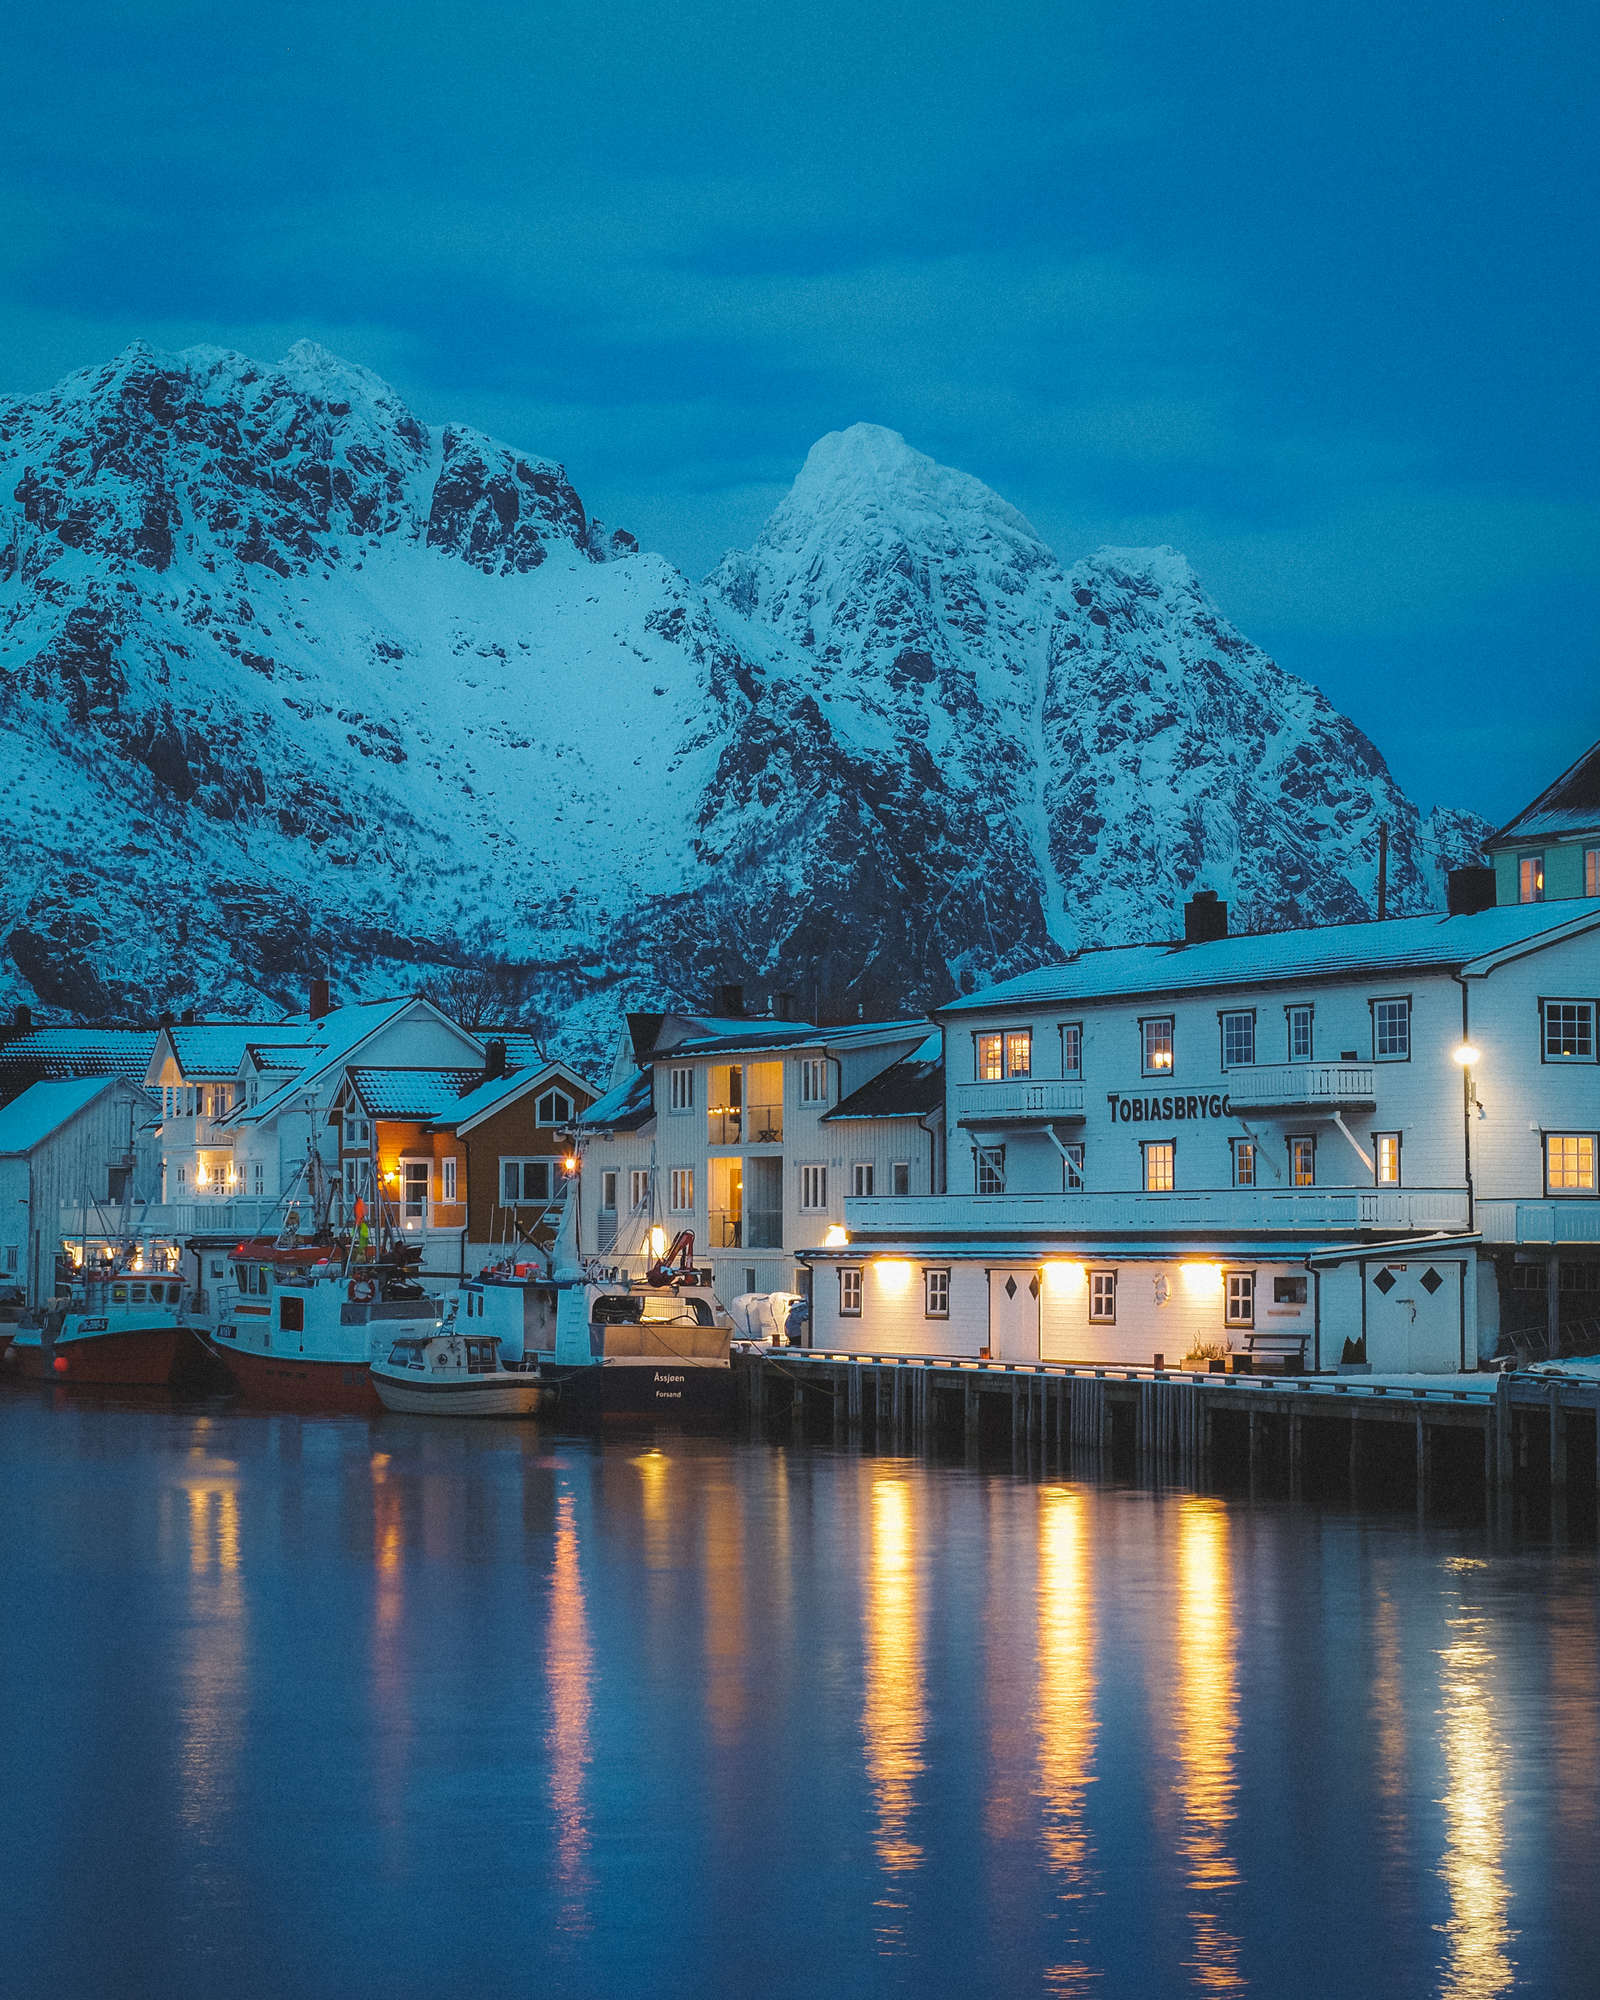
One of the best things about Norway was blue hour and, if you’re not very familiar with winter or winter-like conditions, blue hour is the period of time when the sun is below the horizon and the residual, indirect sunlight takes on a predominately blue shade. This short window of time was one of my favorites to shoot because street lights would flicker on and the sky would become a deep, rich, color of blue that accentuated all other man-made light. I tried to shoot in these blue hour conditions as much as possible and really tried to push the lowlight performance of the E-M1 Mark III. From my tests and from shooting, I was able to get clean, noise-free images all the way up to ISO 2,000. I did use a little bit of noise-reduction when editing the photos, but with the right editing technique it was impressive to see just how well the E-M1 Mark III handled such little light.
Lastly, the other features that made a big impression on me were Live ND and Handheld High Res. I’ve been a big fan of Live ND ever since I first used it, and am always blown away by what it’s capable of. I really hate having to carry a tripod so being able to capture long exposure images on the fly is a really handy feature to have. Handheld High Res was another powerful and really helpful feature to use because I could rely on it and know that I was capturing incredibly detailed, high resolution photos on the fly. There were several instances where I knew I’d want to have an extra high-resolution frame from a certain area and could easily capture it without having to have any other support gear around.
OM-D E-M1 Mark III | M.Zuiko Digital ED 12-40mm F2.8 PRO
1/8s | F11 | ISO 250
1.6s | F10 | ISO 400
1/4000s | F3.2 | ISO 500
1/8000s | F3.2 | ISO 250
1/5000s | F3.2 | ISO 500
In comparison to Thailand, Norway was by far the more extreme and gnarly climate for this camera to be tested in. From sub-zero arctic temps to blistering winds, I never once had an issue where the camera stumbled or faulted. I fell in love with this camera while using it and it reminded me a lot of my M1X, which is the camera I usually choose if I need a powerhouse.
From day one of unboxing the E-M1 Mark III has felt incredibly comfortable in my hand. It feels like it has a million bells and whistles packed into it and can accomplish anything you throw at it. There were moments where I was worried I might have been too tough on it but it kept on clicking and showed me that I might be the weaker one in our pair.
If you’re at all considering this camera or have any interest in it, I would highly recommend it. Olympus continues to push the limits with what’s possible and I can’t wait for you all to try it.
I hope you’ve enjoyed reading this and seeing a little behind-the-scenes content from my travels with this camera. If you have any questions or would like to know more about my time using the E-M1 Mark III, please do not hesitate to reach out to me on Instagram at @justindkauffman.
Instagram: @justindkauffman
Justin is an outdoor adventure and lifestyle photographer/cinematographer from Montana. He grew up playing in the mountains and can usually be found outside diving into water, climbing mountains, or exploring different areas of the world.
Ready to Upgrade?
Save Now on the E-M1 Mark III