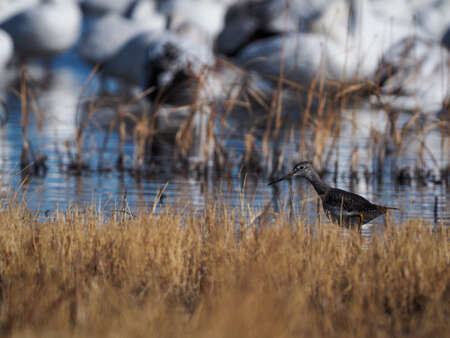
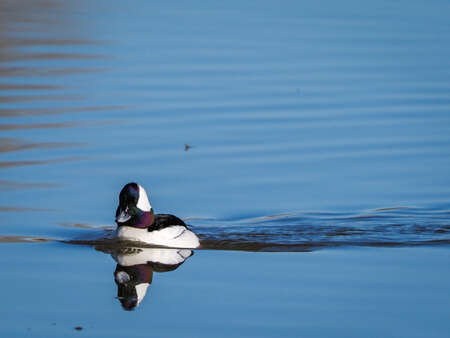
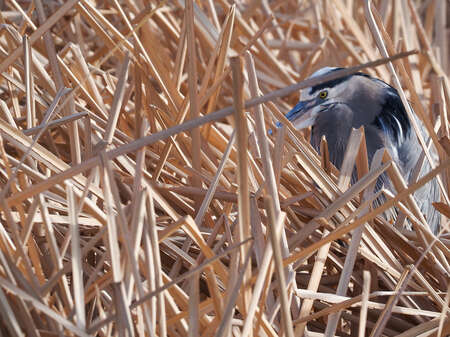
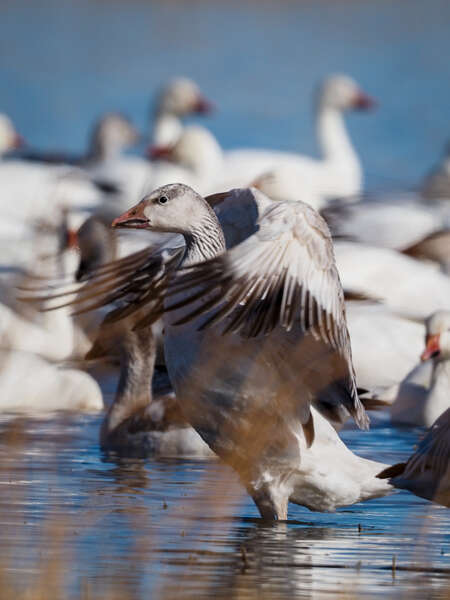
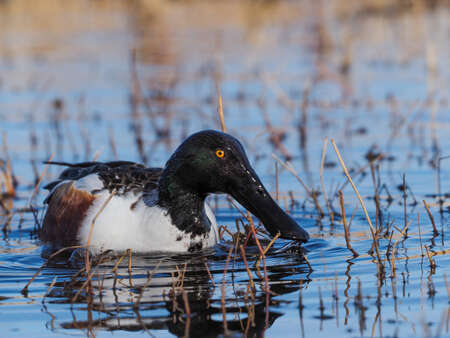
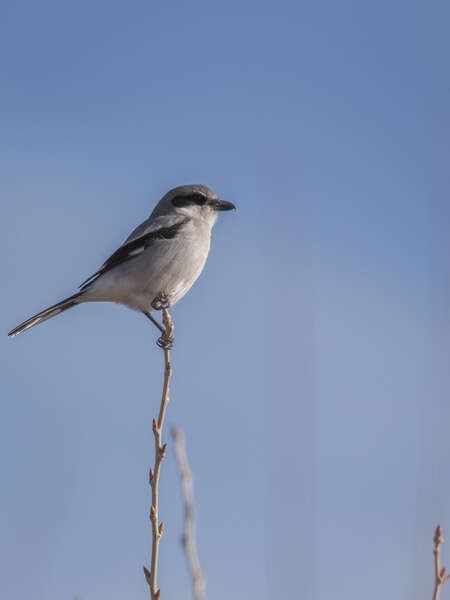
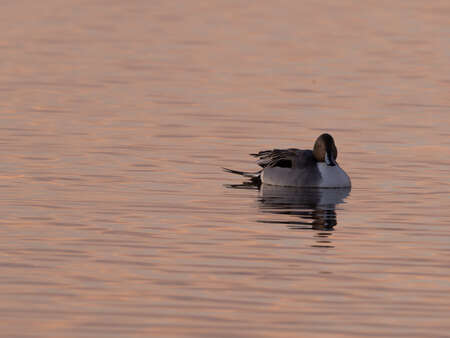
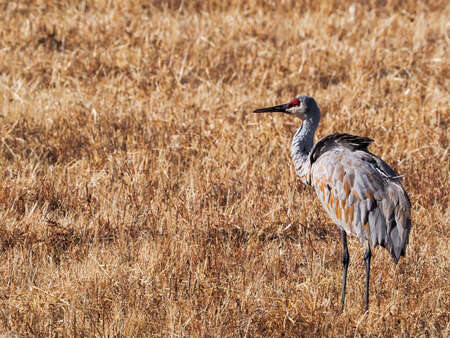
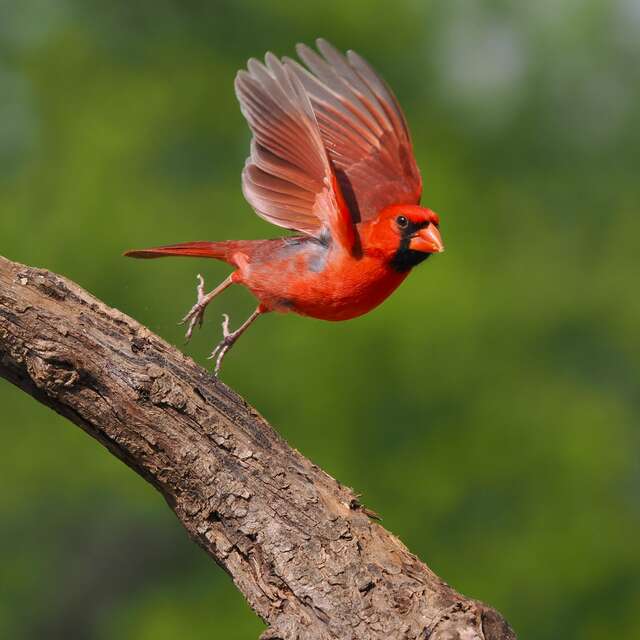
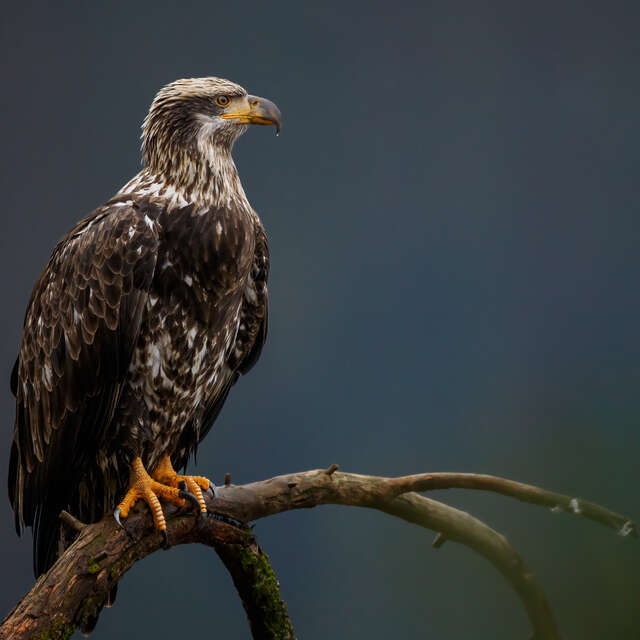
Sometimes I forget how spoiled I am using OM-D cameras. I begin to take for granted the incredible features that the E-M1 Mark III and E-M1X offer and I think, "Oh well, ho-hum. Just another day of photography in which I will be able to carry every lens I own and 2 camera bodies, never need a tripod, and never worry about the weather." I have to say it; even with all the great features I'm used to, the Bird AF feature on the E-M1X is a game-changer.
Here’s why: the easy-to-use auto focus feature allows your attention to be on the photographic composition while the camera takes care of the details. Pairing the E-M1X with the M.Zuiko 300mm F4.0 IS PRO and MC-20 teleconverter for a massive zoom of 1200mm equivalent, I have been in birder’s paradise for every excursion I’ve made.
First, let’s make sure you know how to activate Bird AF mode and what it takes to make it work as well as it possibly can.
- Turn on your E-M1X and press the ‘Menu’ button.
- Use the directional keys to arrow down to the Settings menu (the cog wheel), then right to the submenus, and down to A3.
- Navigate right to the menu items under A3, and down to “Tracking Subject” You will see a pop-up that reads “Select the tracking subject for still photography. Valid in C-AF+TR” which is a nice reminder that even if you select an auto focus subject, the camera will only activate the tracker if you are in C-AF+TR focus mode.
- Press “OK” to enter the “Tracking Subject” submenu. Scroll through the options until you get to the bird icon, then press “OK” again to activate.
The next step is to start the tracker by turning on the correct focus mode. There are several ways to change your focus setting. The most straight-forward is to press the button on top of the “On/Off” switch labeled “AF” and use the right hand to dial in C-AF+TR mode. Press “OK” again, and you’re good to go!
To optimize your Bird AF experience there are a few more things you will want to do:
- Use RAW format. If you haven’t started doing this already, it is absolutely the way to go. RAW format gives you the most data for each image, and will give you the results you really want, though you will have to do some post-session editing. (Shooting Menu 1 =>‘Camera’ icon => RAW, press ‘Ok’)
- Select All Focus Points in the Super Control Panel. You need to give the camera the whole frame to analyze to find the bird.
- Use Spot Metering. This will place the metering level in the area of the autofocus target, giving you the right exposure on your subject. Hint, dial up or down depending on the brightness of the background. For a bright background correct the exposure compensation to 0 higher, correct for a darker background by decreasing the exposure compensation.
- Use Silent Shooting. There are two reasons that this will be helpful. First, it turns off the beeping when the camera attains focus lock and silences the shutter (because you are using an electronic shutter vs. the mechanical shutter) which makes you less likely to startle your subject. No more noisy clicking as you take your photos. Second, this silent shutter allows you to shoot at shutter speeds up to 1/32000s, which will allow you to freeze even the fastest hummingbird.
- You will probably want to use either Silent Sequential Low or Pro Capture Low to give you lots of opportunities to get the shot you want. I’d recommend using Pro Capture Mode only if you know that there is a fast-moving specimen that you are likely to miss the best of the action and you want that ability to "roll back time" that Pro Capture allows. Otherwise, Sequential Low works just fine and doesn’t use the battery so quickly.
Why "Low?" Because in "Low" the camera refocuses between each shot, which means that the camera can’t shoot quite so many frames per second (fps) but the focus will stay on your moving subject. In Silent Sequential Low you can get up to 18 fps which is more than adequate in most birding situations. In fact, you may find you prefer to make some changes to the factory settings. I’ve slowed my Pro Capture Low settings down to a 10 fps and 12 pre-shutter frames, with a limit of 25 frames, because I’ve found the action so fast that I was taking what felt like an excessive number of nearly-identical photos. You can find the controls for this under Menu C1.
- You may want to make the autofocus either a little more or less likely to shift, depending on the conditions you’ll be photographing under, the birds you anticipate photographing, and your personal preferences. This can be found under the Menu in “A1,” under the heading C-AF Sensitivity. Select this by pressing "Ok" and dialing down to -1 or -2 to make the autofocus more likely to ‘stick’ for a slower bird flying or moving through tree limbs, or up to +1 or +2 to make it change more rapidly for a fast moving flier rapidly changing direction in a clear air space. Keep in mind, this one will take some experimenting to see what you like best.
Now you are ready to roll.
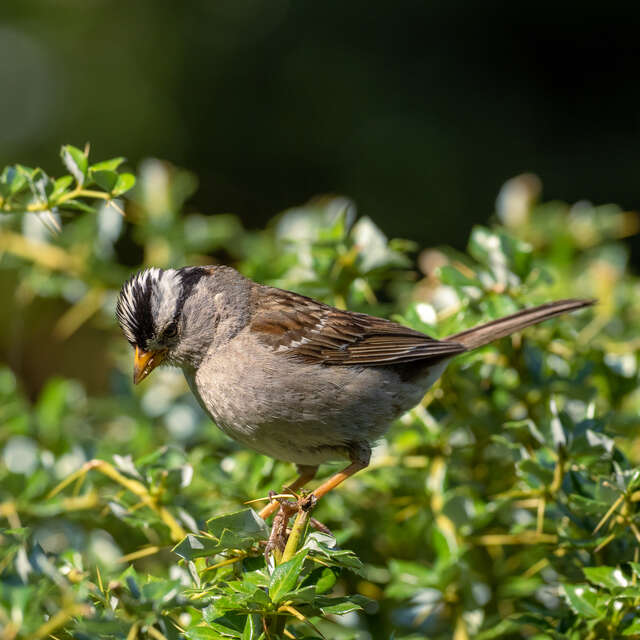
You will know that the tracker is working the first time you point your lens in the direction of a bird and half-press the shutter button (or press the AEL/AFL button, if you are a ‘back-button focus' kind of photographer). A white box will appear, sometimes moving around the frame until it locks on what it identifies as a bird. The box will turn green when it has a lock on the subject. At first the green box will probably be large, and encompass the majority of the bird, but in a brief moment it will narrow in on the head of the bird, particularly the eye. Fully depress the shutter button to take the picture – et voilà, you will have a tack-sharp image of the bird!
The box moves in the frame as the bird moves, keeping the focus on the bird. Multiple white boxes may appear if you have more than one bird in frame. Tech specs say the camera will track up to 8 subjects. Personally I have only successfully used the Bird AF on up to three bird subjects at a time, but I am unabashedly a beginner in bird photography.
Although I am still working on the finer points of bird photography with the help of the E-M1X, I can offer some final words of advice about the “where, and when” of finding birds to photograph.
The obvious answer is that birds are everywhere. That’s one thing that makes bird photography so great. You don’t have to plan an expensive, elaborate trip to a far-off exotic locale. You can take great bird pictures anywhere on the planet, including your own backyard. I want to encourage you to explore your own neighborhood. I bet you will be surprised at the variety. I certainly was. Before I really started paying attention to the birds in my neighborhood, I probably would have told you that there were 4 or 5 different species hanging around at any given time; crows, mourning doves, sparrows, and then sometimes a robin or a starling. But when I actually went out looking for birds? I found more than 25 species in a single spring morning. I felt like I was playing a real life video game, and I never lost that buzz.
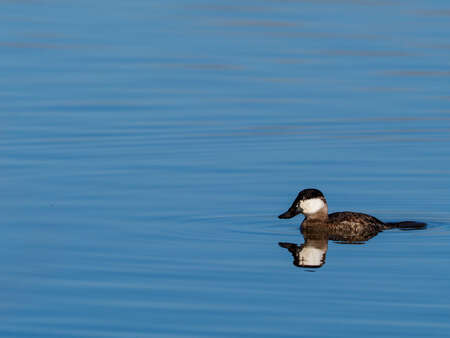
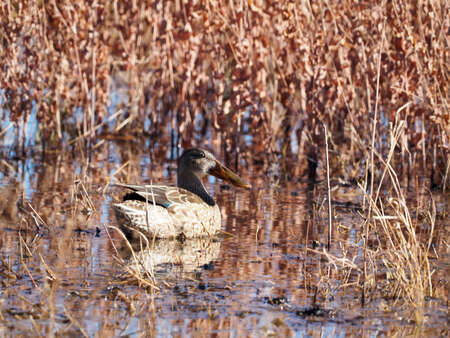
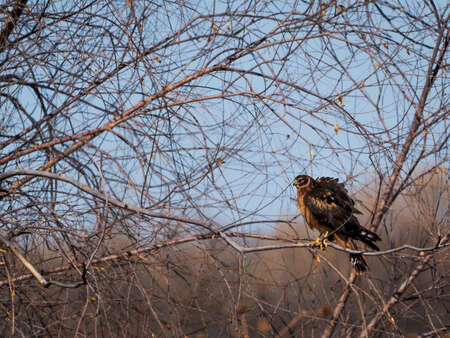
So where to start? I suggest finding a place nearby that offers birds the things they like: trees, tall grasses or bushes, water, and a food source. Check out parks with ponds or streams, and I imagine you will find a wider variety of birds than you might anticipate. Look up wildlife reserves near you – that is how I found out about the Bosque del Apache National Wildlife Preserve, where all the pictures from this article were taken.
Birds are generally most active at dawn and dusk, so try those times. Walk slowly, steadily, be prepared for lots of stopping and standing. Another good method is to find or set up a blind, often a small camouflage pop-up tent (although you probably can’t set one of these up in your neighborhood playground).
Try not to get too close to the birds that you are photographing. If the birds are staring at you, startling, taking flight, or giving alert or alarm calls, you know you are too close. Birds are wildlife too, and as ethical wildlife photographers we always want to respect the animals we are trying to photograph.
It is generally acceptable to feed birds, unlike most other wildlife. You may want to set up a feeder in your yard and see what species you can attract. However, keep in mind that when you do feed birds they can come to rely on your food source, so be sure you can be consistent. It is not ethical to lure or feed birds of prey in the wild. For close-up opportunities with birds of prey, you can always try your local wildlife rehabilitation organization.
The Audubon Society and the Cornell Lab of Ornithology websites are excellent resources for learning all about birds. You can find out what species are likely to be in your area, behavior, feeding, breeding information and so much more. They have free apps for your phone to help you identify birds by visuals and even by recording and comparing bird calls. I’ve found the Merlin Bird ID app to be an invaluable resource for bird identification in the field and at home. Both offer free and paid classes about birding, from beginning bird identification to specialized topics about specific species.
Instagram: @ngwildernessphotography
Natalie is a Colorado-based environmental photographer, with interests in landscape and adventure photography and particularly in promoting diversity and representation in the outdoors. When she’s not outside having adventures and taking photographs, she’s a full time registered nurse and the mom of four boys. (No, she doesn’t wear a cape.)
