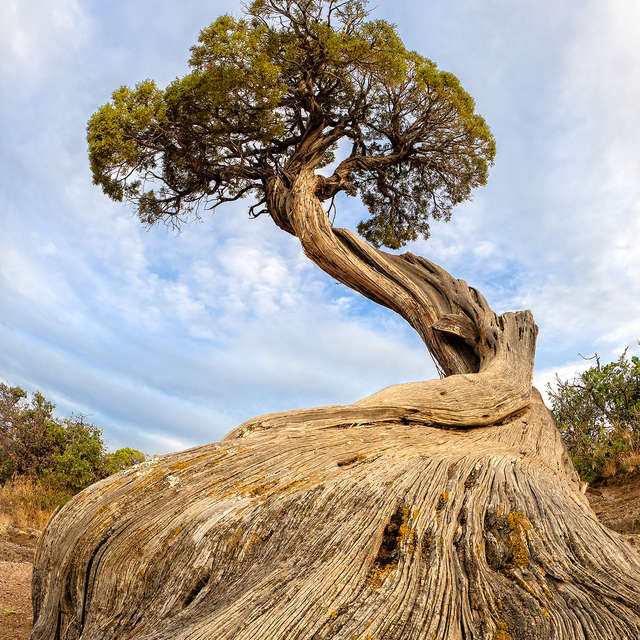
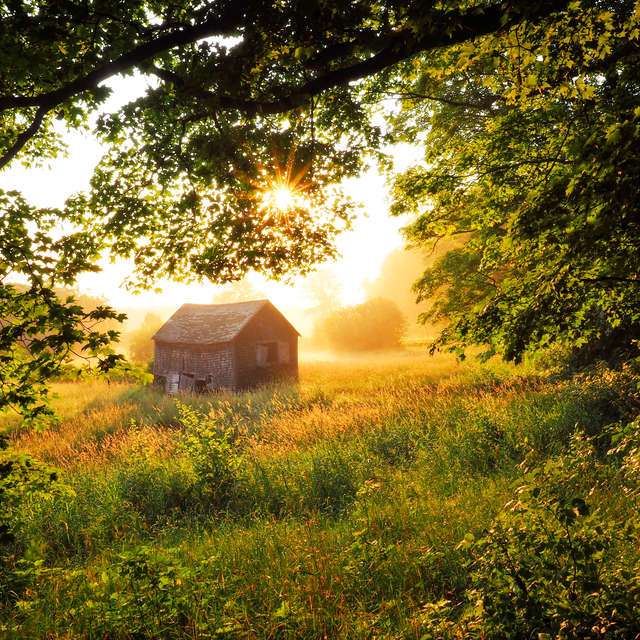
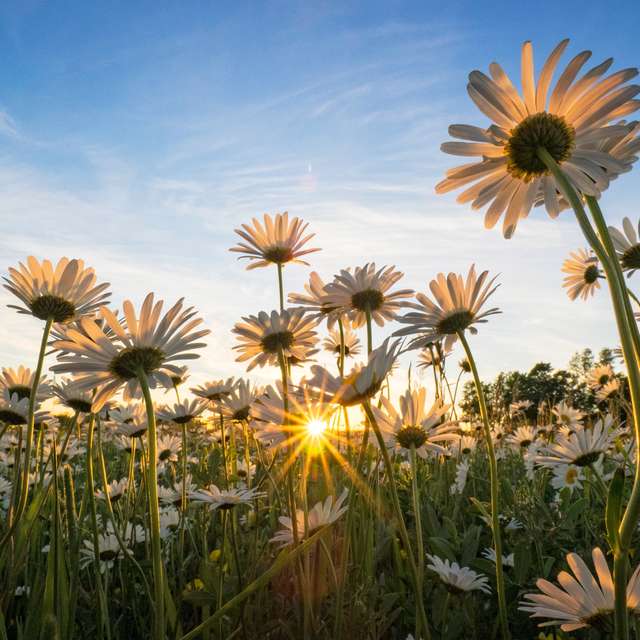
Okay, bring your camera in close...
Closer...
A bit closer...
There! Perfect!
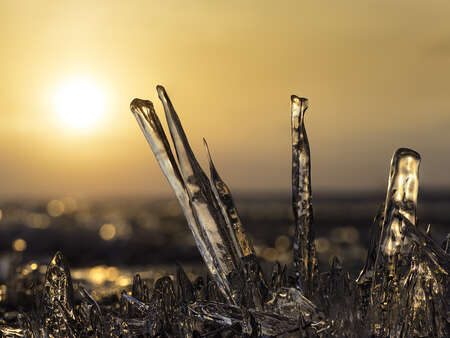
When you want to get in real close to your subject, you are entering the realm of the macro photographer. Usually this means you need a specialized macro lens, one that allows for extremely close focusing distances and provides a reproduction ratio of at least 1:1. For some subjects this may be your only choice, for example, capturing the minute details of an insect. For situations like that I will grab my M.Zuiko Digital 60mm F2.8 Macro lens. But often I want to capture a great close-up of my subject, giving it the macro 'feel' without actually being all that close. That's when I put on a longer lens and turn to telephoto macros.
ADVANTAGES
Using a telephoto lens for your close-up shots comes with several advantages over a regular macro lens;
- Better depth of field - macro lenses have very shallow depths of field and often require you to focus bracket in order to get sharpness throughout your subject. Although this can be the case with a telephoto lens it is far less of an issue.
- Better control of natural light - given your increased distance you are far less likely to cast unwanted shadows on your subject with your camera or body.
- Easier framing - Since most telephoto lenses are also zoom lenses it is easier to frame your shot
LENSES
OM SYSTEM makes a variety of telephoto and supertelephoto lenses. Given their minimum focusing distances they are excellent for macro-style shooting even if they aren't true macro lenses.
|
Lens |
35mm Equivalent |
Minimum Focusing Distance Range |
|
M.Zuiko ED 12-100mm F4.0 PRO |
24-200mm |
0.21m - 0.45m |
|
M.Zuiko ED 12-200mm F3.5-6.3 |
24-400mm |
0.22m - 0.7m |
|
M.Zuiko ED 14-150mm F4.0-5.6 II |
28-300mm |
0.5m |
|
M.Zuiko ED 40-150mm F2.8 PRO |
80-300mm |
0.7m |
|
M.Zuiko ED 40-150mm F4.0-5.6 R |
80-300mm |
0.9m |
|
M.Zuiko ED 75-300mm F4.8-6.7 II |
150-600mm |
0.9m |
| M.Zuiko ED 100-400mm F5.0-6.3 IS | 200-800mm | 1.3m |
| M.Zuiko ED 150-400mm F.5 TC1.25x IS PRO | 300-800mm (up to 1000mm with built-in teleconverter) |
1.3m |
|
M.Zuiko ED 300mm F4.0 IS PRO |
600mm |
1.4m |
SHOOTING TIPS
- Practice - Like all styles of photography it takes practice to get comfortable with using your telephoto lens for close-up shooting. The great thing is that there are countless subjects close by. Your backyard, garden or neighborhood park are teeming with subject matter. Try different settings and get comfortable with how your camera/lens combination performs in these shooting situations.
- Shoot parallel to your subject - Start by lining up the face of your lens parallel to your subject. This will help improve the overall sharpness of your main subject. Then try different angles in order to get the best composition.
- Check your depth of field - Experiment with different apertures at different focal lengths and distances so that you become familiar with the depth of field you can expect with different settings. Then make sure you review your shots to ensure that you have achieved the depth of field you want.
- Try focusing manually - The auto focus system on most cameras is fast and accurate, but for more control use manual focus with the manual focus assist features enabled. This will allow you to more precisely focus on your subject.
- Use a teleconverter - Adding a teleconverter will increase the magnification of the lens, but still maintain the minimum focusing distance. The MC-14 (1.4x) and MC-20 (2x) teleconverters will work with the M.Zuiko Digital ED 40-150mm F2.8 PRO and the M.Zuiko Digital ED 300mm F4.0 IS PRO lenses.
- Avoid windy days - Macro photography is not about capturing the action so avoid windy days. It can be very frustrating to have that gorgeous flower dancing in your frame. Early mornings usually have calmer conditions and often have the best light.
- Keep it neat - Avoid clutter in your frame. Aim for clean backgrounds that aren't distracting and check for spider webs or other small objects. Things that are barely visible to the naked eye will show up clearly in your final image.
BEAUTIFUL BLUR
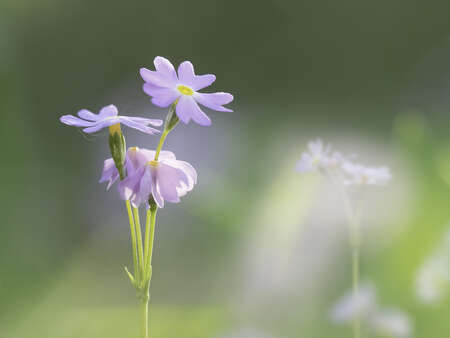
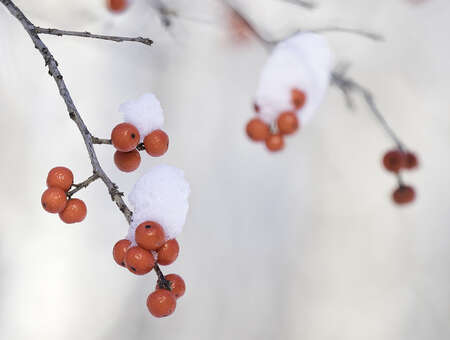
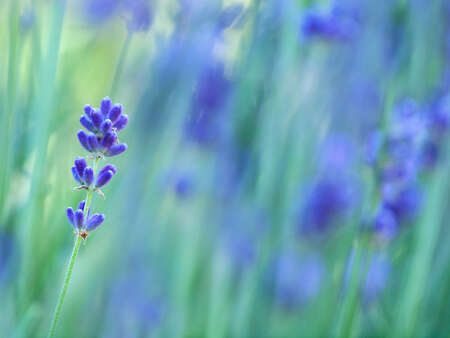
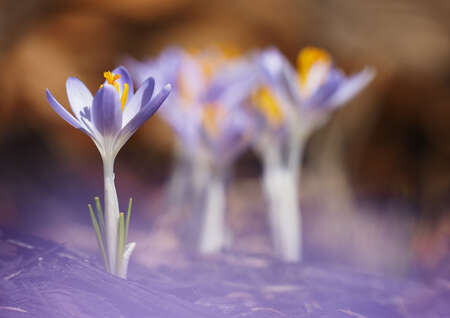
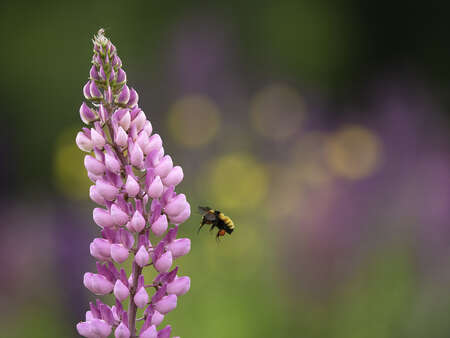
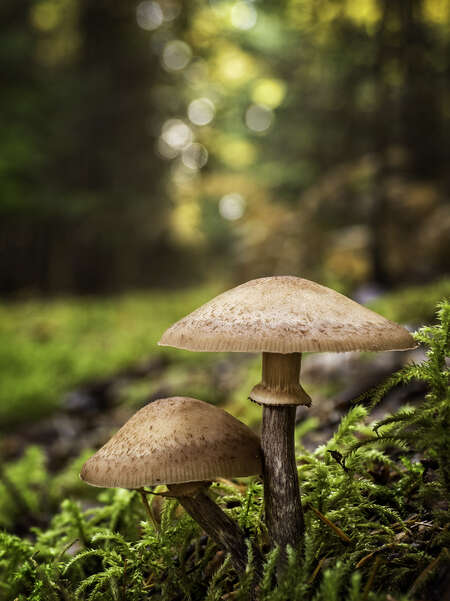
The best compositions are often the simplest ones. The easiest way to isolate your subject and make it stand out is to have a blurry, or defocused background. In large part this is determined by your choice of aperture, which not only establishes how much of your subject is sharp, but will also determine the degree to which your background blurs. A large aperture will create a softer background, but may not provide you with enough clarity throughout your subject. So achieving the perfect result is a bit of a balancing act and may require some experimenting with different aperture settings. Selecting a subject that is set a fair distance away from the background will also help isolate it in your final composition.
One option is to use the focus bracketing and stacking built into the OM-D line-up of cameras. This allows you to use a larger aperture to achieve nice bokeh yet still have your entire subject in focus. With this technique however, having a subject that is quite still is key to getting good results.
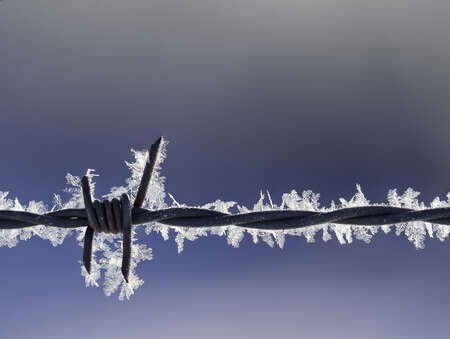
OM-D E-M1 Mark II | M.Zuiko Digital ED 40-150mm F2.8 PRO
150mm | 1/1000s | F3.5 | ISO 200
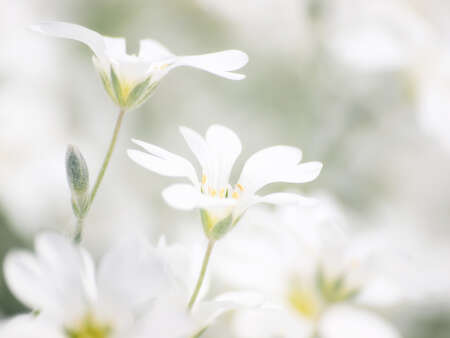
One technique that I like to use on occasion is to add blur in front of the subject as well. This adds a creamy softness to the foreground and the illusion of extra depth. This is achieved by placing your camera in amongst some foliage or flowers, often just a few inches away from the front lens element.
A BACKYARD SAFARI
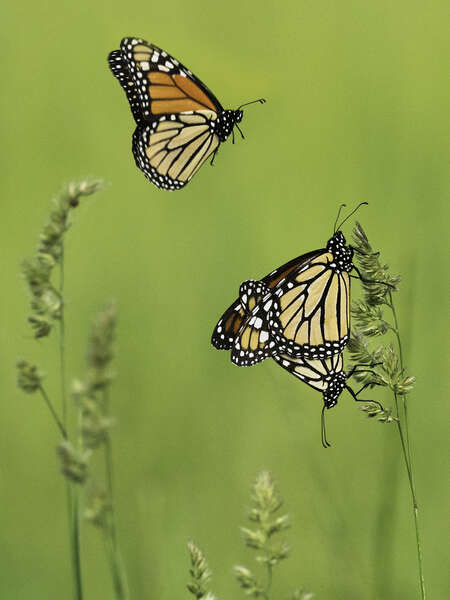
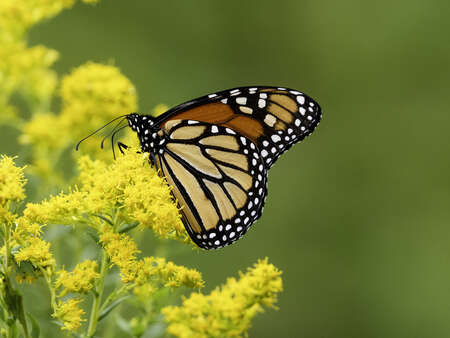
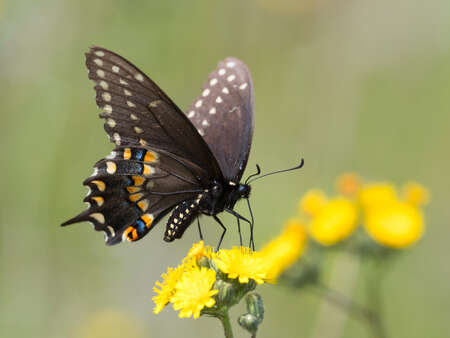
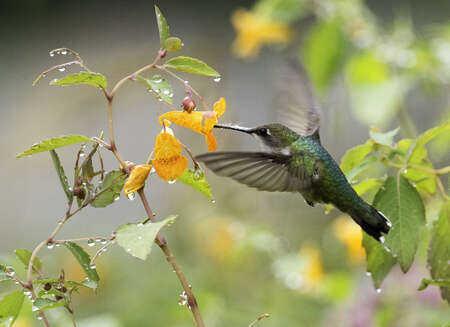
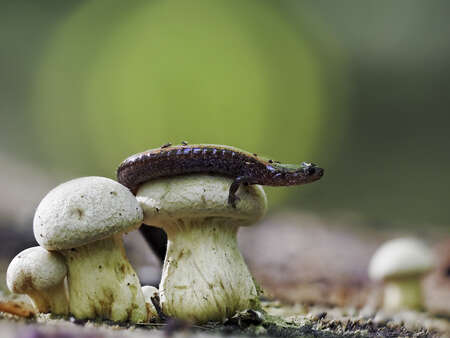
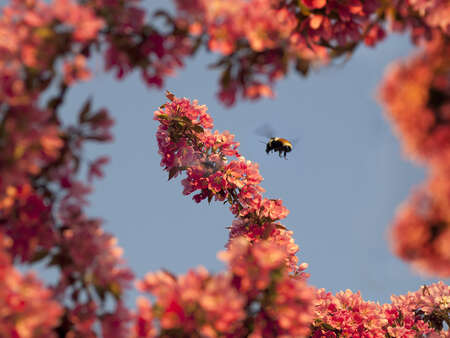
One of the biggest advantages to using a telephoto lens for your macro-style shooting is the ability to capture a bit of 'wildlife' along with the beautiful blooms. It is a lot harder to sneak up on a butterfly sipping nectar using a macro lens. With a telephoto lens you can be several meters away and still have your subject fill up much of the frame. This will require a closer look at your camera settings since having a faster shutter speed may be important, depending on whether you are trying to capture the insect or bird in flight versus at rest.
There are a couple of approaches to consider;
- Hunting - Following your subject as it moves from bloom to bloom can be challenging so switch from manual to auto focus and use one of the sequential shooting modes in order to improve your success rate.
- Waiting - Select a bloom that the butterfly or bee hasn't landed on yet and wait. A bit of patience is required but there's a good chance that it will eventually land on that flower. Use manual focus and sequential shooting in order to capture the landing and take-off. This is also a great opportunity to try using Pro Capture to guarantee that you catch the action.
FINAL THOUGHTS & IMAGES
I often use macro photography as a quick escape. Whether I use a true macro lens or one of my telephoto lenses it is a great way to get out of the house for a short period of time and explore my immediate surroundings. It also helps me focus on the details when I'm out shooting landscape images. If you are new to this style of shooting it is good to experiment using a telephoto lens that you already have. You can practice good field technique before making the investment into a dedicated macro lens.
For more information on macro shooting you can check on this article on focus bracketing and stacking.
Republished with permission from Peter Baumgarten's Creative Island Photography Blog. View the original article or leave comments for Peter here.
ABOUT PETER
Web: creativeislandphoto.com
Blog: creativeislandphoto.com/blog
Twitter: @creativeisland4
Peter has been a dedicated Olympus shooter for nearly 40 years, and has found a way to combine his passion for photography with his love of teaching to develop photography workshops with a focus on landscape, wildlife and astrophotography. Peter’s work has been published in a number of magazines including Canadian Geographic, Shutterbug and Outdoor Photographer. He maintains his own blog with an emphasis on tutorials that assist others in bringing their photography up to the next level.
