The M.Zuiko 60mm F2.8 Macro is my absolute favorite lens, but it wasn’t always.
After a year with my first Olympus camera (an OM-D E-M10), I was looking to expand my photographic horizons. I was always fascinated by macro images and I wanted to try producing some of my own. Excited to get started, I purchased the widely-praised 60mm Macro but was quickly humbled. My shots were blurry and I wasn’t seeing consistently-high magnification. Frustrated, I abandoned my new lens for an entire year.
I eventually accepted the fact that the lens wasn’t the problem – I was. I reattached my 60mm Macro and committed to learning. I wrapped my head around the focus limiter and 1:1 shortcut, I started to understand the advantages of using both auto and manual focus, and I began shooting with a flash. Slowly but surely, I was seeing results that reminded me of the macro images that grabbed my attention in the first place. I hope the following information can help to get you started making amazing photos with your 60mm Macro.
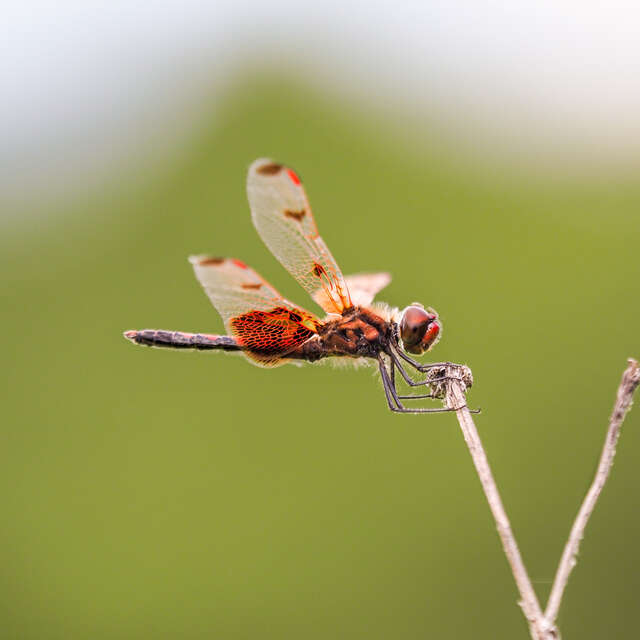
1/200s | F9 | ISO 200
What’s with That Dial?
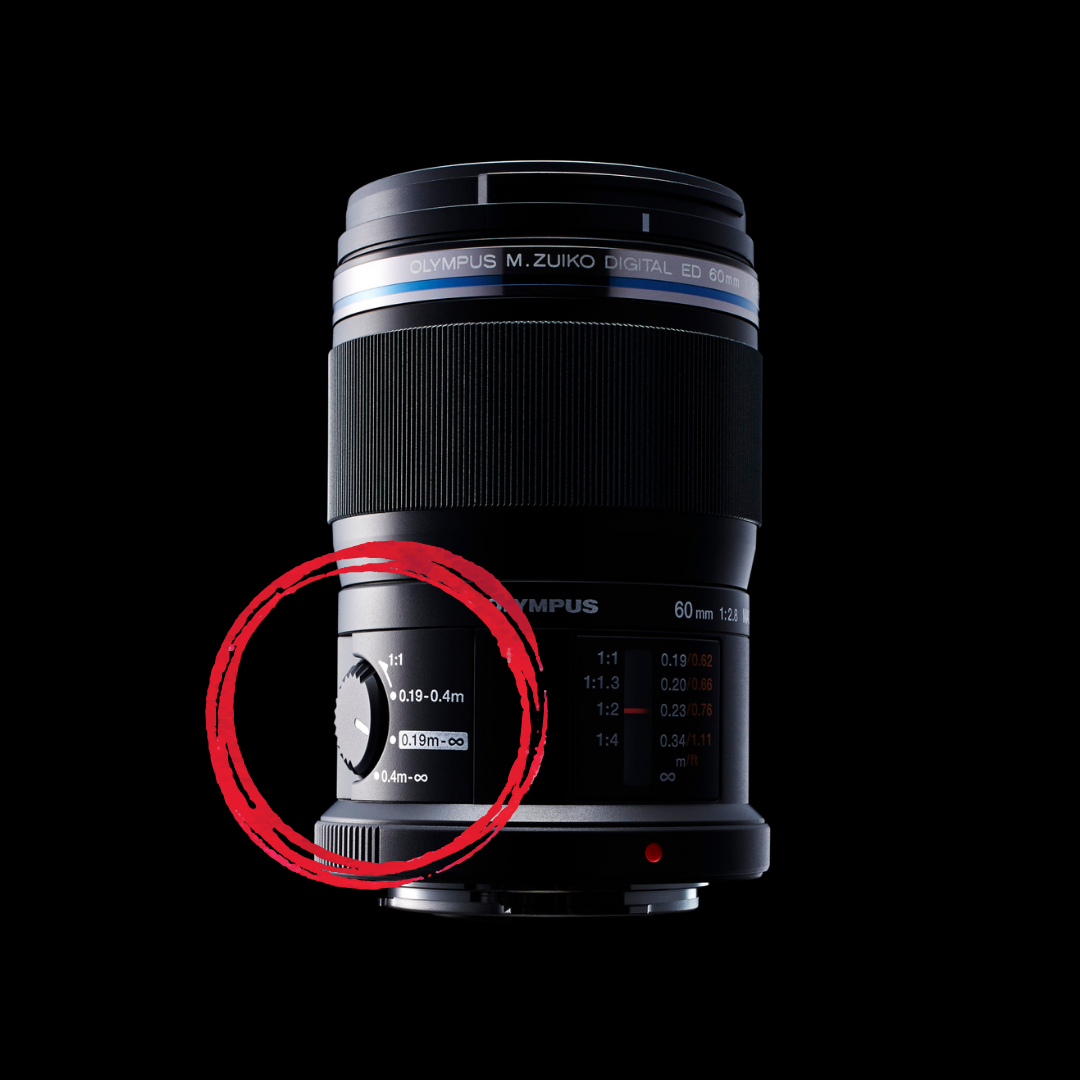
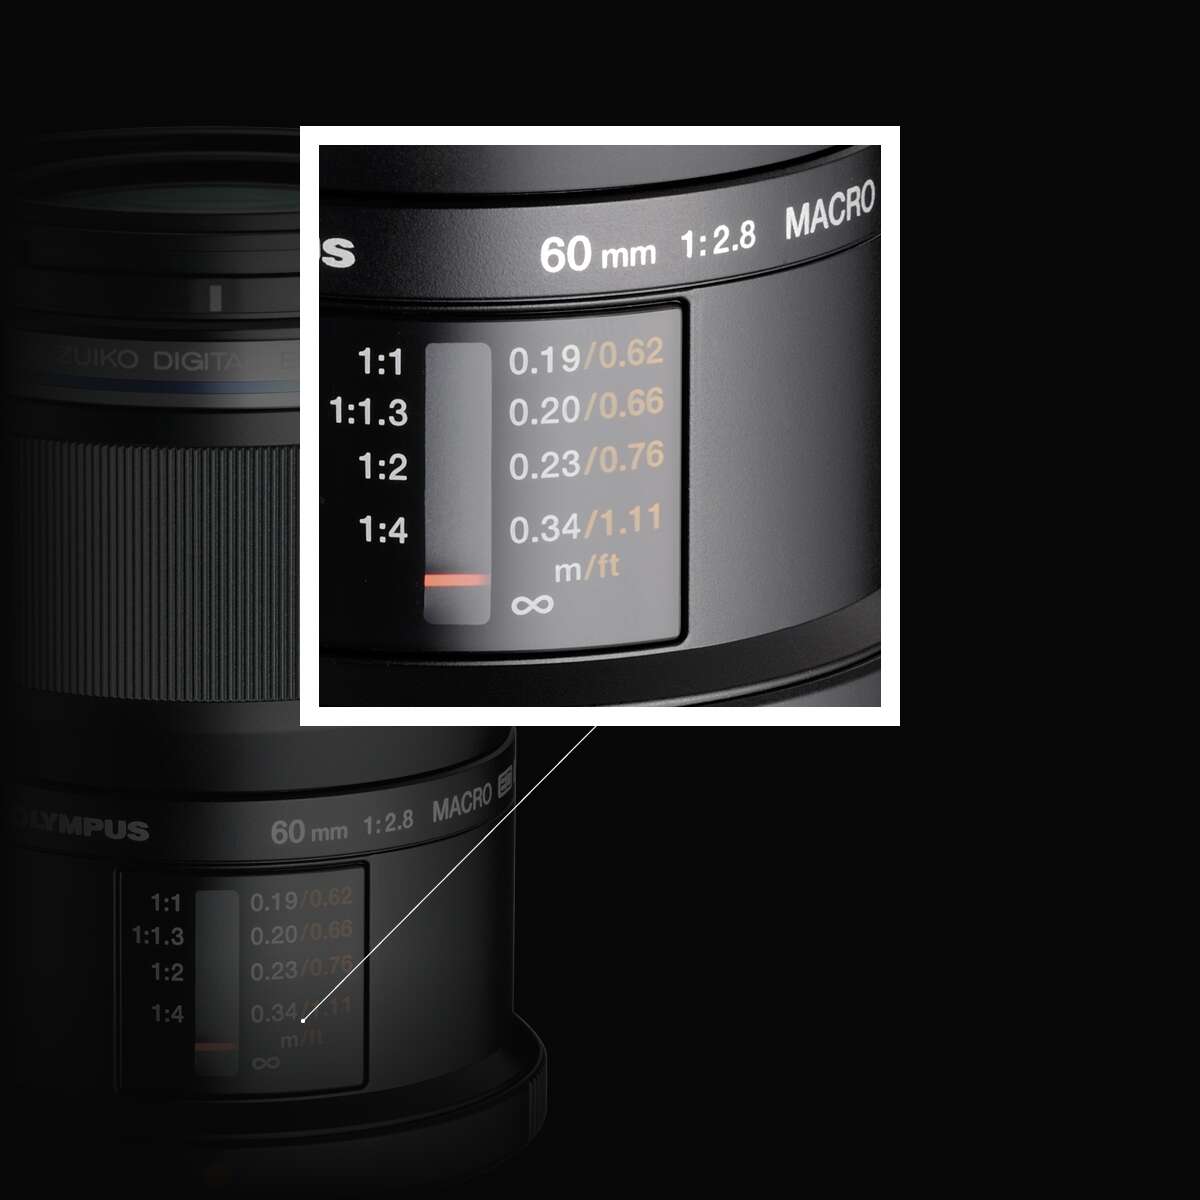
If you’ve ever seen or handled the 60mm F2.8 Macro, you’ve probably noticed a small dial on the side of the lens.
This dial actually serves two purposes. It’s a focus limiter that allows you to set focal ranges of 0.19 to 0.4m, 0.19m to infinity, or 0.4m to infinity. It also acts as a shortcut switch to instantly send your magnification to 1:1. By utilizing this shortcut, you’ll ensure maximum magnification without needing to spin the lens barrel. For anyone new to macro, 1:1 (or 1x) means your subject will appear the same size on the camera’s sensor as it is in real life.
Setting a specific range of focus can be a huge advantage. For macro shooting, I typically set my dial to the 0.19-0.4m position. By doing so, I know that anything outside that range will be ignored by my camera’s autofocus. Similarly, switching to 0.19+ or 0.4+ tells my camera to seek focus at a greater distance.
The most-forward position on the 60mm Macro’s focus limiter dial is the 1:1 shortcut.
Having quick access to maximum magnification can save you valuable time and ensure magnification consistency from frame to frame, but there are a few things to understand about that little shortcut. When you activate 1:1 with the spring-loaded dial, your lens will immediately transition to maximum magnification—but utilizing autofocus will override it. This is by design. You’ve told your lens you want 1:1, but then you’ve focused on something at a different focal length. To ensure 1:1 magnification is retained, you’ll need to hold the switch forward or toggle to manual focus – I’ve mapped MF/AF to a function button!
Once you’re at 1:1 and using MF, don’t mess with the lens barrel. I find it much easier to find focus by gently moving my camera in and out until I see my desired focus on the LCD or in the EVF. My favorite way to ensure perfect focus is MF Assist Magnify (I have a function button mapped for that, too). MF Assist Magnify will magnify my subject up to 14x so I can be absolutely certain I’ve nailed my focus.
Look Through the Window
Besides a focus limiter, the 60mm Macro also has a handy magnification display window. It’s like a built-in cheat sheet to help you identify magnification and focusing distance. To the left of the window, you’ll see magnification ratios from 1:1 down to 1:4. On the right side of the window, you’ll see focusing distance indications. I like to use these distances to mentally ballpark my working distance.
And remember, these indications are subject-to-sensor, not subject-to-glass. The minimum focusing distance is 7.5", the lens itself is a little over 3" long, and the sensor sits a bit behind the lens’ rear element. This means when my indicator shows 1:1, my lens glass will need to be about 3.25" (or about one lens length) away from my subject.
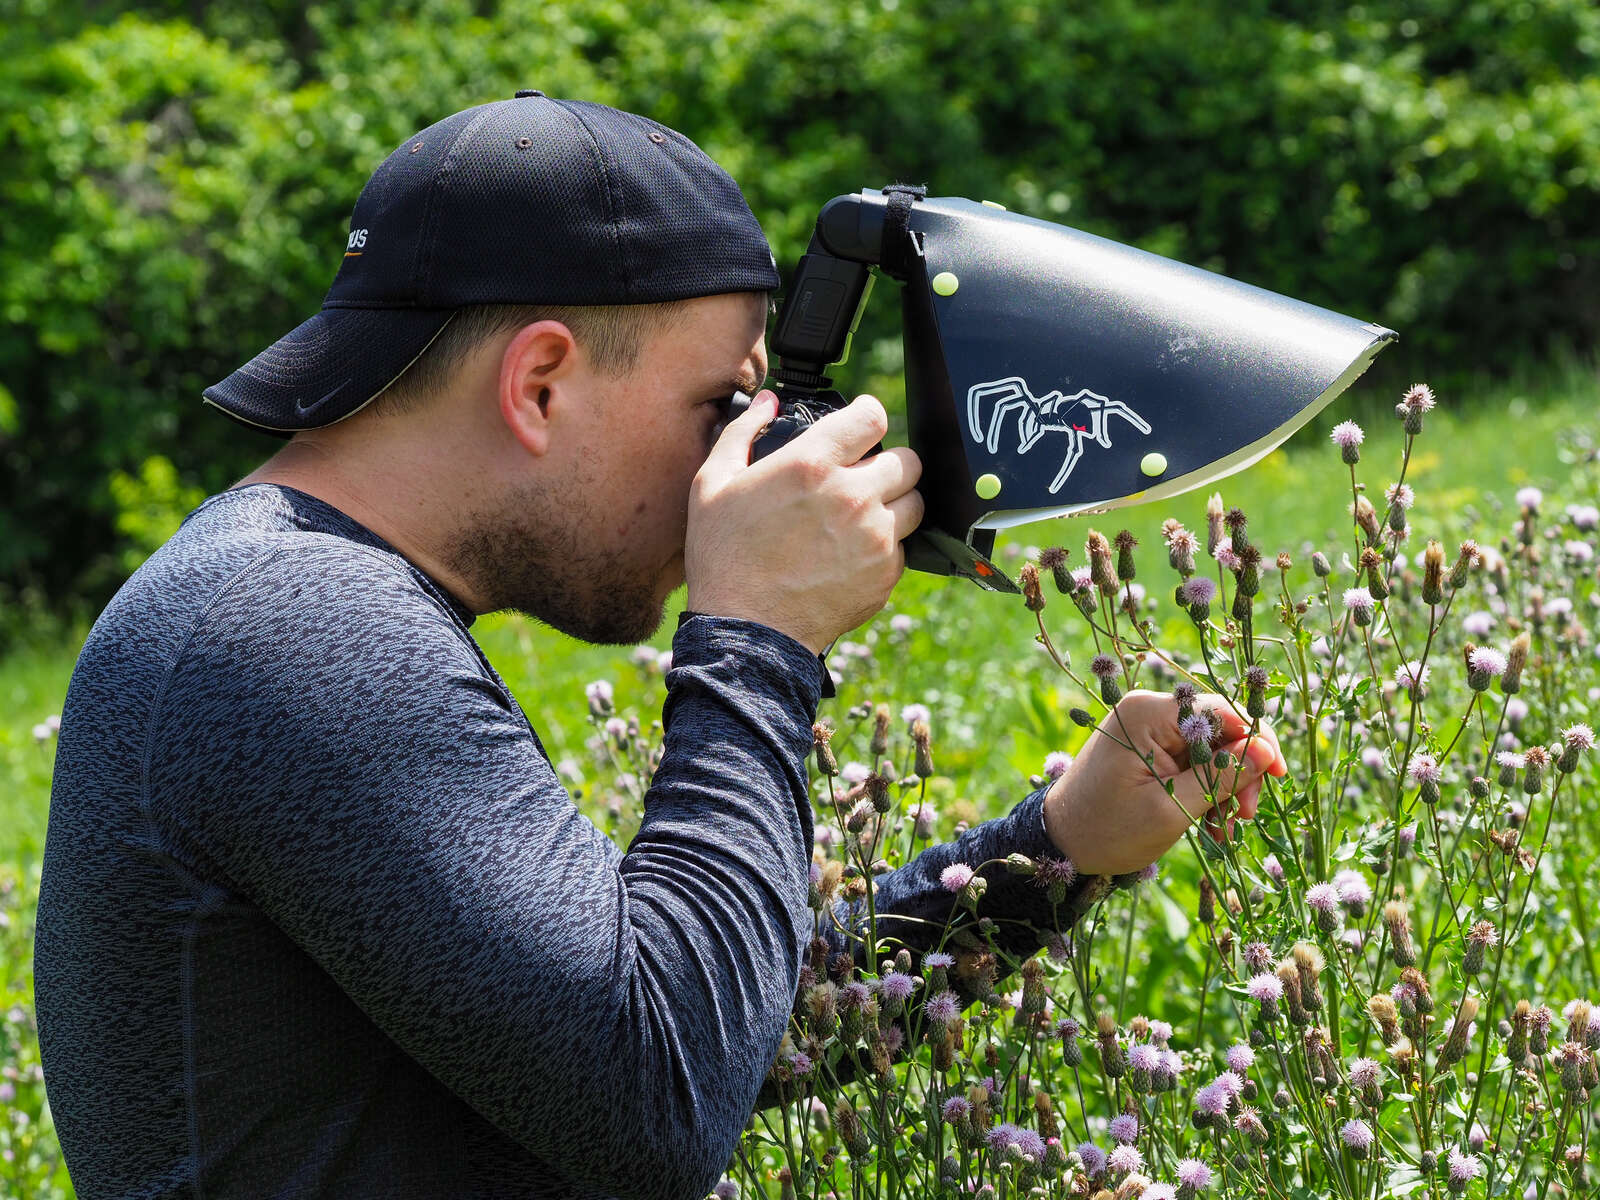
Practice Makes Perfect
If you’re anything like me, all you want to do is get into the field and work with live subjects. The temptation is real—I get it—but practicing with inanimate subjects can pay huge dividends. There’s nothing worse than finding that dream specimen and missing the opportunity because you didn’t have your settings right or couldn’t make adjustments quickly enough. Take time to learn your gear and your gear will reward you.
I recommend starting your practice indoors. You can focus on coins, small toys, the fibers of your carpet, or anything small. Learn how to focus and learn how to produce images that suit your style. Once you’ve gained a little confidence, head outside to try some inanimate subjects in environments where live subjects might be. Seeds, flowers, berries, etc. are all good test subjects. Since they don’t move, your stress level should stay reasonably low, but the experience helps you to build transferable techniques that can be applied with live subjects in the future.
After you’ve practiced with inanimates and figured out what works for you, you can put your new skills to the test. Remember to approach slowly and take shots as you close in upon higher magnification. Unlike non-living test subjects, insects and spiders will move. Over time, your hit rate will improve and your love affair with the 60mm Macro is bound to blossom.
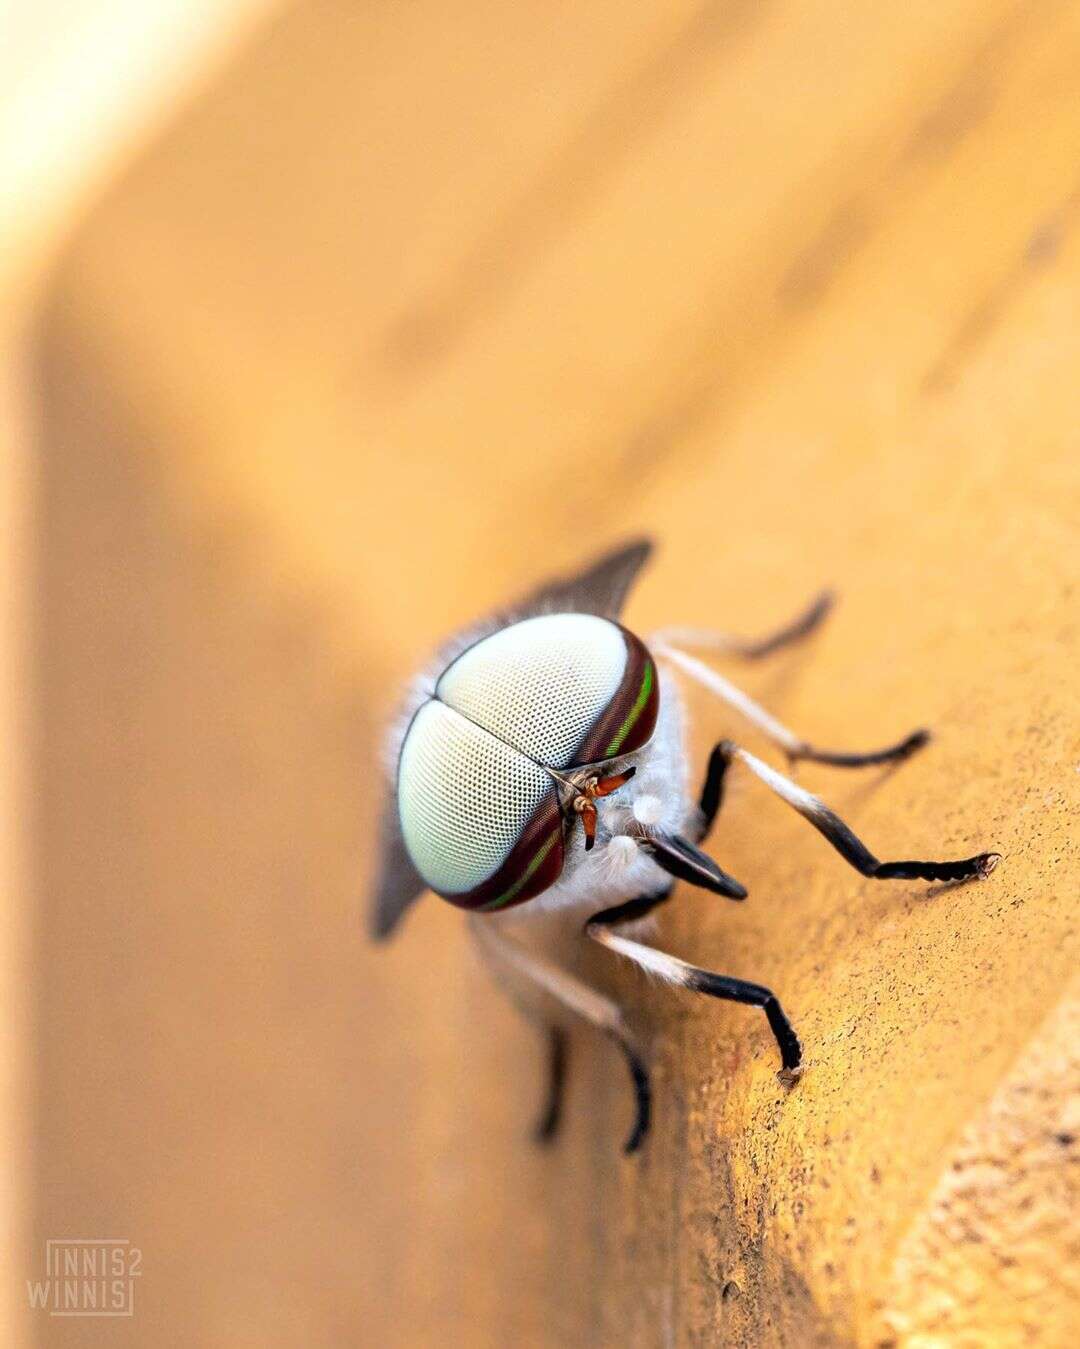
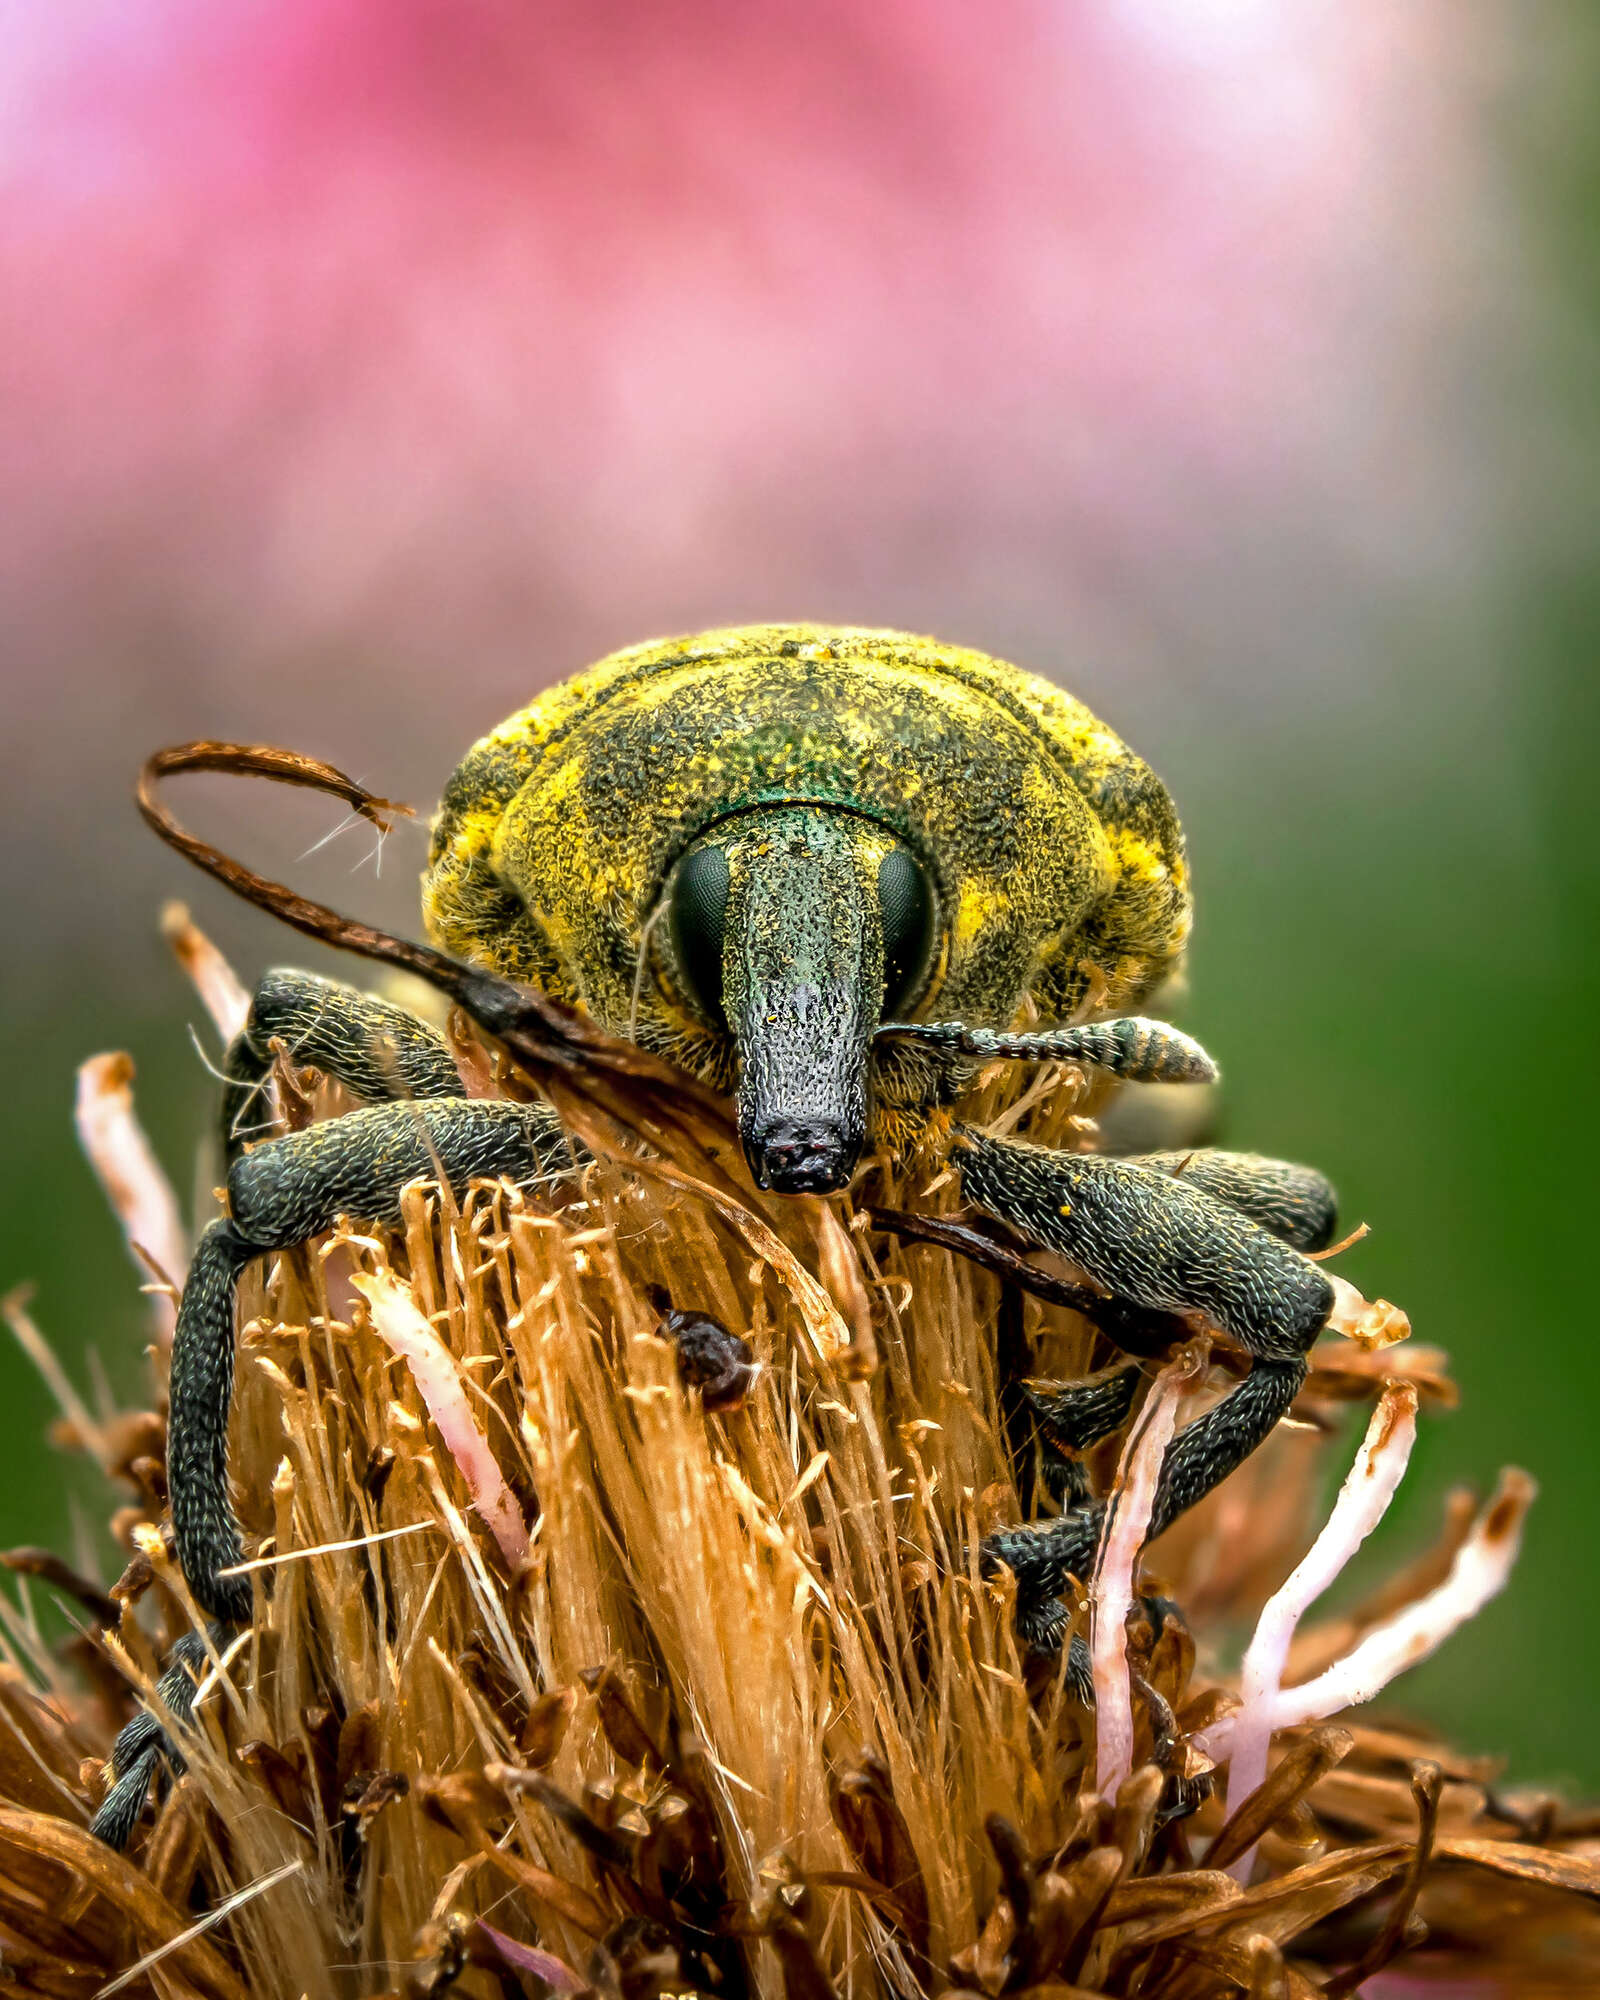
1/200s | F9 | ISO 200
Instagram: @innis2winnis
Chris McGinnis is a macro photographer based in Bethlehem, PA. Since 2016, Chris has been getting up close and personal with tiny creatures as he aims to showcase the wonder and beauty of their existence that often go unnoticed.